R1chard
Well-Known Member
- Joined
- February 8, 2013
- Messages
- 112
- Reaction score
- 1
- City, State
- Upstate NY
- Year, Model & Trim Level
- 2013 Ford Explorer LTD
In mid February I got into my 2013 Explorer since then I have changed a few things.
I have a few more tweaks here and there to add which I will update this thread as they get accomplished.
Specs:
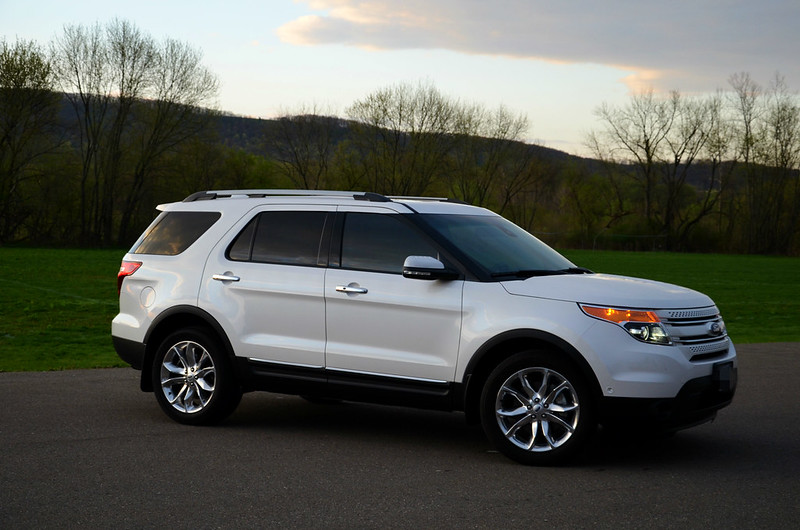
Vehicle: 2013 Ford Explorer Limited 4WD
Color: White platinum metallic tri-coat on medium light stone
Factory options:
Day One
The day I picked 'her' up (old ride on the left).
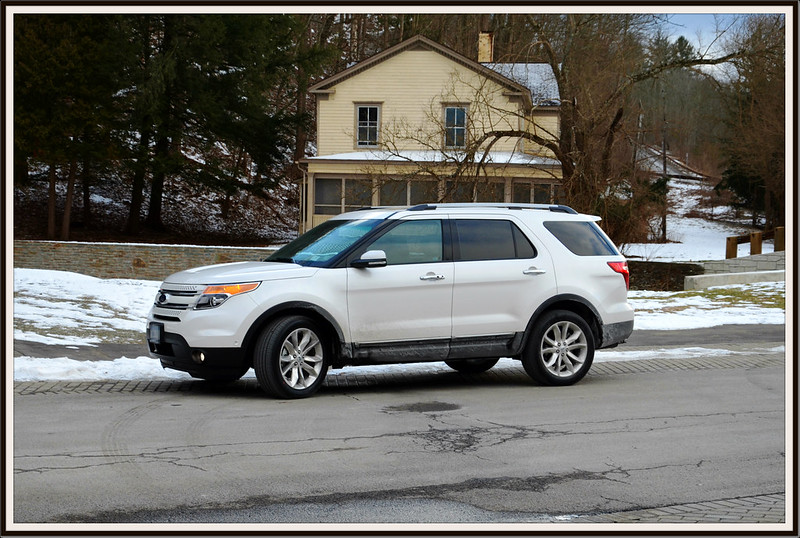
She was neat, clean and polished however in Upstate NY Winter weather that didn't last long.
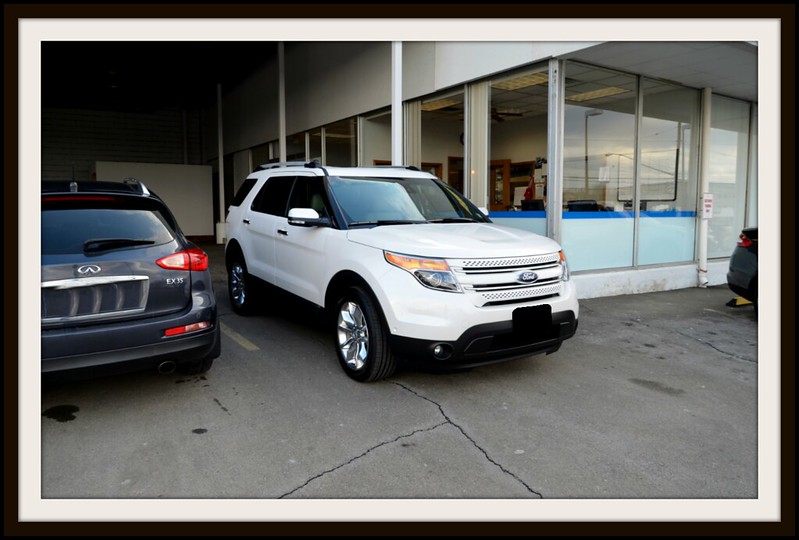
The next day:

Interior Accessories
Since things get dirty and salt is abundant in this area I started off by adding protective items.
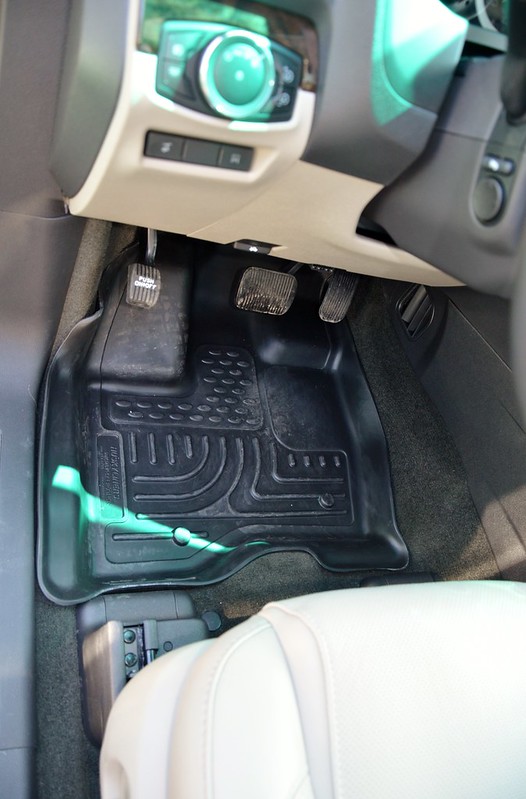
Floor Mats
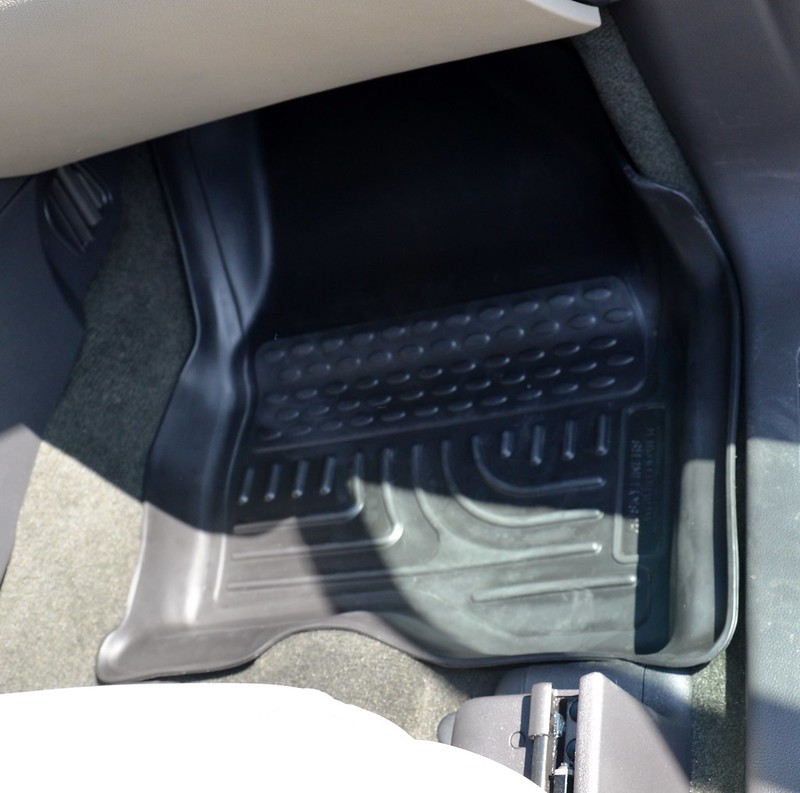
First step was the Ford Explorer specific Husky Liners. At first I was torn between the Weathertech vs Husky brand of these heavy style mats and after all said and done I'm glad I picked the Husky version. They seem to protect the trouble areas (carpeting near the door sill, etc) better. I (highly recommend these for anyone that lives in harsh weather. These are how mine look after ~2.5 months of heavy winter usage. All I've done is periodically hosed them down with water. They fit snug and appear to just belong there.
Driver's side:
Passenger:
Rear:
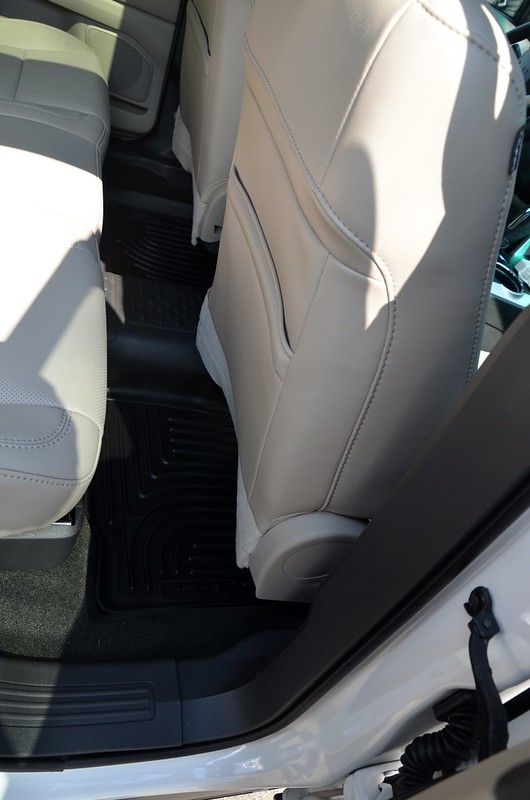
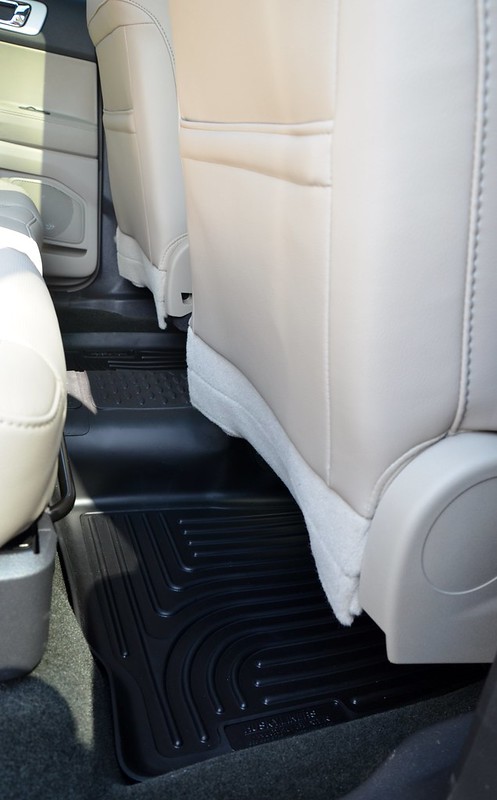
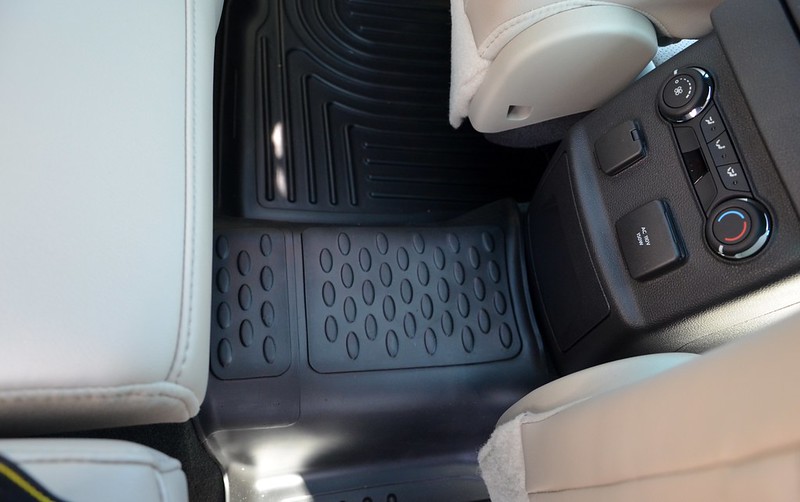
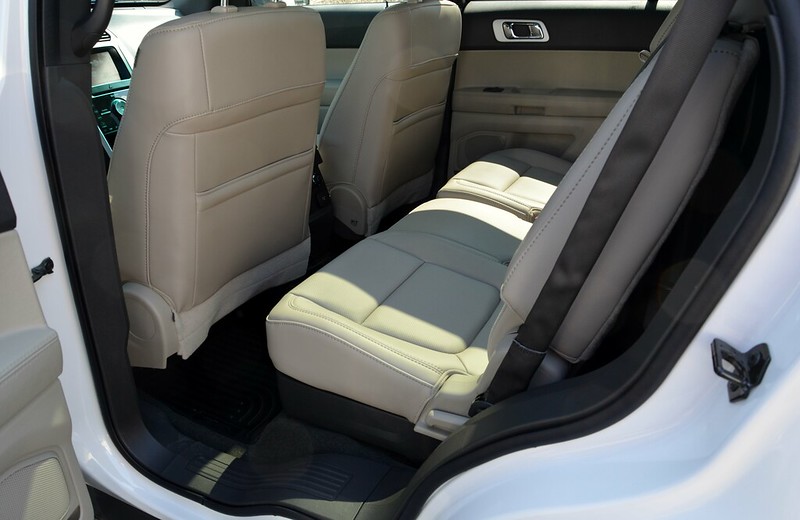
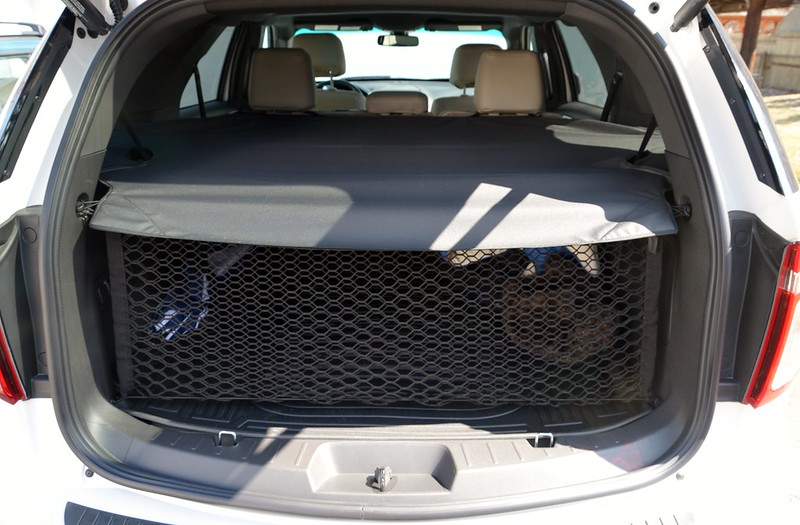
My next step was more interior protection and security. I followed the mats by the factory sun shade cover, cargo net and inner trunk liner. All of these three items were OEM Ford brand.
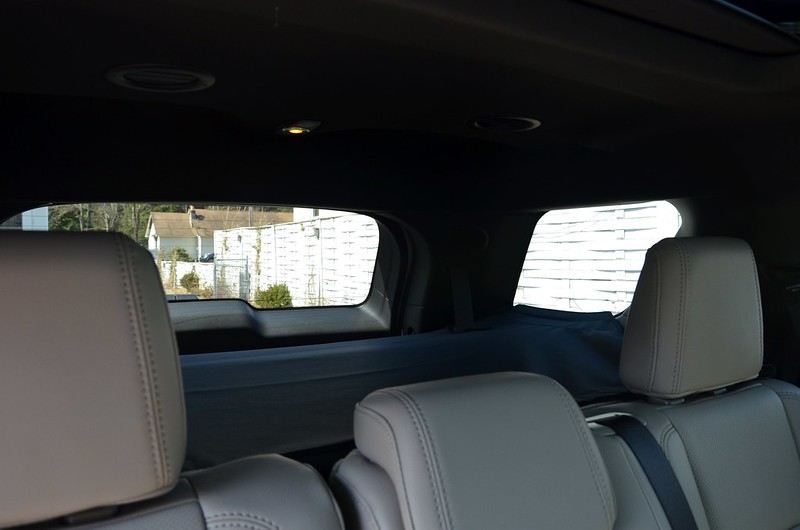
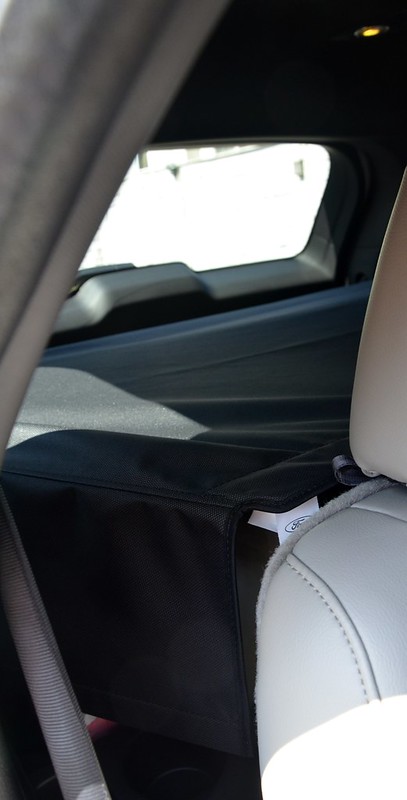
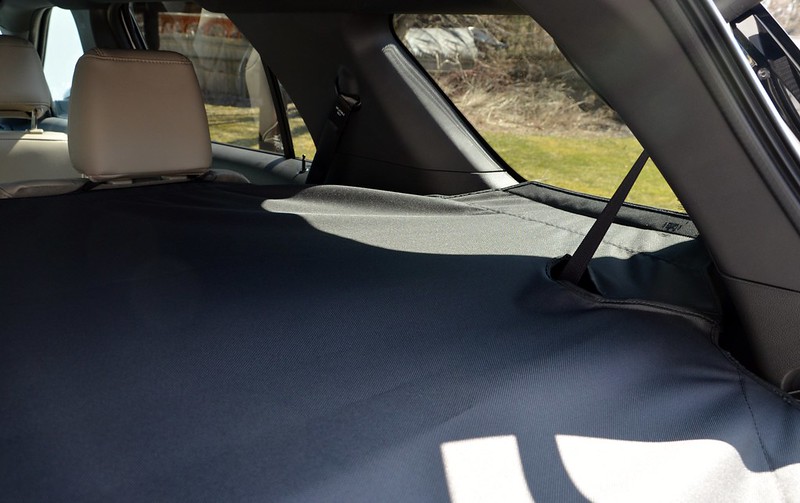
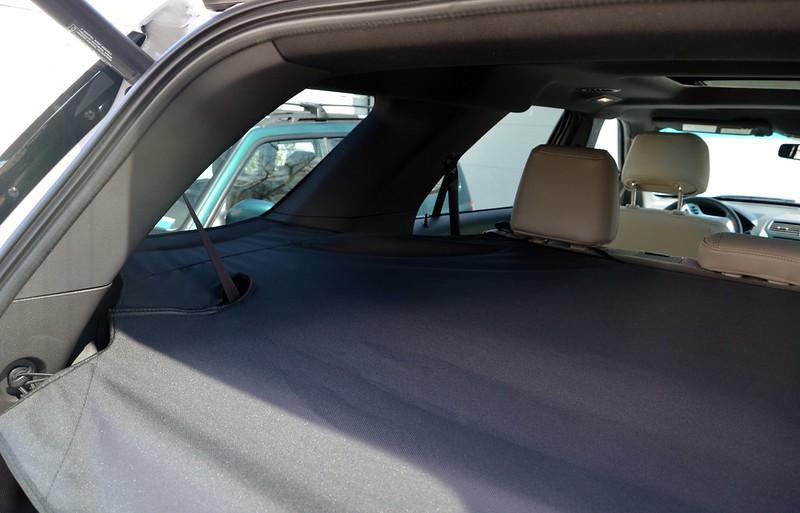
OEM Sun Shade Cover
First the sun shade cover and I hate to say this but I find this item VERY poorly designed. The way the sides connect to the glass portion is VERY cheap and a lot of times they just come loose with the slightest resistance on the curtain. The plus of this type of cover is though you can remove and fold it easily to use the 3rd row of seating.
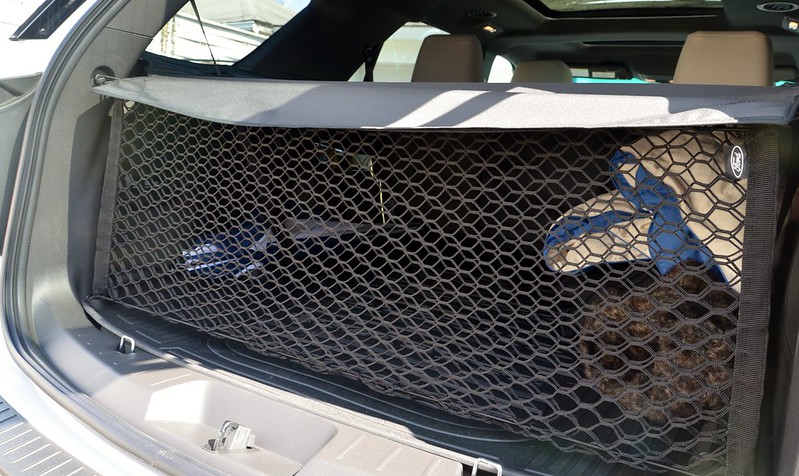
OEM Cargo Net
I followed the trunk cover with the OEM net. I find this accessory very handy specially with such a large trunk as it allows small items (groceries, etc) to stay in place. The OEM version of this cover works great and the fit and finish is as expected.
Disregard my Upstate NY Winter weather survival attire / items.
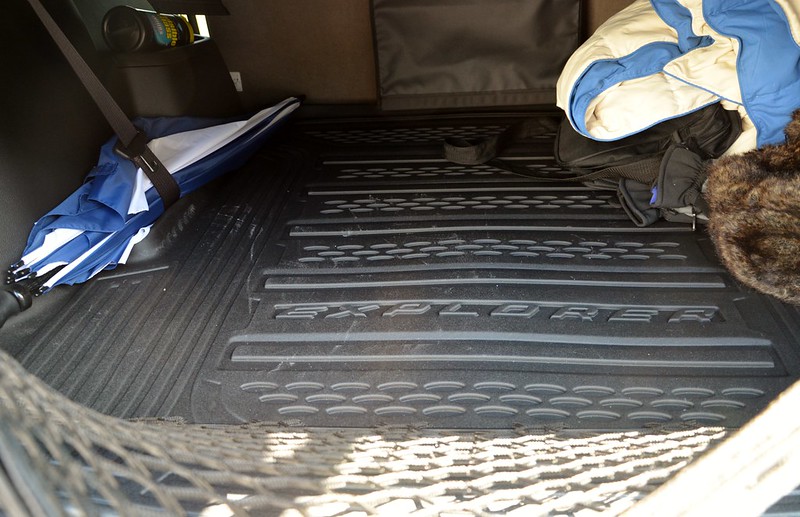
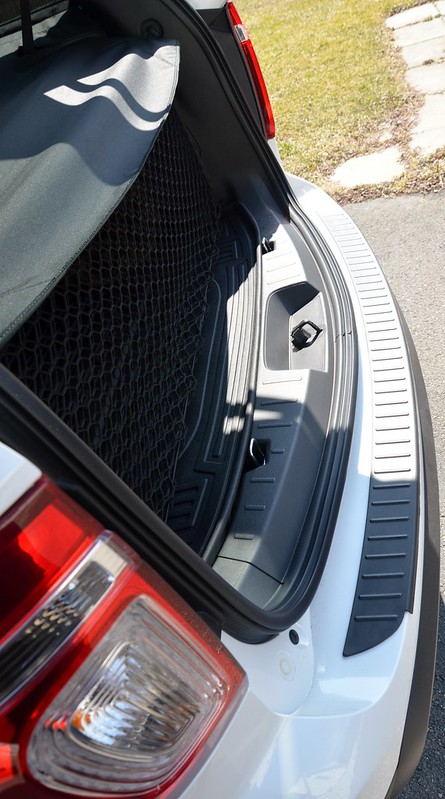
OEM Cargo Liner
The next item I added was the OEM trunk rubberized liner.
This is very handy and again highly recommended because of the high edges throughout all four corners that prevent liquid spills from getting to the carpet. Also find this type of liner allows further protection again scuffs.
Side note, I chose the OEM liner versus the Husky branded one mainly because of aesthetics and I thought the "Explorer" branding looked quite pleasant to the eye.
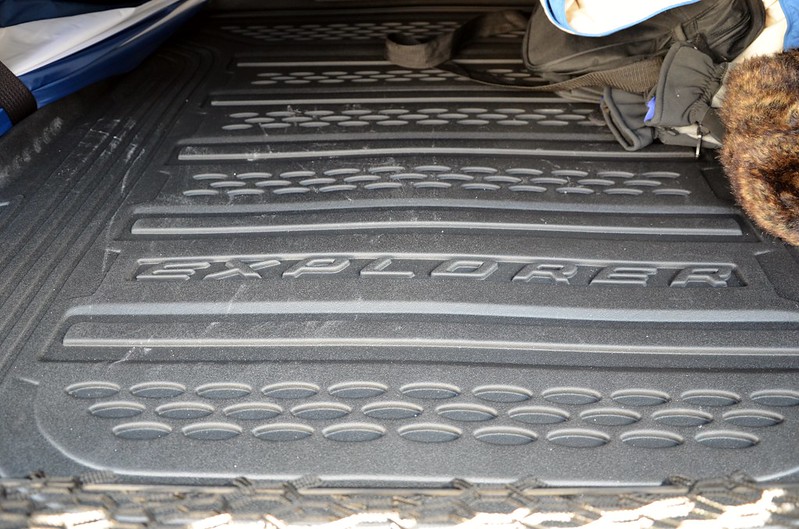
As you can notice by the scuffs it is certainly doing it's intended job.
Exterior Accessories
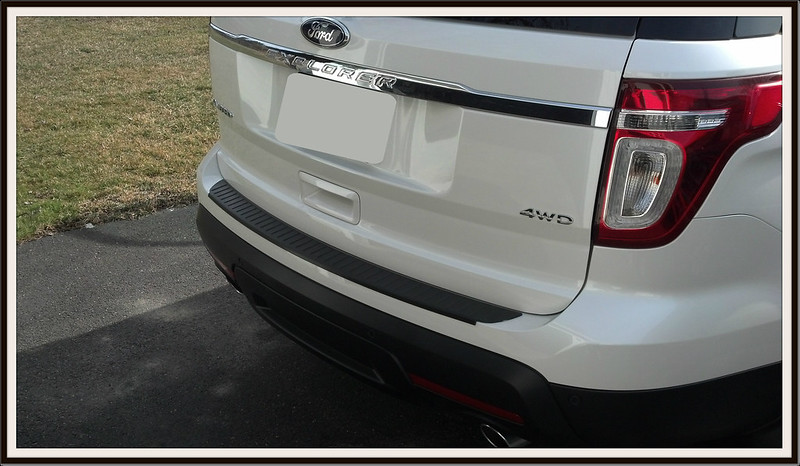
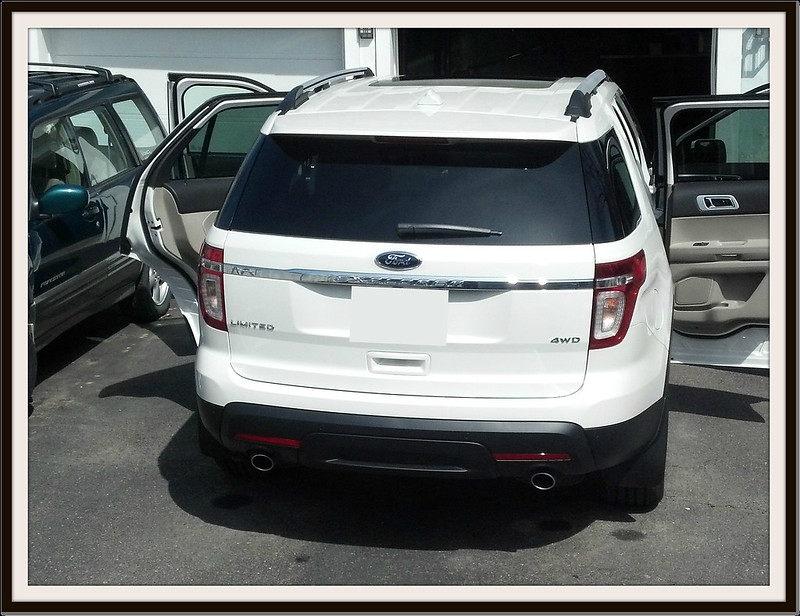
Rear Bumper Protector
I decided on this item next because how easily it can be to scuff the paint to this area of the bumper. I was VERY surprised Ford decided to make this item an option on a vehicle of this price point.
When I was researching for this item there were only two options. Either the the OEM Ford unit and the unit by a company called BMC Extreme Customs out of NJ. Reviewing both units and cost I went with the aftermarket choice as it made more sense.
How so you may ask?
The OEM unit only covers the TOP portion of the bumper not the ledge which in opinion is the section most likely to get damaged during loading/unloading of cargo.
Other pluses from the aftermarket unit is that it is both wider and longer than the OEM, which means more protection. Installation was a fairly easy process.
Some tips regarding the installation. Please make sure the area is well clean of any dirt / chemicals / contaminants (ex: salt, wax, etc), also this item is much easier to install with two people. Four hands offer the most even pressure to appropriately shape the unit as it contours the bumper.
After all said and done I'm glad I picked the aftermarket choice as it look OEM and very fitting for the car.
The BMC Extreme Customs unit I chose:


The Ford OEM unit for comparison

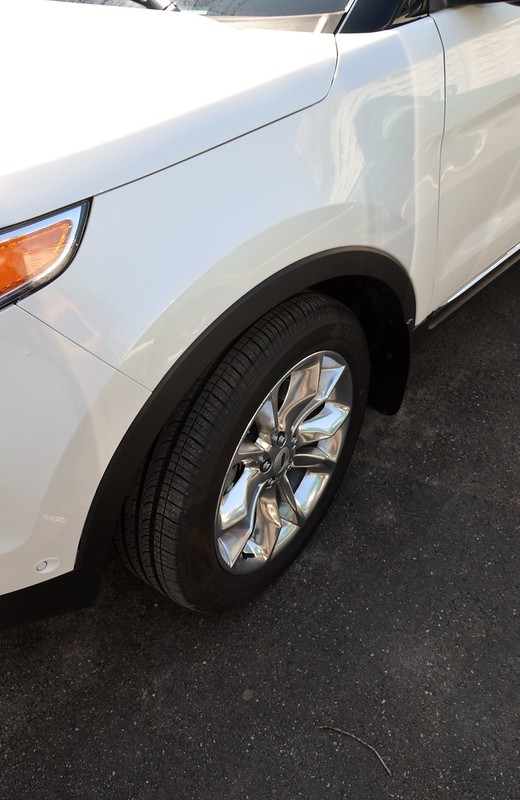
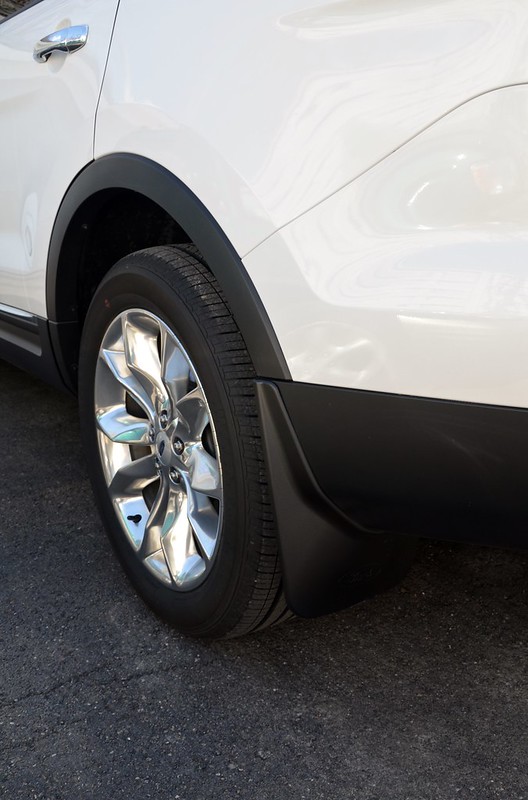
OEM Mud Flaps
For the next step I went with the OEM Ford mud flaps (mud guards whatever you way want to call it) since with a white car EVERY speckle of dirt, dust, etc show like a HUGE stain. The added benefit I noticed from adding these is a HUGE decrease in the "orange spots" in the trunk area as noted by a few other members. Again this is another part that I find hard to believe Ford does not include on a vehicle of this price point.
Ford offers two choices for these guards, ones that contoured and ones that are flat.
I picked the contoured units as they seemed to be a better performance value. The rear units have a Ford logo on them.
Front
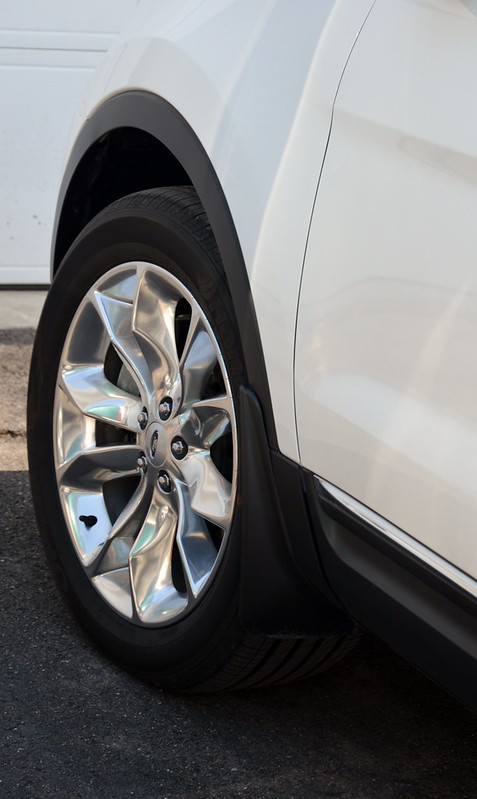
Rear
The rear units have a Ford logo on them.
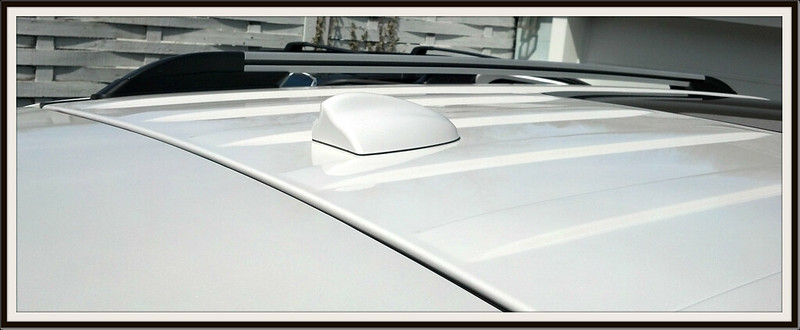
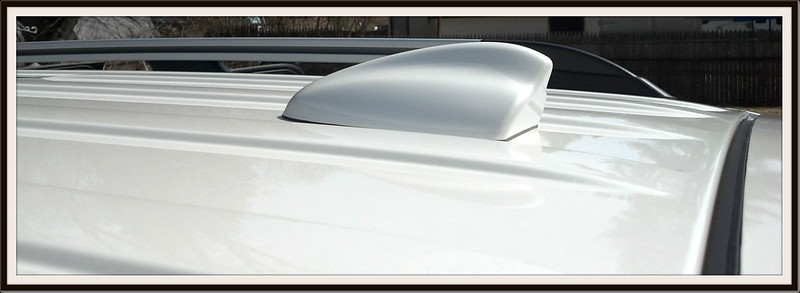
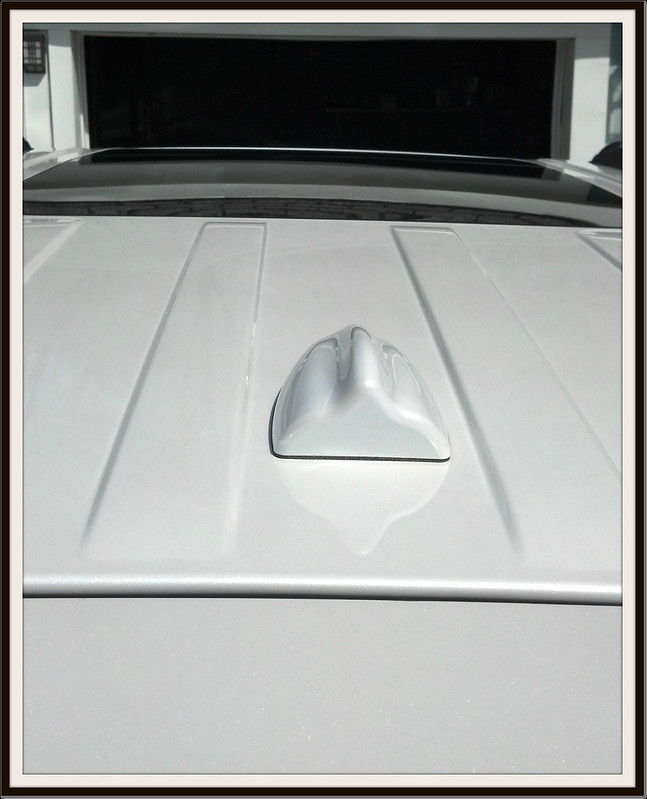
Shark Finn Antenna
I had to get this antenna in order to make my car clear the garage entrance otherwise the OEM antenna would get destroyed and potentially damage the mounting bracket. I picked the item from Visual Garage G Shark Fin Antenna with the matching white platinum metallic tri-coat color. The turn around time for this unit was 3 weeks which it was as advertised and that is counting shipping. For reference the item came internationally (Canada) from the other side of the country.
The fit and finish is great and the color was matched perfectly to the OEM color. Installation was a breeze.
LED License Plate Bulbs
The next step I added the LED license plate bulbs. I had to go through two different pairs of bulbs to get the look I was aiming for. On the left was a bulb I got from Super Bright LEDs. The website claimed these to be their brightest and strongest units, I was VERY disappointed with the end result. I picked 5000K color yet I ended up with something more green. I thought maybe the unit I got was defective but I got these as pairs the other unit was exactly the same. On the right is the OEM unit for comparison.

Instead I researched quite a bit and I ended up getting these units from eBay:
"RSI Extreme LED bulbs 5000K Intense White" and they are exactly that, intense. I will let the photos do the talking.

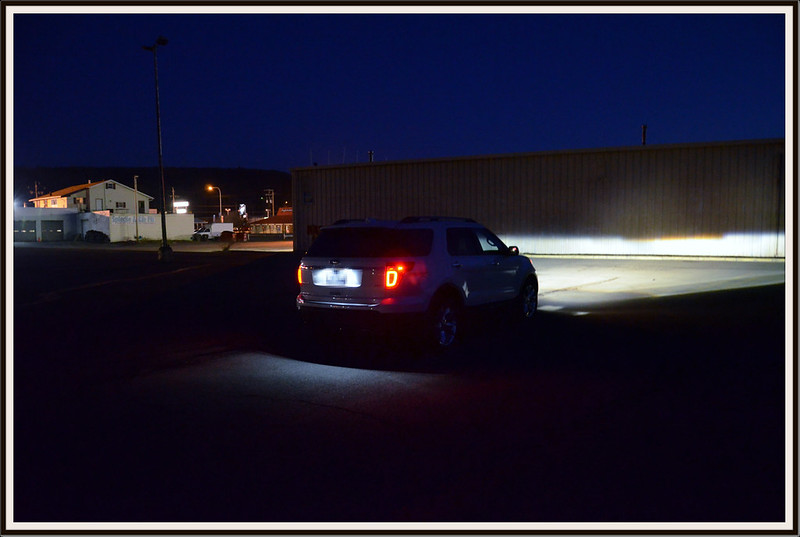
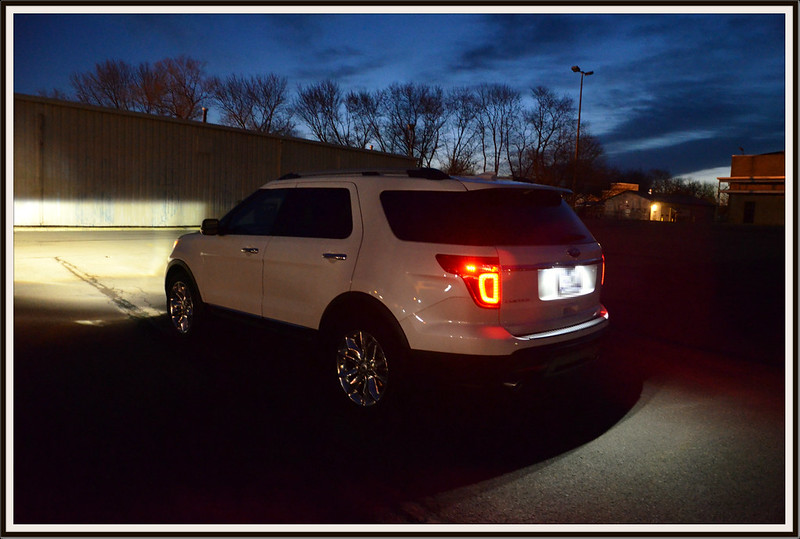
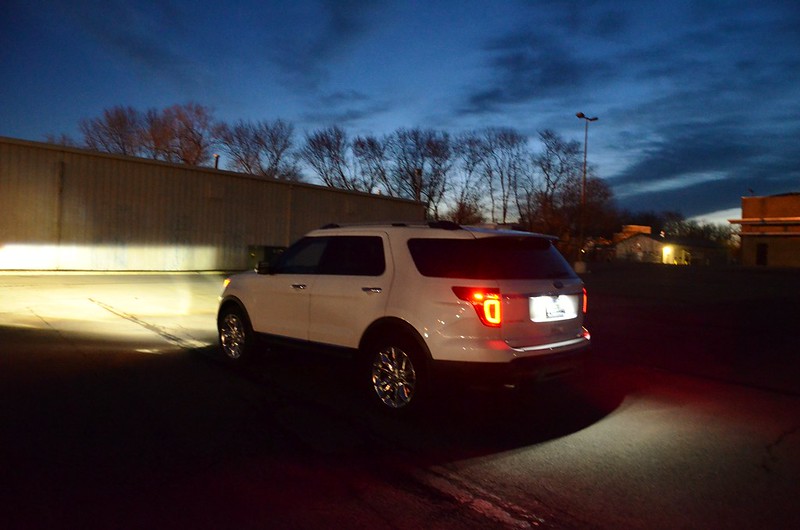
The results are quite pleasing. The vehicle looks so much more sleek and fine with the crisp white LEDs.
What's Next?
The next items on my list are:
See update post at the bottom.
Richard
I have a few more tweaks here and there to add which I will update this thread as they get accomplished.
Specs:
Vehicle: 2013 Ford Explorer Limited 4WD
Color: White platinum metallic tri-coat on medium light stone
Factory options:
Color White platinum metallic tri-coat
Package: 302A
Panoramic Sunroof
20" Polished aluminum wheels
Day One
The day I picked 'her' up (old ride on the left).
She was neat, clean and polished however in Upstate NY Winter weather that didn't last long.
The next day:
Interior Accessories
Since things get dirty and salt is abundant in this area I started off by adding protective items.
Floor Mats
First step was the Ford Explorer specific Husky Liners. At first I was torn between the Weathertech vs Husky brand of these heavy style mats and after all said and done I'm glad I picked the Husky version. They seem to protect the trouble areas (carpeting near the door sill, etc) better. I (highly recommend these for anyone that lives in harsh weather. These are how mine look after ~2.5 months of heavy winter usage. All I've done is periodically hosed them down with water. They fit snug and appear to just belong there.
Driver's side:
Passenger:
Rear:
My next step was more interior protection and security. I followed the mats by the factory sun shade cover, cargo net and inner trunk liner. All of these three items were OEM Ford brand.
OEM Sun Shade Cover
First the sun shade cover and I hate to say this but I find this item VERY poorly designed. The way the sides connect to the glass portion is VERY cheap and a lot of times they just come loose with the slightest resistance on the curtain. The plus of this type of cover is though you can remove and fold it easily to use the 3rd row of seating.
OEM Cargo Net
I followed the trunk cover with the OEM net. I find this accessory very handy specially with such a large trunk as it allows small items (groceries, etc) to stay in place. The OEM version of this cover works great and the fit and finish is as expected.
Disregard my Upstate NY Winter weather survival attire / items.
OEM Cargo Liner
The next item I added was the OEM trunk rubberized liner.
This is very handy and again highly recommended because of the high edges throughout all four corners that prevent liquid spills from getting to the carpet. Also find this type of liner allows further protection again scuffs.
Side note, I chose the OEM liner versus the Husky branded one mainly because of aesthetics and I thought the "Explorer" branding looked quite pleasant to the eye.
As you can notice by the scuffs it is certainly doing it's intended job.
Exterior Accessories
Rear Bumper Protector
I decided on this item next because how easily it can be to scuff the paint to this area of the bumper. I was VERY surprised Ford decided to make this item an option on a vehicle of this price point.
When I was researching for this item there were only two options. Either the the OEM Ford unit and the unit by a company called BMC Extreme Customs out of NJ. Reviewing both units and cost I went with the aftermarket choice as it made more sense.
How so you may ask?
The OEM unit only covers the TOP portion of the bumper not the ledge which in opinion is the section most likely to get damaged during loading/unloading of cargo.
Other pluses from the aftermarket unit is that it is both wider and longer than the OEM, which means more protection. Installation was a fairly easy process.
Some tips regarding the installation. Please make sure the area is well clean of any dirt / chemicals / contaminants (ex: salt, wax, etc), also this item is much easier to install with two people. Four hands offer the most even pressure to appropriately shape the unit as it contours the bumper.
After all said and done I'm glad I picked the aftermarket choice as it look OEM and very fitting for the car.
The BMC Extreme Customs unit I chose:
The Ford OEM unit for comparison
OEM Mud Flaps
For the next step I went with the OEM Ford mud flaps (mud guards whatever you way want to call it) since with a white car EVERY speckle of dirt, dust, etc show like a HUGE stain. The added benefit I noticed from adding these is a HUGE decrease in the "orange spots" in the trunk area as noted by a few other members. Again this is another part that I find hard to believe Ford does not include on a vehicle of this price point.
Ford offers two choices for these guards, ones that contoured and ones that are flat.
I picked the contoured units as they seemed to be a better performance value. The rear units have a Ford logo on them.
Front
Rear
The rear units have a Ford logo on them.
Shark Finn Antenna
I had to get this antenna in order to make my car clear the garage entrance otherwise the OEM antenna would get destroyed and potentially damage the mounting bracket. I picked the item from Visual Garage G Shark Fin Antenna with the matching white platinum metallic tri-coat color. The turn around time for this unit was 3 weeks which it was as advertised and that is counting shipping. For reference the item came internationally (Canada) from the other side of the country.
The fit and finish is great and the color was matched perfectly to the OEM color. Installation was a breeze.
LED License Plate Bulbs
The next step I added the LED license plate bulbs. I had to go through two different pairs of bulbs to get the look I was aiming for. On the left was a bulb I got from Super Bright LEDs. The website claimed these to be their brightest and strongest units, I was VERY disappointed with the end result. I picked 5000K color yet I ended up with something more green. I thought maybe the unit I got was defective but I got these as pairs the other unit was exactly the same. On the right is the OEM unit for comparison.
Instead I researched quite a bit and I ended up getting these units from eBay:
"RSI Extreme LED bulbs 5000K Intense White" and they are exactly that, intense. I will let the photos do the talking.
The results are quite pleasing. The vehicle looks so much more sleek and fine with the crisp white LEDs.
What's Next?
The next items on my list are:
- Tinting both front windows 35%. DONE see below
- LED side puddle lamp upgrade DONE see below
See update post at the bottom.
Richard