RockRangerII Refresh | Page 20 | Ford Explorer Forums - Serious Explorations

  • Register Today It's free!

RockRangerII Refresh

I am going to be going through my 93 ranger and giving it a refresh. I bought the truck in late 2004. Other then a rancho lift kt it was an all stock stripped truck with a 4.0 manual trans and tcase. No AC cruise or power windows. The perfect basic wheeling rig.

Here are the specs of how the truck currently sat before this refresh.

4.0V6 all stock
Stock 5 speed
d.d. machine duel case setup with manual 1350 front and 1354 rear.
Front axle is a 1984 Jeep wagonner dana 44 converted to 5 on 5.5 bolt pattern 4.88 gears and an Aussie locker
Three link front suspension using 8" skyjacker TJ springs.
Rear axle is a 1992 explorer 8.8 4.88 gears and welded spider gears.
63" Chevy springs with a bellteck shackle.
BroncoII tank behind the rear axle
Warn 9.5 XP winch behind the front grill.
Interior roll cage
37" MTR on 17" steel rims

11806351705_12f3ea8e7c_c.jpg

Untitled by dresselhausfc, on Flickr

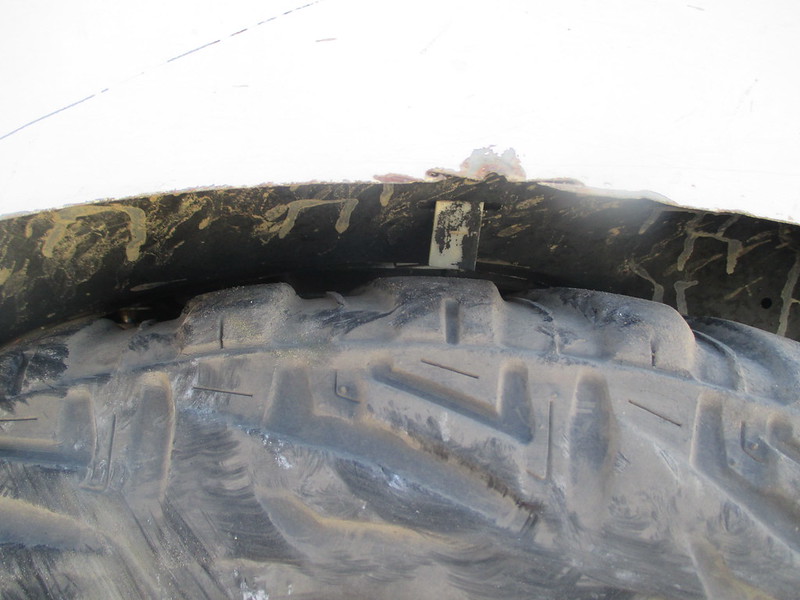
I took the truck down to King of The Hammers and few years ago and did some wheeling and managed to crush the bed good. Broke both front hubs and all 4 front axles, bent the rear driveshaft and ripped a shock mount off. Due to life getting in the way it sat on the trailer for 18 months before I even touched it again. Now I plan to give the truck some love and get it back on the trials again.


Join the Elite Explorers for $20 each year.
Elite Explorer members see no advertisements, no banner ads, no double underlined links,.
Add an avatar, upload photo attachments, and more!
.


Good score. Also looks like a Riddler diff cover. I was looking at a Superior C clip eliminator kit that someone was selling on pirate, but he wants too much for it.


Join the Elite Explorers for $20 each year.
Elite Explorer members see no advertisements, no banner ads, no double underlined links,.
Add an avatar, upload photo attachments, and more!
.


Yes it has a Ridler cover. I already have one on the truck. He also tossed in a dana 44 Ridler cover, an ARB compressor and a braided stainless steel line to run from the locker to the compressor.


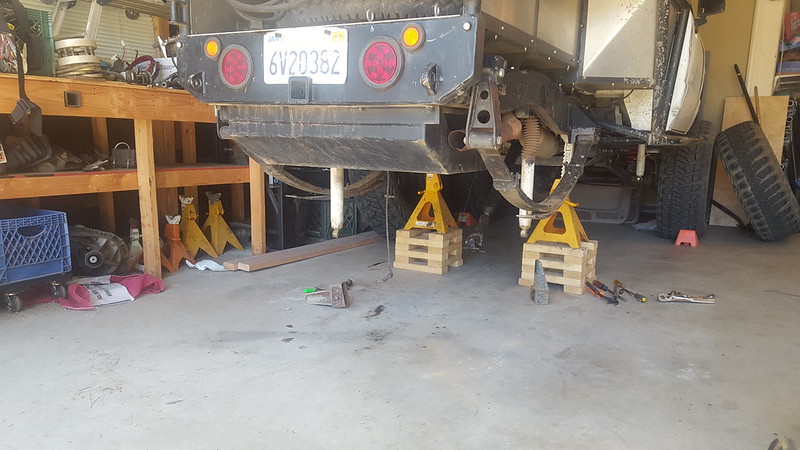
Started to install the new to me axle. Out came the old drum brake explorer axle with welded spider gears and 4.88 gears.

20170522_124156 by Matthew Dresselhaus, on Flickr

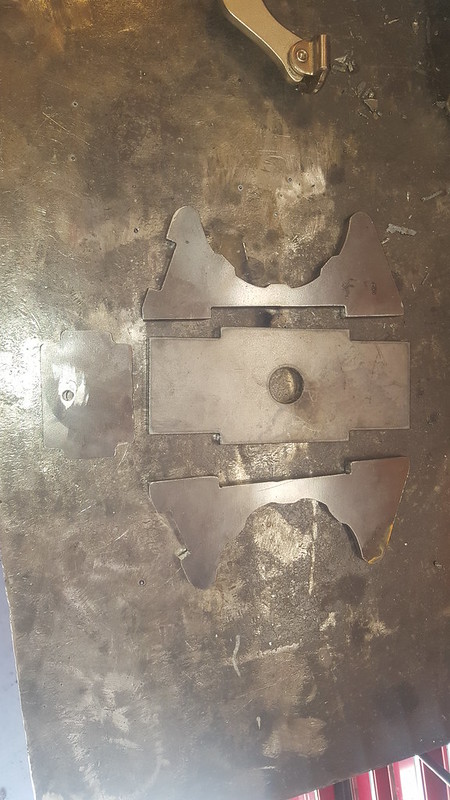
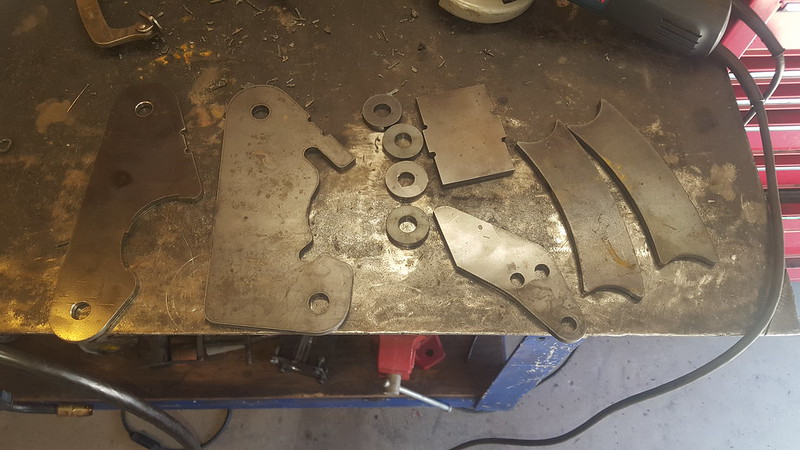
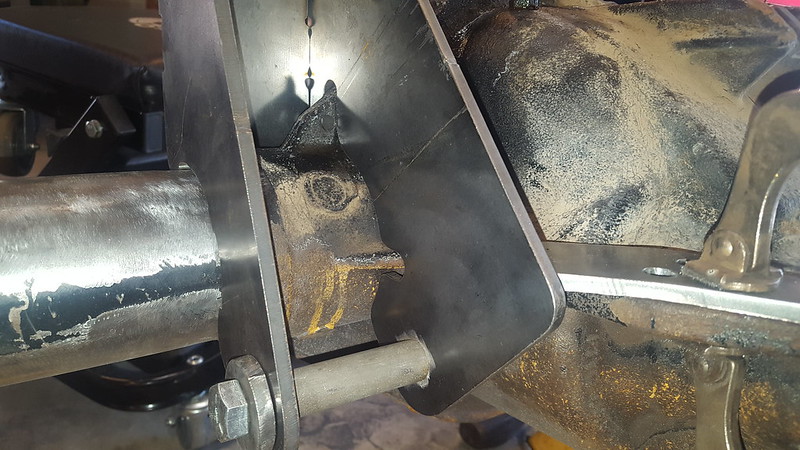
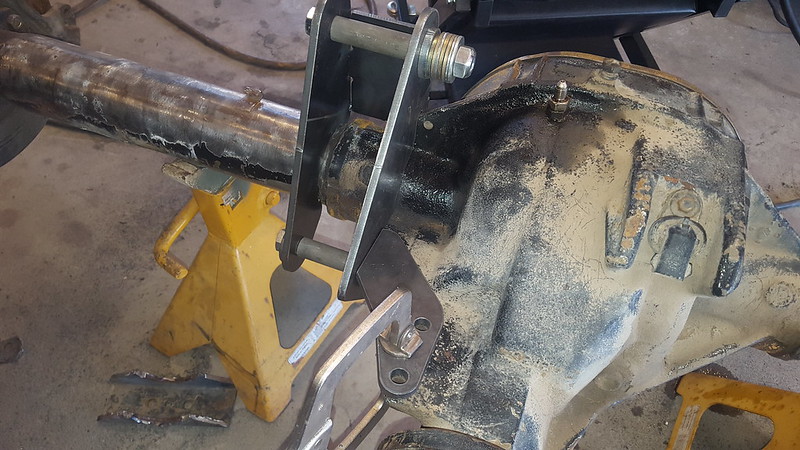
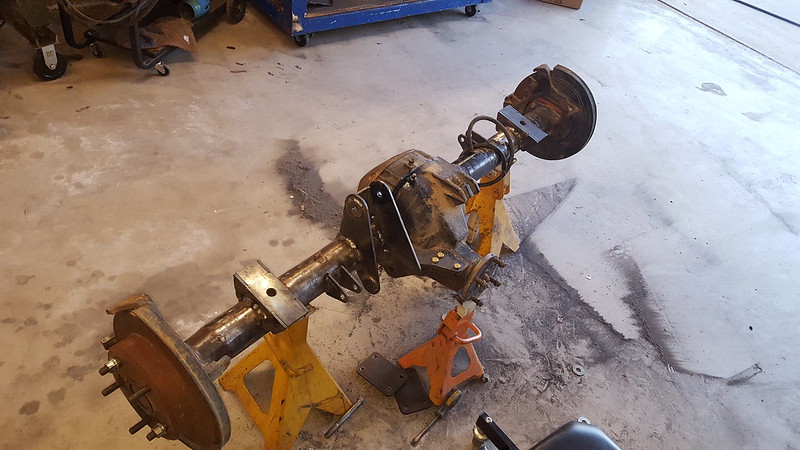
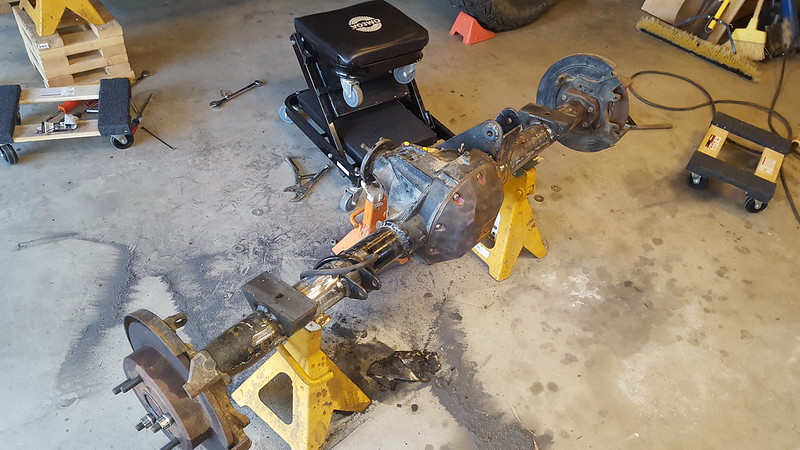
Next I cut some spring perches and an axle side traction bar mount.

20170523_105257 by Matthew Dresselhaus, on Flickr

20170523_111632 by Matthew Dresselhaus, on Flickr

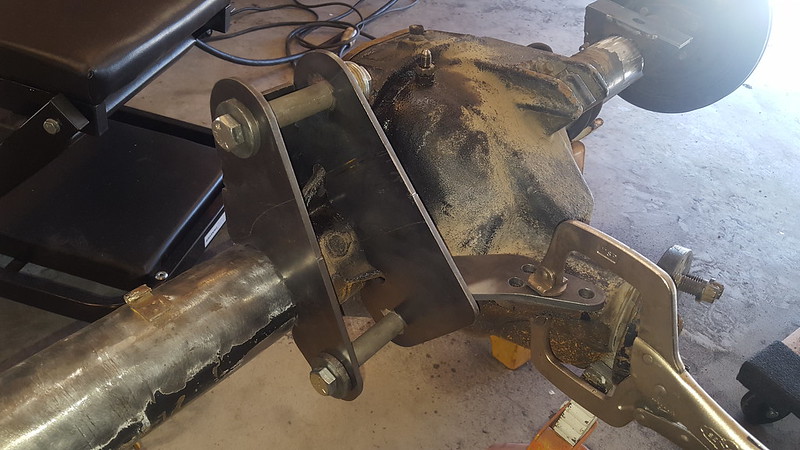
I started installing the spring perches and traction bar mount.

20170523_113022 by Matthew Dresselhaus, on Flickr

20170523_113043 by Matthew Dresselhaus, on Flickr

20170523_113032 by Matthew Dresselhaus, on Flickr

20170523_192349 by Matthew Dresselhaus, on Flickr

20170523_192401 by Matthew Dresselhaus, on Flickr


Please copy your traction bar setup and sell it to me when done! I have been dreaming of a single traction bar off the pinion that won't limit my travel for my ranger.


I can cut another set of the axle side and send it out. The frame side would be more difficult as I don't have the factory gas tank in the way of building a mount and cross member. I would also lower the lower bushing another inch or so. I have my shock mounts mounted pretty high on the axle so I can get the lower bolt out. I would probably lower it about an inch or so.


The frame side would be more difficult as I don't have the factory gas tank in the way of building a mount and cross member.

On mine it is all attached to the right side frame rail. No additional crossmember was needed. I did have to ditch the stock style muffler for a glasspack though.

index.php


index.php


index.php


I'll take those exact axle pieces, it will save me a ton of fab time. Both of my shocks are mounted in the rear of the axle so there is no shock in the way on the front side for me.


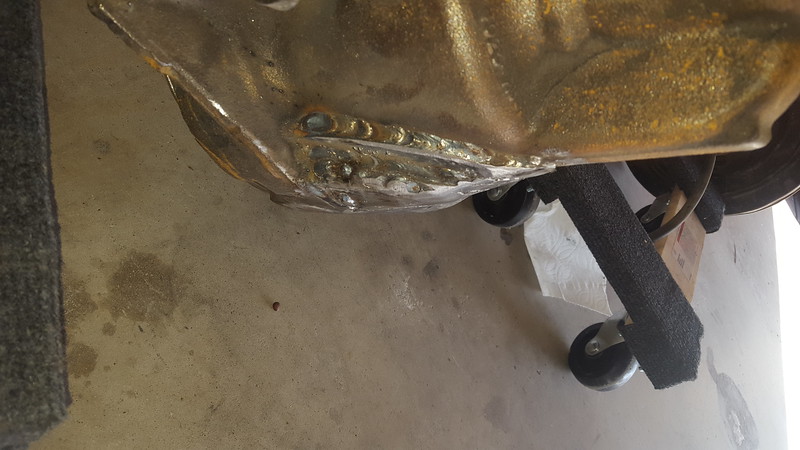
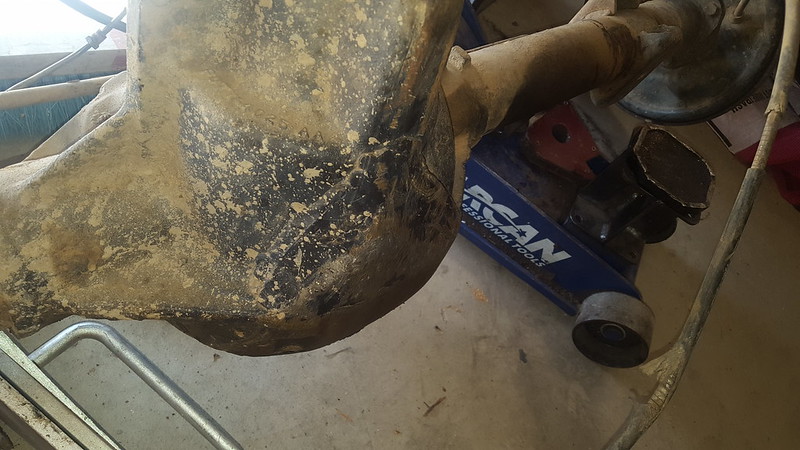
Here it is completed diff ramp.

20170524_092049 by Matthew Dresselhaus, on Flickr

This is on the old axle I am removing. It has been on there two or three years now. It sure made it easier to slide it over rocks.

20170524_092002 by Matthew Dresselhaus, on Flickr

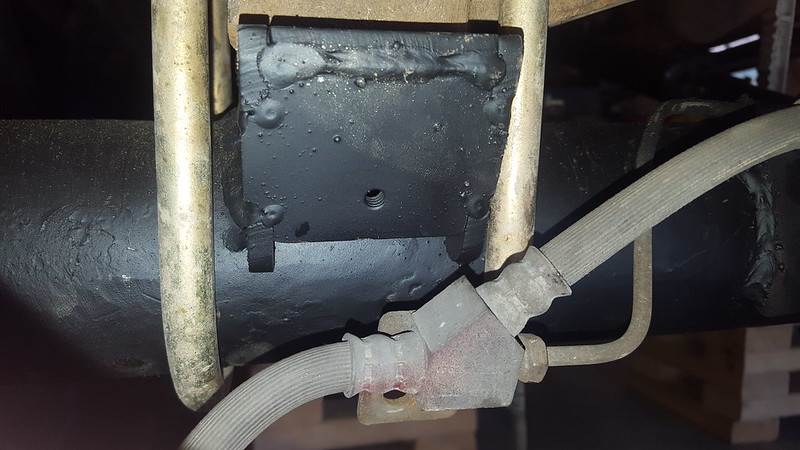
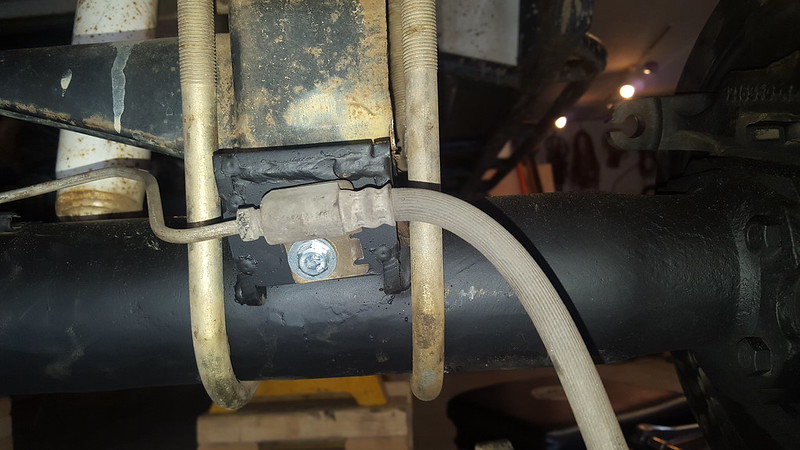
When I designed and cut the spring perches I also used the cnc plasma to mark a pilot hole. I then drilled and taped a hole to hold the explorer hard brake lines. The hole ended up a little high. On the next set if I do them again I have already adjusted the hole 7/16" lower to make the brake lines fit better The axle was missing all the e brake hardware so a run to the junkyard and a few orders to Amazon and I am slowly working on getting the ebrake sorted out.

20170524_113632 by Matthew Dresselhaus, on Flickr

20170524_115525 by Matthew Dresselhaus, on Flickr


Once I get the ranger back, that is my next project after the rear bumper... getting an e-brake.

work is looking great as always


E-brake is functioning and holding in the driveway. However I am not really happy with it. Working on ways to make it work better.....


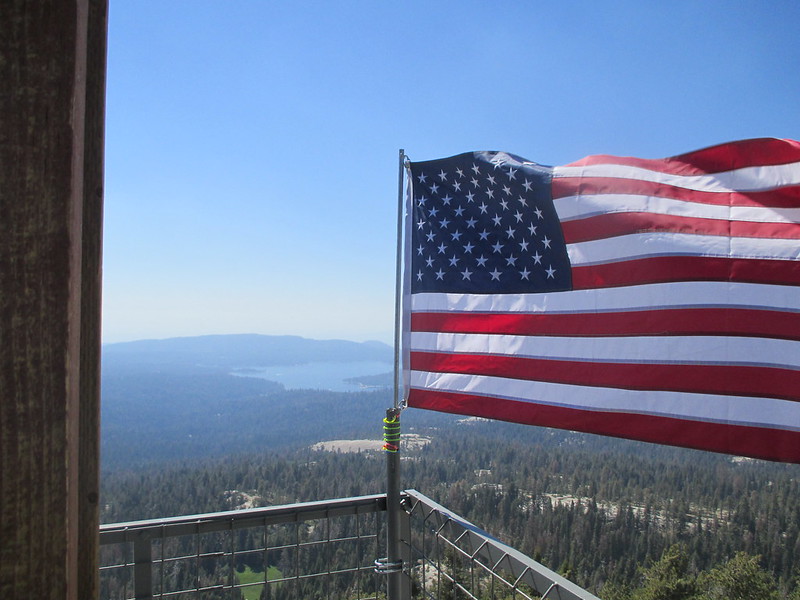
Still don't have the ebrake functioning as well as I would like. That didn't stop me from going to Moonlight Madness to play. The view off the tower on Bald Mountain was awesome.

IMG_0817 by Matthew Dresselhaus, on Flickr

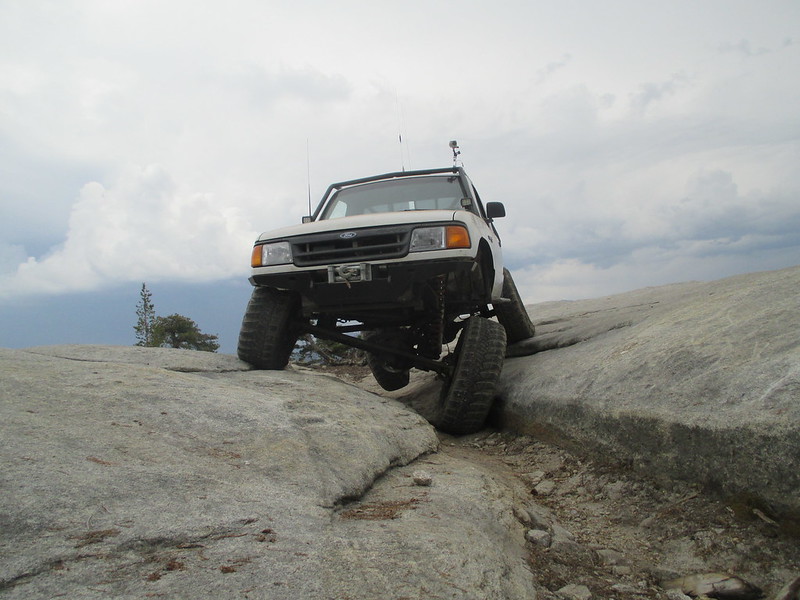
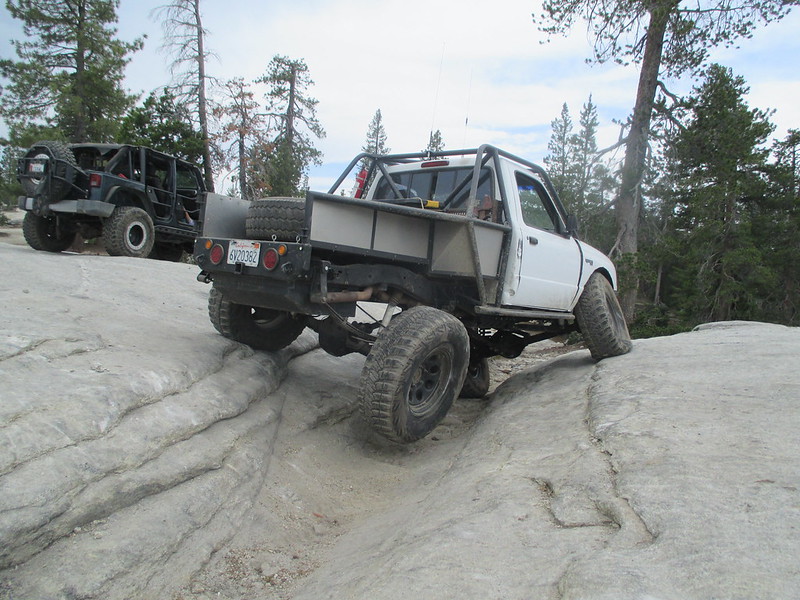
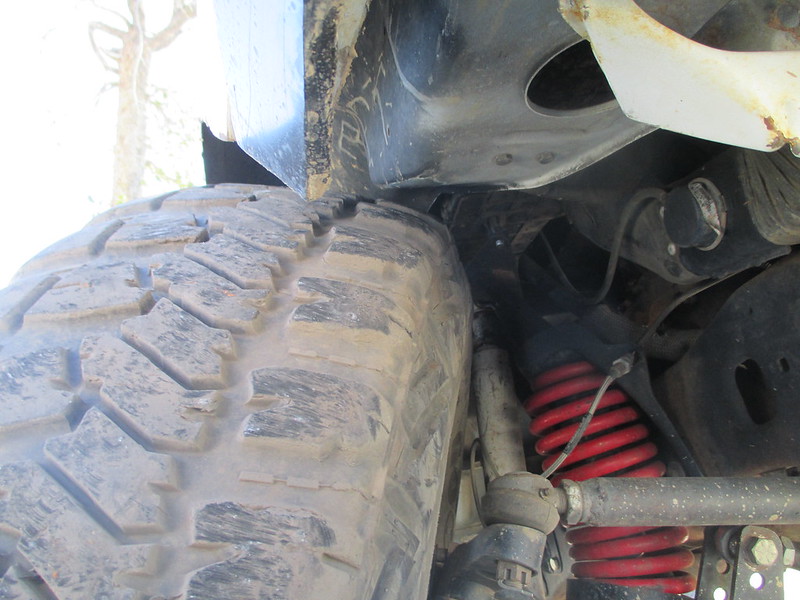
Playing on bumper buster I just about maxed the front suspension. I have the bumpstops, and shocks set just about perfect.

IMG_0851 by Matthew Dresselhaus, on Flickr

IMG_0852 by Matthew Dresselhaus, on Flickr

IMG_0835 by Matthew Dresselhaus, on Flickr

IMG_0837 by Matthew Dresselhaus, on Flickr

Then a quick video I made of a few of the obstacles we played on.


Looks like everything works really well. When I swapped the Explorer disc brake axle in my ranger I had fun getting the Ebrake to grab. It only wanted to grab on one side. I made a bracket and spaced where the cable mounts off the spring mount towards the axle about an inch and it helped take a ton of slack out. I'll see if I have an old pic of what I did, I have the truck half torn apart at the moment and it doesn't have much of an Ebrake right now.

Edit: Found a pic that mostly shows the bracket I was using.

20170626_073811.jpg


When I put the disc brakes off a 1999 Explorer on the rear axle of my Explorer, I used a turn-buckle to take up the slack. I was planning on using it as a temp fix and figuring it out later, but it worked so well its staying.

I couldn't find a picture of the turnbuckle setup, but I did find a few pics of how I mounted the brake lines to the axle;
IMG_20131104_130013_709 (Large).jpg


IMG_20131104_125956_264 (Large).jpg


I have the SuperLift flip-kit that has been reinforced with plating and welded to the axle. The right side spring perch collapsed while on the Rubicon trail many years ago.


Ok I'll show mine too:

I used a non adjustable cable off a sport I believe. I made this bracket out of a stock bracket:

25644A70-4E0F-4D7B-A57B-1AD6BB69106E.jpg


7ACE6C0D-CAE7-4178-82D8-B7D2F983DEF1.jpg

7FCF3BF9-35AC-4540-B0AB-E44141B6A337.jpg


I adjust it with the adjusters in each drum through the little window behind the backing plate. I click the ebrake down a few clicks, then tighten the adjusters until they won't tighten anymore and the shoes are touching The drums. It works great.


I made a bracket that mounts off the leaf spring hanger and moved the mounting hole back about 6 inches. I might just need to re adjust the brakes again now that I have driven it a bit.


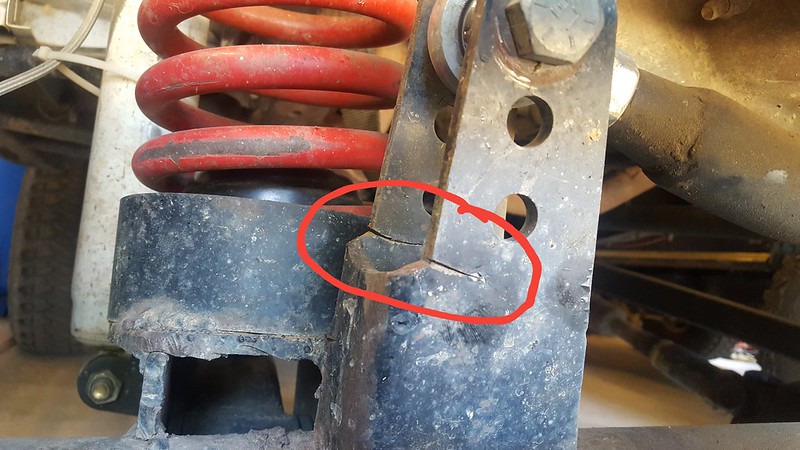
I was replacing a worn out TRE on the front end when I happened to look at the axle side trackbar mount and saw this.

20170703_140024 by Matthew Dresselhaus, on Flickr

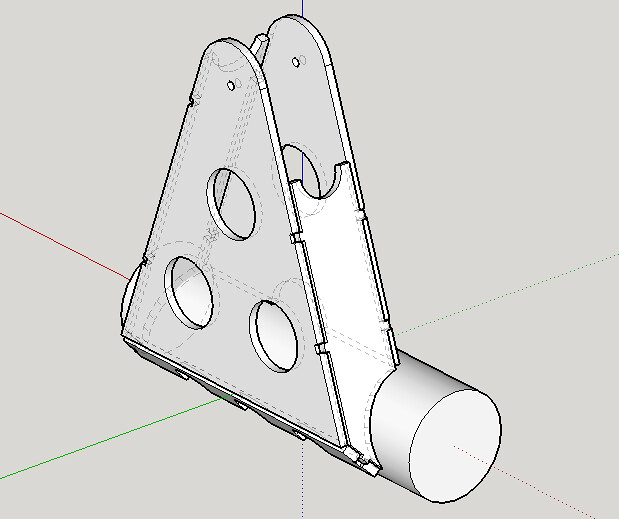
That bracket is about 6 years old with about 10k miles on it. It is the only bought bracket I have used on the truck. So I started designing up a new bracket to replace the failing one.

bracket2 by Matthew Dresselhaus, on Flickr


Dude! I have that same one on my truck! I am going to go check it right away


Join the Elite Explorers for $20 each year.
Elite Explorer members see no advertisements, no banner ads, no double underlined links,.
Add an avatar, upload photo attachments, and more!
.


Awesome Build!

I also have a CNC plasma table. It comes in really handy for building stuff and speeds up the entire process. You have come up with some cool stuff that I may have to copy on my Explorer build.


Back
Top