dansnyder22
Well-Known Member
- Joined
- February 28, 2009
- Messages
- 180
- Reaction score
- 3
- City, State
- Ogden, Utah
- Year, Model & Trim Level
- 1993 XLT, 5 speed
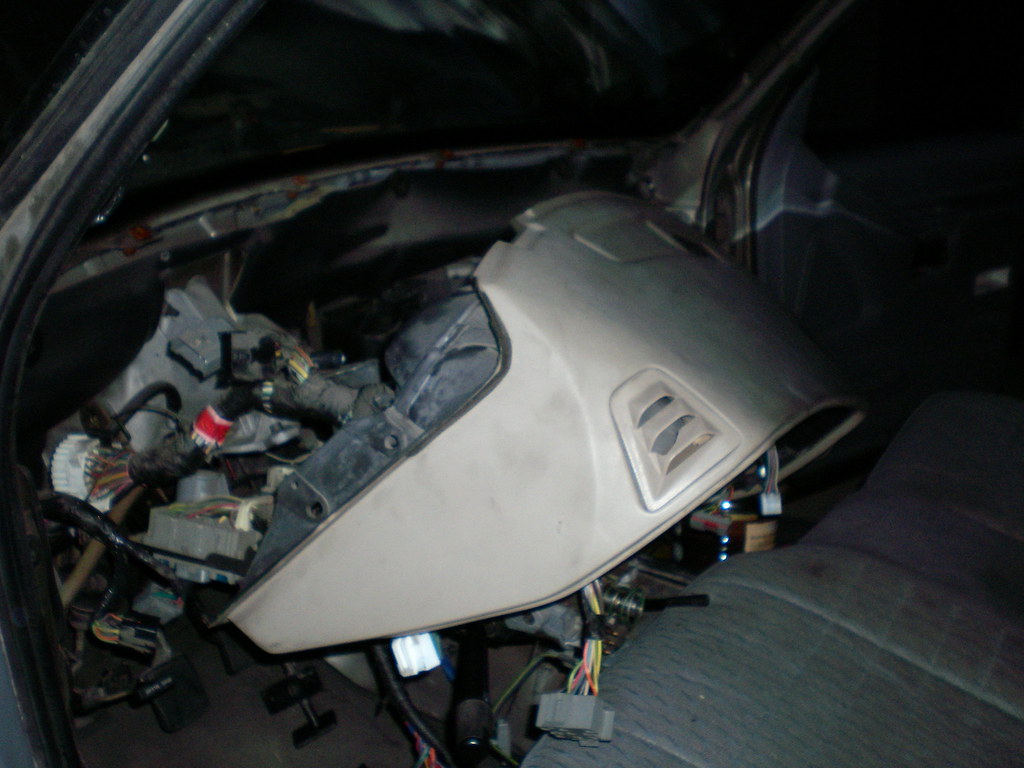
This writeup will show you how to remove your ENTIRE dash out of your 1st gen Explorer. Whatever your reason for taking out your dash I am sure this will be helpful. I took mine out because I really don't like the brown interior and it was the last step in my interior color conversion. I got all of my interior pieces out of a parts explorer I had.
This was done on a '91. There are a few differences between 91-92's and 93-94's which I will explain as we get to the areas where they differ.
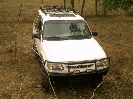
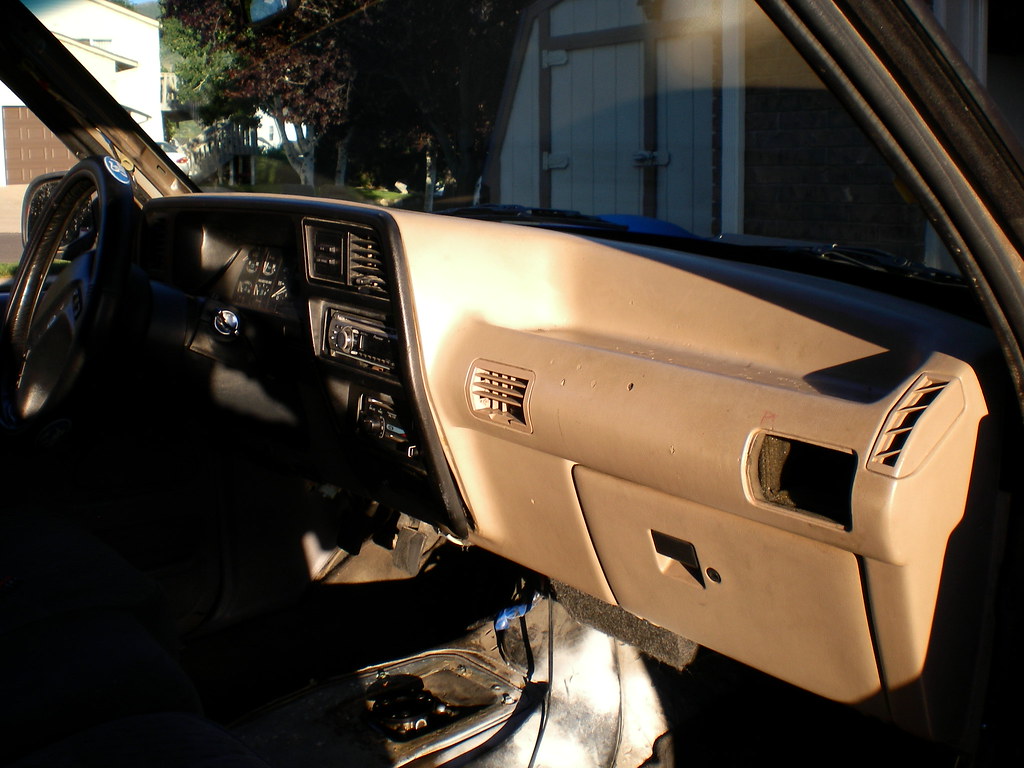
Old brown interior
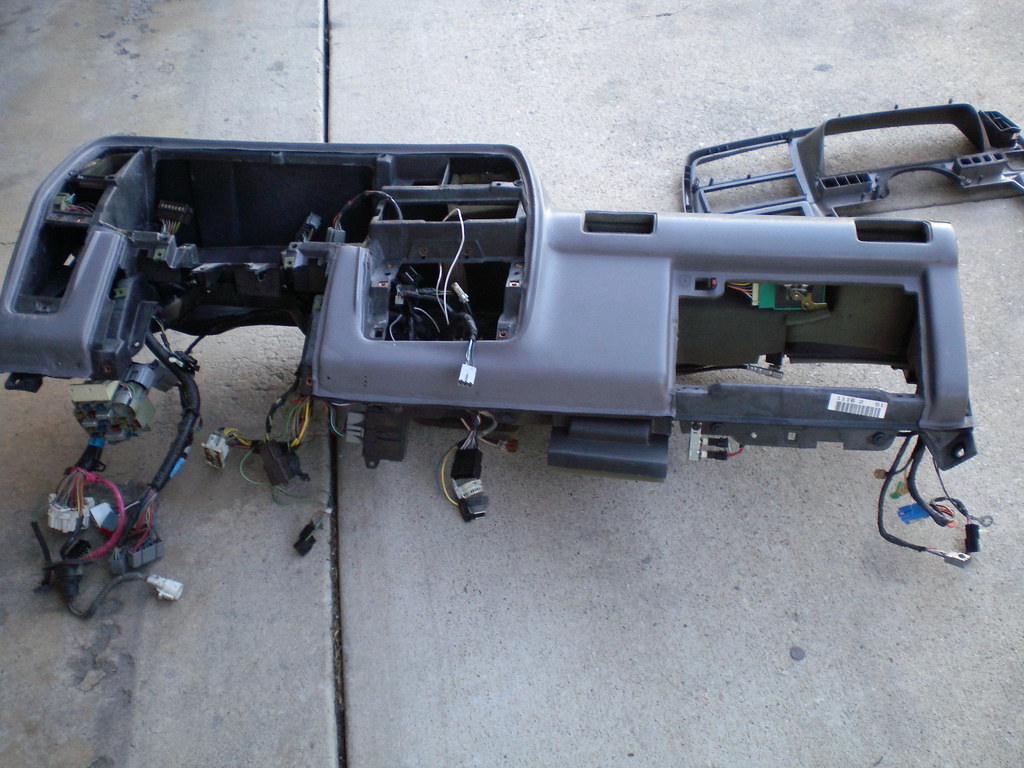
New dash
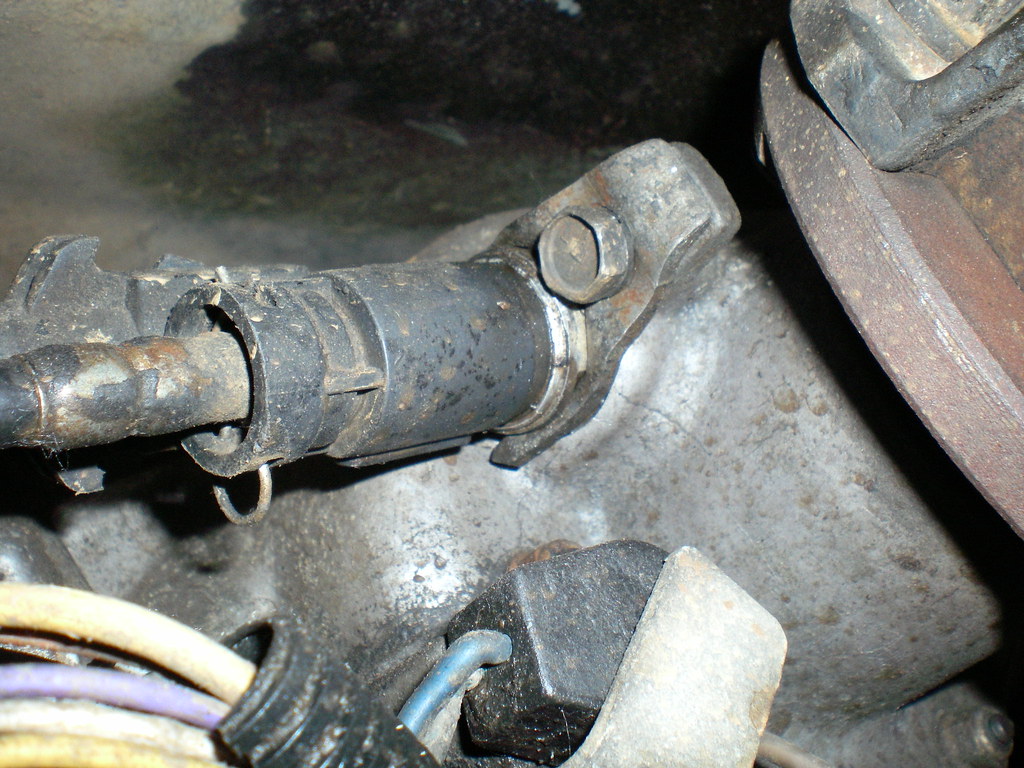
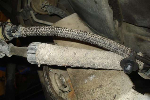
First off, if you have a Manual Trans you are going to want to remove the shifter. There are three bolts that hold it to the transmission after you remove the boot.
If you have an Automatic you can just put it in 1st gear (all the way down).
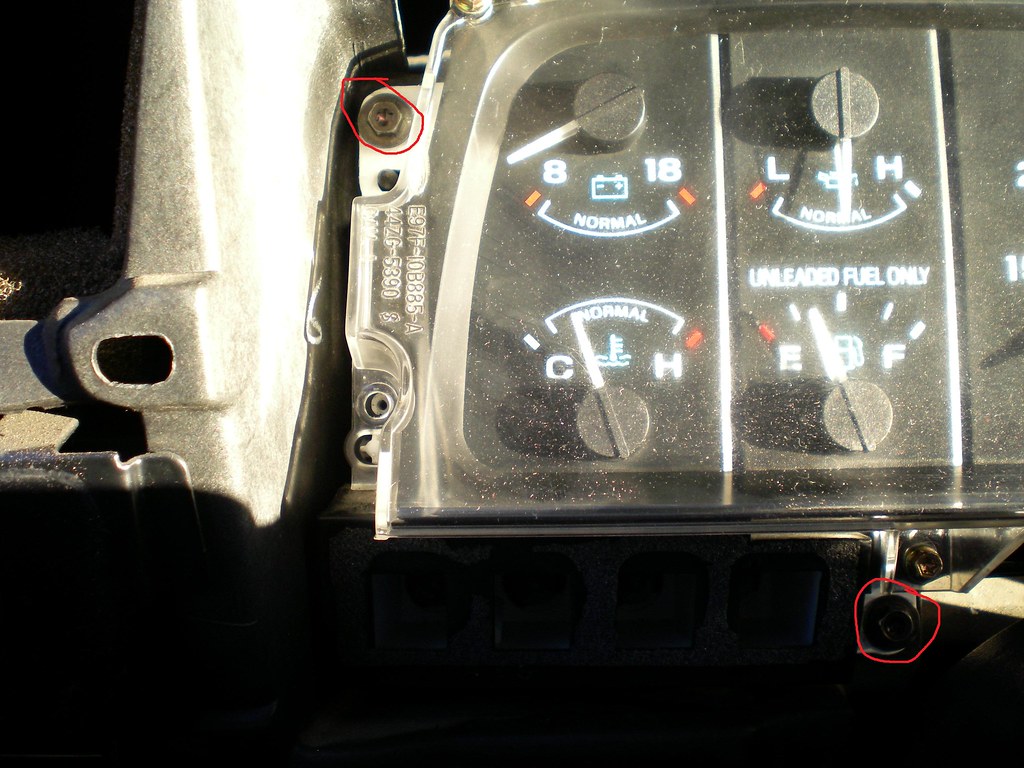
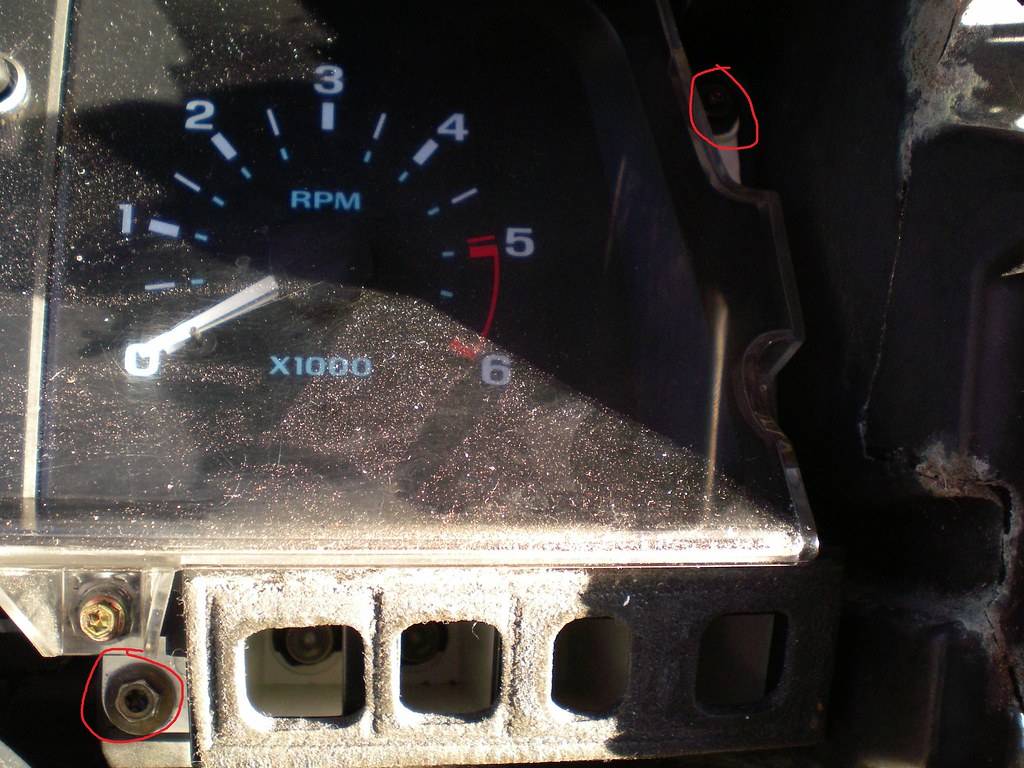
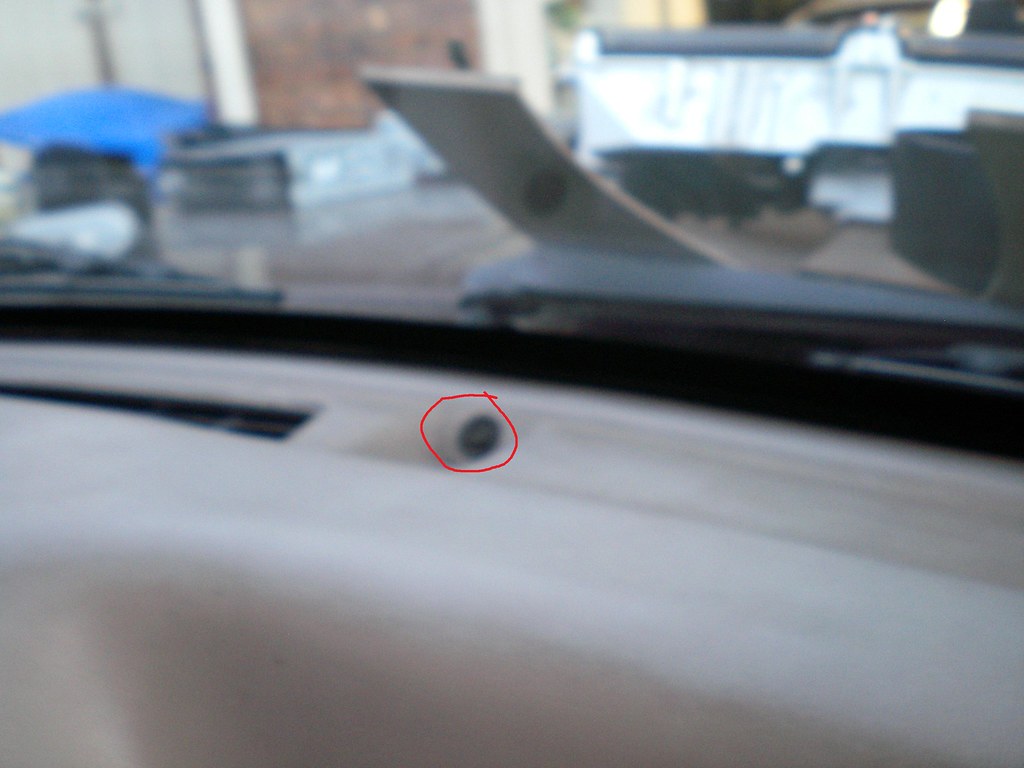
You are going to want to take off the Cluster bezel/radio piece.
First open the ash tray and take out the two screws holding it in
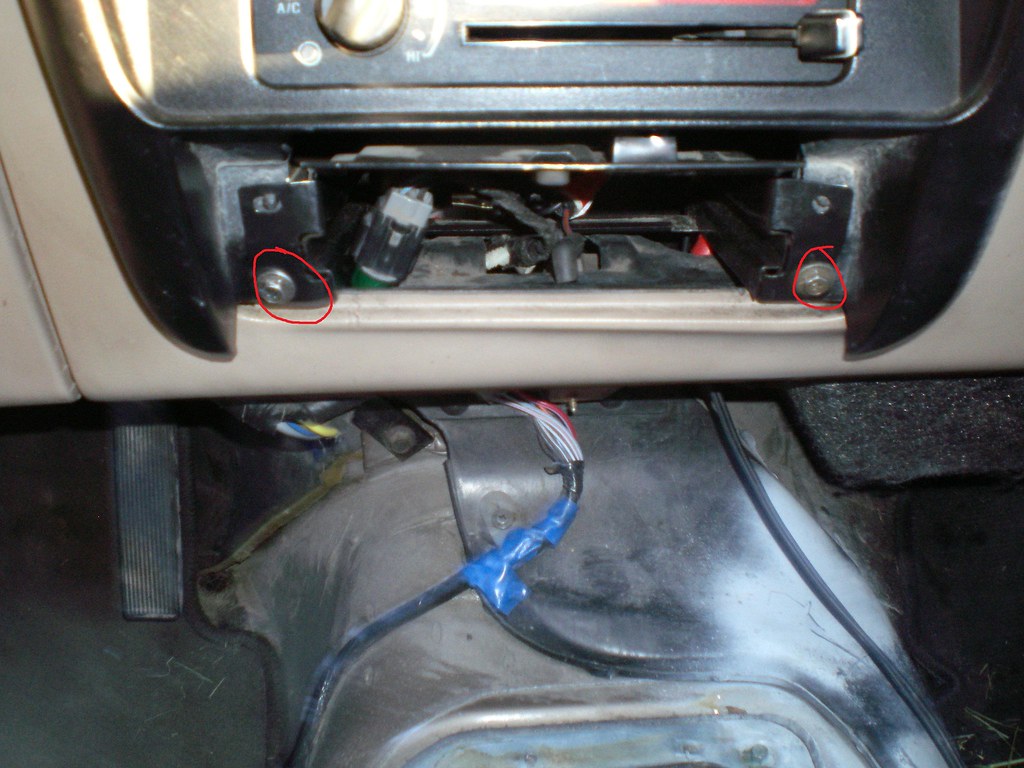
Then remove the ashtray assembly unplugging the wires to it.
You can now remove the cluster bezel by pulling around the perimeter of it releasing all of the clips that hold it on. If you have a '93-'94 you will have to remove your radio first. If you have a '91-'92 you remove the radio after its out of the way Be careful not to break these clips, it's a PITA if they are broken.
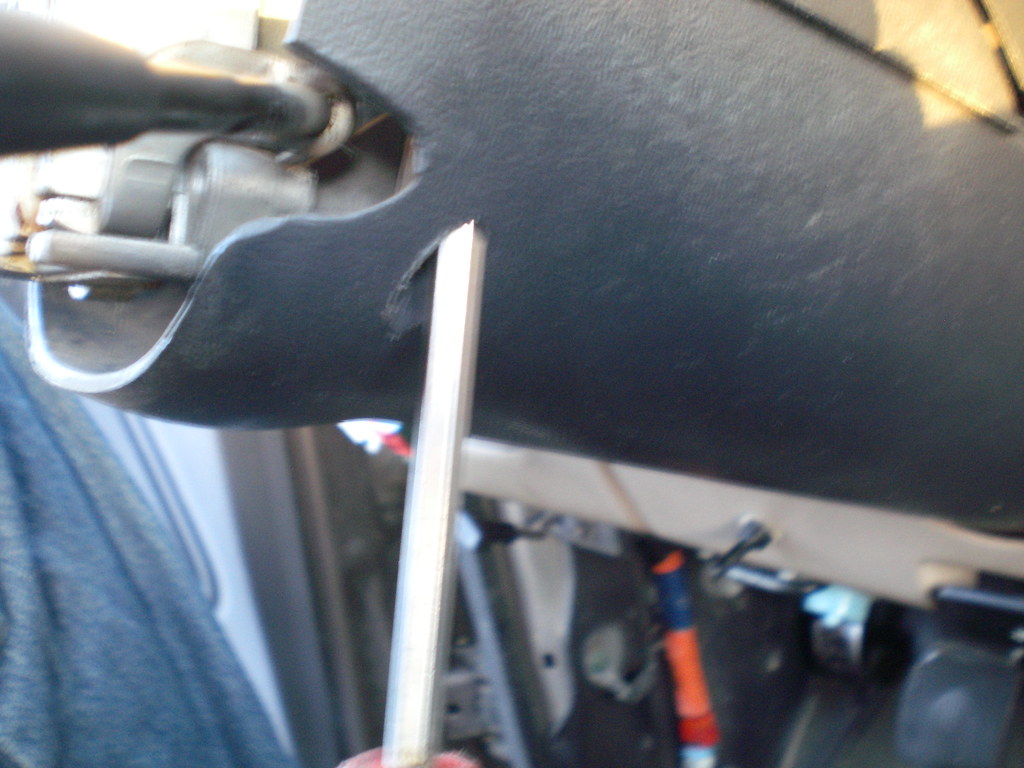
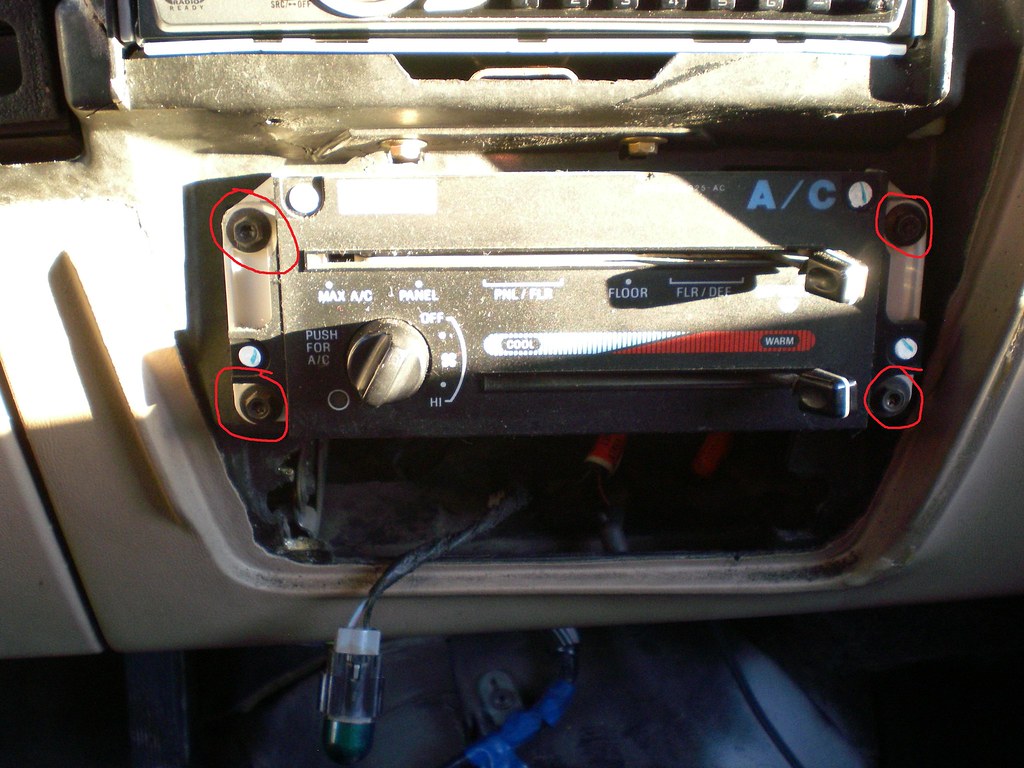
Now remove the 4 screws holding in the AC/Heater controls
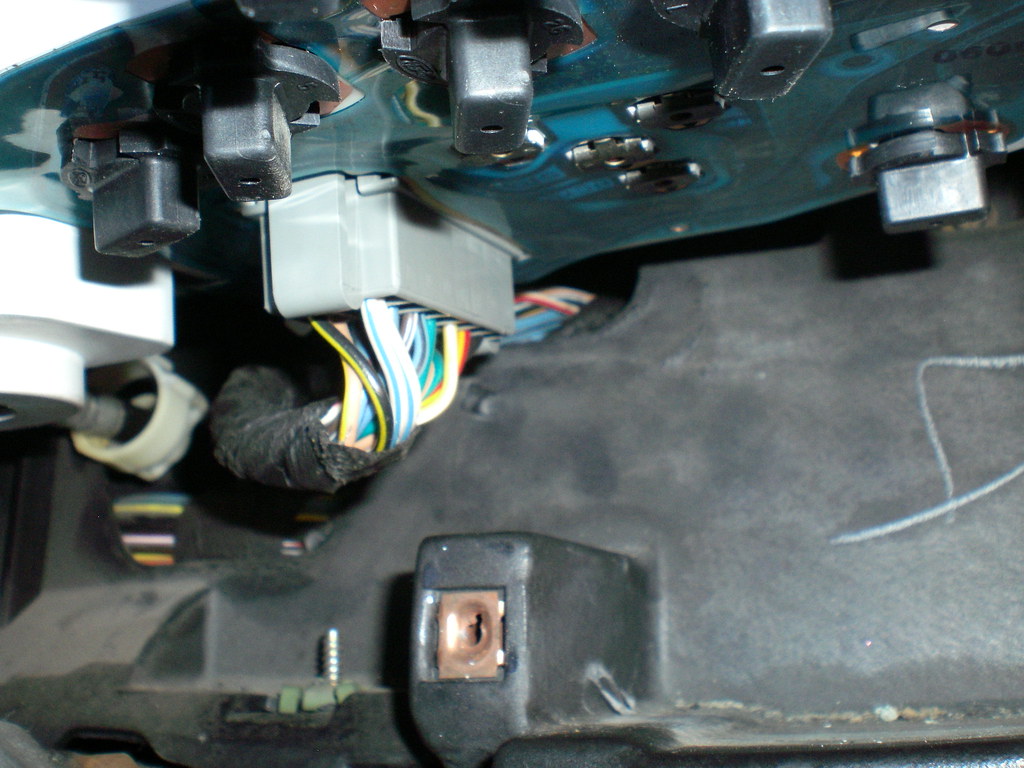
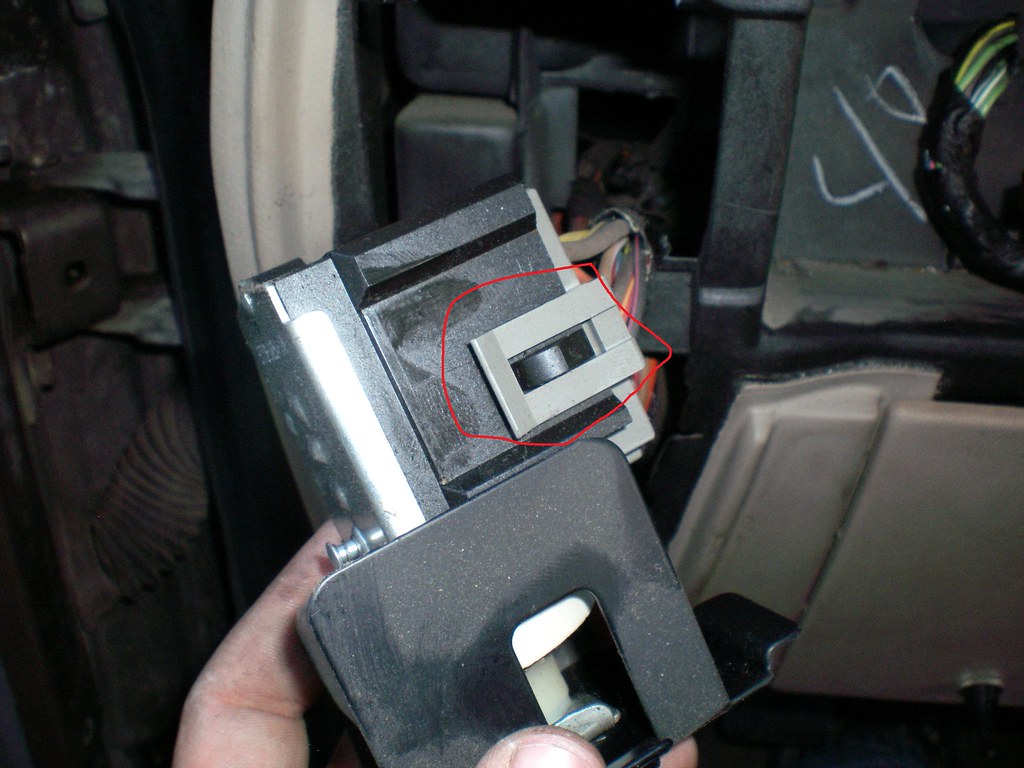
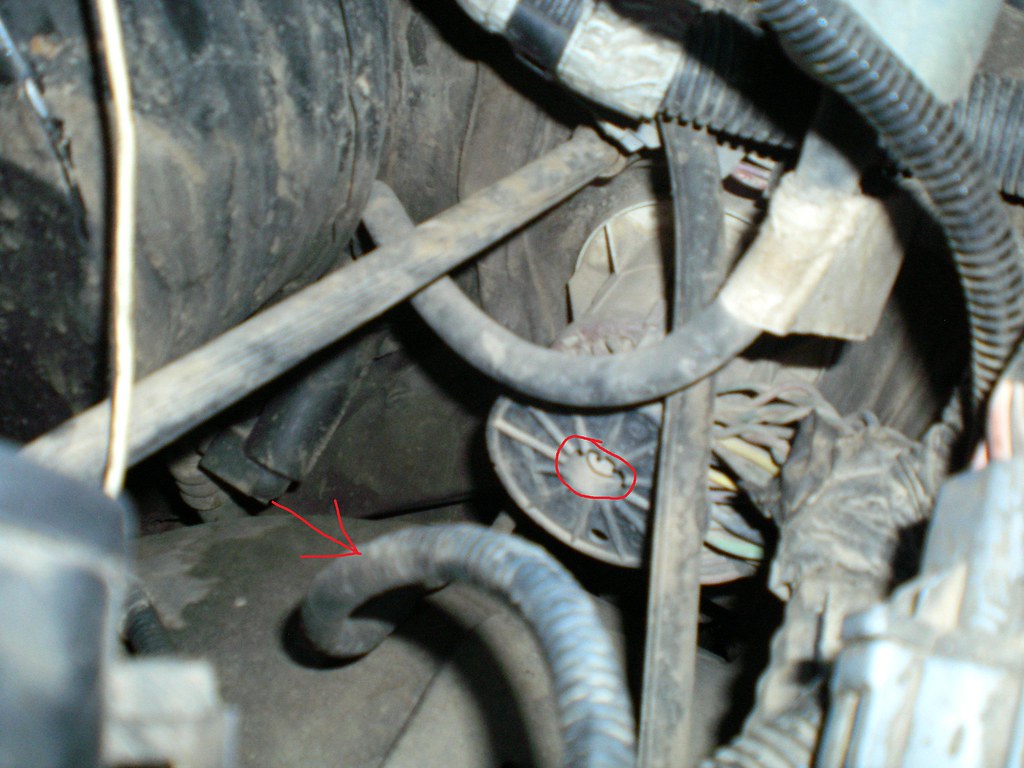
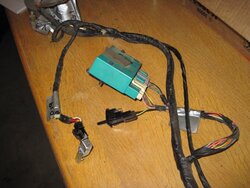
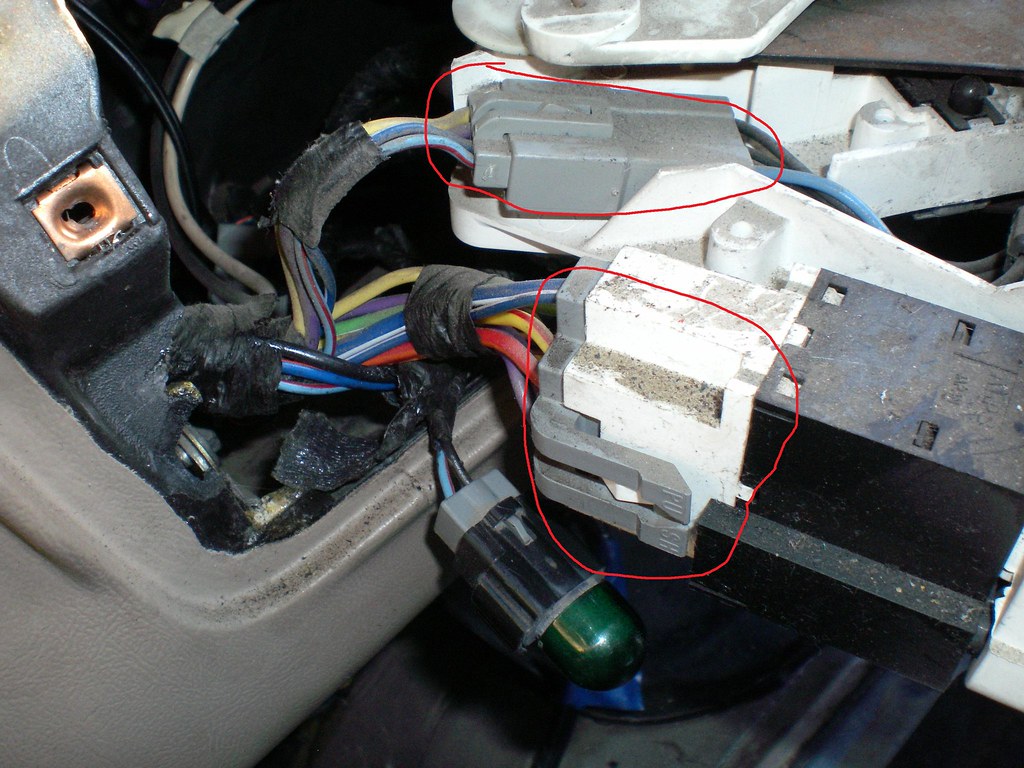
Now remove all the wires, cables, and vacuum lines
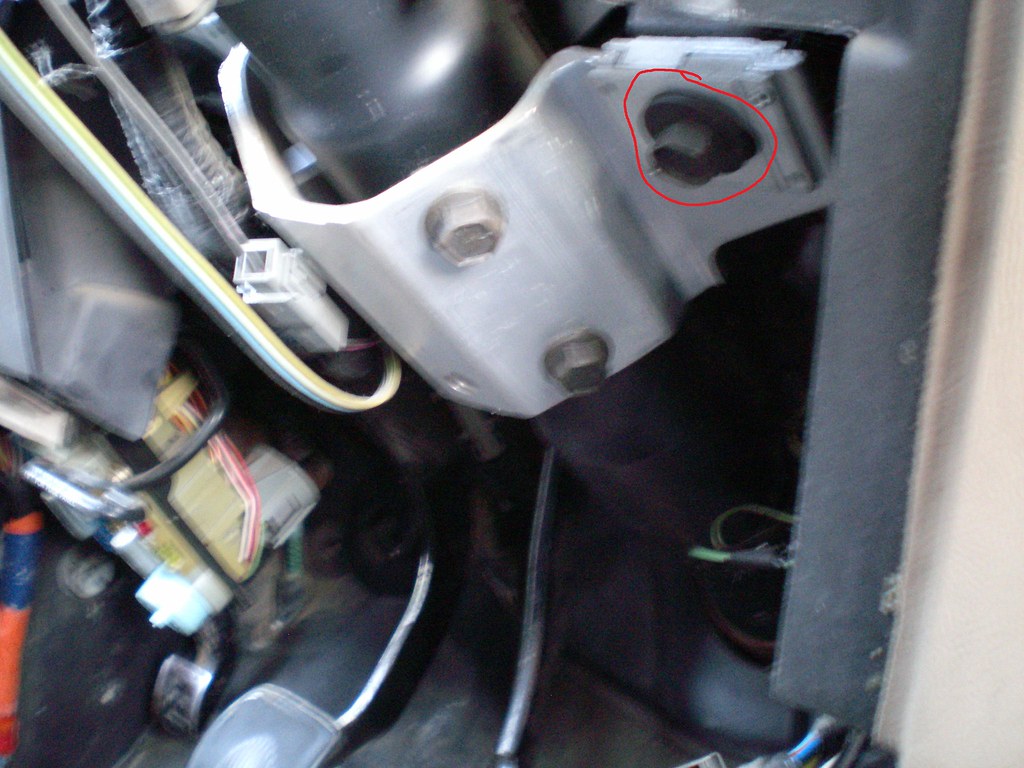
First the wire plugs. On the big one just push where it says to push then pull the plug off. On the small one use a small screwdriver or pick to lift up the clip then pull.
The vacuum lines should pull off as you press the white plastic tabs.
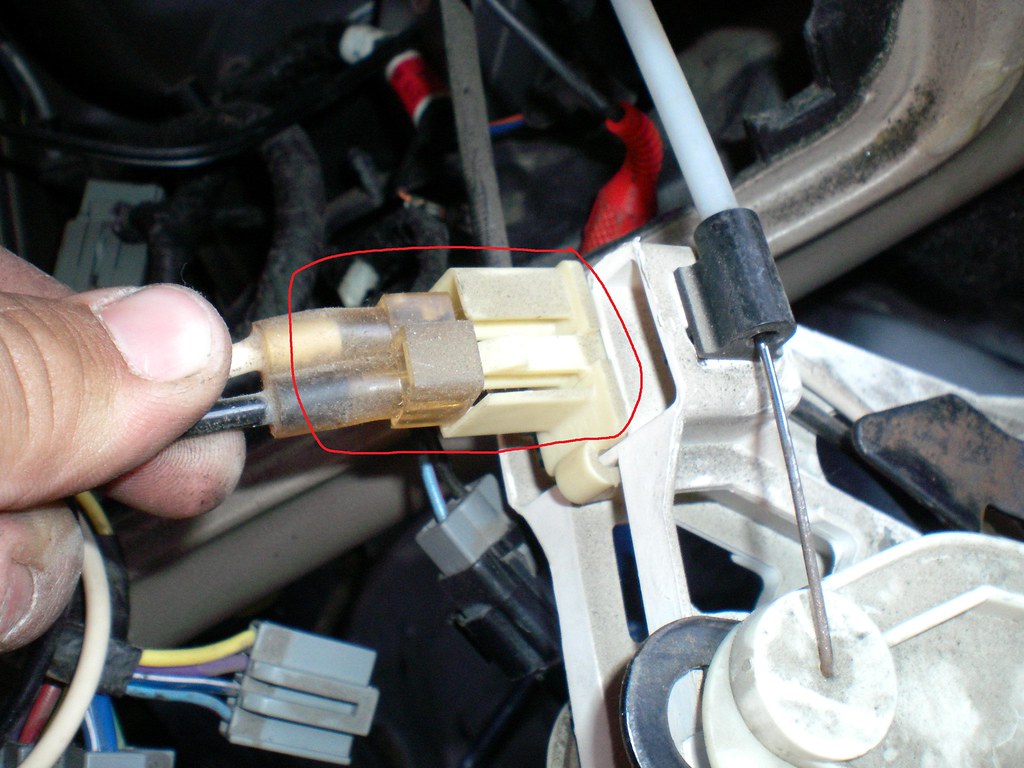
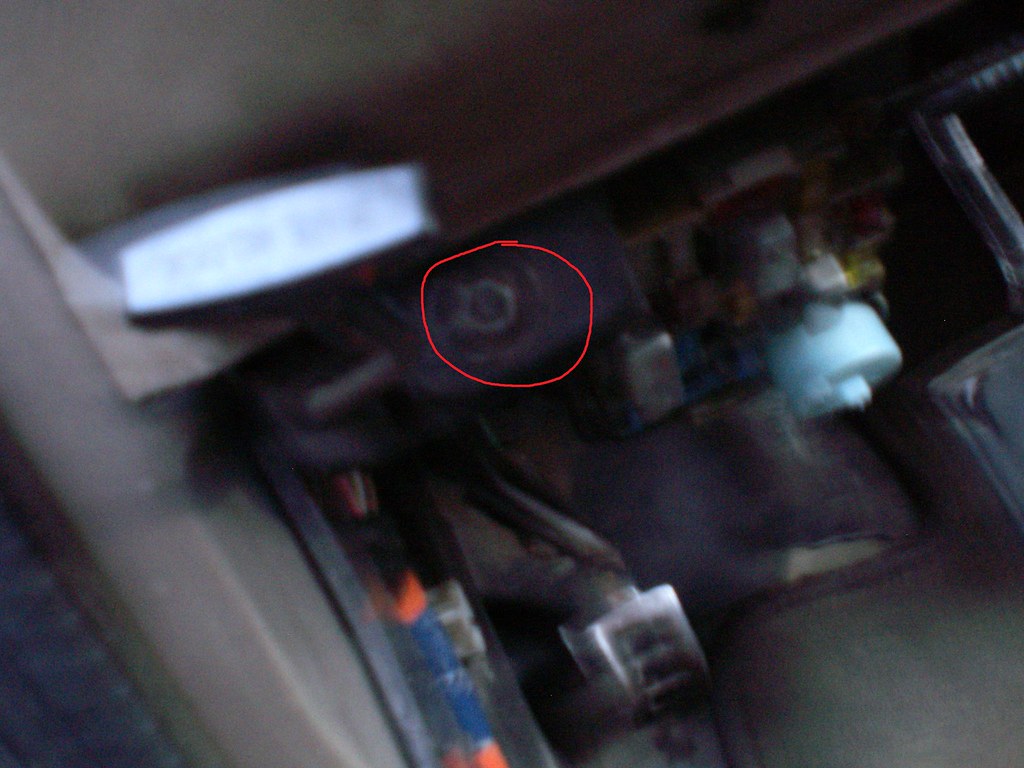
Now the Vent Cables. you need to push in both sides of each clip to get it to come out. this can be a little tricky. I'm sure there is a specialty tool for this but I just lightly used a pair of needle nose pliers.
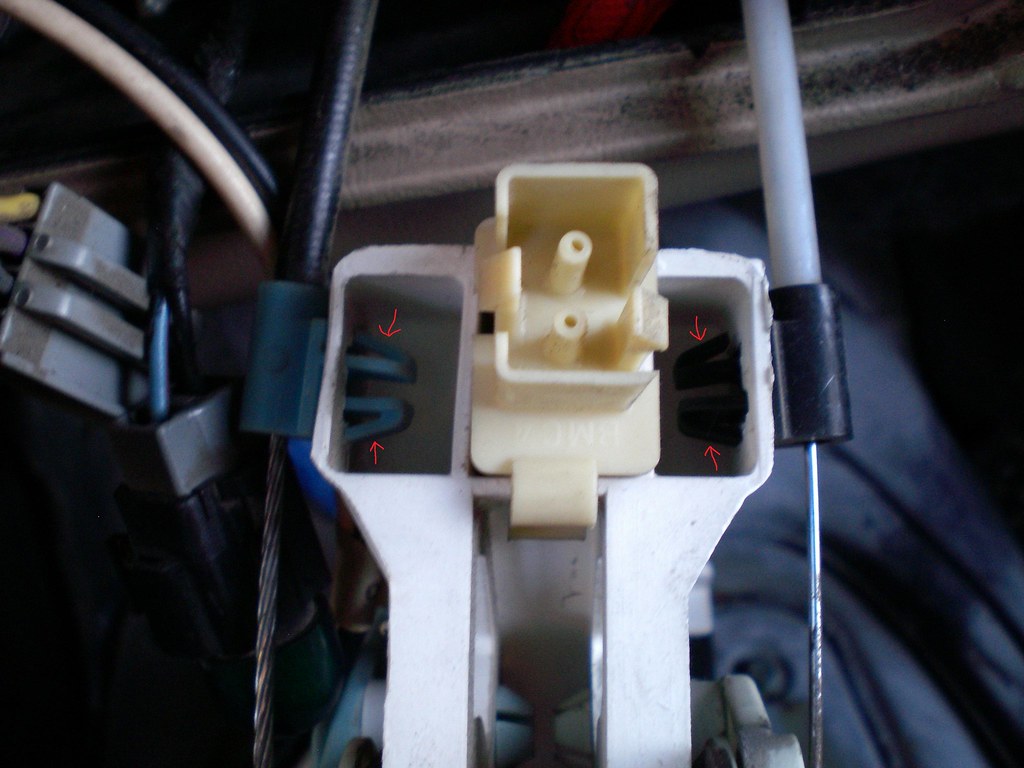
Now that those clips are off you can remove the end of the cables.
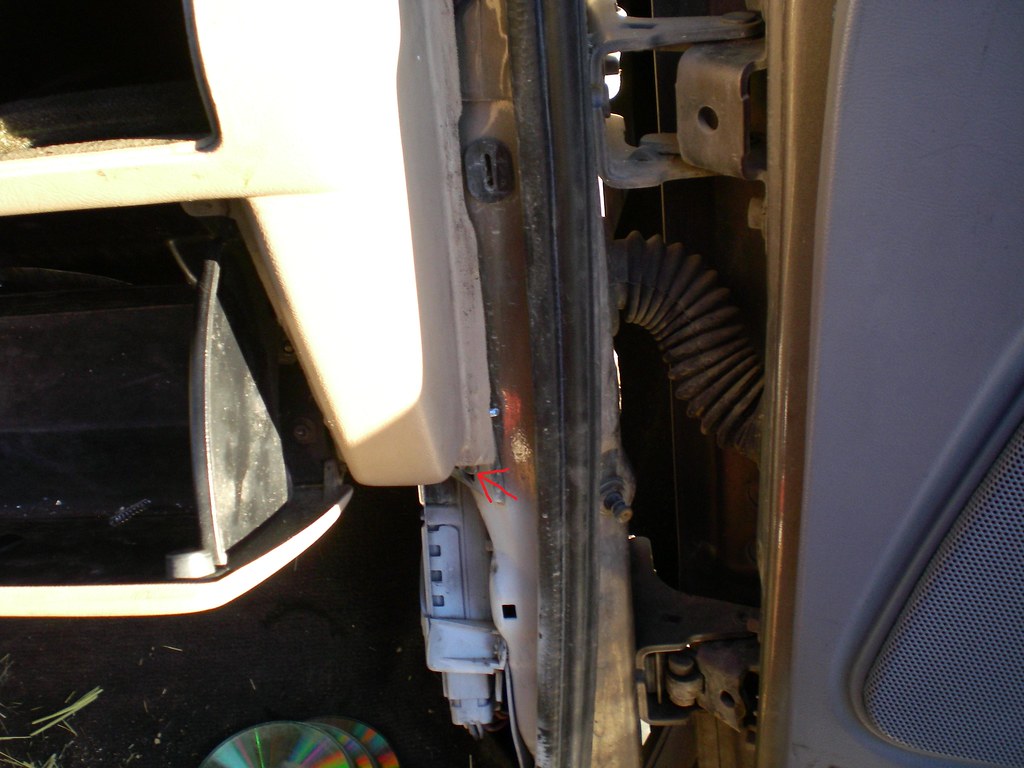
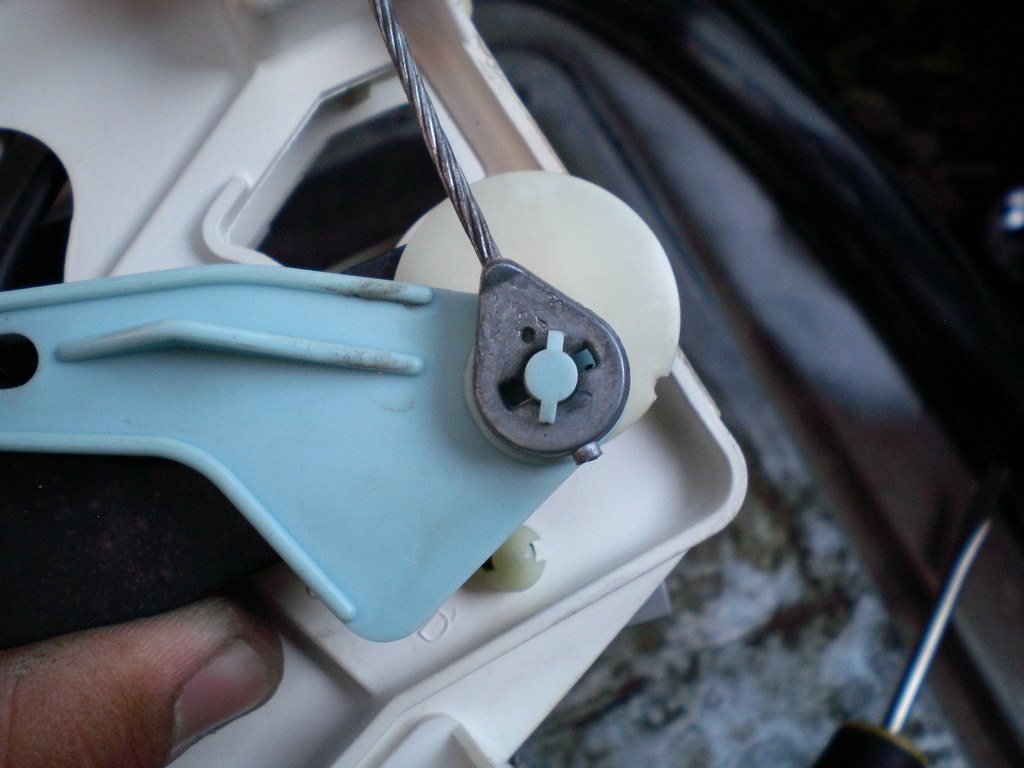
One of them you just tun it and take it off.
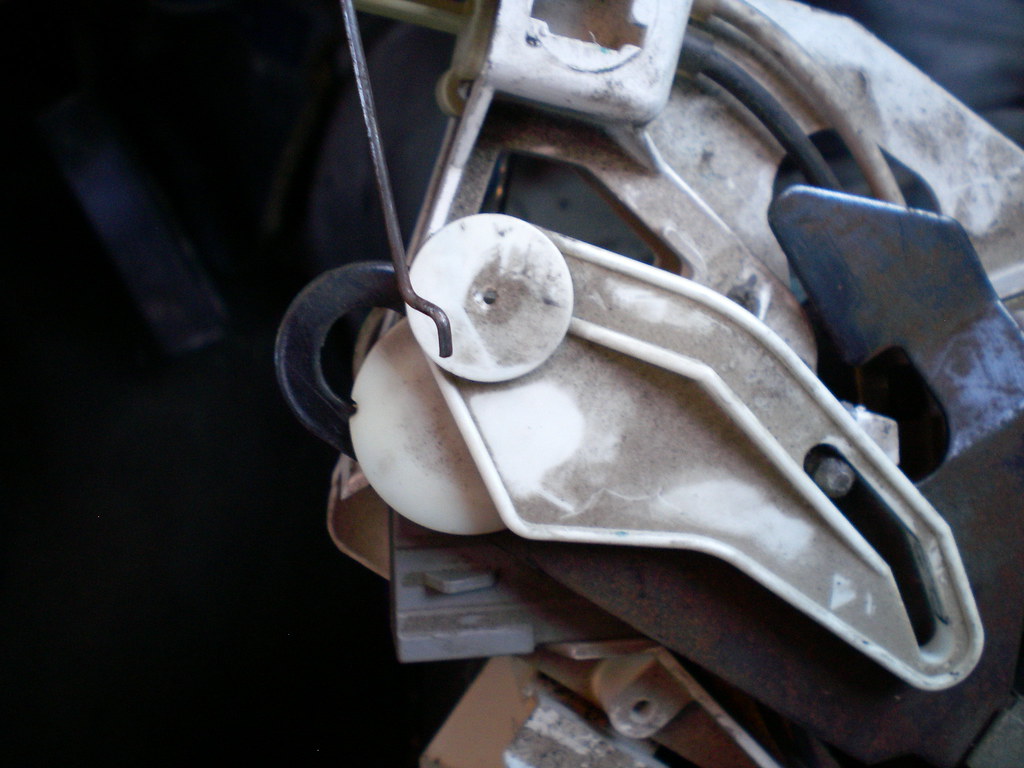
The other one is pretty self explanatory.
This was done on a '91. There are a few differences between 91-92's and 93-94's which I will explain as we get to the areas where they differ.
Old brown interior
New dash
First off, if you have a Manual Trans you are going to want to remove the shifter. There are three bolts that hold it to the transmission after you remove the boot.
If you have an Automatic you can just put it in 1st gear (all the way down).
You are going to want to take off the Cluster bezel/radio piece.
First open the ash tray and take out the two screws holding it in
Then remove the ashtray assembly unplugging the wires to it.
You can now remove the cluster bezel by pulling around the perimeter of it releasing all of the clips that hold it on. If you have a '93-'94 you will have to remove your radio first. If you have a '91-'92 you remove the radio after its out of the way Be careful not to break these clips, it's a PITA if they are broken.
Now remove the 4 screws holding in the AC/Heater controls
Now remove all the wires, cables, and vacuum lines
First the wire plugs. On the big one just push where it says to push then pull the plug off. On the small one use a small screwdriver or pick to lift up the clip then pull.
The vacuum lines should pull off as you press the white plastic tabs.
Now the Vent Cables. you need to push in both sides of each clip to get it to come out. this can be a little tricky. I'm sure there is a specialty tool for this but I just lightly used a pair of needle nose pliers.
Now that those clips are off you can remove the end of the cables.
One of them you just tun it and take it off.
The other one is pretty self explanatory.