AtlasRucker
Active Member
- Joined
- March 21, 2012
- Messages
- 57
- Reaction score
- 0
- City, State
- Western New York
- Year, Model & Trim Level
- 1999 Ford Explorer
Here’s to a series of 3 hour tours…
"The weather started getting rough, the tiny SUV was tossed. If not for the courage of the fearless crew, the Explorer would be lost. The Explorer would be lost."
I am going to start off with a picture that can explain most of what’s to come
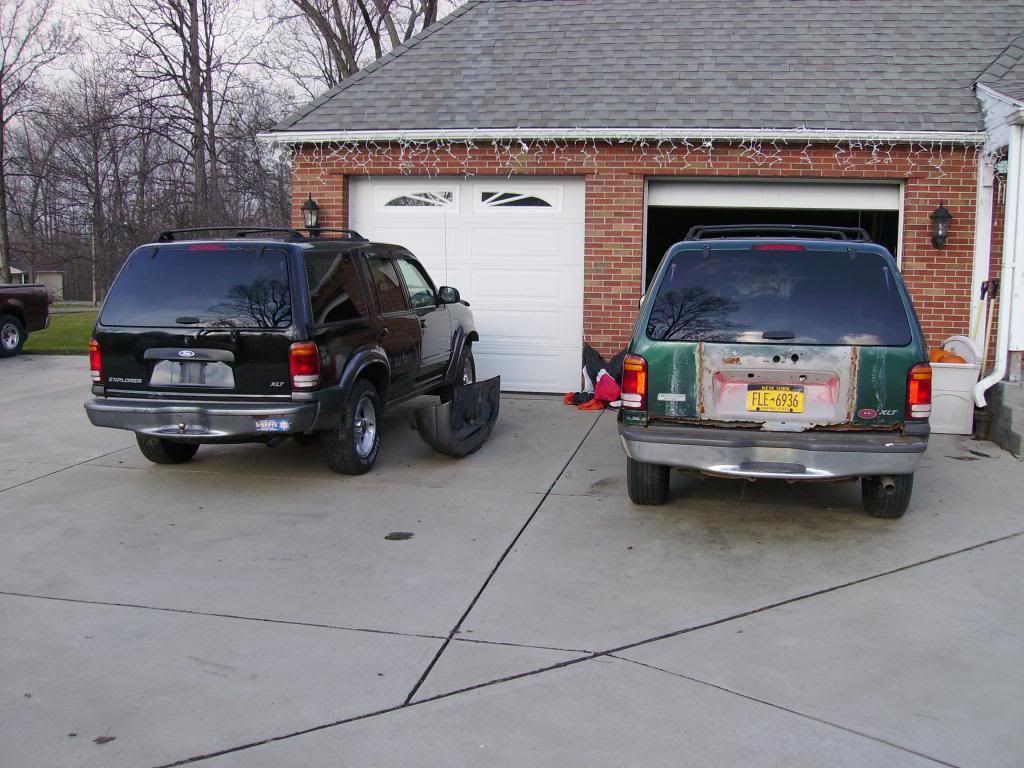
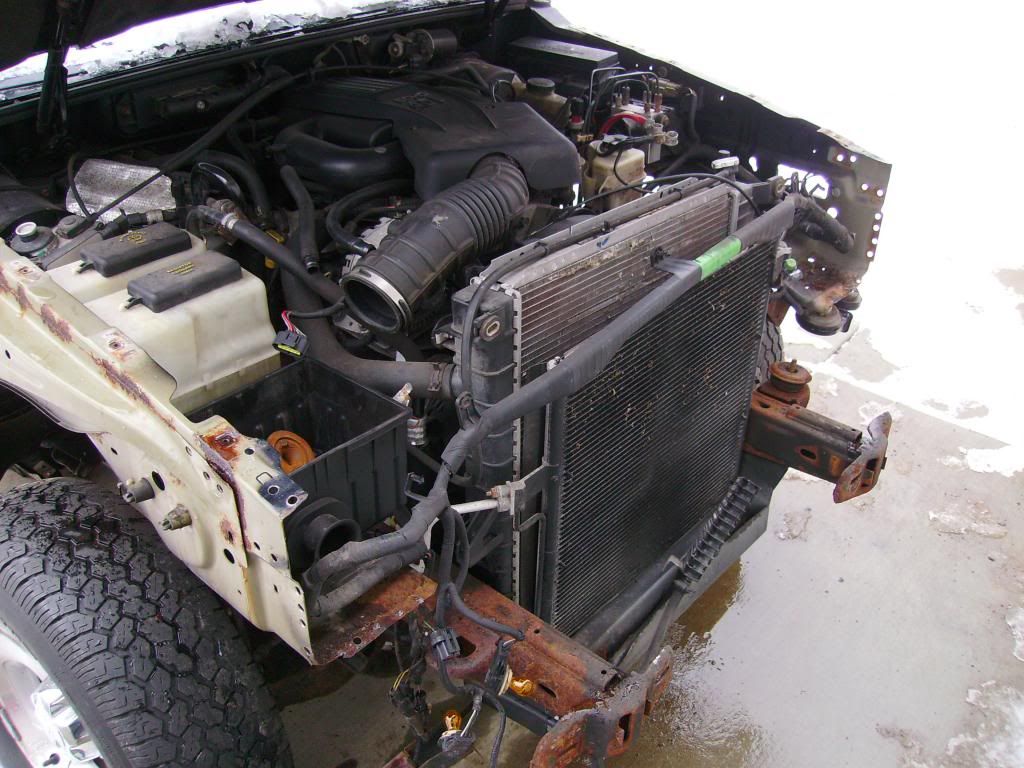
I want to say that this suv has been one of my favorite vehicles to own. So much so that I bought another one and decided to swap out the good parts between the two. The front bumper cover was in bad shape after the previous owner attempted to paint it himself after hitting something. It showed he didn’t take his time... The one door is also damaged by being hit by something... well needless to say I started to dig into the thing, granted it is in a lot better shape than my current one it still has its issues. Digging into this I found that half the frontend clip is shot.... I have already done a lot of work and bought a new radiator support and some other things....

I want say this right now I am doing this in my time in-between EMT classes and working as an IT tech at HSBC being a volunteer firefighter and having second part time work on the weekends. I do not imply that this project is going to be anything other than painfully slow, since I am doing all the work myself, learning as I go and having to spend significant time sourcing inexpensive parts. I have given myself over a year to get all this done and a good cash fund.... But we will see
Is It Christmas Again?
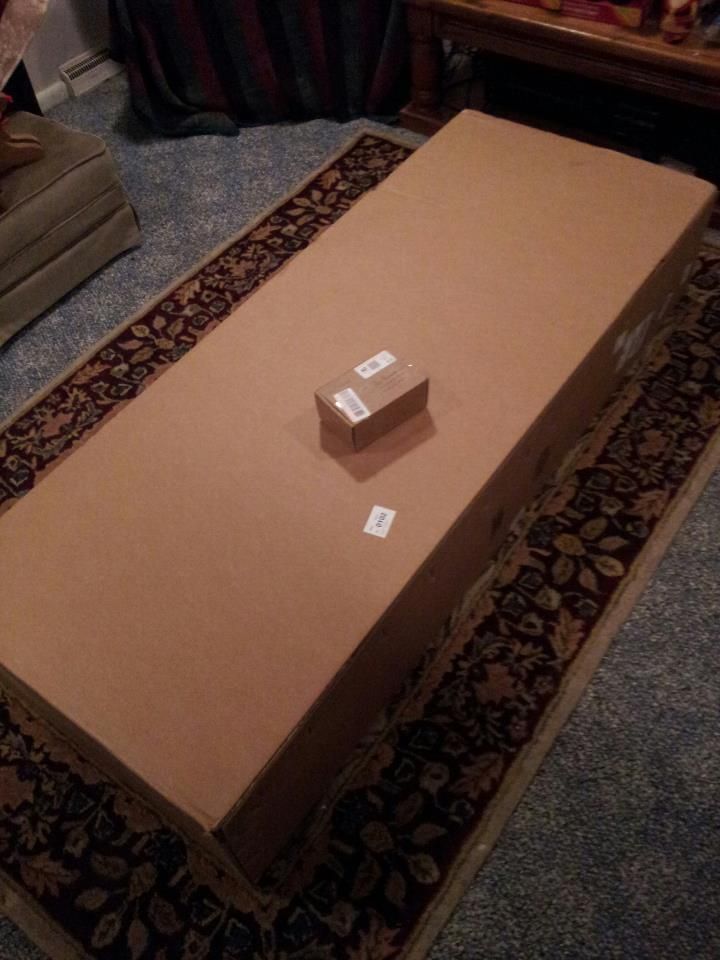
OEM ohh OEM…. Explorer of love???
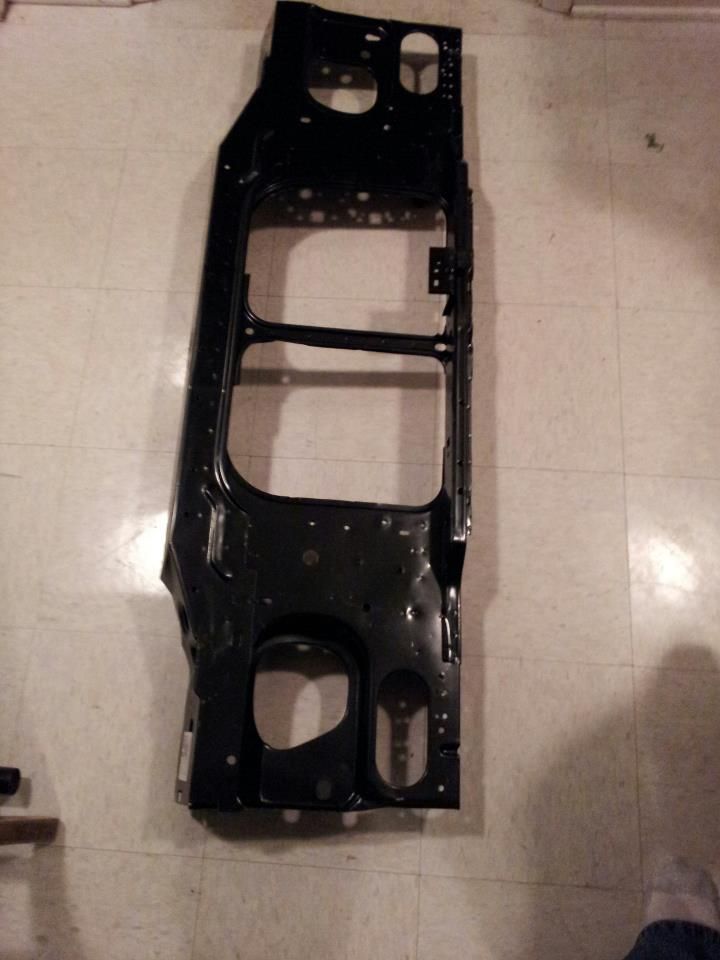
Well I have ventured into new things with this project and this is turning into a total front end rebuild. I am sure that anyone would be surprise to my attention to detail (and maybe just plan boredom and looking for more work than necessary) in this project.
I do plan on going far beyond my previous repairs on vehicles lately, I am trying to rebuild at least another car in my life (or at least to my satisfaction... hoping to get it to another 100k) the last one being about 10 years ago and need way less work to get it to great (thing had only 40k miles on it when it got totaled ). Plans for this new one are.
Finish front clip rebuild.
Rear Bumper Swap
De-scale undercarriage
Rust treat undercarriage
Bed-line undercarriage
Replace passenger side door
Rear LiftGate
Replace minor moldings inside
Install sound system
Powder Coat Rims
Replace Suspension system i.e. shocks, ball joints... etc (much latter and future plans SAS?)
Replace Breaks
Repair Transmission... dun dun dun... (I'm already committed to this one)
I have already found some cool new stuff that I am trying for the first time, new tools, new parts, new suppliers, and new products. The journey has already began. I have found that it may be worthwhile… undecided yet. Chemically cleaning hardware. For years I have taken all hardware that could clean and painted to reuse (people always said that painting the parts was excessive, but I figured it like this… it was all apart, cleaning and painting didn’t take that long and if I ever had come back through, it would make taking it apart that much easier.). I would spend so much time on this old failing wire wheel bench grinder (the kind that squeals and the motor shaft bounces in and out because the bushings and bearings are shot), ah good times almost losing fingers and eyes with that thing. But I have found that acid etching the steel is a better choice, although new dangers are present. Etch the steel preps it for paint or sealant, but the process its self converts iron oxide into a black phosphoric coating that when left acts a mild rust deterrent. I would always suggest at this point sealing with paint or oil, might as well right? So this stuff is an acid so there are fumes… and if you get it on your skin its not the greatest thing ever, but help you if you have cuts on your hands… you’ll be saying fml a lot. Oh if it gets in your eyes… slight chance of being blinded?... well in any case be careful with this stuff if you’re going to use it. Doing like this takes a bit of time, but it time parts are just sitting while you’re still working on other things. So first remove as much excess rust as you can (I usually just toss the stuff on the ground to knock of rust scale). Second step is removing paint with a paint striper (if you’re not worried abt old paint sure why not skip to the next step). Third is tossing it in the etching solution and waiting. Fourth is cleaning, use acetone. Done
Before and after pictures of the hardware.
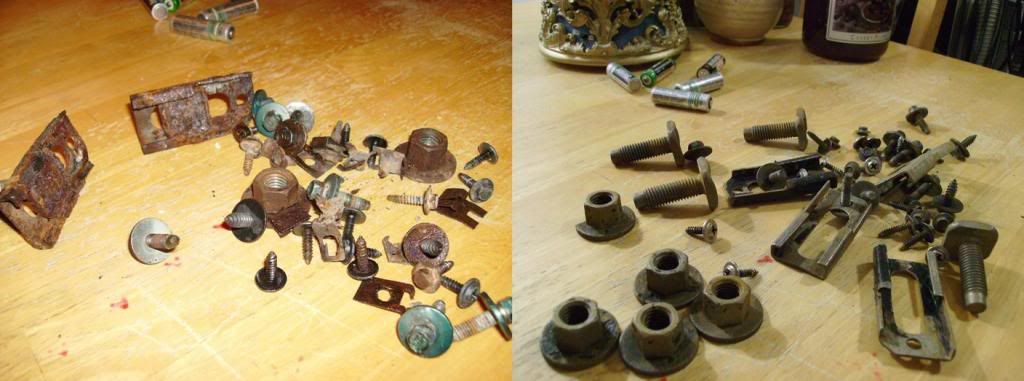
See the pile of batteries I went through to find two good ones to take this picture lol
Different sets but the both where in the same condition though. I have both sets soaking right now, some parts from the first set needed the extra time in... oh that was at only half the suggested time that I had the first set in for
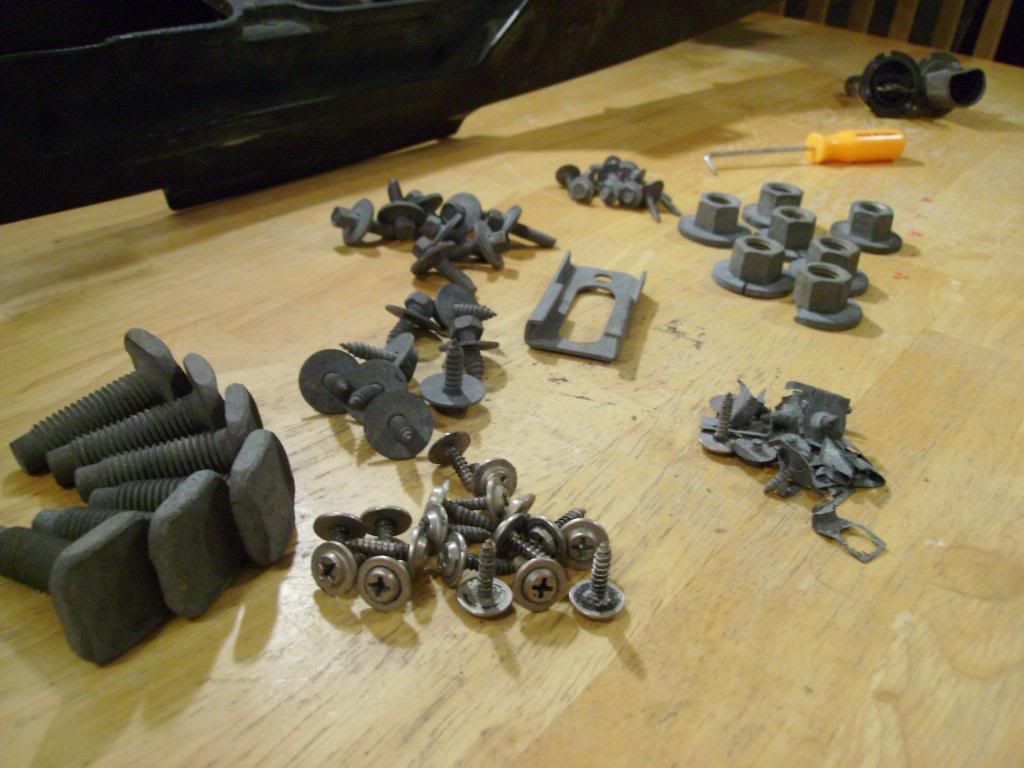
Before (longer soaking)
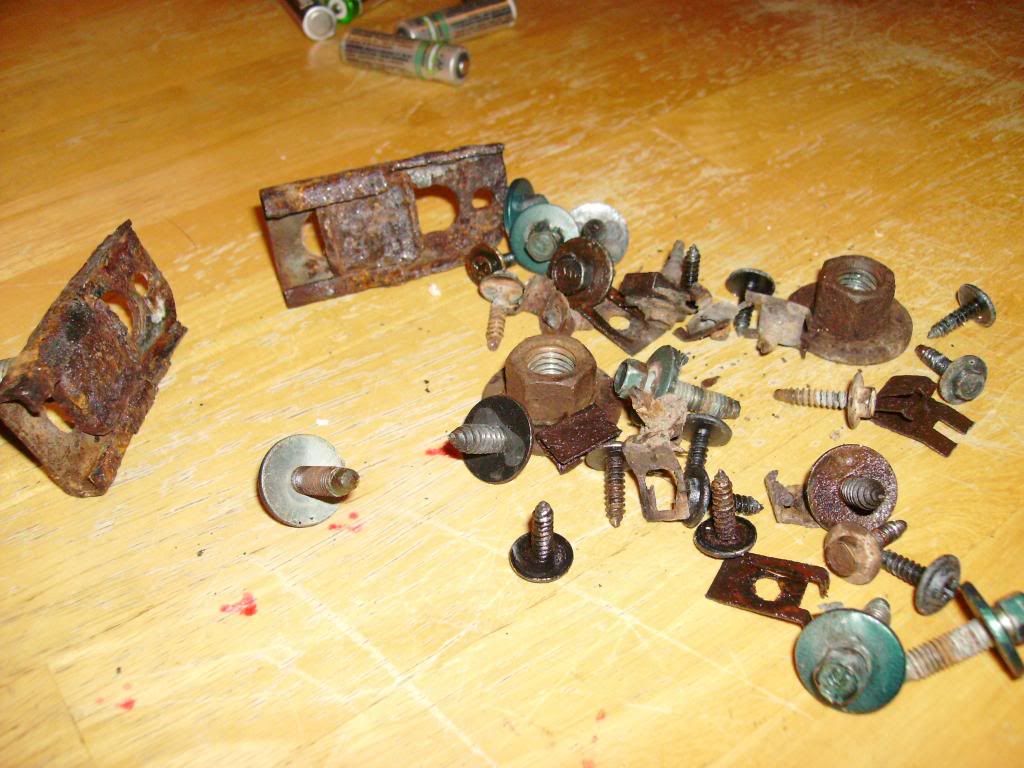
You can see the body clips that didn’t make it, too far gone with rust. After

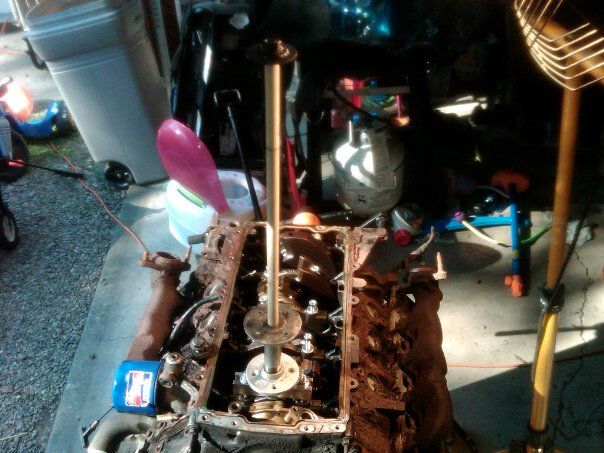
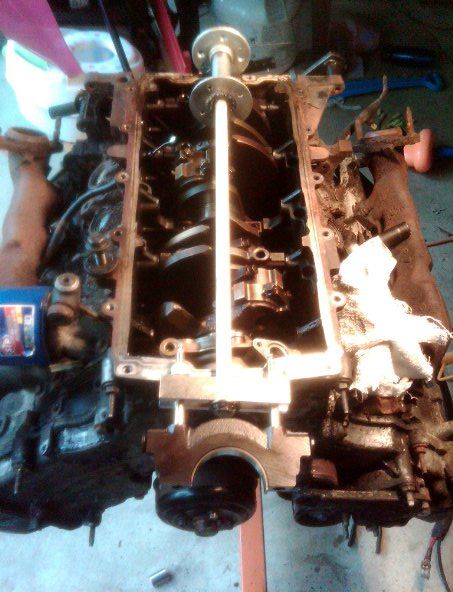
I have already made tools in the past, such as the main engine cap slide hammer puller I made for an engine teardown.
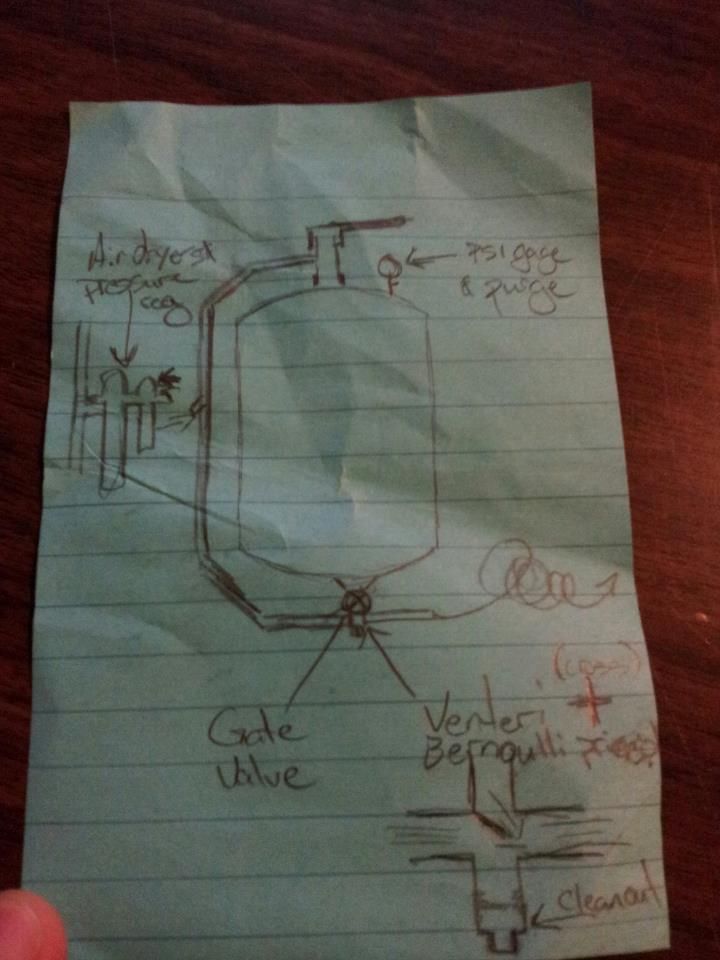
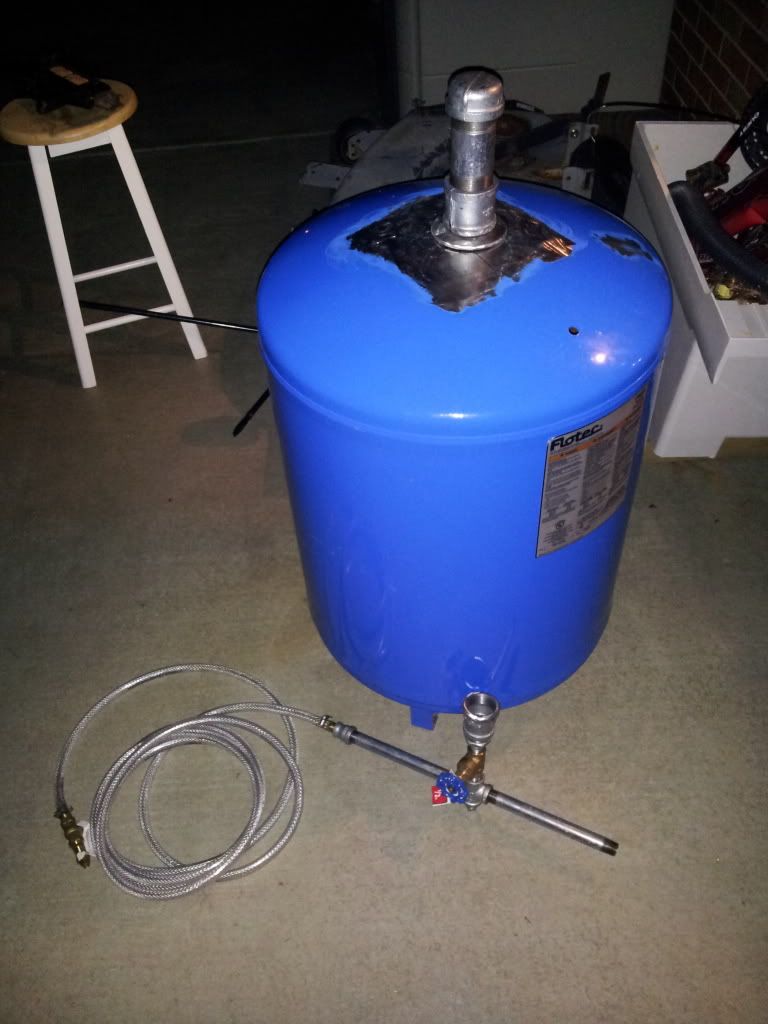
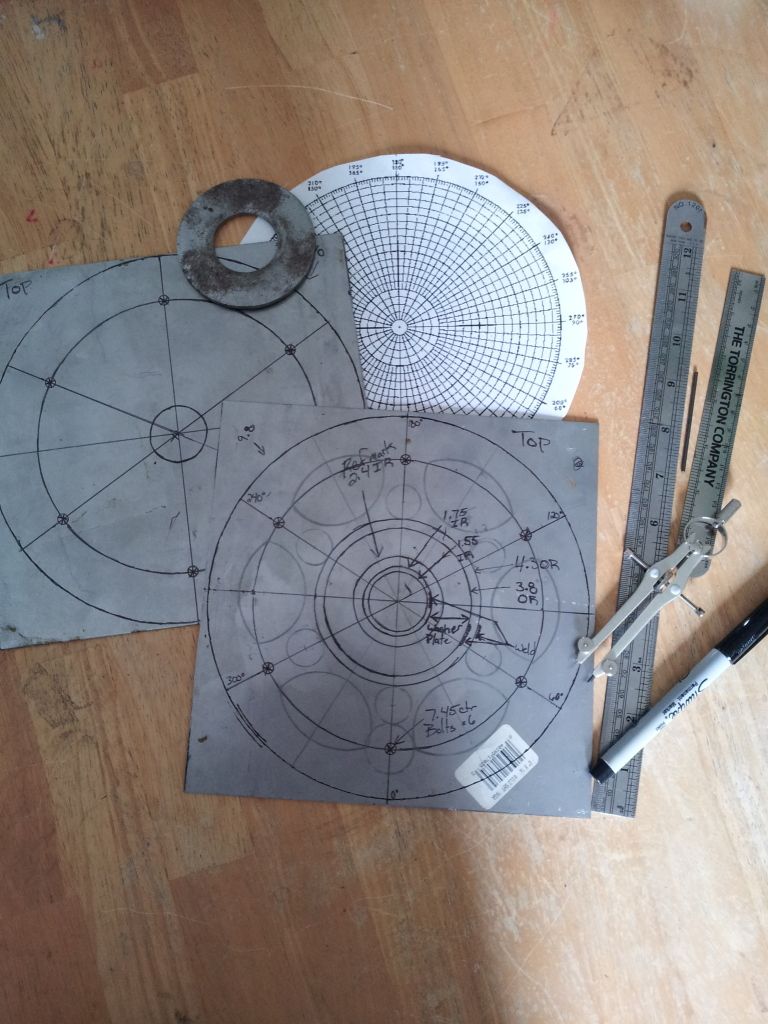
This time it’s a sand blaster… ok I was making this for another project… I got a vintage Yamaha restoration in process to… well either case it’s going to be a great tool to add to my garage. So here is that…
The Idea
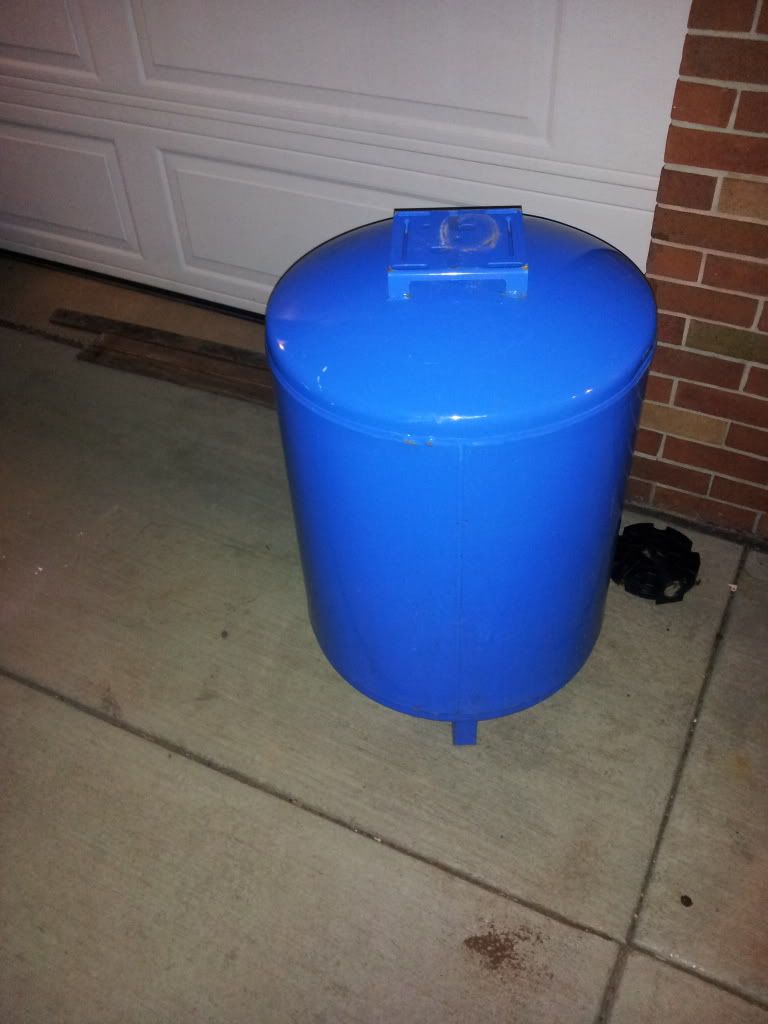
The start
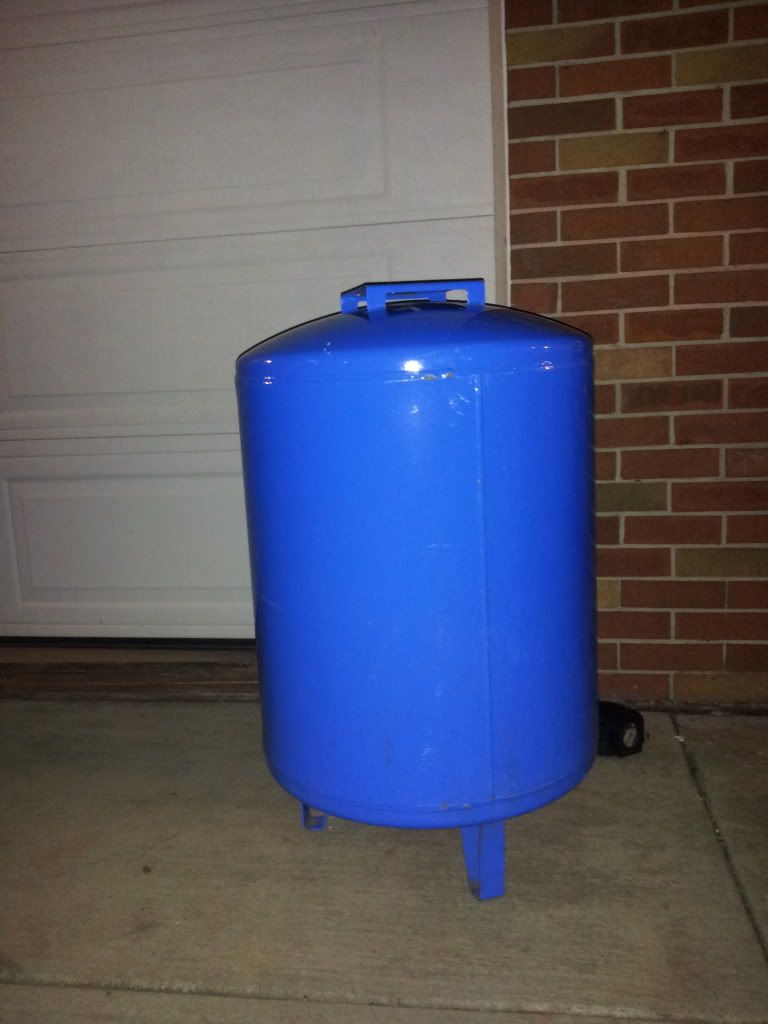
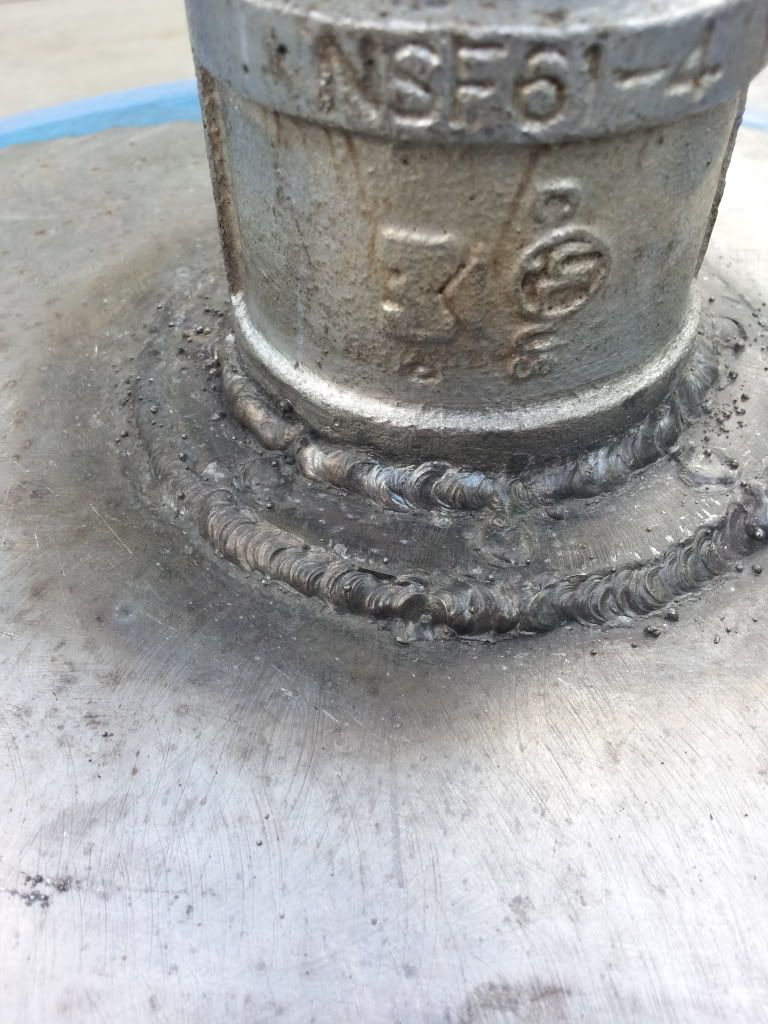
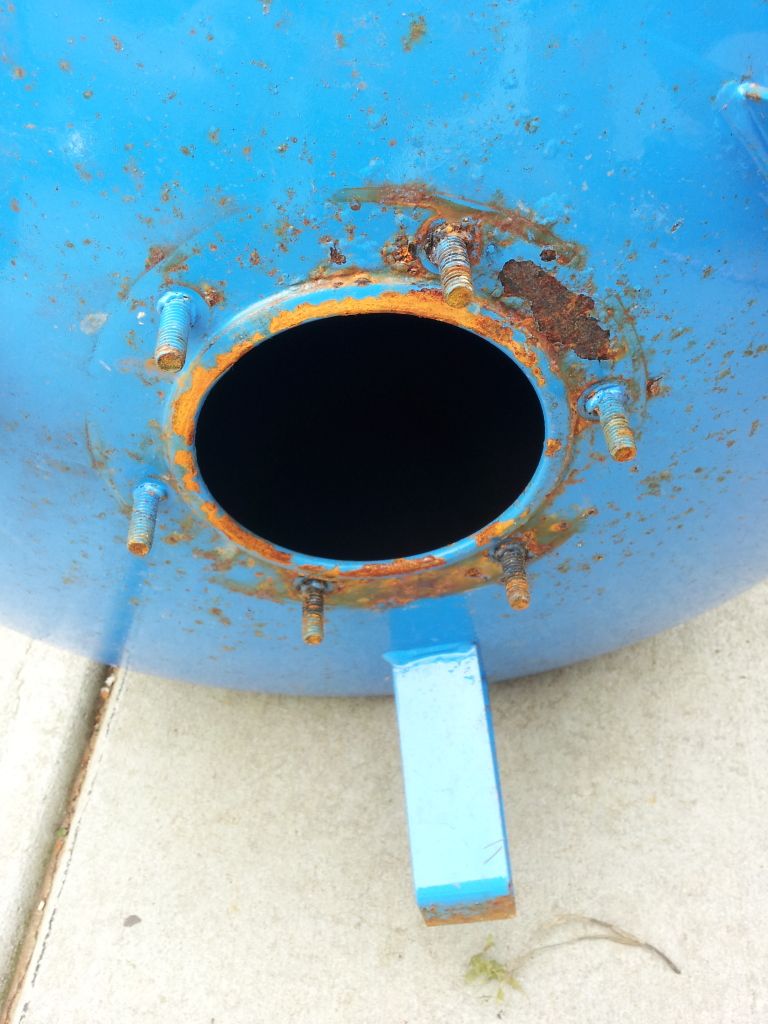
One of my friends grandfather donated this to my restoration project(s). Guess what it was and what it will be...
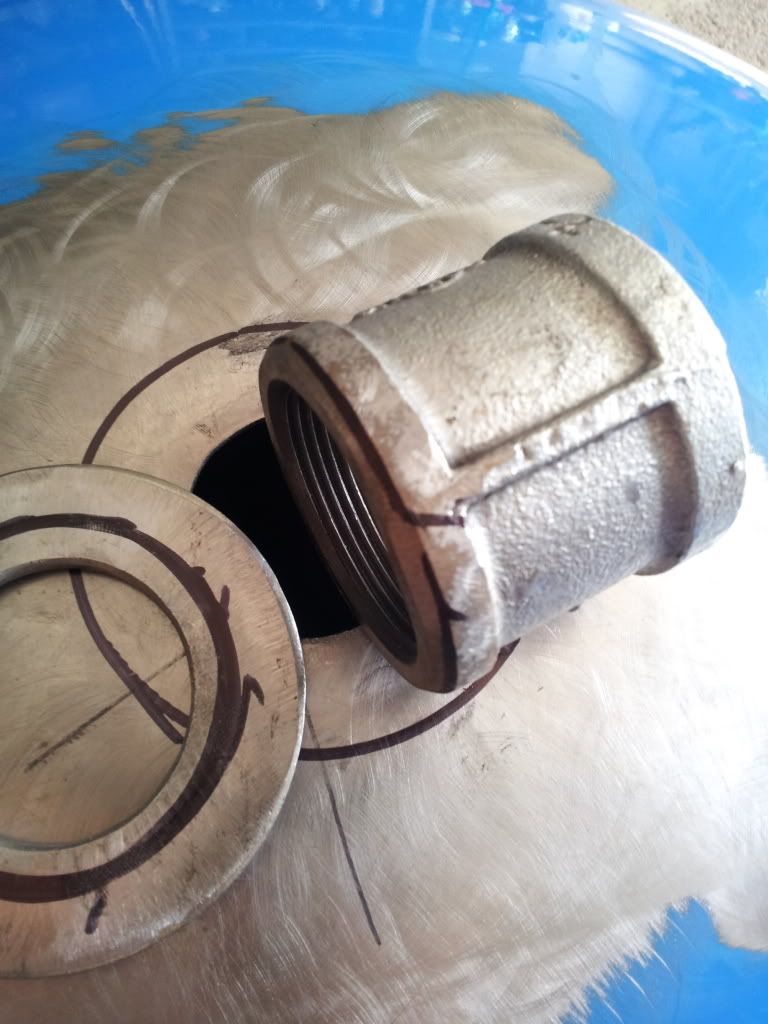
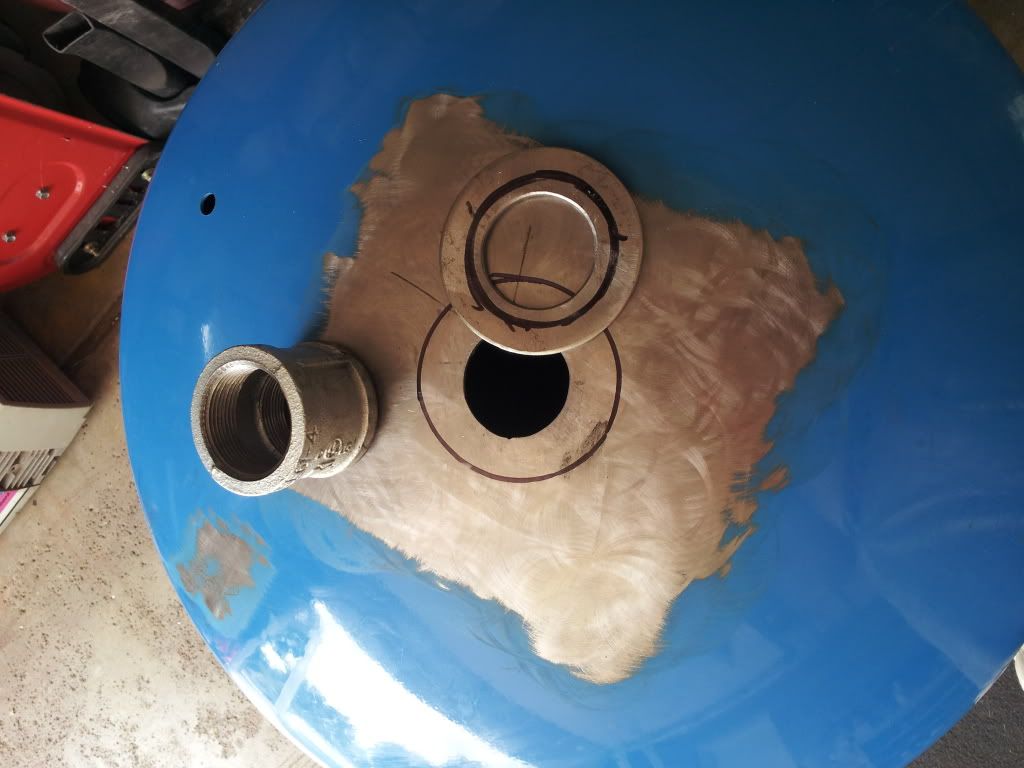
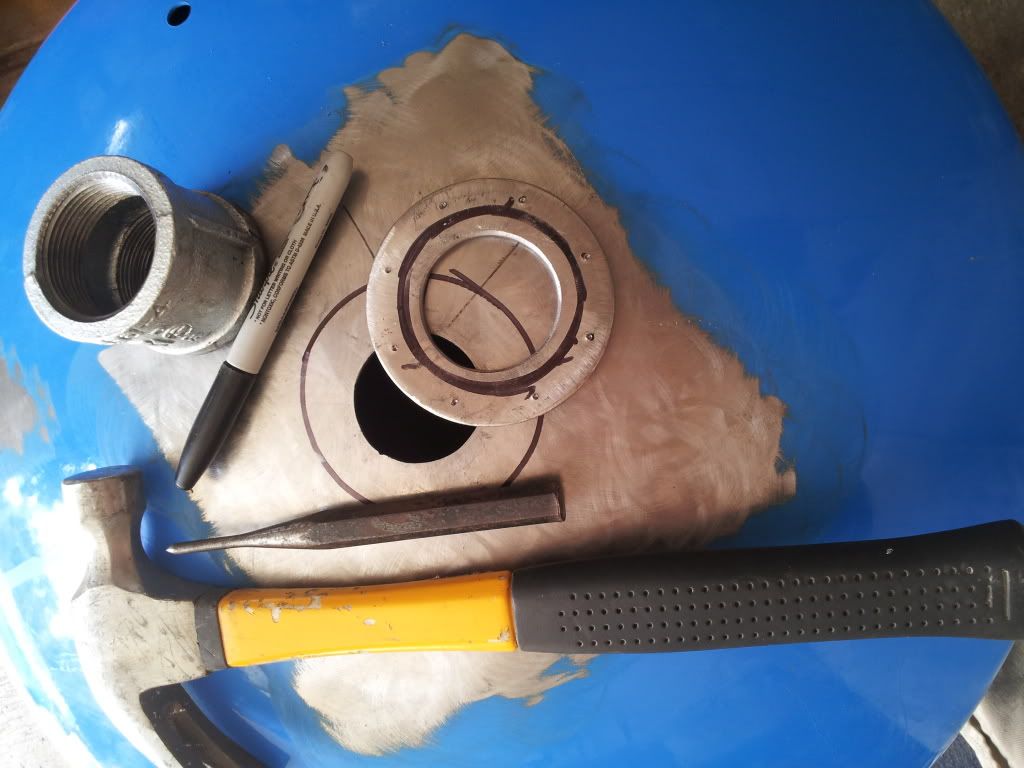
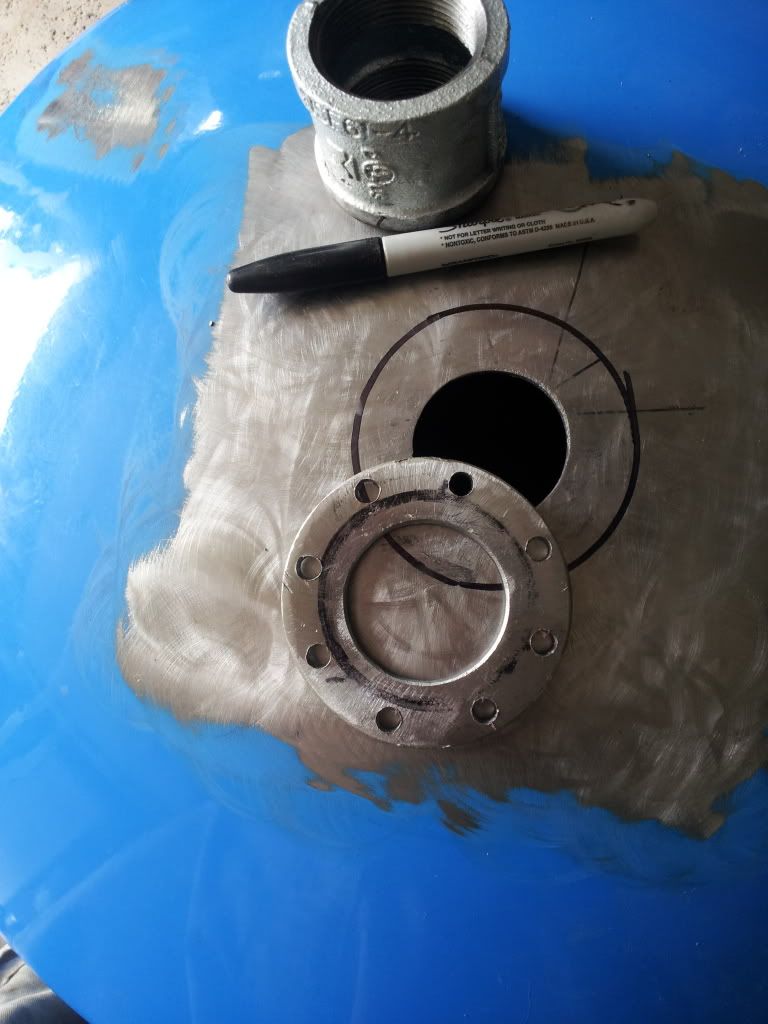
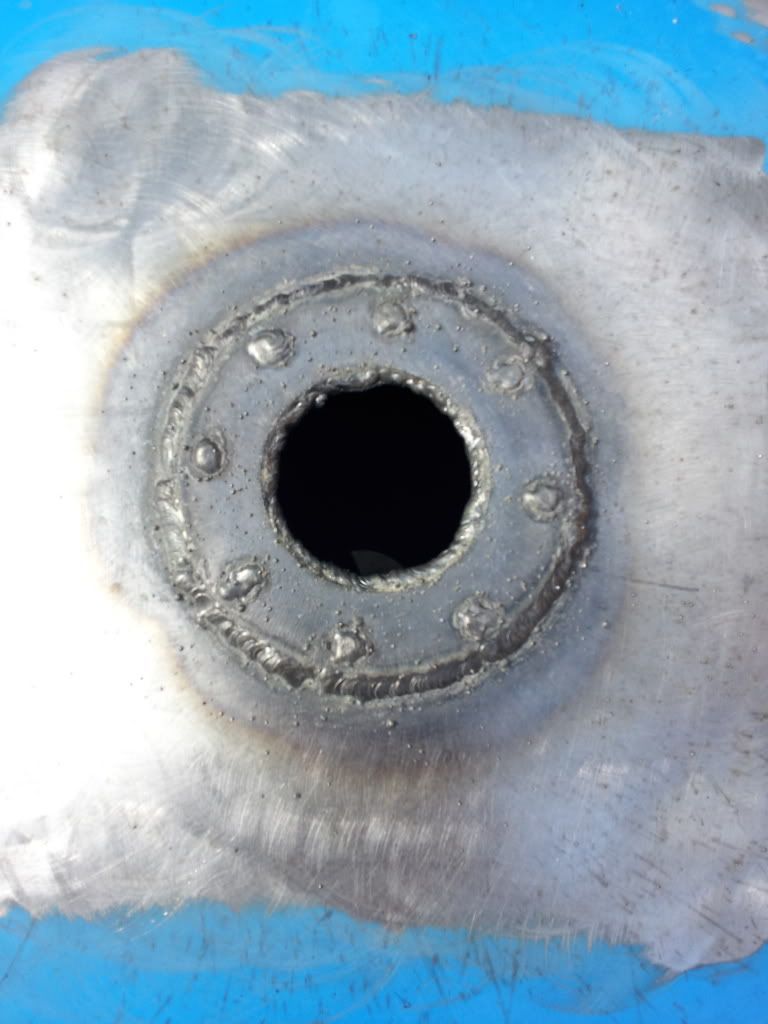
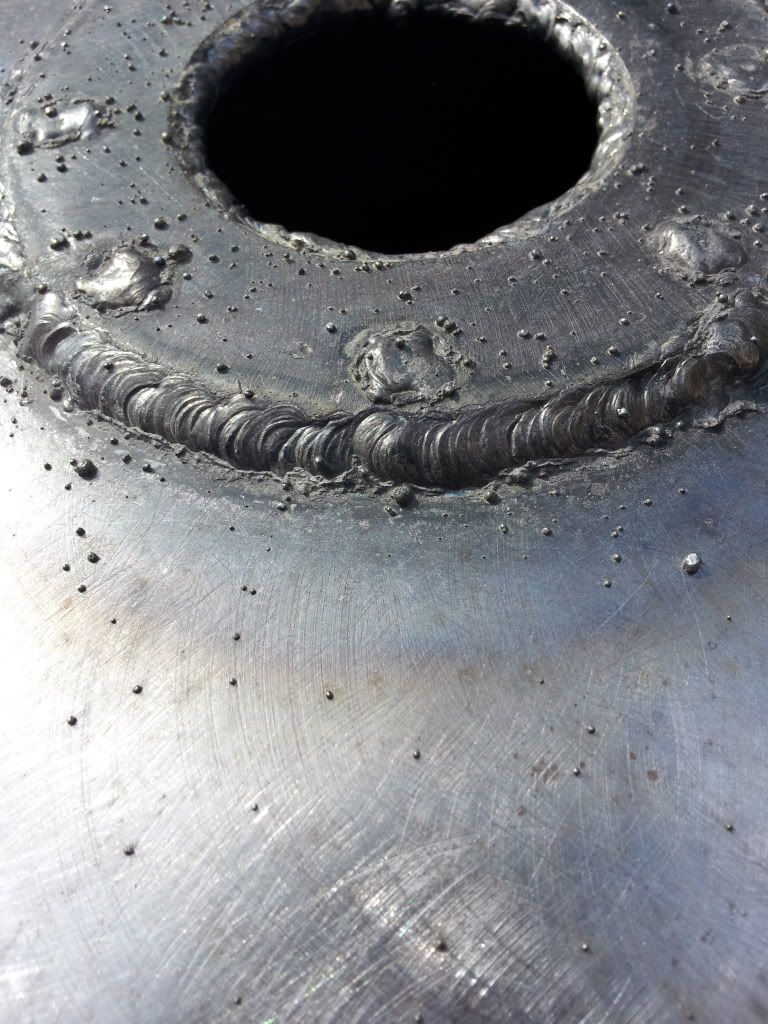
Trying to learn how to weld. This past year was the first time I have ever really welded… go figure

The bottom plate that’s has to cover a hole
The hole
Oh did mention lots of pictures?
"The weather started getting rough, the tiny SUV was tossed. If not for the courage of the fearless crew, the Explorer would be lost. The Explorer would be lost."
I am going to start off with a picture that can explain most of what’s to come
I want to say that this suv has been one of my favorite vehicles to own. So much so that I bought another one and decided to swap out the good parts between the two. The front bumper cover was in bad shape after the previous owner attempted to paint it himself after hitting something. It showed he didn’t take his time... The one door is also damaged by being hit by something... well needless to say I started to dig into the thing, granted it is in a lot better shape than my current one it still has its issues. Digging into this I found that half the frontend clip is shot.... I have already done a lot of work and bought a new radiator support and some other things....
I want say this right now I am doing this in my time in-between EMT classes and working as an IT tech at HSBC being a volunteer firefighter and having second part time work on the weekends. I do not imply that this project is going to be anything other than painfully slow, since I am doing all the work myself, learning as I go and having to spend significant time sourcing inexpensive parts. I have given myself over a year to get all this done and a good cash fund.... But we will see
Is It Christmas Again?
OEM ohh OEM…. Explorer of love???
Well I have ventured into new things with this project and this is turning into a total front end rebuild. I am sure that anyone would be surprise to my attention to detail (and maybe just plan boredom and looking for more work than necessary) in this project.
I do plan on going far beyond my previous repairs on vehicles lately, I am trying to rebuild at least another car in my life (or at least to my satisfaction... hoping to get it to another 100k) the last one being about 10 years ago and need way less work to get it to great (thing had only 40k miles on it when it got totaled ). Plans for this new one are.
Finish front clip rebuild.
Rear Bumper Swap
De-scale undercarriage
Rust treat undercarriage
Bed-line undercarriage
Replace passenger side door
Rear LiftGate
Replace minor moldings inside
Install sound system
Powder Coat Rims
Replace Suspension system i.e. shocks, ball joints... etc (much latter and future plans SAS?)
Replace Breaks
Repair Transmission... dun dun dun... (I'm already committed to this one)
I have already found some cool new stuff that I am trying for the first time, new tools, new parts, new suppliers, and new products. The journey has already began. I have found that it may be worthwhile… undecided yet. Chemically cleaning hardware. For years I have taken all hardware that could clean and painted to reuse (people always said that painting the parts was excessive, but I figured it like this… it was all apart, cleaning and painting didn’t take that long and if I ever had come back through, it would make taking it apart that much easier.). I would spend so much time on this old failing wire wheel bench grinder (the kind that squeals and the motor shaft bounces in and out because the bushings and bearings are shot), ah good times almost losing fingers and eyes with that thing. But I have found that acid etching the steel is a better choice, although new dangers are present. Etch the steel preps it for paint or sealant, but the process its self converts iron oxide into a black phosphoric coating that when left acts a mild rust deterrent. I would always suggest at this point sealing with paint or oil, might as well right? So this stuff is an acid so there are fumes… and if you get it on your skin its not the greatest thing ever, but help you if you have cuts on your hands… you’ll be saying fml a lot. Oh if it gets in your eyes… slight chance of being blinded?... well in any case be careful with this stuff if you’re going to use it. Doing like this takes a bit of time, but it time parts are just sitting while you’re still working on other things. So first remove as much excess rust as you can (I usually just toss the stuff on the ground to knock of rust scale). Second step is removing paint with a paint striper (if you’re not worried abt old paint sure why not skip to the next step). Third is tossing it in the etching solution and waiting. Fourth is cleaning, use acetone. Done
Before and after pictures of the hardware.
See the pile of batteries I went through to find two good ones to take this picture lol
Different sets but the both where in the same condition though. I have both sets soaking right now, some parts from the first set needed the extra time in... oh that was at only half the suggested time that I had the first set in for
Before (longer soaking)
You can see the body clips that didn’t make it, too far gone with rust. After
I have already made tools in the past, such as the main engine cap slide hammer puller I made for an engine teardown.
This time it’s a sand blaster… ok I was making this for another project… I got a vintage Yamaha restoration in process to… well either case it’s going to be a great tool to add to my garage. So here is that…
The Idea
The start
One of my friends grandfather donated this to my restoration project(s). Guess what it was and what it will be...
Trying to learn how to weld. This past year was the first time I have ever really welded… go figure
The bottom plate that’s has to cover a hole
The hole
Oh did mention lots of pictures?


