general x
Hopeless addict
- Joined
- February 23, 2004
- Messages
- 774
- Reaction score
- 0
- City, State
- Red Deer, Alberta
- Year, Model & Trim Level
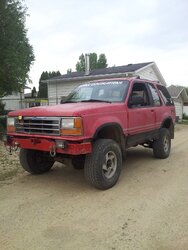
- 91 Ford Explorer Sport
Warrior shackles and Daystar coil spacers arrived. The shackles are beefy, I'm really happy with them so far XD Unfortunately it looks like some important parts probably won't be here for this long weekend so I'll have to busy myself with most of the lift (Waiting on a replacement bushing for my pilot bearing as the old one was throw out with the pilot bearing)

 The brake line in the rear ended up being quite a bit too short with the shackles so it was cut in two and pinched until a longer replacement is purchased.