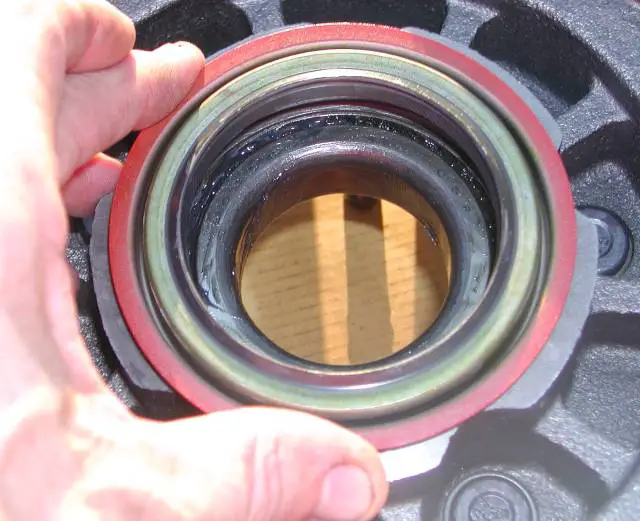
Just a word of warning, be VERY careful when you try to torque down the outer nut, with the 4 pronged socket. Once you get up to trying to put all that force (125 Ft-Lbs minimum) on it, the socket will try to "cam-out" of the slots, and you will proceed to slam your hand/fingers into the wheels studs/rotor/etc with a LOT of force. I did it once, in the middle of winter (single digits), and I was sure I broke my hand, until it thawed out a bit. It throbbed for nearly a a week, along with a nice cut.
Be sure you are using your other hand to push that socket straight in, as hard as you can, and be very aware of when it starts to slip. At that point, you can switch to using a punch or an old hefty screw driver, in the slots on the lock nut, and tap a little tighter with a hammer. That's usually how I, and many mechanics, break it loose when its time to take them back off. Just be careful not to chip a a corner off, and leave it in the bearings.
Look here, in the "Locking Hub" section- right side of the page:
http://www.therangerstation.com/tech_library/index-axles.shtml
The first too articles, for manual hub swaps, will be helpful.
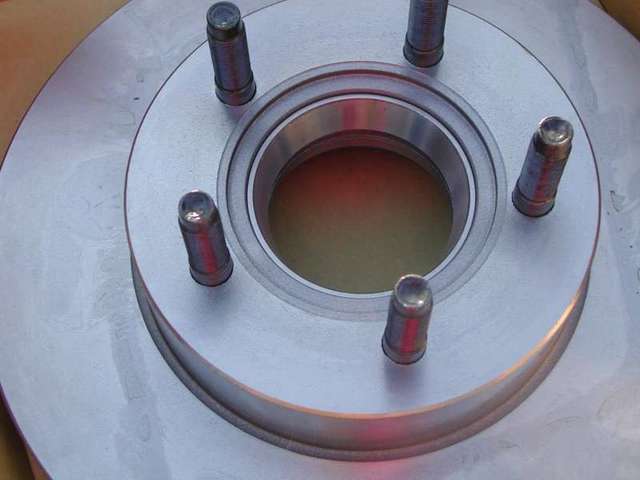
Also, as much of a pain as it can be, be sure you change out the bearing races, in the rotor too. (unless you're also installing new rotors, which should have new races already installed)They come in the "Set37" anyway, and you need to use them. New bearings in old races=problem.

")