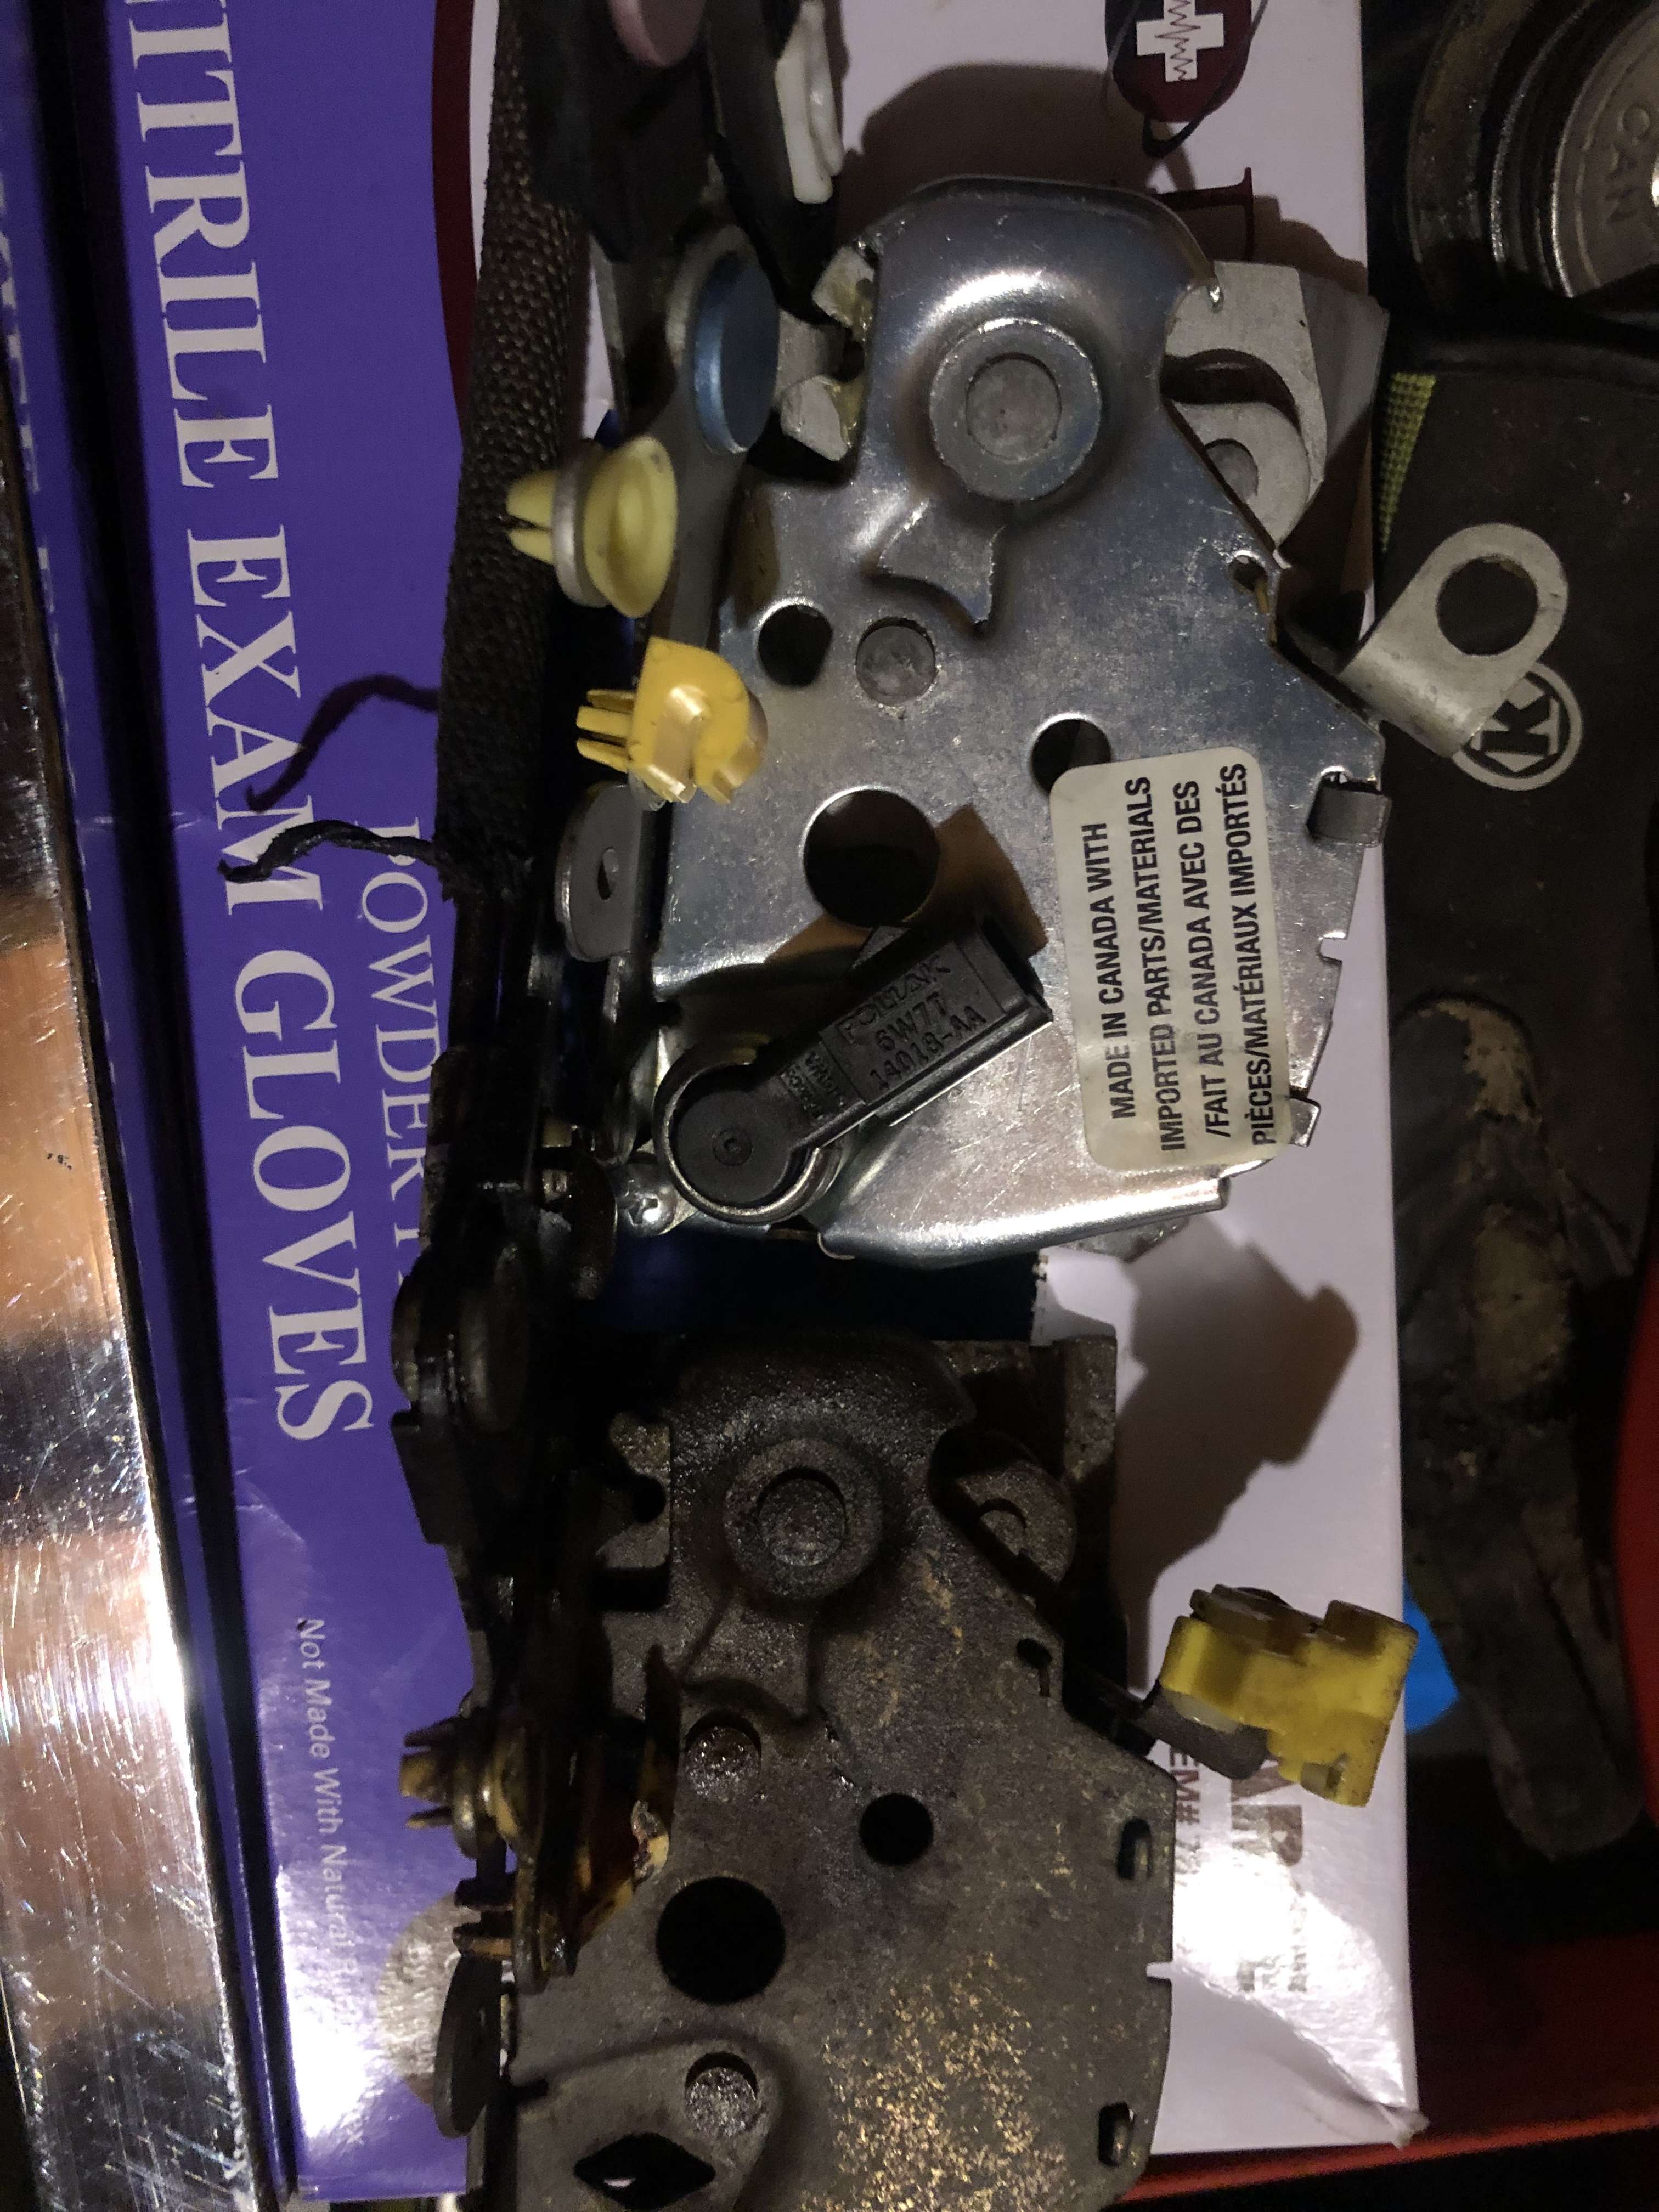
Door latch removal and replacement.
I encountered this common problem on my 98 explorer and could not find a good how-to online. The symptoms I was experiencing were problems unlocking the door. To unlock the door I had to work the interior door handle while hitting the power button to get the door open. The power actuator on it's own would not unlock the door. The small spring in the latch assembly had broken, I re-bent it once but it broke a 2nd time so I decided to replace the latch assembly. My interior handle also broke leaving me unable to open the door.
This removal and replacement can be done by the knowledgeable enthusiast, but if you have large hands with fat fingers you may struggle. The following procedure worked on my 98, but your mileage my vary.
1. Remove the door panel and peel back the liner. If you can't get the door panel off you probably need to stop and seek help. If you are in the same situation as me and can't get the door open because of the broken interior handle you can roll down the window and pop the top of the door panel out of the track at the top with a flat screwdriver. This will allow you to get your arm in and manipulate the rod to open the door.
2. With the door open roll the window up and remove the window track at the rear edge of the window. There is a bolt at the bottom of the track, remove this bolt and lay the track down in the bottom of the door.
3. Remove the interior door handle. There are two screws to remove then slide it towards the front of the car and pull. You can then rotate it off of the rod.
4. Remove the two wiring connectors from the latch assembly. The larger one has a clip, and the smaller one in the upper corner just pulls off.
5. Locate the rod that goes from the latch assembly to the exterior door handle. Open the clip on the latch end to free the rod and leave it hanging free. Count how many threads are exposed or mark the bar so you can install it in the same place on the new assembly.
6. Use a large phillips screw driver to remove the three screws holding the latch assembly in place. You may have to use a pair of vice grips on the screw driver handle for leverage.
7. With the latch assembly free in the door pull it down to free the bar that runs to the lock button from the sheet metal at the top of the door. Leave it hanging from the latch assembly.
8. Work the end of the bar that runs from the lock assembly to the lock cylinder free of the rubber clips on the arm on the back of the cylinder.
9. Take the entire assembly and rotate it to free it from the J on the end of the rod from the actuator on the bottom of the door. Work the assembly out of the door with the interior handle rod, door lock button rod, and lock cylinder rod still attached.
10. Transfer the interior handle rod, door lock button rod, and lock cylinder rod to the new lock assembly. There is a tab in the top corner of of the assembly where the smaller wiring connector slides on, make sure it is bent out perpendicular so you can slide the connector on.
11. Insert the new assembly into the door and rotate it over the J bend on the end of the rod coming form the lock actuator. Make sure that you are not trapping the wiring or the exterior handle rod behind the assembly.
12. Hook the lock cylinder rod through the rubber clips on the arm on the back of the cylinder.
13. Insert the lock button bar through the hole in the sheet metal at the top of the door.
14. Screw the latch assembly down with the three existing screws through the edge of the door.
15. Use the plastic clip to attach the exterior door handle rod to the latch assembly.
16. Connect the two wiring connectors.
17. Reinstall the interior door handle.
18. Reinstall the window track. It snaps into place at the top then replace the bolt at the bottom.
18. Make sure everything works! Don't shut the door yet, just make sure the power lock works, and the dor unlocks when you pull the interior handle. Use a screwdriver to close the latch jaws and make sure the interior handle releases them. You should now be able to shut and reopen the door and make sure the window goes up and down.
NOTES : During this process a mirror may help you see what is going on. If you need a reference for reassembly take the door panel off of the other door to look at.
There may be a better way to do this, but this is what I know worked on my 98.


