-
Performance Upgrades - Maintenance - Modifications - Problem Solving - Off-Road - Street Trucks.
Covering the Explorer, ST, Sport, Lincoln Aviator, Sport Trac,
Mercury Mountaineer, Mazda Navajo, Ford Ranger, Mazda Pickups, and the Aerostar.
Featuring H.I. - Human Intelligence.
Register Today It's free!
the
-
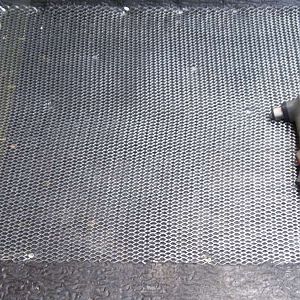
Roofing nails secure the wire mesh.
- BrooklynBay
- Media item
- mesh nails roofing secure the wire
- Comments: 0
- Category: General Photo Album
-
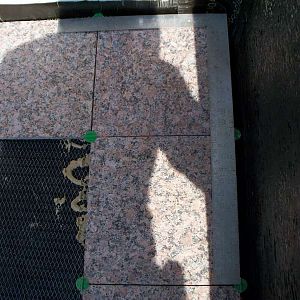
A square is used to align the tiles.
- BrooklynBay
- Media item
- a align is square the tiles to used
- Comments: 0
- Category: General Photo Album
-
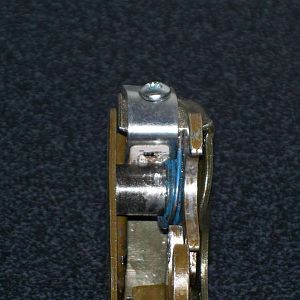
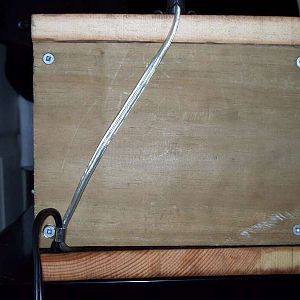
The L bracket keeps the spring in place.
The sliding door latch on an Aerostar was modified to keep the return spring in place.- BrooklynBay
- Media item
- bracket in keeps l place spring the
- Comments: 0
- Category: General Photo Album
-
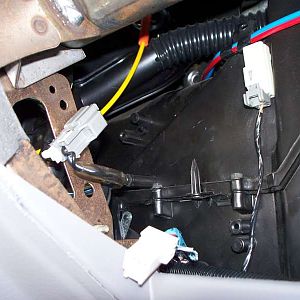
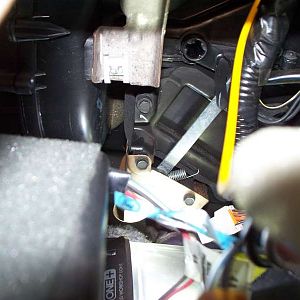
The blend door actuator plug.
- BrooklynBay
- Media item
- actuator blend door plug the
- Comments: 0
- Category: General Photo Album
-
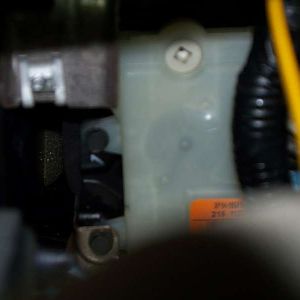
The blend door actuator is removed.
- BrooklynBay
- Media item
- actuator blend door is removed the
- Comments: 0
- Category: General Photo Album
-
The blend door actuator is installed.
- BrooklynBay
- Media item
- actuator blend door installed is the
- Comments: 0
- Category: General Photo Album
-
The wire from the light is secured in place.
- BrooklynBay
- Media item
- from in is light place secured the wire
- Comments: 0
- Category: General Photo Album
-
The light is installed.
- BrooklynBay
- Media item
- installed is light the
- Comments: 0
- Category: General Photo Album
-

The face plate is installed.
- BrooklynBay
- Media item
- face installed is plate the
- Comments: 0
- Category: General Photo Album
-
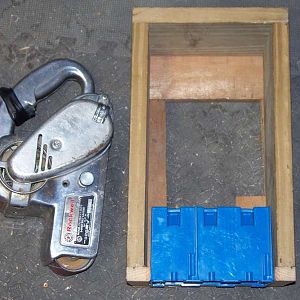
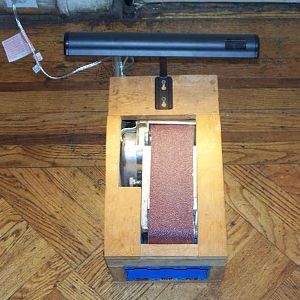
Bottom view with the machine removed.
- BrooklynBay
- Media item
- bottom machine removed the view with
- Comments: 0
- Category: General Photo Album
-
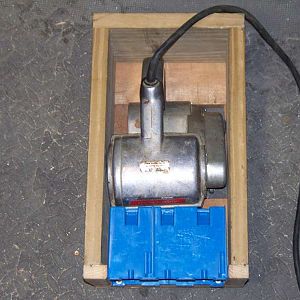
Bottom view with the machine installed.
- BrooklynBay
- Media item
- bottom installed machine the view with
- Comments: 0
- Category: General Photo Album
-
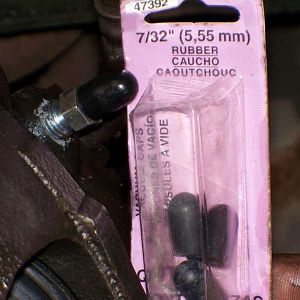
Vacuum caps for the bleeder screws.
The part number from Motormite/Dorman/Help is 47392. The size is 7/32".- BrooklynBay
- Media item
- bleeder caps for screws the vacuum
- Comments: 0
- Category: General Photo Album
-
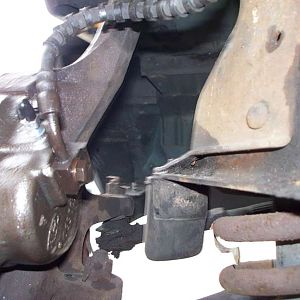
One bolt connects the brake line to the caliper.
- BrooklynBay
- Media item
- bolt brake caliper connects line one the to
- Comments: 0
- Category: General Photo Album
-
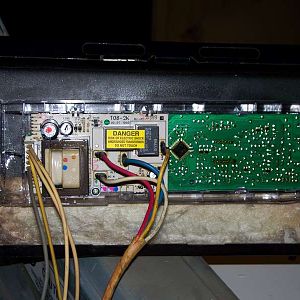
The mounting tabs have mending strips.
The computer board in an oven was damaged due to the heat of a self cleaning cycle. The mounting tabs melted, so metal mending strips were used with self drilling screws to reattach the computer board.- BrooklynBay
- Media item
- have mending mounting strips tabs the
- Comments: 0
- Category: General Photo Album
-
The computer panel has a heat shield.
This is extra protection for the computer board in an oven.- BrooklynBay
- Media item
- a computer has heat panel shield the
- Comments: 0
- Category: General Photo Album
-
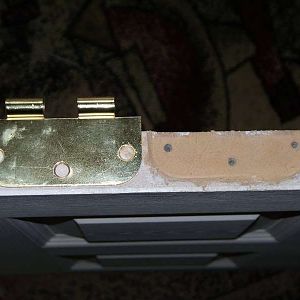
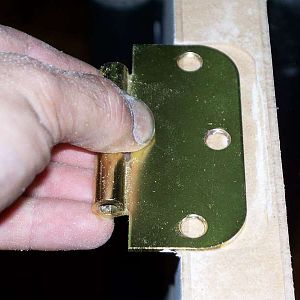
The hinge is removed.
- BrooklynBay
- Media item
- hinge is removed the
- Comments: 0
- Category: General Photo Album
-
The hinge fits into the routed door.
- BrooklynBay
- Media item
- door fits hinge into routed the
- Comments: 0
- Category: General Photo Album
-
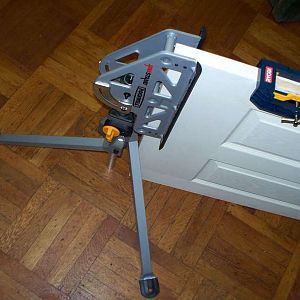
The Rockwell Jawstand is holding the door in place.
- BrooklynBay
- Media item
- door holding in is jawstand place rockwell the
- Comments: 0
- Category: General Photo Album
-
Plane the door.
- BrooklynBay
- Media item
- door plane the
- Comments: 0
- Category: General Photo Album
-
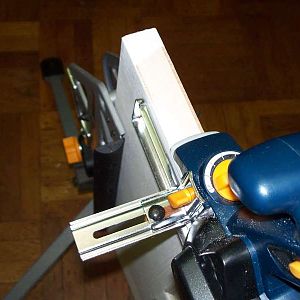
Attach & align the jig.
- BrooklynBay
- Media item
- & align attach jig the
- Comments: 0
- Category: General Photo Album
-
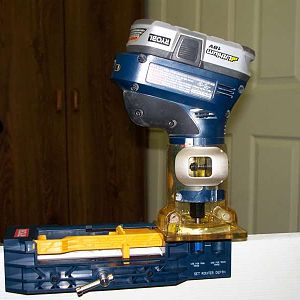
Adjust the router to match the depth gauge.
- BrooklynBay
- Media item
- adjust depth gauge match router the to
- Comments: 0
- Category: General Photo Album
-
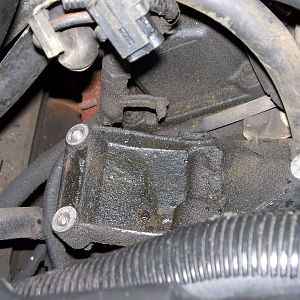
This is the lower mounting base of the alternator.
- BrooklynBay
- Media item
- alternator base is lower mounting of the this
- Comments: 0
- Category: General Photo Album
-
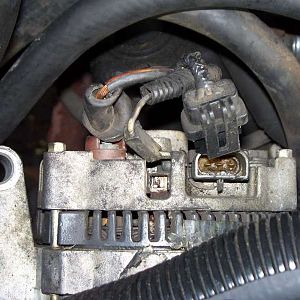
The alternator has three electrical connectors.
- BrooklynBay
- Media item
- alternator connectors electrical has the three
- Comments: 0
- Category: General Photo Album
-
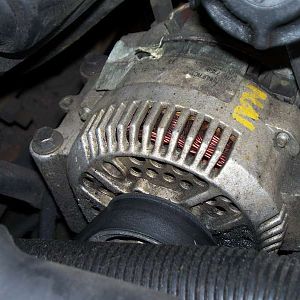
The alternator has three bolts.
- BrooklynBay
- Media item
- alternator bolts has the three
- Comments: 0
- Category: General Photo Album
-
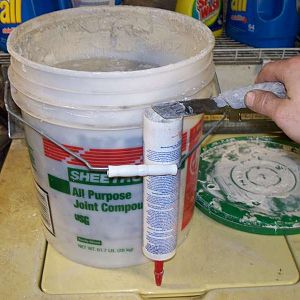
The tube is refilled after it's cleaned out.
- BrooklynBay
- Media item
- after cleaned is it's out refilled the tube
- Comments: 0
- Category: General Photo Album