RockRangerII Refresh | Page 14 | Ford Explorer Forums - Serious Explorations

  • Register Today It's free!

RockRangerII Refresh

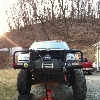
I am going to be going through my 93 ranger and giving it a refresh. I bought the truck in late 2004. Other then a rancho lift kt it was an all stock stripped truck with a 4.0 manual trans and tcase. No AC cruise or power windows. The perfect basic wheeling rig.

Here are the specs of how the truck currently sat before this refresh.

4.0V6 all stock
Stock 5 speed
d.d. machine duel case setup with manual 1350 front and 1354 rear.
Front axle is a 1984 Jeep wagonner dana 44 converted to 5 on 5.5 bolt pattern 4.88 gears and an Aussie locker
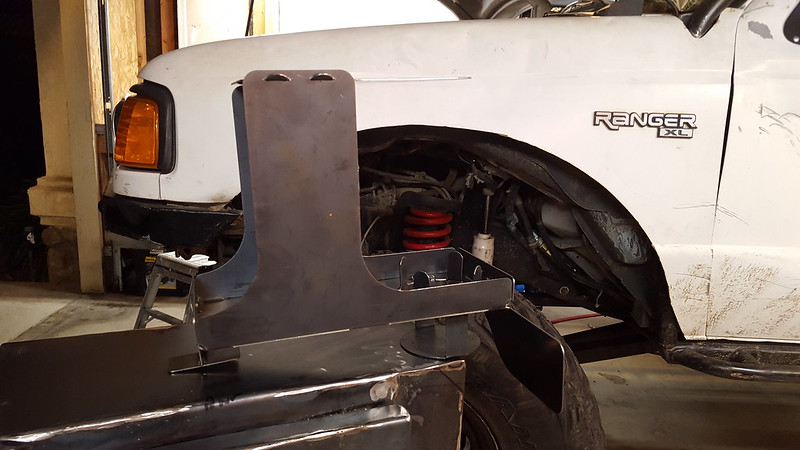
Three link front suspension using 8" skyjacker TJ springs.
Rear axle is a 1992 explorer 8.8 4.88 gears and welded spider gears.
63" Chevy springs with a bellteck shackle.
BroncoII tank behind the rear axle
Warn 9.5 XP winch behind the front grill.
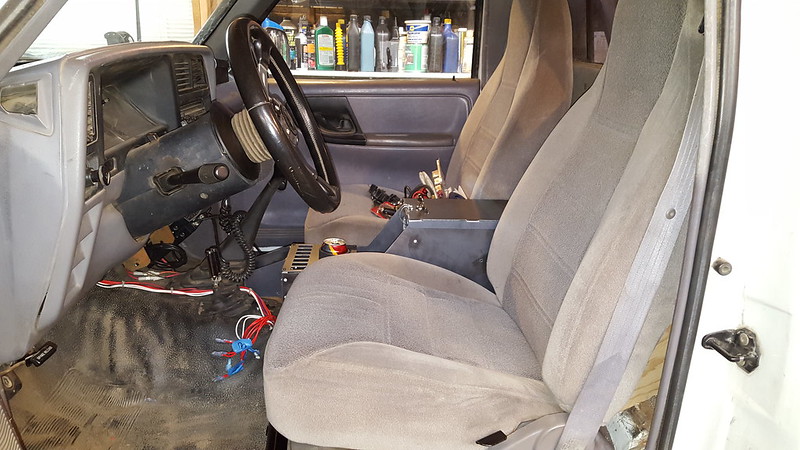
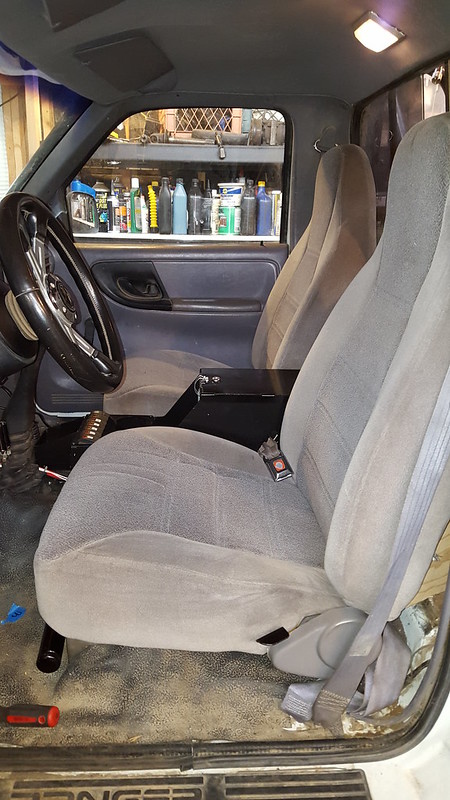
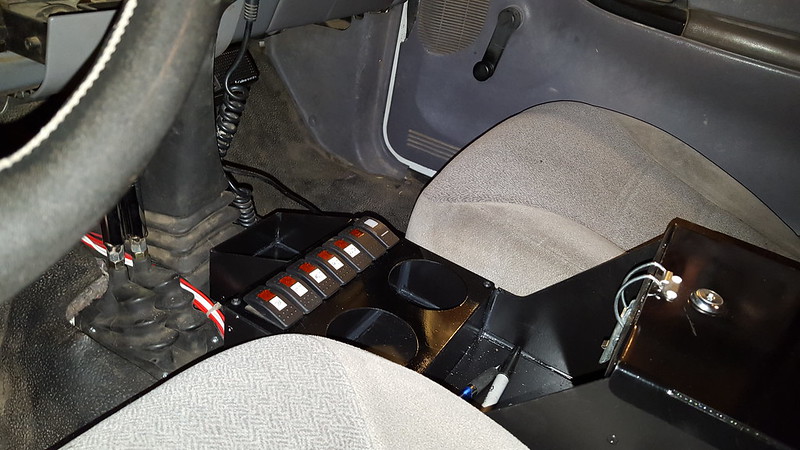
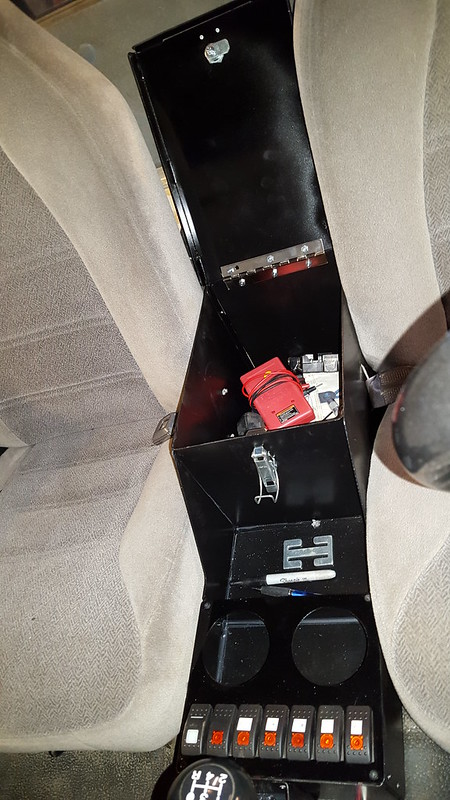
Interior roll cage
37" MTR on 17" steel rims

11806351705_12f3ea8e7c_c.jpg

Untitled by dresselhausfc, on Flickr

I took the truck down to King of The Hammers and few years ago and did some wheeling and managed to crush the bed good. Broke both front hubs and all 4 front axles, bent the rear driveshaft and ripped a shock mount off. Due to life getting in the way it sat on the trailer for 18 months before I even touched it again. Now I plan to give the truck some love and get it back on the trials again.


Join the Elite Explorers for $20 each year.
Elite Explorer members see no advertisements, no banner ads, no double underlined links,.
Add an avatar, upload photo attachments, and more!
.


On the passenger side behind the headlight is a nice large open area. This is an area that I originally had my winch solenoid box mounted.

20151108_182121 by Matthew Dresselhaus, on Flickr

I am not sure if some AC stuff sits there on more optioned trucks or if all trucks have this open area. On similar year explorers this is where the battery is but on rangers the battery is on the driverside. I decided it would the perfect spot to store spare fluids. A little cardboard cad and measuring I figured I could fit 4 quarts of oil/atf and a quart of gear oil. A little time on the computer and I had this.

oil storage boxv2 by Matthew Dresselhaus, on Flickr

20151108_182428 by Matthew Dresselhaus, on Flickr

20151108_182420 by Matthew Dresselhaus, on Flickr

20151108_182059 by Matthew Dresselhaus, on Flickr

20151108_182103 by Matthew Dresselhaus, on Flickr

As you can see the gear oil comes out the bottom so that the top is flat to clear the hood. The gear oil is just able to sneak between the radiator shroud and the air intake tube. My rivet gun broke before I could get it assembled so I will have to install it later.


Join the Elite Explorers for $20 each year.
Elite Explorer members see no advertisements, no banner ads, no double underlined links,.
Add an avatar, upload photo attachments, and more!
.


That is awesome!


That is really cool. I hate having fluids inside my truck or even outside in a tool box. If they leak then life sucks. Usually they are floating around with chains and other random junk so they eventually leak. This is a great idea. They are secure so they probably won't leak but even if they did it wouldn't matter. No room for antifreeze though?


I have had more then a few bottles of oil leak in toolboxes which is one of my reasons to get them out of the tool box. I doubt a gallon antifreeze jug would fit unless that is all that I put there. In reality I am not sure if I ever carried extra antifreeze. If I spring a coolant leak I can use cooler water or drinking water to get me off the trail. I rarely go wheeling in below freezing temps. Even when I do mid 20's is the lowest I might see. All our mountain trails with camping close for the winter. Plus where I live it doesn't get below freezing so even if I sprung a leak and drove the truck home on pure water I can park it overnight and not have to worry about it freezing.


Are you talking about where the factory sub goes? Are first and second gens the same in that area?


Got the oil mount painted just before the rain.

22881190916_55864d8143_c.jpg
20151109_144044 by Matthew Dresselhaus, on Flickr

22488868318_c92e17da23_c.jpg
20151109_144035 by Matthew Dresselhaus, on Flickr

One side mounts with two 1/4" bolts thru the inner fender well. You can see where the factory air intake remain intact so I stay smog legal.

22881181026_a65e2399d1_c.jpg
20151109_145435 by Matthew Dresselhaus, on Flickr

The other side mounts with two quarter inch bolts to the side of the radiator opening. It has to mount at a slight angle so the lover bolt has an extra nut mounted between the bracket and body. Gives just the angle needed to clear everything.

22907157015_17f459ab0b_c.jpg
20151109_145542 by Matthew Dresselhaus, on Flickr

A view from the top with no bottles in it.

22719160380_d22fee31ab_c.jpg
20151109_145525 by Matthew Dresselhaus, on Flickr

I put 2 quarts of ATF and 2 motor oil as well as one gear oil.

22893711892_e7f432d23f_c.jpg
20151109_145627_010 by Matthew Dresselhaus, on Flickr

Lid on ready to go.

22514996279_2d7d827ebc_c.jpg
20151109_145908 by Matthew Dresselhaus, on Flickr


Nice work!!:chug:


Are you talking about where the factory sub goes? Are first and second gens the same in that area?

That's the space, but I don't know if the gens are the same. If you made one that took up that space and went out nearly the body, there would be room for several quart bottles. I can get four in the pocket now (I don't have the sub). It could easily mount to the flat floor behind the panel.

I will post a picture of the space with a ruler for reference tomorrow.


It cleaned up the look of the interior a ton. Working on a metal center consul to replace the ugly wood one. Called around for metal and 18ga material is almost twice the cost of 16. It is being built out of 16.


I love how the parts get around. :chug:


Yeah parts get around. I use to have a seat from RangerX's truck at one point in this truck.

Started on my new center console. I took measurements from my old wood one and made adjustments to it. Then I drew up the pieces on the computer and cut it on my plasma table.

center by Matthew Dresselhaus, on Flickr

The pieces are tabbed with holes on each piece that after bending on the relief lines (because I still do not have a decent brake/press) allow the holes to line up and a pop rivet to be installed. The white spots in the pictures are each rivet.

20151130_175205 by Matthew Dresselhaus, on Flickr

The lid has both a latch to hold it securely closed when off road and a lock in case I want to lock valuables inside it.

20151130_190256 by Matthew Dresselhaus, on Flickr

Here it is set in the truck for a test fit. I still have a few adjustments to make then it will be ready for paint. I also am going to add an upholstery top to the lid.

20151130_191115 by Matthew Dresselhaus, on Flickr


That is over the top cool. You should clear coat it.

What is the advantage of rivets over welds? It seems like I am always grinding or drilling rivets and that sucks, so I rarely use new ones!! I suppose welds would be worse to remove.


Easy to remove is the biggest benefit over a weld. Do not need a bunch of clamps to hold it together during assembly. Other then a few bone head layout mistakes I made in the drawing the whole thing can be assembled with out the use of a tape measure. In theory when the two holes line up put a rivet in and pull. Due to my crappy brake I can't get repeatable bends. They are close but have just enough variation to sometimes cause headaches. I might go back and pull the rivets and weld it together. See how well the rivets hold up.


I was able to get my center console painted and installed today.

20151201_164247 by Matthew Dresselhaus, on Flickr

20151201_164312 by Matthew Dresselhaus, on Flickr

20151201_164539 by Matthew Dresselhaus, on Flickr

My wife's CJ7 has a similar setup and the seatbelt is always falling between the seat and console. To hopefully solve that issue. I added two holes on the side and ran a bungee cord thru the holes to hold the latch side of the seat belt in place.

20151201_164259_001 by Matthew Dresselhaus, on Flickr


Join the Elite Explorers for $20 each year.
Elite Explorer members see no advertisements, no banner ads, no double underlined links,.
Add an avatar, upload photo attachments, and more!
.


...Looks Great...Need to build you an upper tray in that console. .:)


Back
Top