How to: - A4LD DIARY - PT 2 | Page 3 | Ford Explorer Forums - Serious Explorations

  • Register Today It's free!

How to: A4LD DIARY - PT 2

Prefix for threads which are instructional.
HIGH REVERSE CLUTCH

This one is pretty straightforward. Prior to disassembly, I checked the clearance on the clutch pack... it was .070, which is within normal tolerance. ( I want something tighter on rebuild)

15286Dscn4451.jpg


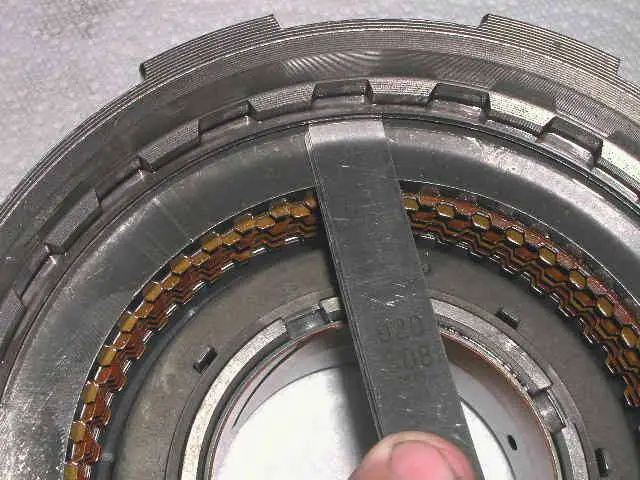
Next step is to remove the snap ring... easy enough...

15286Dscn4452.jpg


Then the pressure plate

15286Dscn4453.jpg


followed by the stack of frictions and steels. Now we are left with the spring retainer, held in place by a snap ring... this will need the spring compressor.

15286Dscn4454.jpg


Here's mine.... I picked it up off E-Bay for about $75, if you do a Google Search for Transmission Spring Compressors you will find the KD model (which this is am sure, even though it came in a Snap On case) for about that price. I have some issues with the design, and you can even make a DIY version, but for now, this one works.... so... here it is
15286Dscn4476.jpg


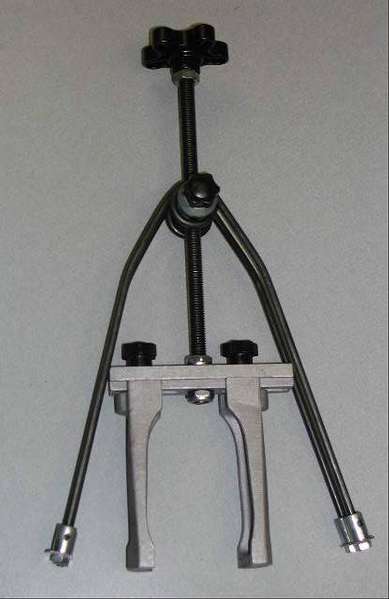
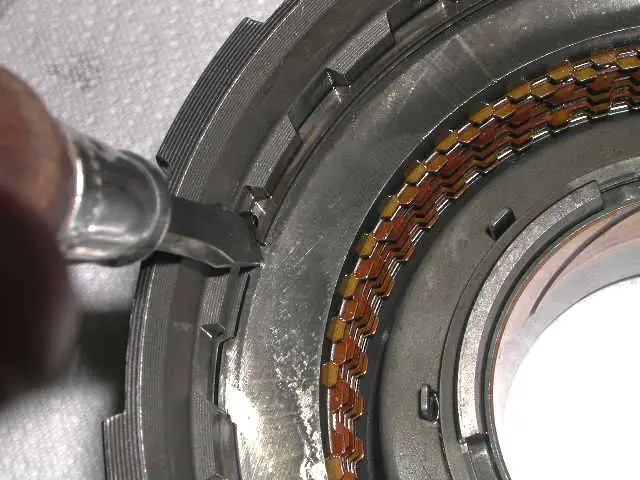
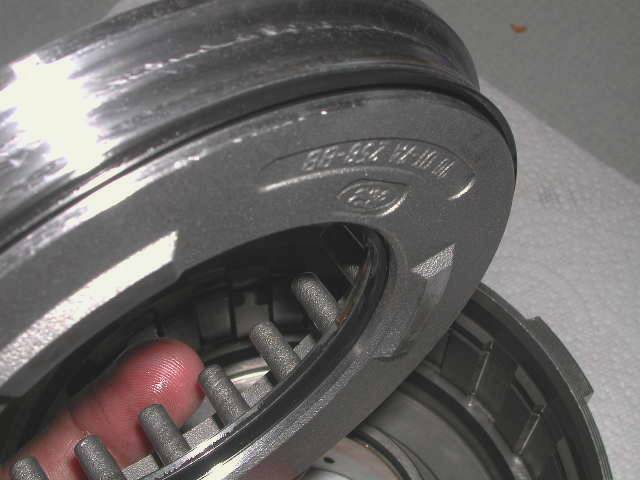
The one you see in the books is made by Owatonna Tool, do a web search for OTC-7024 and you will find it. It seems to go for about $100. Anyway, about mine...It is designd to snag in the snap ring groove, once the ring is out and the plates removed. You install it by squeezing the legs close together and letting it grab in the snap ring groove. Here it is installed
15286Dscn4486.jpg


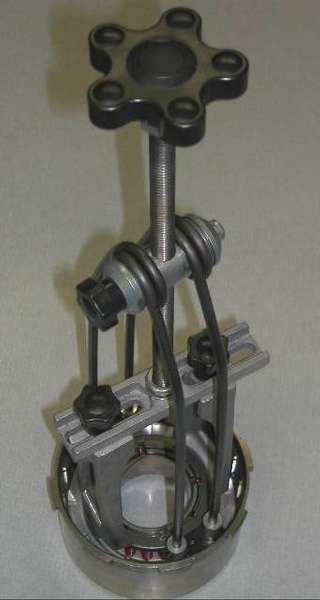
One of my complaints is that this design eats up valuable working room inside the drum. Anyway rotate the knob, compress the springs, and remove the snap ring, as best you can, in the space you have....
15286Dscn44601.jpg


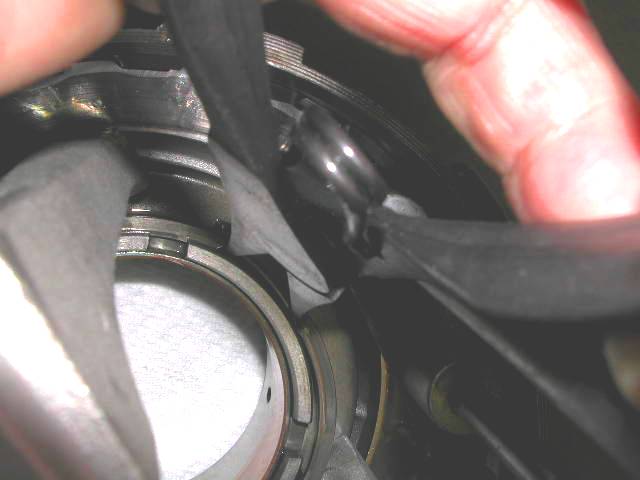
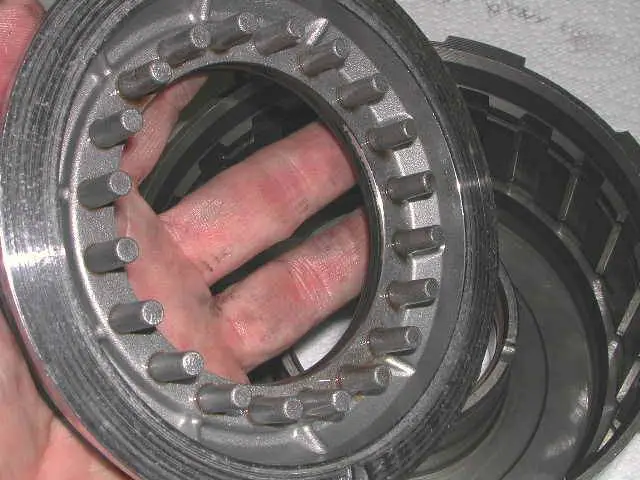
With it out you have just the retainer sitting there, begging to come out...

15286Dscn4462.jpg


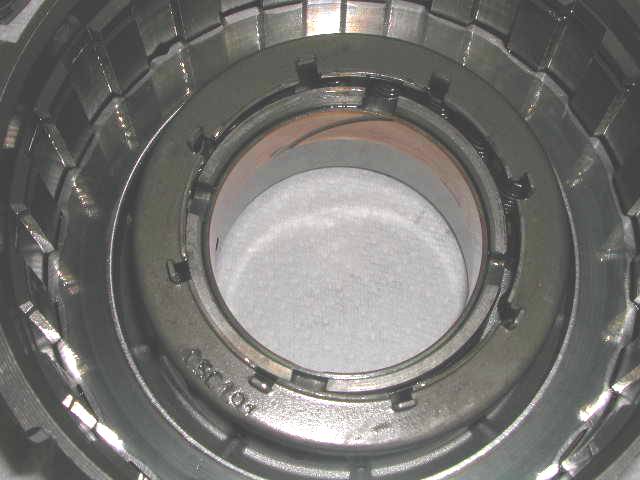
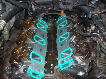
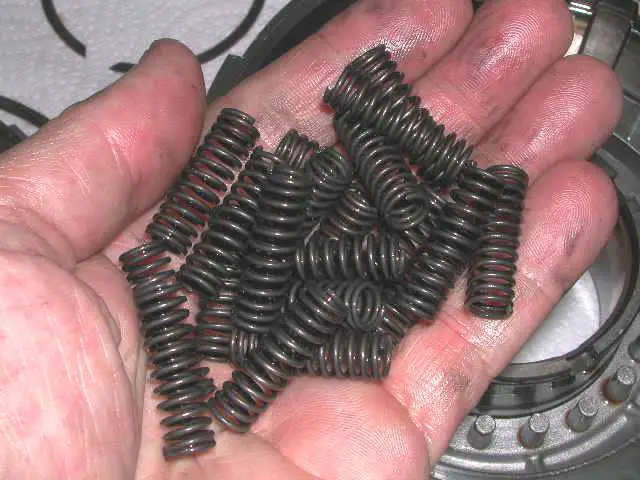
And underneath SPRINGS !
15286Dscn4463.jpg


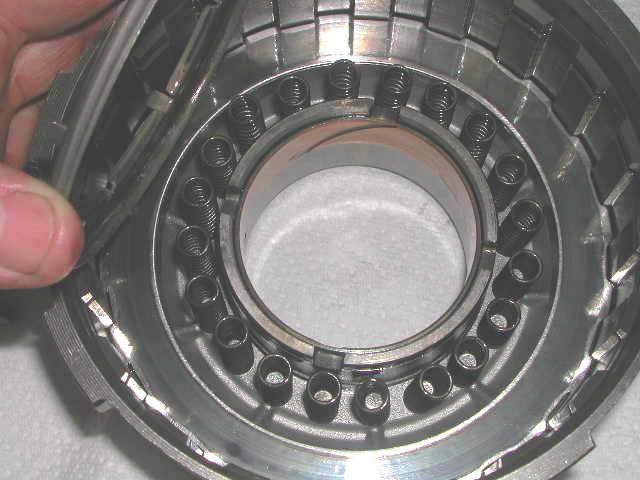
20 of 'em to be exact. Yep, another HANDFULL !! (could not resist). These are replaced with NEW ones from a kit.
15286Dscn4464.jpg


In this one all it took was a smart upside down RAP and the piston fell out...
15286Dscn4465.jpg


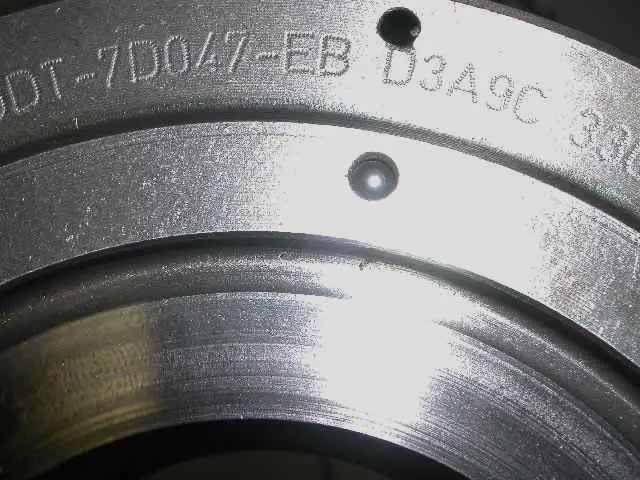
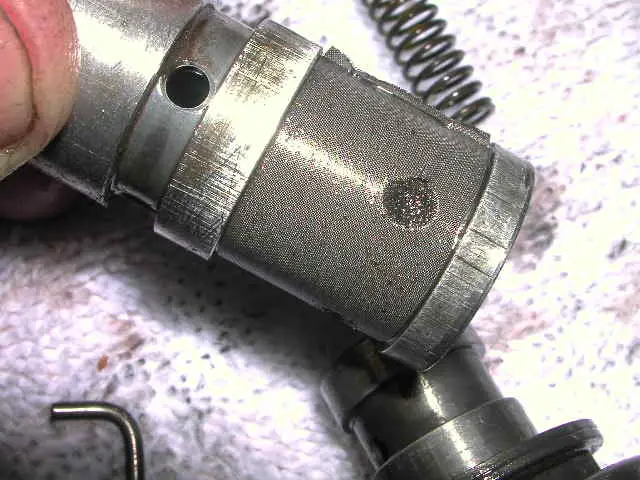
This one has lip seals.. which I just noticed from the pictures appear to have been installed backwards! (hard to tell though)

15286Dscn4466.jpg


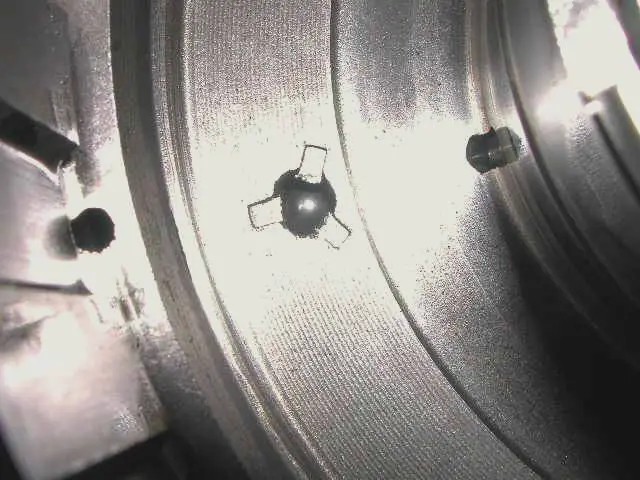
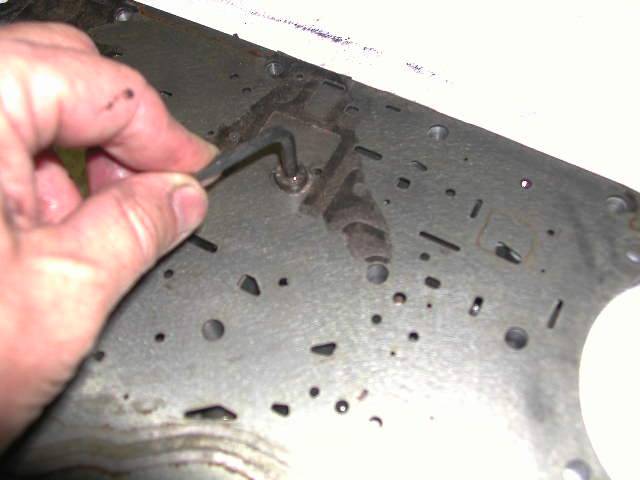
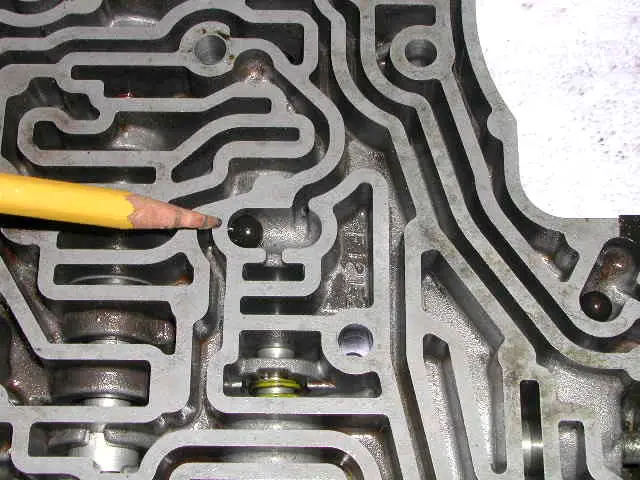
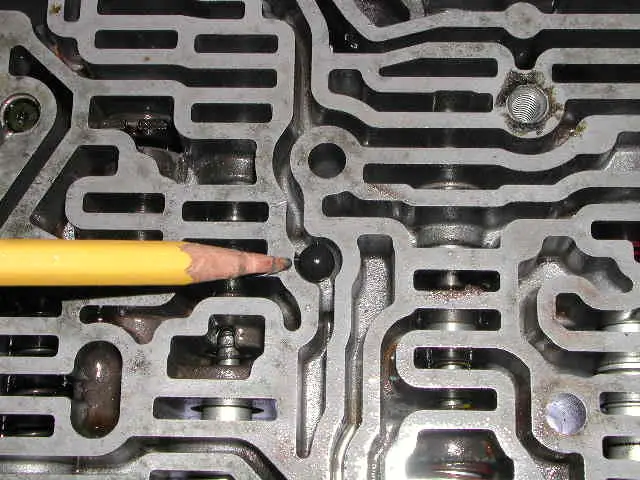
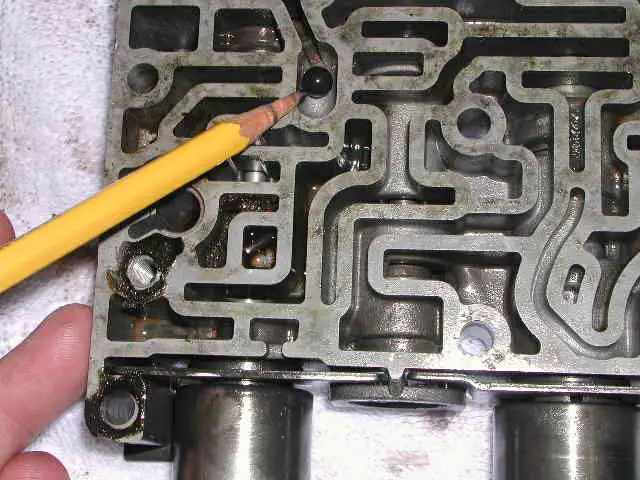
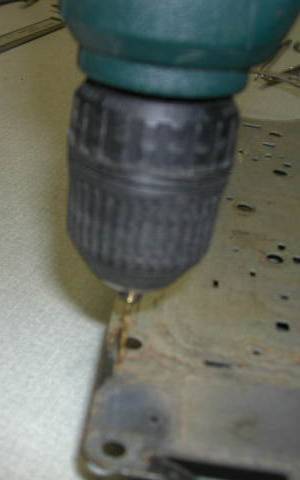
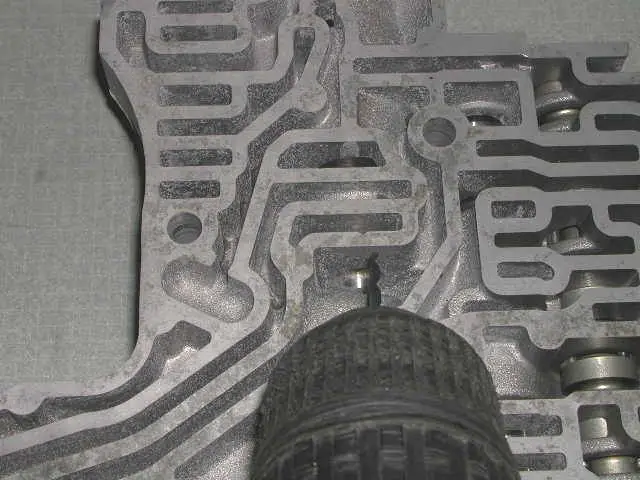
There is another check valve thingie, blow it out from BOTH sides... this one, like the other, did not rattle until cleaned, now it rattles !

15286Dscn4467.jpg


15286Dscn4468.jpg


Easiest way to get the old seals out ?
15286Dscn4469.jpg


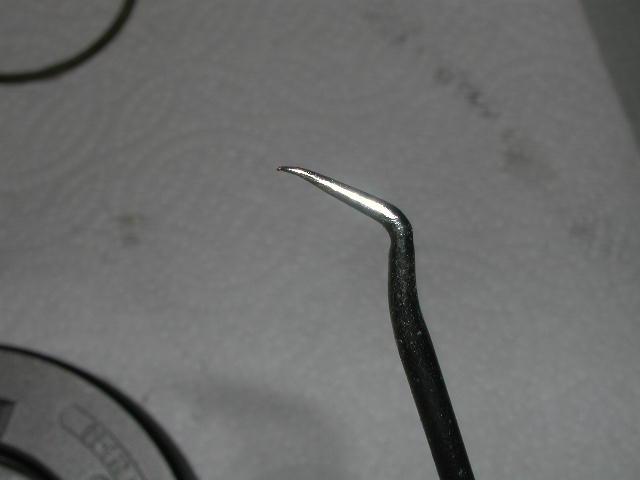
Snag that baby and pull 'er out..

15286Dscn4470.jpg


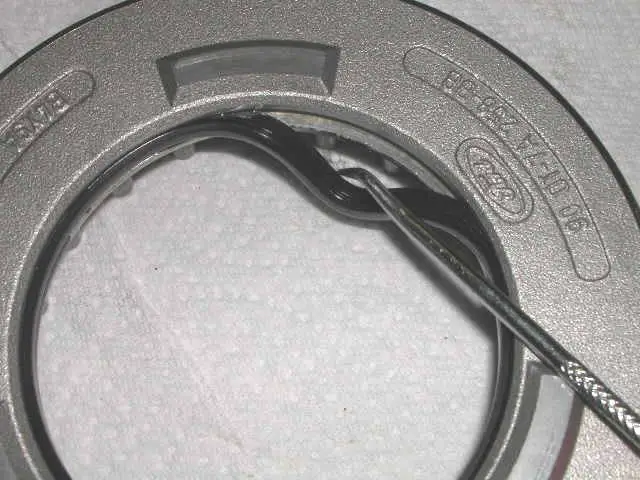
(looking close here, I am still wondering if these were in upside down). Anyway pull it out.

15286Dscn4471.jpg


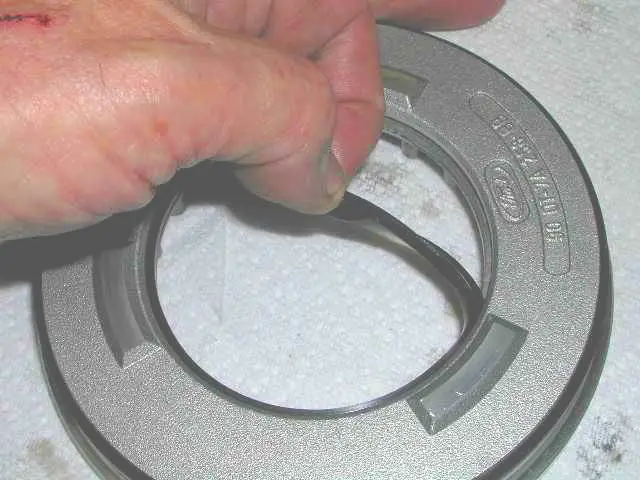
And with that the High/Reverse drum is all apart! Take a break and have a cold one.


Join the Elite Explorers for $20 each year.
Elite Explorer members see no advertisements, no banner ads, no double underlined links,.
Add an avatar, upload photo attachments, and more!
.


VALVE BODY - FINALLY !!

Ok you mosochists out there. Valve body tear down time. Those who have done this know the "rats ass" assortment of "tools" you assemble to do this... baling wire, gum, broom straws, forceps etc etc. Let us just say that this is a MAJOR PITA. Here's the crew of "tools... missing a couple ...

15286Dscn4372.jpg


It took me well over a hour to disassemble mine. I bagged each bore as it came out.... the diagram that TransGo provides with their kit is AWESOME.... you could put everything in a bag and still get it right. THANK YOU TRANSGO !

Ok here's a few initial pix... I got into the tear down and missed taking pix once I started... so for now the starters. Here's the valve body with the separator plate and gasket still on it... the towel is a stained white one...my GF let me have... by the time I was done it was ugly. Looked like I had been slaughtering hogs on it.
15286Dscn4350.jpg


turned over, here is the side you will see under the Ex with the pan off...

15286Dscn4351.jpg


There are 3 allen head bolts holding the plate on.... remove them...
15286Dscn4352.jpg


and voila.... the brains (ok ok with a gasket still in the way)

15286Dscn4356.jpg


Remove the "lingerie" of the gasket and you will find ... in my case.... a 91 ex trannie... 4 check balls and 2 hockey pucks.... so, more for me than you.... here are pix of the 4 check balls....
15286Dscn4357.jpg


2nd
15286Dscn4358.jpg


3rd

15286Dscn4359.jpg


an finally, 4th (damn - is it like this in your house, NEVER a sharp pencil?)
15286Dscn4360.jpg


And then there are TWO "Hockey Pucks" (accumulator check valves)

First one...

15286Dscn4361.jpg


and 2nd one...
15286Dscn4362.jpg


Here are the two solenoids removed.... easy enough to get out...
15286Dscn4363.jpg


Here is the screen part of he 3-4 shift solenoid. This screen is PLUGGED ! A definite problem child. Replacing this. If you lack a 4th gear, here is the likely culprit! And fixable from under the Ex!

15286Dscn4364.jpg


I found all kinds of crap in this valve body (including metal from the bearings) and some stuck valves.... I took it all apart and then ran the valve body through the dishwasher... GF was not home when I did this) I will do a step by step on the rebuild of the "brains" in the "Reassembly" part of this adventure.

Oh in case you wondered, out of the dishwasher here is the valve body!

15286Dscn4370.jpg


My friends at ATC (the new name for Aceomatic) were so nice I bought a can of assembly lube for the valve body (smells a LOT like WD-40)... and as I put it back together I will lube each bore as I go.... essential? No way!, but hey, they have been nice... and nothing to lose! I am still going to use Vaseline, rather than Trans-Gel! If I have any Vaseline left over, I can use it, How do you use left over Trans-Gel? (not going THERE!) Anyway here's the product, notice the beautiful hand? ( I should have been a hand model, no?)

15286Dscn4371.jpg


Next step is to drill the valve body separator plate according to directions. I stayed on the small side (.055) and avoided "FIRM" for the shift points (usually about .018 larger) FYI a number drill - #54, is .055.

there were several points to drill - they are clearly covered in the instructions - here's a required drill hole that was a tad under .055 so I upped it.

15286Dscn4373.jpg


and another
15286Dscn4374.jpg


Finally I drilled them out these to .055, and a couple others to different sizes. The kit came with drill bits, so don't worry about having numbered drills - just if you have hem you have some latitude. Anyway, it was all covered in the instructions... (sorry about the pic - hard to drill and take a pic)

15286Dscn4376.jpg


Finally, here is ONE hole you drill in the valve body itself... here's the process...
15286Dscn4378.jpg


and here's the final hole... .063 as I recall...
15286Dscn4379.jpg


that white crud is a powdery residue or something from the degreasing, it brushes out.... no biggie.

SO the valve body is ready for reassembly. I am using thicker plate gaskets.... I think that may be a good idea.


Man all this looks very familiar!!! hahaha

I did not assemble my A4LD but I was present while 80% of it was being built.


After approx 20-30K miles on my A4LD it appears the forward cluth is toasted.
If I put another A4LD in my truck, it will be temporary. I am now planning C5/4 which will work great for my purposes.

I still think the A4LD is a good auto with a bad wrap, but it is not up to the torture I put it through...
daily driver, 4x4ing, 33's, 4.0L, and get this Towing!

I have about $2000 in the tranny, including full rebuild, 2 converters, custom aluminum pan, cooling, mount, and gage.
Heat did not kill this A4LD, I believe expecting too much from it did.

:)

Dont overlook your transmission mount when you install this project of yours. It looks like you are doing an EXCELLENT job. I have heard rumors of using many 55RE parts in the A4LD, but thats about y extent of knowledge on that.
The stock Ford rubber mount on the trans and on the engine allow for ALOT of play and twisting, especially behind the 4.0. I used an upgraded mount from AutoFAB and am VERY happy with it.

Good luck and let me know if you want any parts! hahaha. I may or may not miss the OD with the new C4, but it sould work fine in a truck like miine which will likely be a trail rig in a few more years.........


I have been looking left and right for info on this looked at all the pictures from this post....line bored bushing and a new seal... when people talk about the Torque Converter not being aligned and causing failure/leaking bellhosing; is this what they are talking about this bushing and seal?

I'm trying to piece together things, but being new to the game is a disadvantage. thanks


Simple answer, yes. The two key factors are bushing being centered to the case if it has ever been replaced (if you leave it alone you are ok) and the pump being aligned to the bellhousing (if you leave the pump attached and it was never removed since the day it was new, you are ok). Remove either and special care is required on reassembly. Those pictures are not posted yet.


Glacier991: Thank you, you have answered my question and i shall be awaiting your rebuild of that piece when you come to it.


http://www.transtarindustries.com/FileStore/pdf/A4LD_03w.pdf

If you cant access this, just go to their main web page and view the online catalog..its very simple to get to.

This is a nice catalog online with the a4ld(4r44e or 5r55e) transmission exploded and broken down into all the different parts. This helped me visualize the transmission and the internal parts. Hope this helps out to any one who needs it!


You can get something similar for all transmissions at www.aceomatic.com. Previously I had some issues with Transtar pricing - might just have been on the item I was pricing - anyway it pays to shop around. I have to admit though I like the Ford part number cross reference - a great addition! Thanks for the post!


Two thumbs up....good reference there Glacier991


Originally posted by Glacier991

that white crud is a powdery residue or something from the degreasing, it brushes out.... no biggie.


Next time use a rinsing agent like Jet Dry in the dishwasher to minimize the hard water deposits.


Just Kidding :D


Shhh, not so loud, my GF might hear you and find out I did this in HER dishwasher !


Originally posted by Glacier991
. . .I am using thicker plate gaskets.... I think that may be a good idea.
Who makes these thicker valve body gaskets? Reason I'm asking is because the 5R55E is known to loose engine braking in 1st because over time it blows a gasket near the low/reverse servo. I know at least one person has had to repair this problem twice, and I'm thinking a thicker gasket material would be a good idea.

Here's the thread with pics of me fixing mine towards the end:
Dead Link Removed

BTW, Great Thread(s) :thumbsup: Can I send you my 5R55E for rebuilding once you get done with this project? :D


I only find the thicker gasket offered through 95. Not late enough for a 5R, and the ones I have have no maker's stamp on them.

GF would kill me if I shipped in trannie to rebuild. But, hey what I would not give for a side by side teardown/rebuild of an A4LD and a 5R!

As for upgrades, I find NO Sonnax 5R parts yet and am told many 5R parts are still only FORD available.

Part of me "believes" that cleverly done, 5R parts could be swapped into an A4LD.... but then I dream.

ps. Thank you for the compliments, it has been a labor of love. Hope it helps others. You CAN! DIY a trannie.


Bump to regroup


FYI; the powdery crud is actually corrosion from the dishwashing detergent which causes the aluminum to oxidize. It's not from hard water (calcium/magnesium). Jet-Dry and similar products (which are heavy in magnesium) may make it worse.


Clatterman said:
FYI; the powdery crud is actually corrosion from the dishwashing detergent which causes the aluminum to oxidize. It's not from hard water (calcium/magnesium). Jet-Dry and similar products (which are heavy in magnesium) may make it worse.

I was only kidding when I suggested using the Jet Dry. :p

I would either take it to a place that could clean it in a hot tank or just use a spray degreaser if it wasn't that bad. I wouldn't attempt the dishwasher because the GF would probably have an aneurysm if she found it.


another regroup bump


Glacier, is there anyway you would happen to have a Ford Factory PN for the Governor and everything??? I may try to clean mine, but if it doesn't work, I'll just but a new one and I don't wanna have to try and explain to the dumb parts guys what it is... Thanks in advance.

--Ryan


Join the Elite Explorers for $20 each year.
Elite Explorer members see no advertisements, no banner ads, no double underlined links,.
Add an avatar, upload photo attachments, and more!
.


I'll get it and post it here. It is a FORD product so the dealer has it and some specialty aftermarket places.. NOT Autozone and the like. I recommend Torrie at Ford Parts Network (a site sponsor) he is fair fast and prices way less than the dealer - and all FORD parts.

[11-2005 Edit] Here's a listing from Partsvoice.com:

http://www.partsvoice.com/partsvoice/content.cgi?page=search_description.html


Back
Top