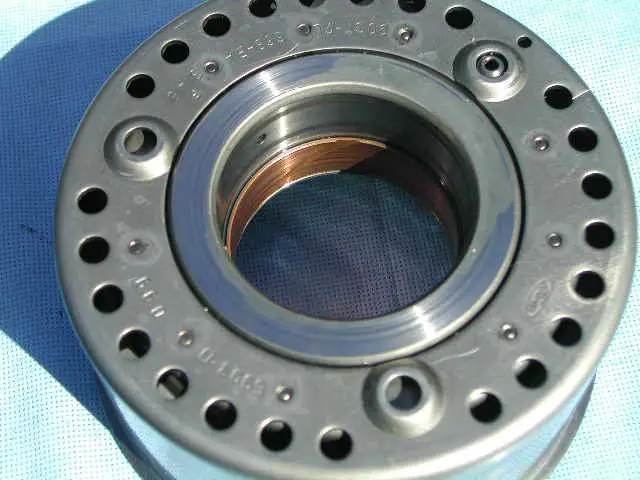
OD (or as FORD calls it - COAST) CLUTCH assembly
From the front, we will start the disassembly process on component parts. Up front after the pump is the OD clutch - Ford sometimes calls this the Coast clutch.
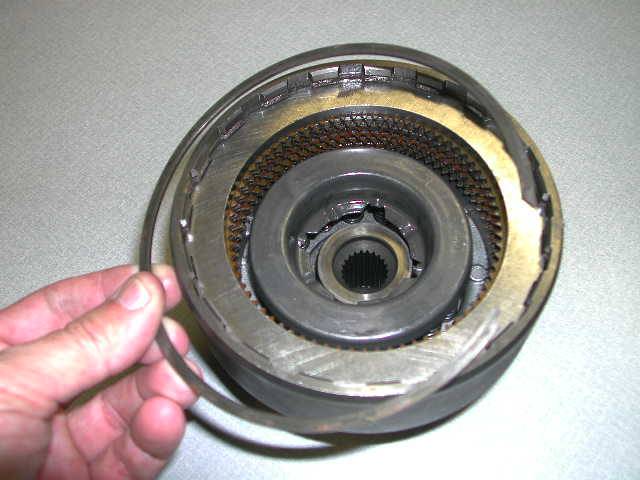
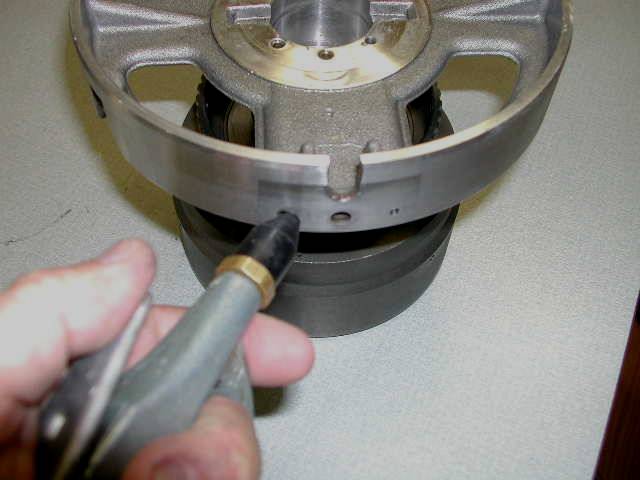
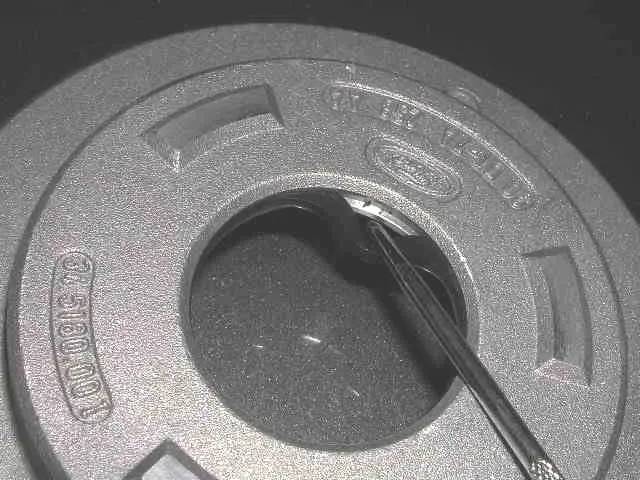
It starts with a snap ring, which is NOT under spring pressure... easy to remove.. here it is:
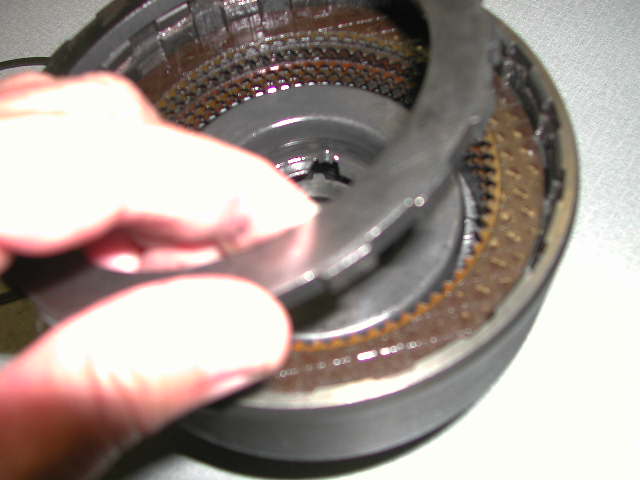
Regular old screwdriver will pry it out. I measured the clearance prior to removal and it was on the outside limits. (More about all this on the rebuild section, coming up) Under the ring is a thick steel "Pressure plate". Here it is coming out...
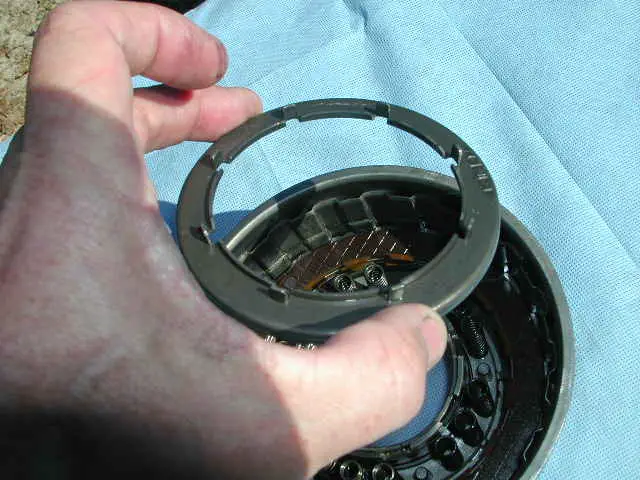
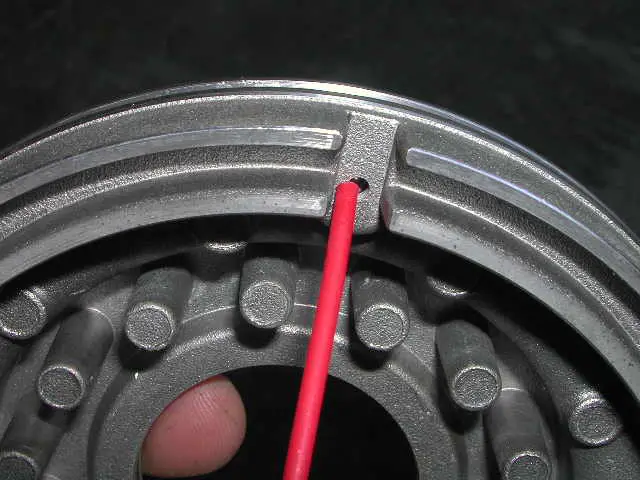
You can remove the steels and friction plates now if you like... I did, but am re-creating this for the camera, so for now I am leaving them in. There is no right or wrong order here. The next snap ring IS under spring pressure. We will devote ome time to discussing ring compressors, let's just ignore that for now and I have compressed the springs and removed the snap ring. This snap ring is a problem child. The steel retainer ring that sits on top of the springs was designed to make sure the snap ring stayed put. A new design does so even more positively. (Hey, let's revisit my insistence about that deal on snap rings being NEW! - bulletproof snap rings!) Ok the next snap ring is small, easiest removed with expanding snap ring pliers (more on that in the tools section later on) here it is coming out
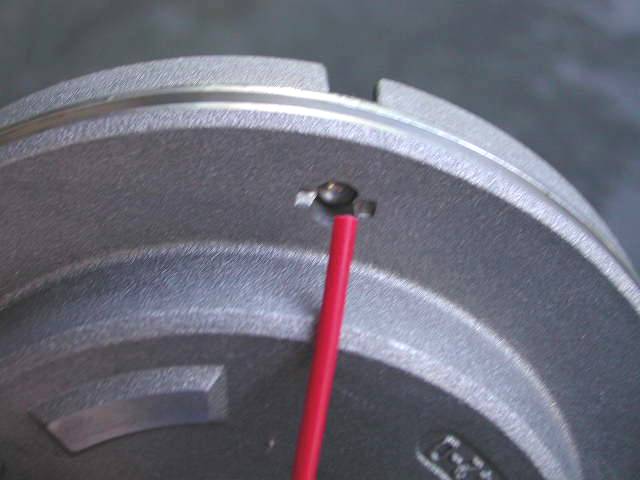
And under it the spring retainer (and snap ring retainer - old style) - those tabs sticking up are supposed to make sure the snap ring stays put.
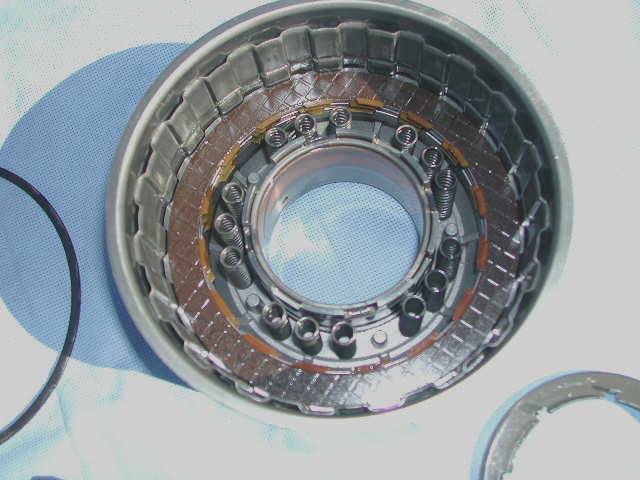
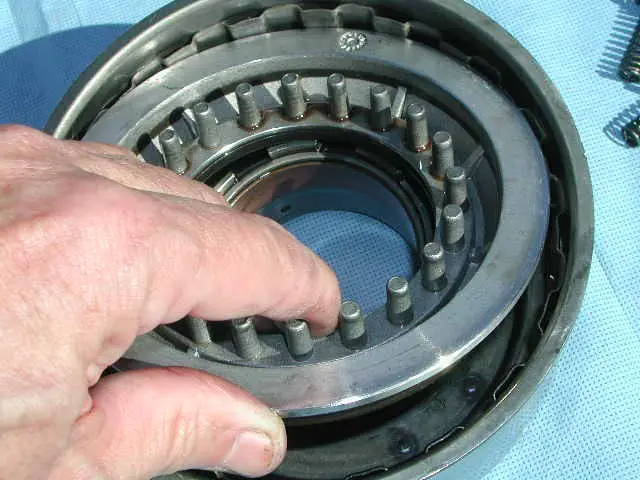
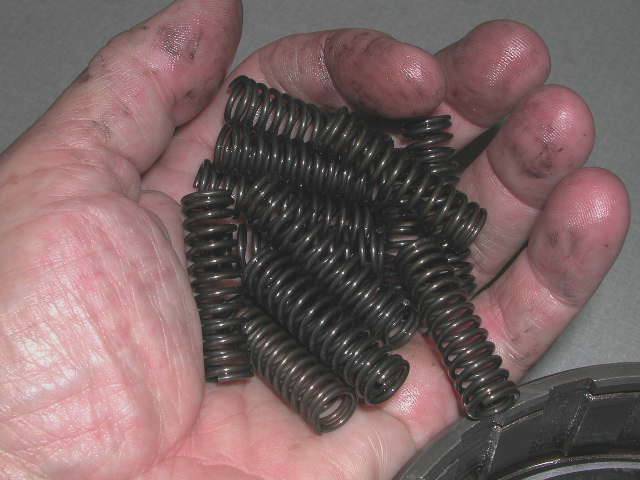
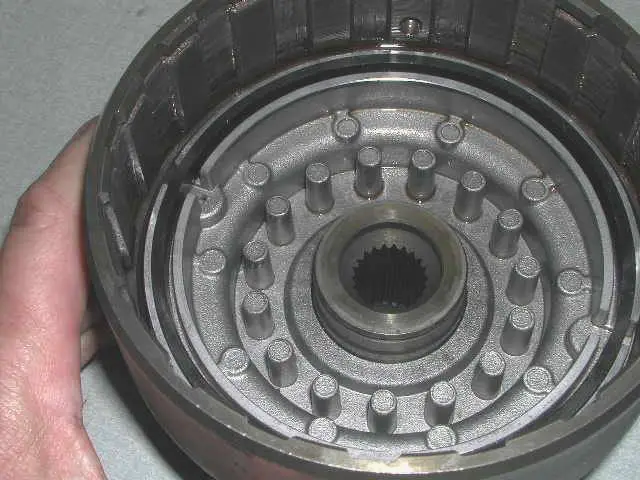
Now we see the 15 springs... in 5 groups of 3 with spaces in between
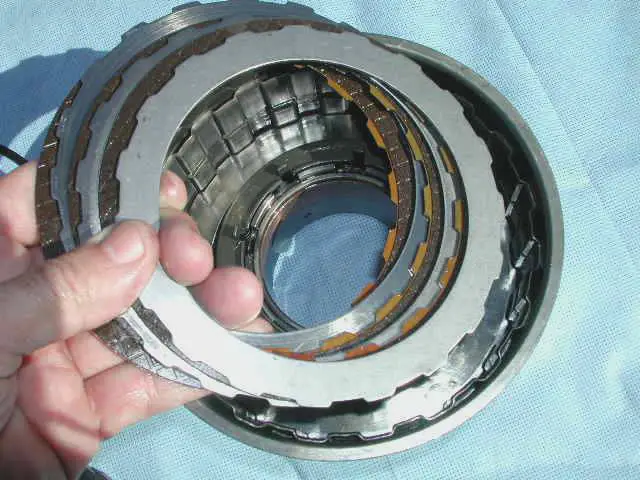
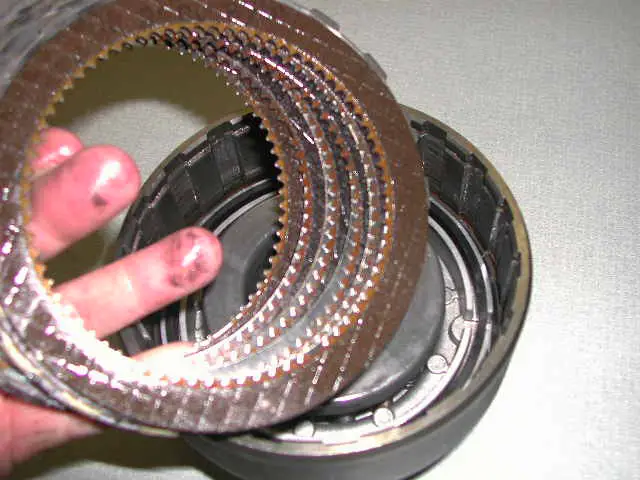
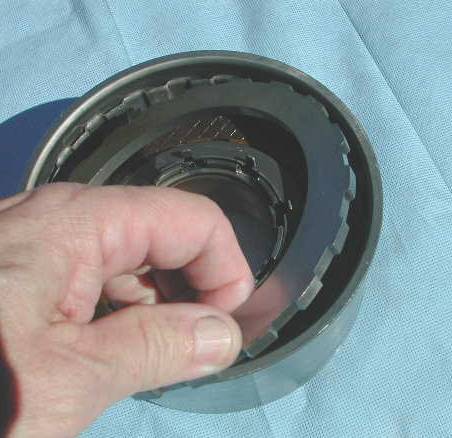
Ok, for the camera I will remove the remaining frictions and steels... [I am thinking I have the most photographed hands on Explorerforum] .. anyway, notice the mix, friction/steel/friction/steel etc.
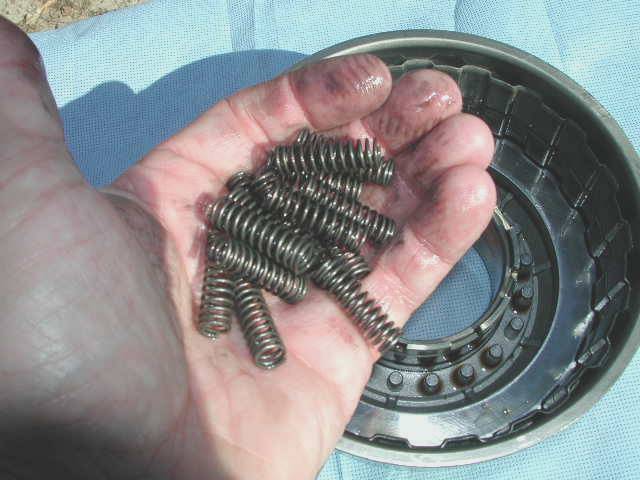
And then, a handfull of springs. In one rebuild kit we are installing, we will replace some similar springs, but not these. these will get reused.
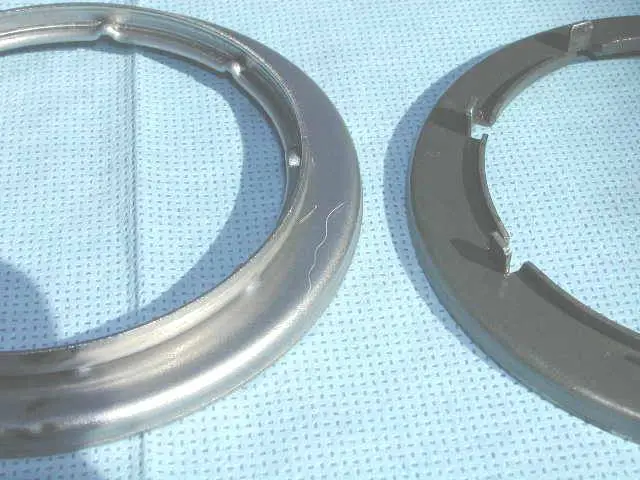
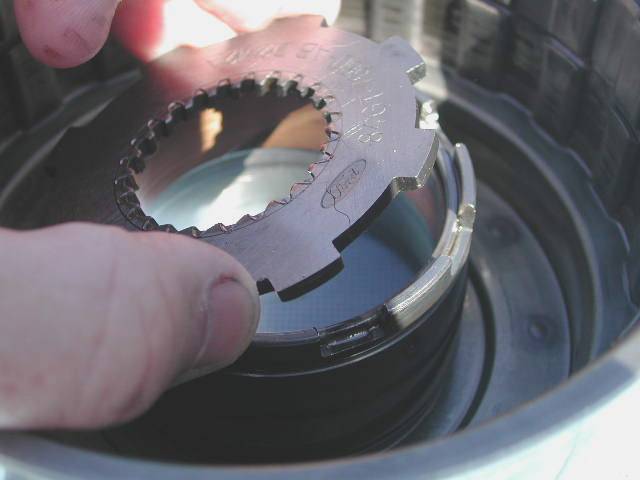
Let's take a side by side look at the new versus the old snap ring retainer... the new one the left completely surrounds the snap ring, the old used a tab bent up.
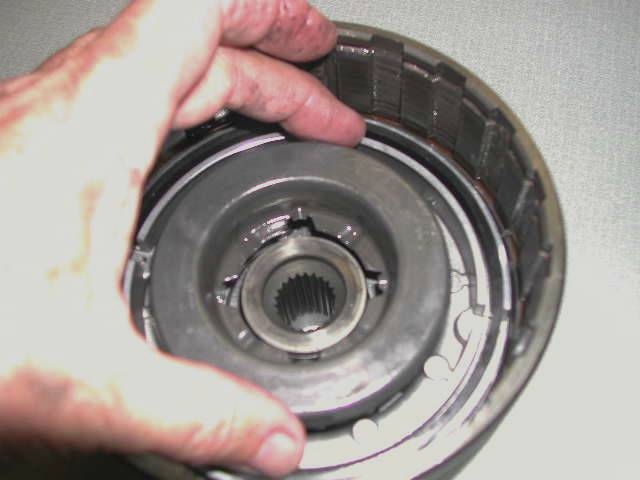
Now we are down to the piston. It should come right out. If not some air can be used - see the manual.
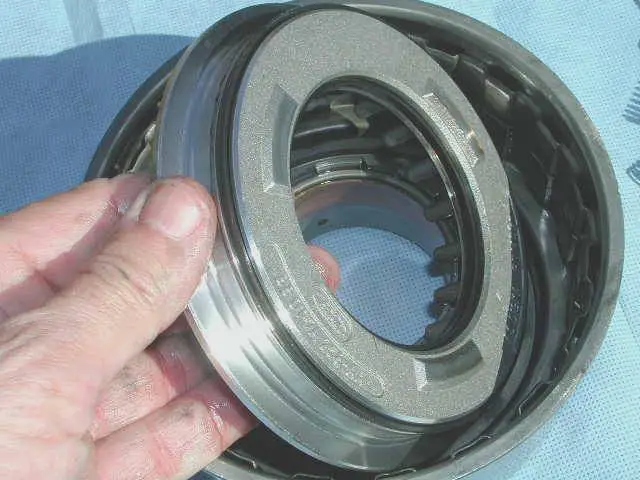
turned over you can see both the inner and outer sealing rings...
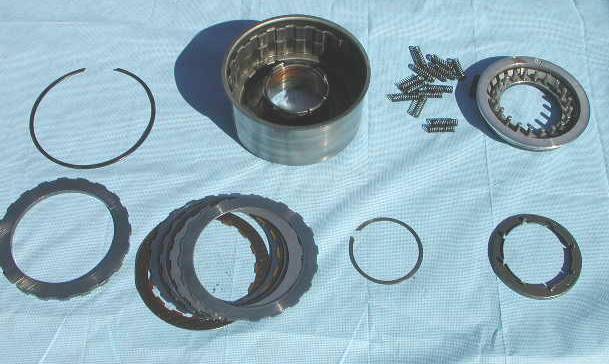
Finally, counterclockwise here is the order (ok the springs are not in the right place - sheesh) of what we took apart:
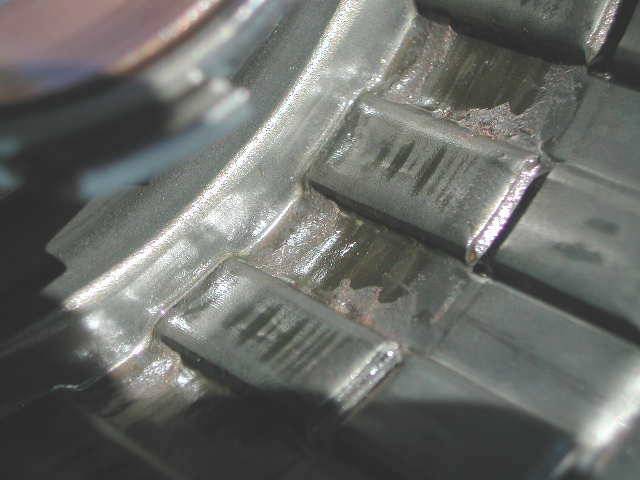
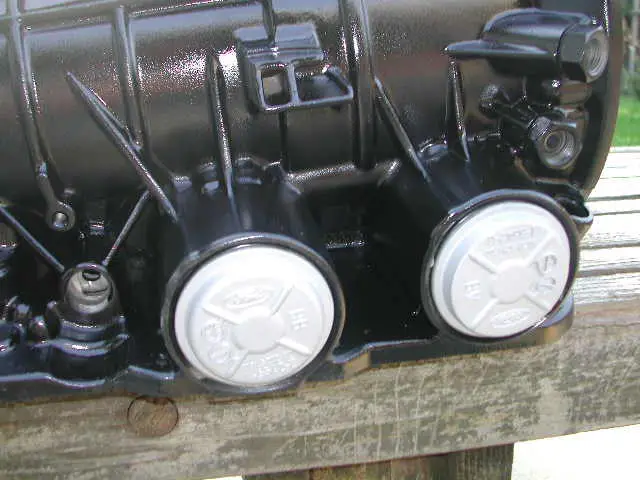
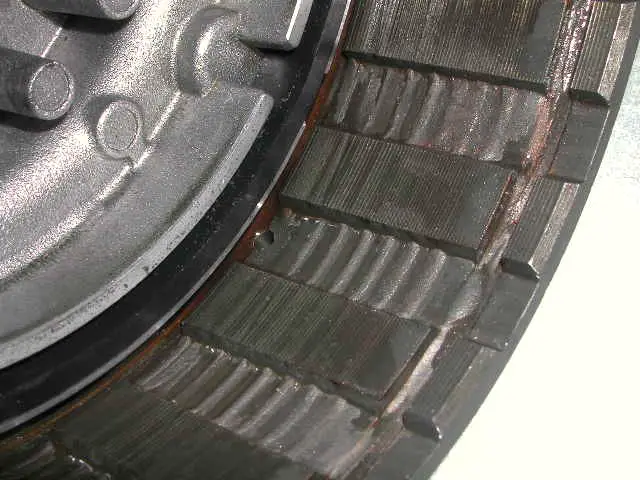
I have some issues with this stamped steel drum.... looks to me like the bearing surface is spinning eccentrically... see the wear and no-wear portions ?
Anyway I plan to replace it. - I am not sure I'd say that replacement is a "bulletproof" item, but I am replacing mine. Also the bushing in it is a PITA to remove. I want a new bushing here anyway.
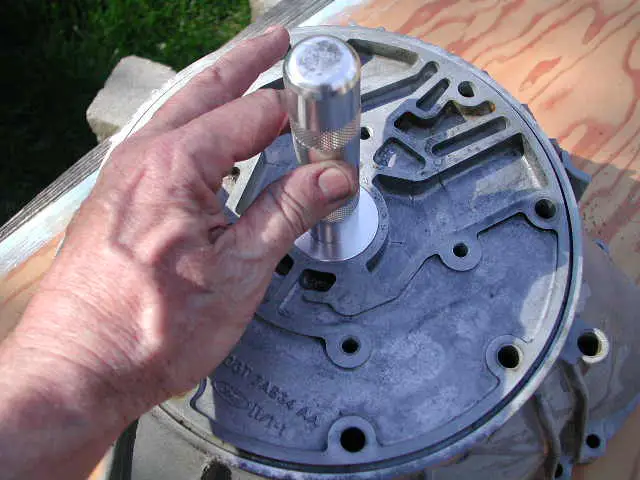
Remember the issue about the "castle washer" that Opera House complained of.. well here is the washer...
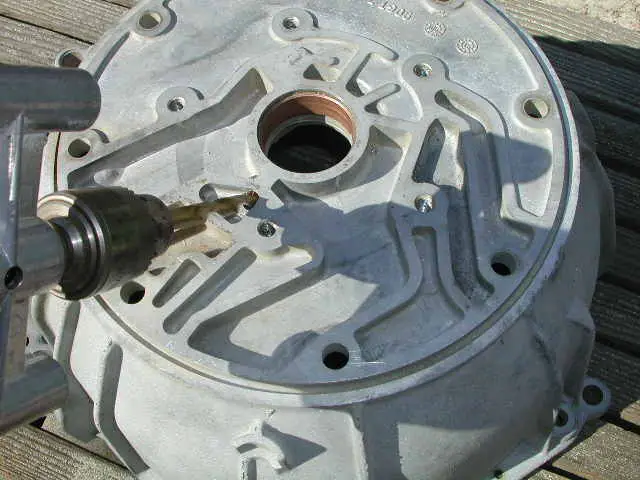
an in assembly here is where it sits, in the OD drum...
Make sure there are no "rounded edges" in here.
Also the OD drum seems to be a dumping ground for debris. Clean it out good. This is a low mileage rebuild and look at the crud accumulated