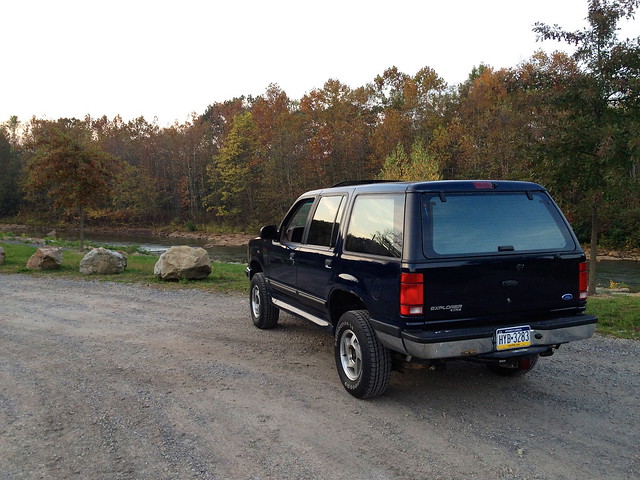
I can't seem to stay away from the Explorer world for more than a year. I just checked out a '94 XLT earlier this evening. She's in a rather rough state at the moment but I have plans for a nice winter truck for her.
Specs:
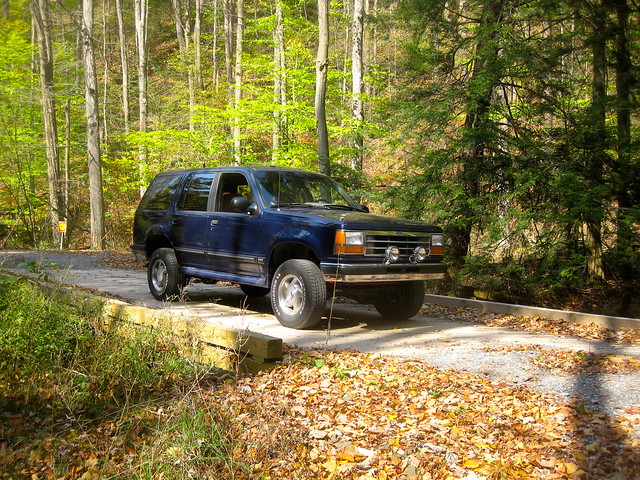
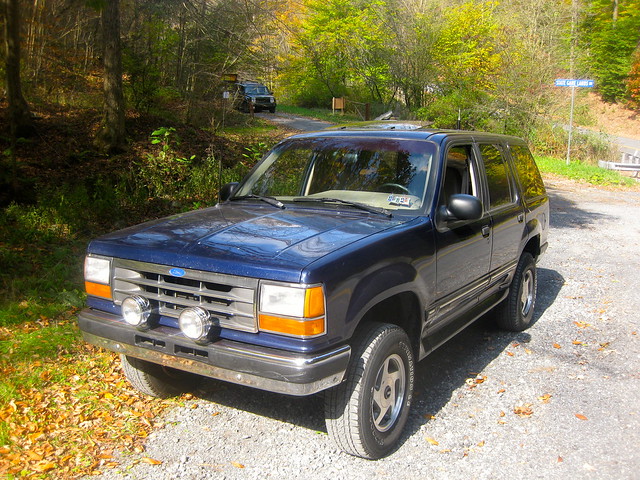
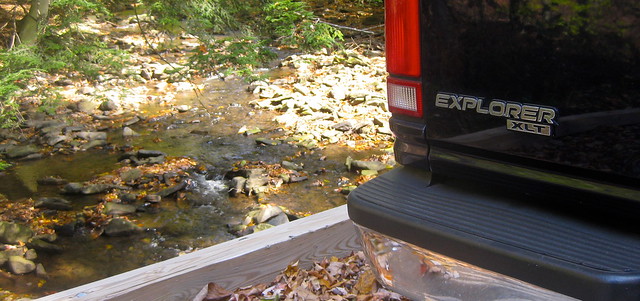
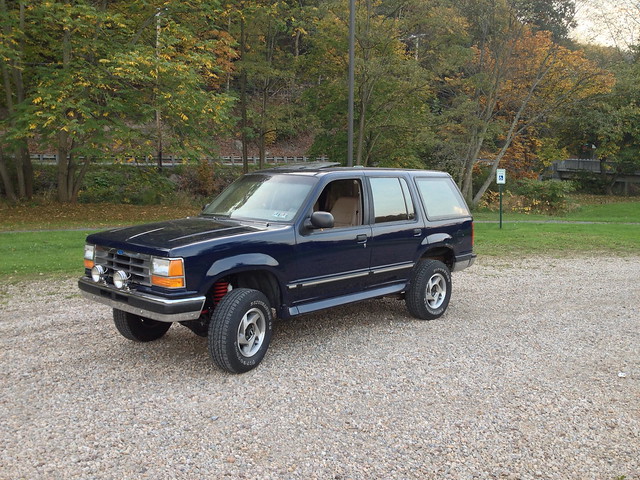
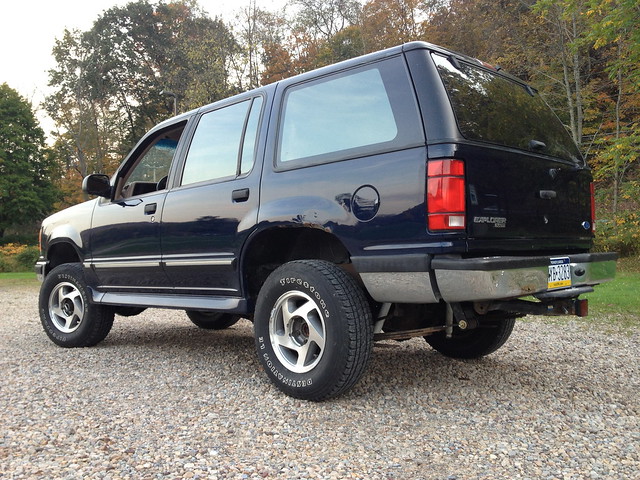
1994 XLT
Condition of the motor: unknown
Trans: not really there
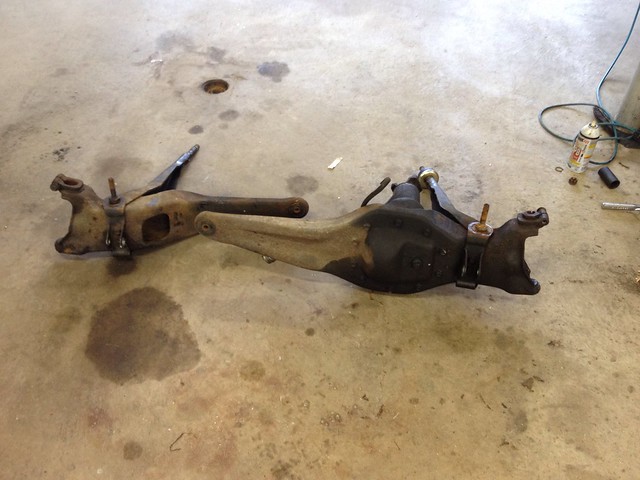
Transfercase: taking up space in the boot.
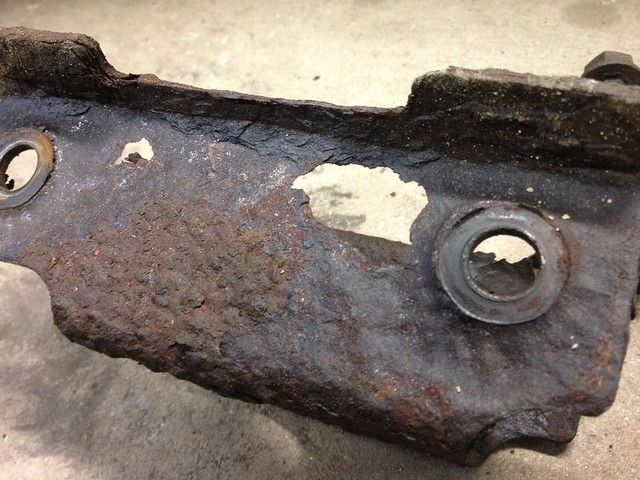
It has minimal rust for an 18 year old truck with 160k on the clock. Trans died and the owner decided to try to rebuild it himself. No such luck. It's currently sitting in a guys shop with the motor and two axles. All the parts are there except the trans which is junk. Body work is nice and straight. The passenger rocker has disappeared and a small amount of rust at the top of the rear arches. Interior is dirty, leather is rough but good new is it has a wind up sunroof!
I've just given my word on it. Title and transport should be negotiated on come Wednesday. For $350 I think it's good for parts at least!
First thing will be to get it rolling with a manual swap then continue to fix from there. Brake work will be needed with more maintenance I'm sure but I'm in no rush.
Glad to be back guys!

Specs:
1994 XLT
Condition of the motor: unknown
Trans: not really there
Transfercase: taking up space in the boot.
It has minimal rust for an 18 year old truck with 160k on the clock. Trans died and the owner decided to try to rebuild it himself. No such luck. It's currently sitting in a guys shop with the motor and two axles. All the parts are there except the trans which is junk. Body work is nice and straight. The passenger rocker has disappeared and a small amount of rust at the top of the rear arches. Interior is dirty, leather is rough but good new is it has a wind up sunroof!
I've just given my word on it. Title and transport should be negotiated on come Wednesday. For $350 I think it's good for parts at least!
First thing will be to get it rolling with a manual swap then continue to fix from there. Brake work will be needed with more maintenance I'm sure but I'm in no rush.
Glad to be back guys!
")