A 3” spacer will definitely add substantial stress to the ball joints on your upper control arms especially. I have found that Supreme Suspension makes lift spacers in various sizes. I would opt for one of the ones that provide a little bit less lift in order to prevent wear to your chassis components.
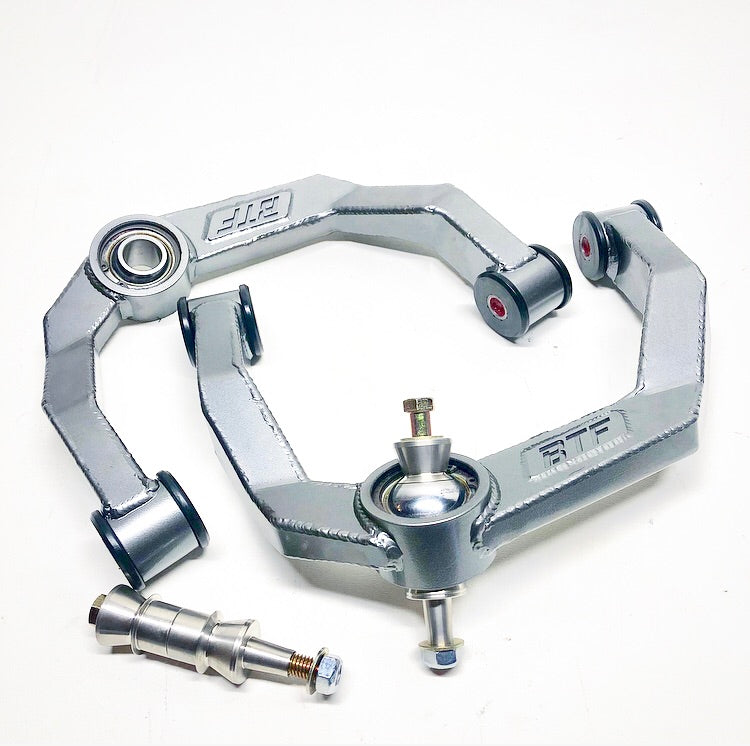
If you must go with the 3” spacer for the front end, I’d almost certainly recommend the custom made tubular BTF Fabrication uni-ball upper control arms, found here:
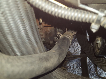
Our uniball upper arms offer more articulation than stock arms and replace the weak upper balljoints with heavy duty 1” FK uniballs. These arms are slightly longer than stock to maintain proper alignment on lifted explorers. Arms are powdercoated gunmetal grey. Parts are made to order, lead...
btffabrication.com
I plan to add these in the future, but they are custom built to order, and at $600USD + shipping, will add significant cost to your build. Best of luck!