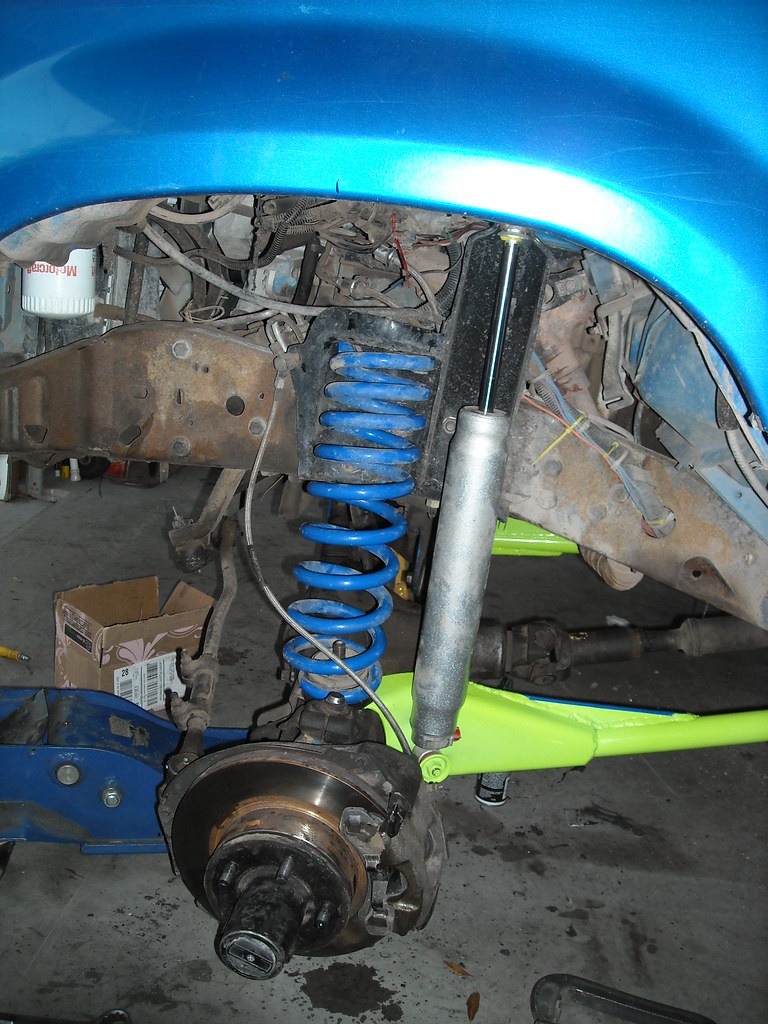
um... thats just the boot, not the body of the shock
That's not just the boot, the picture's not great but that is the top of the upper mount's lower bushing with the shock fully extended. It lacks 2" of length while drooping and I dont have any weight other than the axle housing and the extended radius arms on it. I can't imagine what it will be with tires and everything installed...
No, the shocks shouldn't...
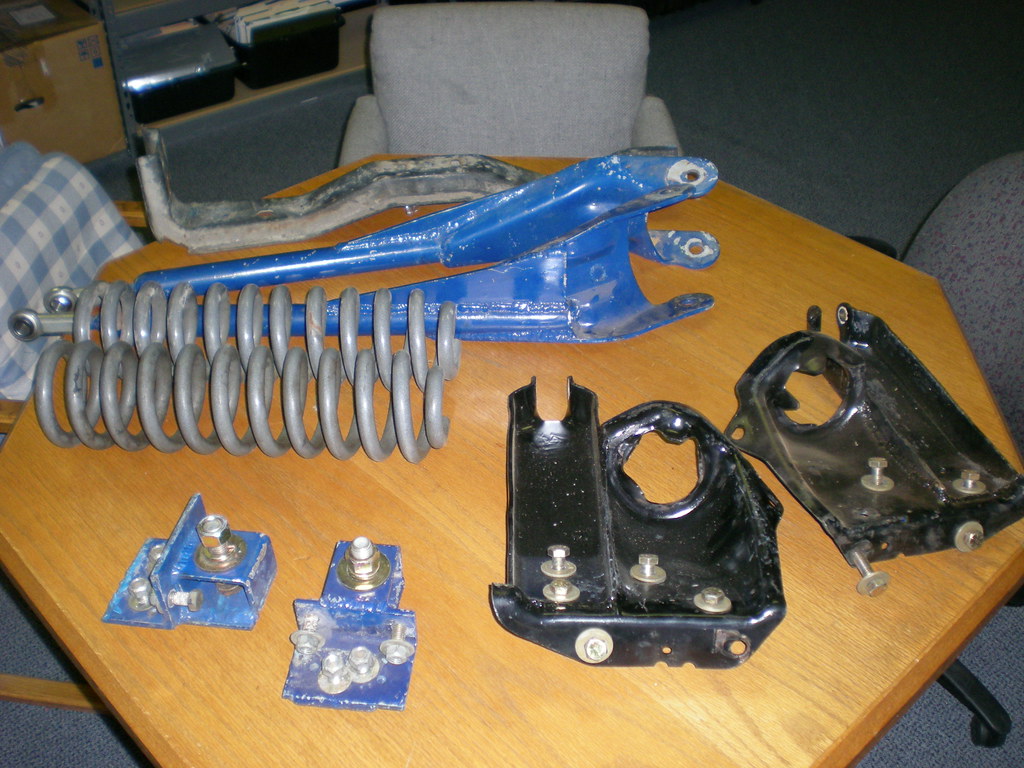
If you cut off the factory upper shock mount and put on an f-250 mount...
~Mark
Thanks Mark, I knew it wasn't right before I posted. I just needed validation before I call them up (AGAIN) and ask for something that fits...
I am very uneasy about how the springs sit in the rig! Frankly, I wouldn't want to take it out past the end of the driveway the way it is now.
The new upper mount sounds like a good starting point!
Do you have a link that shows some pics of what you have done?
This thing feels like it will have way more droop than compression!
Have you had to do more modifications to keep from tearing up your front drive shafts during flex?
For now, I am going to have to settle for trying to get SupperLift to ship me longer shocks. Whatever I put in there now is going to be disposable. I have to get the body on to see how much compression I have.
I'll have to go with some homemade limiting straps for now; I have to get this front end together so that I can get the SOA done so that I can start roughing on the body of the truck so that I can figure out tire size so that I can figure out gearing so that I can...
......This thing has to fire up and move on its own power by this February! I don't care if I am sitting on milk crates and the body is held together with duct tape; I will take my 1950, F-1, 4X4 for a test drive on my 50th Birthday!

 ...1/2 a century old..


