PlatinumOwner
Well-Known Member
- Joined
- March 6, 2016
- Messages
- 478
- Reaction score
- 150
- City, State
- US
- Year, Model & Trim Level
- 2016 Explorer Platinum
Larger photo of the liftgate lighting

Interesting...
I ordered 2 different sets that were supposed to fit my 2017 XLT and they were off on setup. UGH!View attachment 159813 View attachment 159811 I just got back from Texas to find this pair of Steering Wheel shifter extensions in blk waiting for me. It was a 5 1/2 week wait. They are aluminum and come in 4 colors(blk,red,blue&grey). They are sold on eBay by global_drive. Thanks to jonnoriega for finding them and posting the pics and info. The second thing I did for my X is a 2018 Stanley Cup Champs magnet. CAPS!!! (Finally!!!)
I like this!
Explanation please! I'm a big time geek and am very curious.
I want this in my 19 Limited...Custom Full Screen Instrument Panel Cluster Mod (16-19 Platinums)
This post will detail the modification, flashing, and bezel removal to convert the 16-19 Platinum Instrument Panel Clusters to a full-screen display(no longer a hybrid digital/analog IPC). This mod was made possible with custom designed firmware graphics by Pawel and a 3D-printed bezel by...www.explorerforum.com

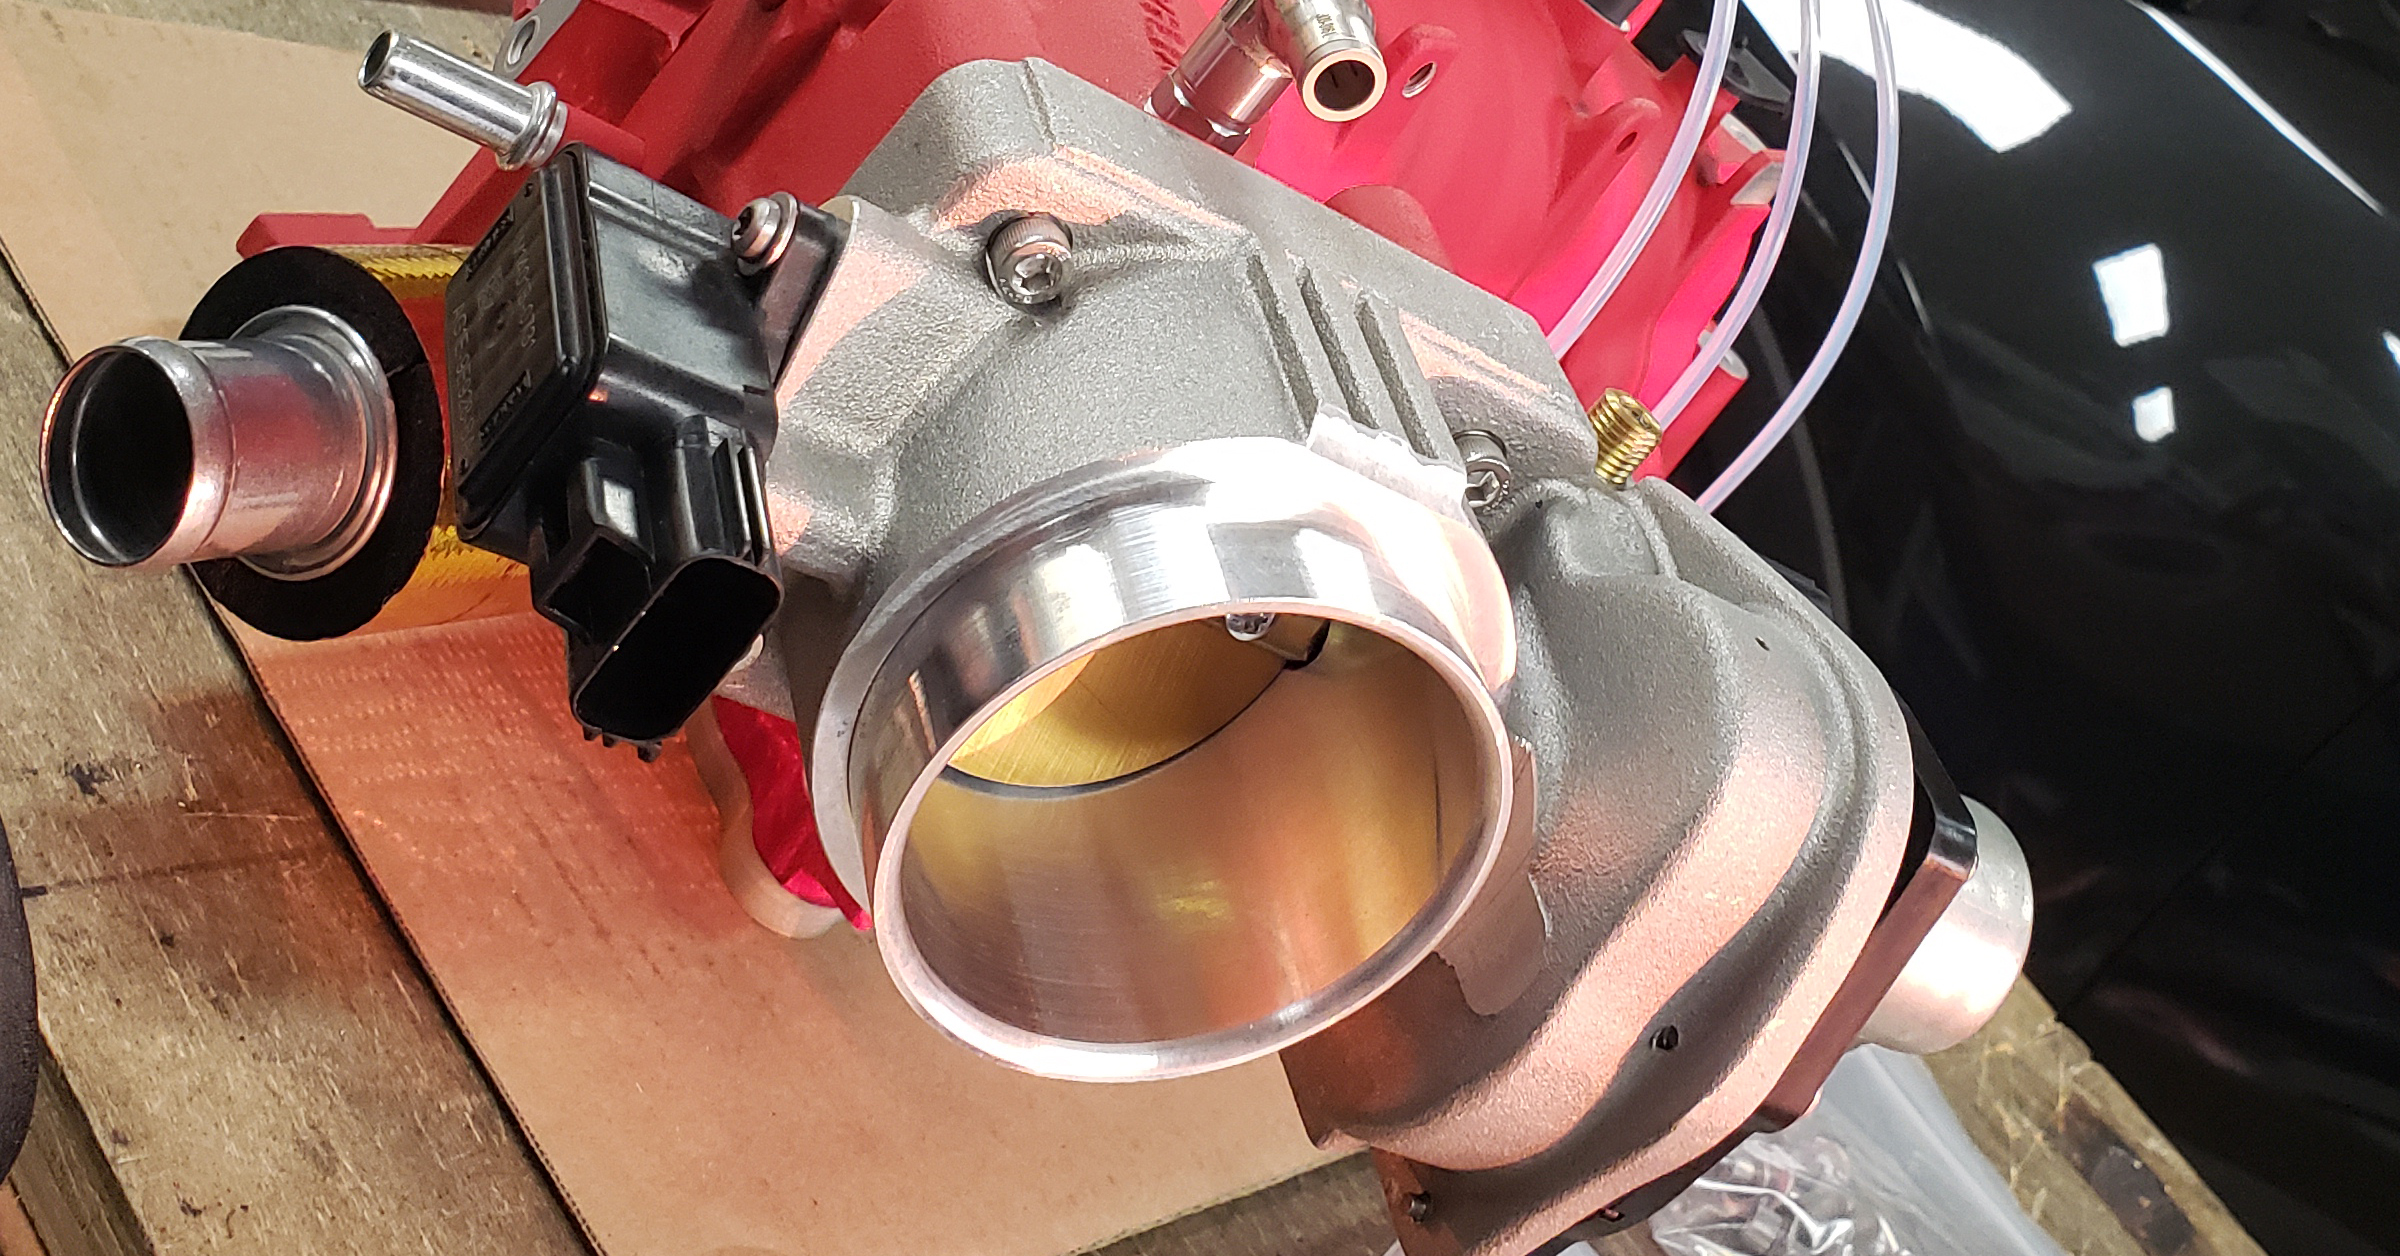
I have been preoccupied and haven’t gotten around to posting this until now. I would like to get the BBK 73mm throttle body but until I have the time to port the intake TB flange and decide what to do about the o-ring it will have to wait. In the meantime I saw Fasterdamit!’s post about the GPE Venturi style ported throttle body and was curious. It made sense to me so I decided to give it a try. The Venturi style porting causes an increase in velocity which is good thing. I am happy this with GPE TB, it does what GPE states. When I do finally go with the BBK TB, I may try the Venturi style porting on it.


Please, more info on the Hood Struts, I would love to ditch my Hood prop rod.Not today but last weekend I did a couple things. The first was install some hood struts so I don't have the prop rod in the way. The other was the side steps/running boards. I know lots of people on here don't like them but if you have a vertically challenged wife, they are a necessity. It was a challenge for her to get in the driver's side without grabbing on to the steering wheel and pulling herself up. Now it's an easy step up.
The struts were and easy install. Took about 5 minutes total.
The side steps on the other hand were kind of a PITA. I got ones with three supports instead of two. They are much more rigid when stepped on. The outer supports were easy. Most of the mounting holes are already there. Only one hole needed to be drilled through the pinch weld. It was the center support hole that was the problem. The outer hole locations were not welded together. The center one was. Drilling through three layers of metal that has been spot welded together is a lot harder than I thought it would be. Took forever and broke a few drill bits along the way but it's done and looks really nice.
View attachment 428636 View attachment 428637 View attachment 428638 View attachment 428639
I saw them on the Steeda website. They have two models. I got the "better" ones. Steeda was out of stock so I went to the source. Redline Tuning. They are for all 2011 thru 2019 Explorers. Two bolts on the strut towers are used and a pre-existing hole in the hood behind the liner. Just pop a hole where needed and tighten. Easy peasy.Please, more info on the Hood Struts, I would love to ditch my Hood prop rod.
Thank youI saw them on the Steeda website. They have two models. I got the "better" ones. Steeda was out of stock so I went to the source. Redline Tuning. They are for all 2011 thru 2019 Explorers. Two bolts on the strut towers are used and a pre-existing hole in the hood behind the liner. Just pop a hole where needed and tighten. Easy peasy.
Link to the struts
Please, more info on the Hood Struts, I would love to ditch my Hood prop rod.
I might do this too. Did you order yet?Thank you