BonesDT
Elite Explorer
- Joined
- July 12, 2002
- Messages
- 1,074
- Reaction score
- 8
- City, State
- Westchester, NY
- Year, Model & Trim Level
- Red '99 Sport SOHC 4x4
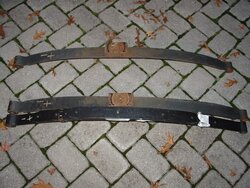
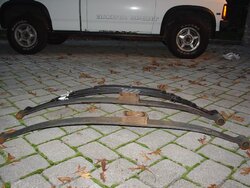
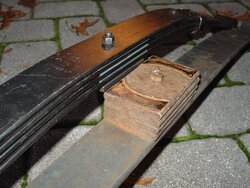
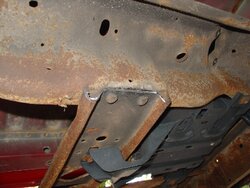
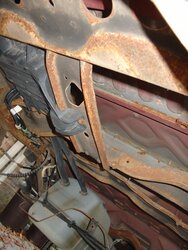
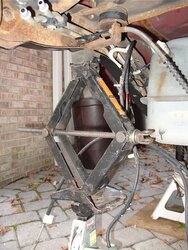
you could offset the lift you get with putting the stock shackles back on, i see you have aftermarket ones that are longer,,
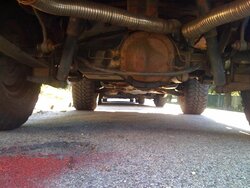
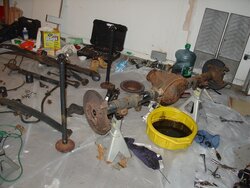
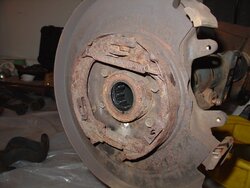
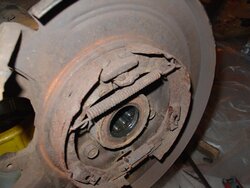
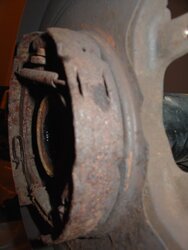
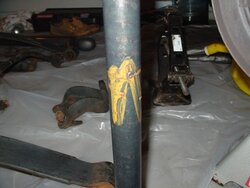
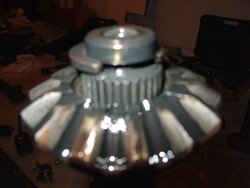
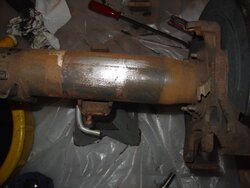
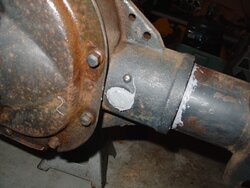
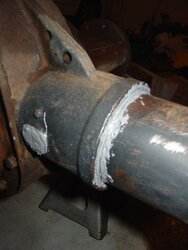
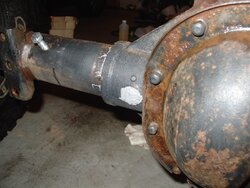
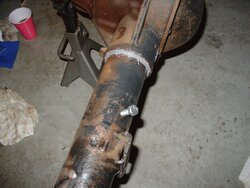
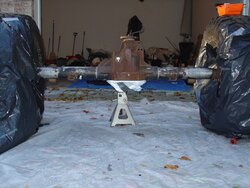
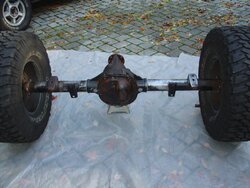
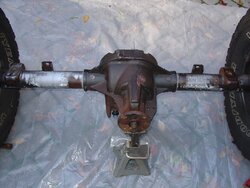
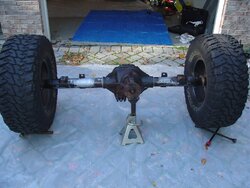
That's odd -- sounds like someone went over this axle before. Irregularities in an axle shaft (like sharp edges, gouges, and so on) are stress concentrators. But I dont think you'll be breaking those with stock (or near-stock) tire size.1st question: I found this yellow paint-stuff on the driver's shaft, plus two little knobs. Is this bad to not be smooth?
stock (or near-stock) tire size.