-
Ford Explorer Community - Maintenance - Modifications - Performance Upgrades - Problem Solving - Off-Road - Street
Explorer Forum Covers the Explorer ST, Explorer Sport, Explorer Sport Trac, Lincoln Aviator,
Mercury Mountaineer, Mazda Navajo, Ford Ranger, Mazda Pickups, and the Ford Aerostar
Register Today It's free!
is
-
K
Is mkx swap possible?
I know the mkt is the best for swapping but they’re very rare, one of the only part outs being 5 hours away. There are plenty of MKC and MKX’s around for part out though are any of those compatible?- KHL2077
- Thread
- help is lincoln seat seat swap swap
- Replies: 2
- Forum: 2011 - 2019 Police Interceptor Utilty PIU
-
E
What is this part?
Hey gang, What is this part he's pulling out of evap core tube at >>> 28:32 mark of video ...? It sounds like he's caller it a "needer and tie" ??? ALSO, I've heard a major shortcut in replacing these evap cores in our Explorers is just removing / getting heater core hoses out of the way...- EB4X
- Thread
- is part this what
- Replies: 9
- Forum: Stock 1995 - 2001 Explorers
-

A multimeter is on my wrist.
- BrooklynBay
- Media item
- a is multimeter my on wrist
- Comments: 0
- Category: General Photo Album
-
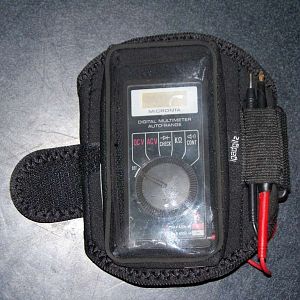
A multimeter is in the armband.
- BrooklynBay
- Media item
- a armband in is multimeter the
- Comments: 0
- Category: General Photo Album
-
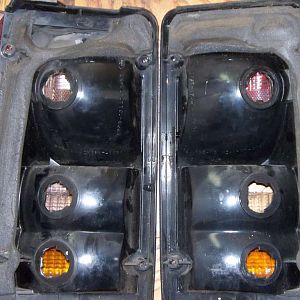
The 1995 taillight is on the left. The 1996 taillight is on the right.
This is a side by comparison between the socket holes on two Aerostar taillights.- BrooklynBay
- Media item
- 1995 1996 aerostar and is left on right taillight the
- Comments: 0
- Category: General Photo Album
-
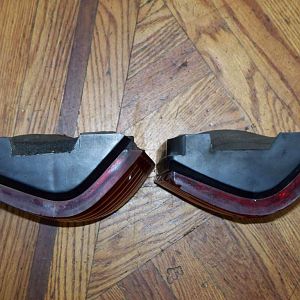
The taillight on the left is the finished product.
- BrooklynBay
- Media item
- finished is left on product. taillight the
- Comments: 0
- Category: General Photo Album
-
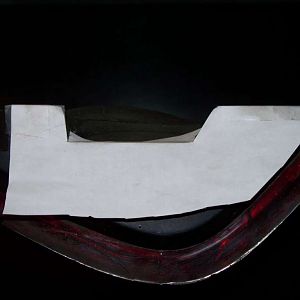
A template is made from the cut taillight.
- BrooklynBay
- Media item
- a cut from is made taillight template the
- Comments: 0
- Category: General Photo Album
-
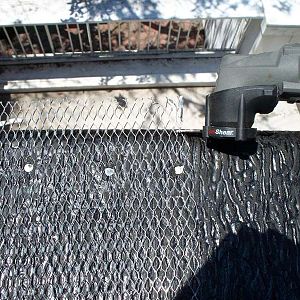
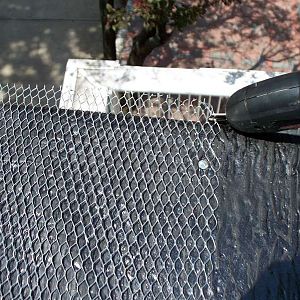
Wire mesh is nailed down.
- BrooklynBay
- Media item
- down is mesh nailed wire
- Comments: 0
- Category: General Photo Album
-
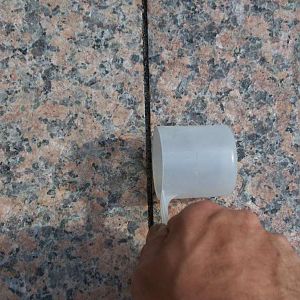
Water is sprayed into the seams.
- BrooklynBay
- Media item
- into is seams sprayed the water
- Comments: 0
- Category: General Photo Album
-
The cutter is an attachment.
- BrooklynBay
- Media item
- an cutter is the
- Comments: 0
- Category: General Photo Album
-
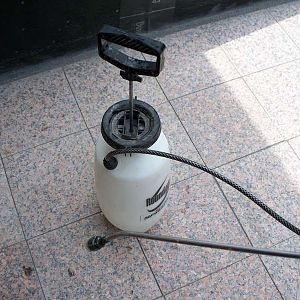
Paver sealer is applied.
- BrooklynBay
- Media item
- applied is paver sealer
- Comments: 0
- Category: General Photo Album
-
Excess wire mesh is trimmed.
- BrooklynBay
- Media item
- excess is mesh trimmed wire
- Comments: 0
- Category: General Photo Album
-
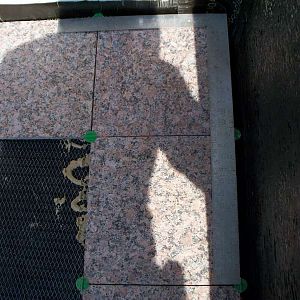
A square is used to align the tiles.
- BrooklynBay
- Media item
- a align is square the tiles to used
- Comments: 0
- Category: General Photo Album
-
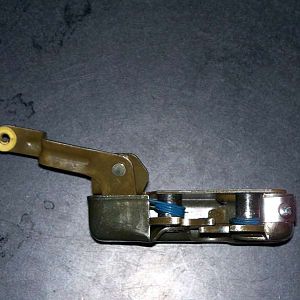
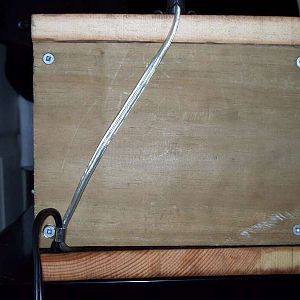
Metal L bracket is installed.
The sliding door latch on an Aerostar was modified to keep the return spring in place.- BrooklynBay
- Media item
- bracket installed is l
- Comments: 0
- Category: General Photo Album
-
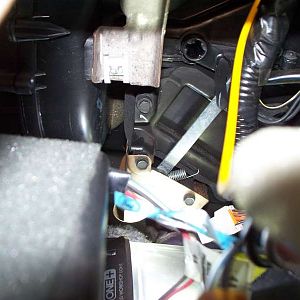
The blend door actuator is removed.
- BrooklynBay
- Media item
- actuator blend door is removed the
- Comments: 0
- Category: General Photo Album
-
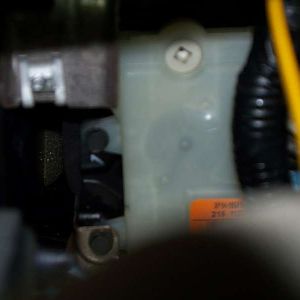
The blend door actuator is installed.
- BrooklynBay
- Media item
- actuator blend door installed is the
- Comments: 0
- Category: General Photo Album
-
The wire from the light is secured in place.
- BrooklynBay
- Media item
- from in is light place secured the wire
- Comments: 0
- Category: General Photo Album
-
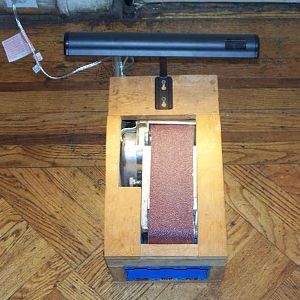
The light is installed.
- BrooklynBay
- Media item
- installed is light the
- Comments: 0
- Category: General Photo Album
-

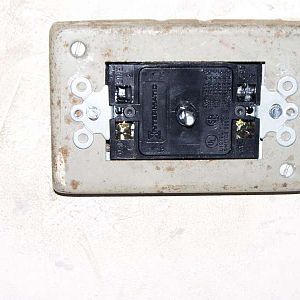
The face plate is installed.
- BrooklynBay
- Media item
- face installed is plate the
- Comments: 0
- Category: General Photo Album
-
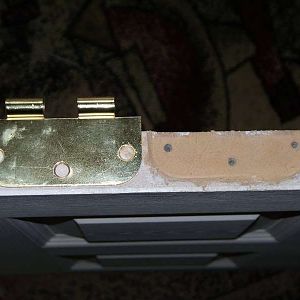
The hinge is removed.
- BrooklynBay
- Media item
- hinge is removed the
- Comments: 0
- Category: General Photo Album
-
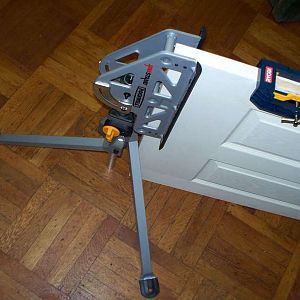
The Rockwell Jawstand is holding the door in place.
- BrooklynBay
- Media item
- door holding in is jawstand place rockwell the
- Comments: 0
- Category: General Photo Album
-
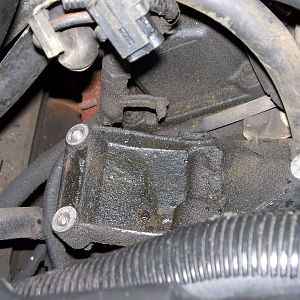
This is the lower mounting base of the alternator.
- BrooklynBay
- Media item
- alternator base is lower mounting of the this
- Comments: 0
- Category: General Photo Album
-
The tube is refilled after it's cleaned out.
- BrooklynBay
- Media item
- after cleaned is it's out refilled the tube
- Comments: 0
- Category: General Photo Album
-

The bottom is replaced after it's refilled.
- BrooklynBay
- Media item
- after bottom is it's refilled replaced the
- Comments: 0
- Category: General Photo Album
-
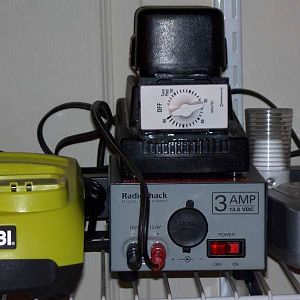
The base is connected to the power supply.
Power supply with the modified battery charging base.- BrooklynBay
- Media item
- base connected is power supply the to
- Comments: 0
- Category: General Photo Album
-
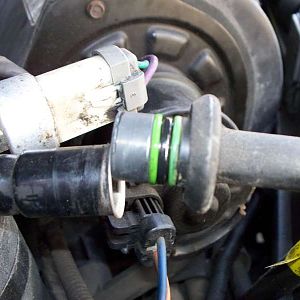
The pipe is removed.
- BrooklynBay
- Media item
- is pipe removed the
- Comments: 0
- Category: General Photo Album
-
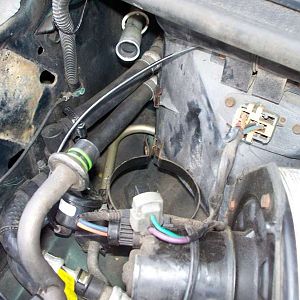
The accumulator is removed.
- BrooklynBay
- Media item
- accumulator is removed the
- Comments: 0
- Category: General Photo Album
-
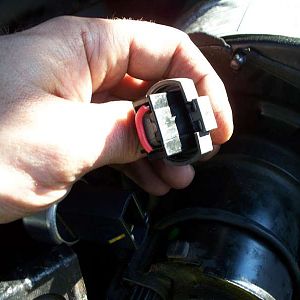
Jump the connector while freon is added.
- BrooklynBay
- Media item
- added connector freon is jump the while
- Comments: 0
- Category: General Photo Album
-
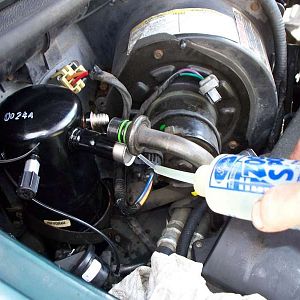
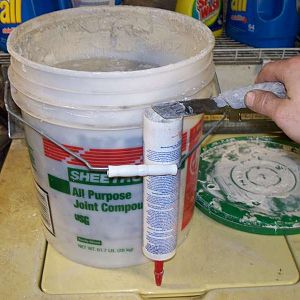
Add compressor oil before the system is closed.
- BrooklynBay
- Media item
- add before closed compressor is oil system the
- Comments: 0
- Category: General Photo Album
-
The timer is mounted to the extension box.
- BrooklynBay
- Media item
- box extension is mounted the timer to
- Comments: 0
- Category: General Photo Album
-

The timer is installed.
- BrooklynBay
- Media item
- installed is the timer
- Comments: 0
- Category: General Photo Album
-

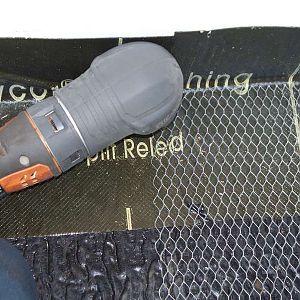
Cordless that is now corded.
- BrooklynBay
- Media item
- corded cordless is now that
- Comments: 0
- Category: General Photo Album
-

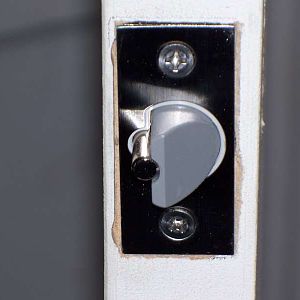
The lock is installed!
- BrooklynBay
- Media item
- installed is lock the
- Comments: 0
- Category: General Photo Album
-
The latch is installed.
- BrooklynBay
- Media item
- installed is latch the
- Comments: 0
- Category: General Photo Album
-
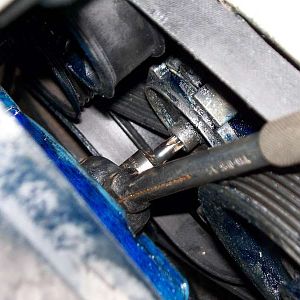
T-50 Torx bolt is being removed.
- BrooklynBay
- Media item
- being bolt is removed t-50 torx
- Comments: 0
- Category: General Photo Album
-
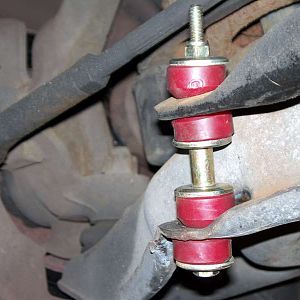
The stabilizer link is installed.
- BrooklynBay
- Media item
- installed is link stabilizer the
- Comments: 0
- Category: General Photo Album
-
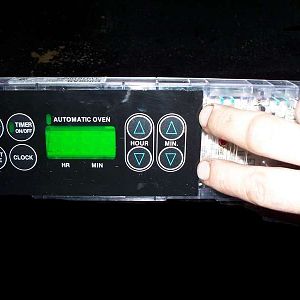
The side of the face plate is aligned with a tab.
- BrooklynBay
- Media item
- a aligned face is of plate side tab the with
- Comments: 0
- Category: General Photo Album
-
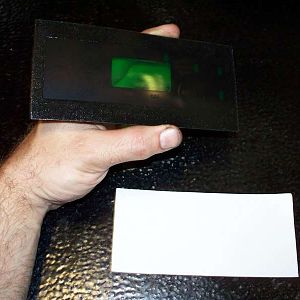
The paper on the back of the face plate is peeled off.
- BrooklynBay
- Media item
- back face is of off on paper peeled plate the
- Comments: 0
- Category: General Photo Album
-
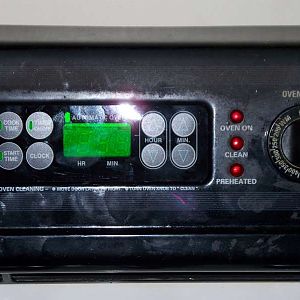
The panel is installed.
- BrooklynBay
- Media item
- installed is panel the
- Comments: 0
- Category: General Photo Album
-
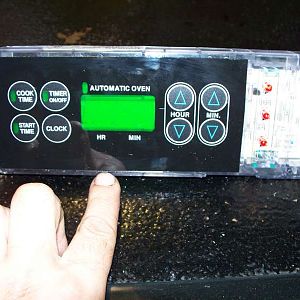
The bottom of the face plate is aligned with a tab.
- BrooklynBay
- Media item
- a aligned bottom face is of plate tab the with
- Comments: 0
- Category: General Photo Album