-
Ford Explorer Community - Maintenance - Modifications - Performance Upgrades - Problem Solving - Off-Road - Street
Explorer Forum Covers the Explorer ST, Explorer Sport, Explorer Sport Trac, Lincoln Aviator,
Mercury Mountaineer, Mazda Navajo, Ford Ranger, Mazda Pickups, and the Ford Aerostar
Register Today It's free!
of
-
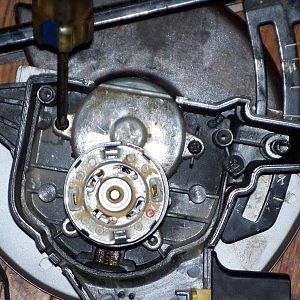
Close up of the motor.
This is the electric motor inside of a cordless trim saw.- BrooklynBay
- Media item
- close motor of the up
- Comments: 0
- Category: General Photo Album
-

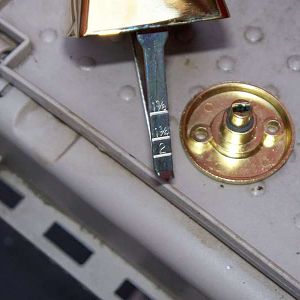
The rear view of the combination lock.
This is what the rear of the keyless entry lock looks like on the back of the door.- BrooklynBay
- Media item
- combination lock of rear the view
- Comments: 0
- Category: General Photo Album
-

The side of the door with the latch.
- BrooklynBay
- Media item
- door latch of side the with
- Comments: 0
- Category: General Photo Album
-
The rear shafts need to be cut to the width of the door.
- BrooklynBay
- Media item
- be cut door need of rear shafts the to width
- Comments: 0
- Category: General Photo Album
-

The door needs another set of holes.
- BrooklynBay
- Media item
- another door holes needs of set the
- Comments: 0
- Category: General Photo Album
-

The back of the lock.
- BrooklynBay
- Media item
- back lock of the
- Comments: 0
- Category: General Photo Album
-

Two mitered corners of weatherstrip.
- BrooklynBay
- Media item
- corners mitered of two weatherstrip
- Comments: 0
- Category: General Photo Album
-
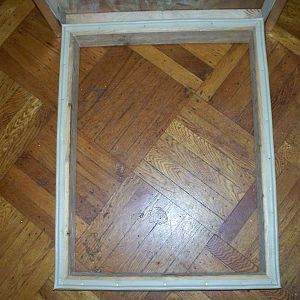
A single frame of weatherstrip.
- BrooklynBay
- Media item
- a frame of single weatherstrip
- Comments: 0
- Category: General Photo Album
-
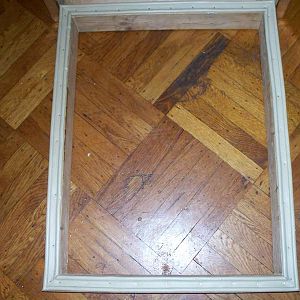
A double frame of weatherstrip.
- BrooklynBay
- Media item
- a double frame of weatherstrip
- Comments: 0
- Category: General Photo Album
-
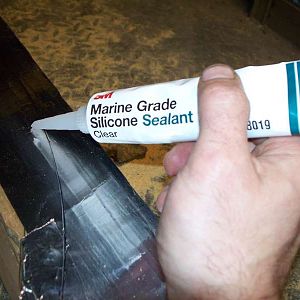
Apply a bead of silicone to the base.
- BrooklynBay
- Media item
- a apply base bead of silicone the to
- Comments: 0
- Category: General Photo Album
-
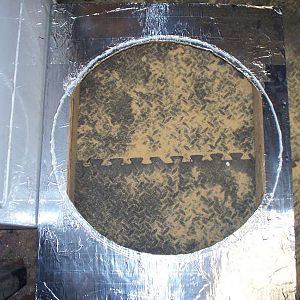
A bead of silicone is all around the opening.
- BrooklynBay
- Media item
- a all around bead is of opening silicone the
- Comments: 0
- Category: General Photo Album
-
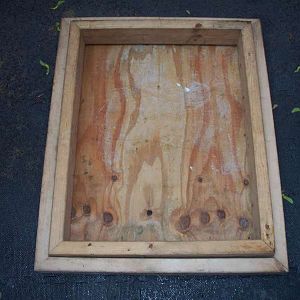
The back of the skylight with the wood top.
- BrooklynBay
- Media item
- back of skylight the top with wood
- Comments: 0
- Category: General Photo Album
-

Drawing ink out of the bottle.
- BrooklynBay
- Media item
- bottle drawing ink of out the
- Comments: 0
- Category: General Photo Album
-

Resistance of a new RABS sensor.
- BrooklynBay
- Media item
- a new of rabs resistance sensor
- Comments: 0
- Category: General Photo Album
-

Resistance of a defective RABS sensor.
- BrooklynBay
- Media item
- a defective of rabs resistance sensor
- Comments: 0
- Category: General Photo Album
-
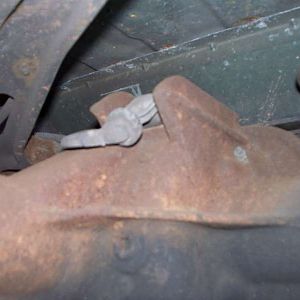
Rear ABS sensor on the top of the differential.
- BrooklynBay
- Media item
- abs differential of on rear sensor the top
- Comments: 0
- Category: General Photo Album
-

A view of the reluctor ring.
- BrooklynBay
- Media item
- a of reluctor ring the view
- Comments: 0
- Category: General Photo Album
-
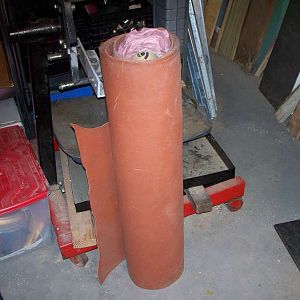
Roll of heavy duty gasket material.
- BrooklynBay
- Media item
- duty gasket heavy material of roll
- Comments: 0
- Category: General Photo Album
-
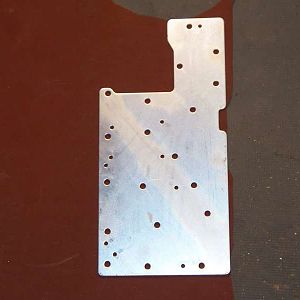
Air test plate on top of gasket material.
- BrooklynBay
- Media item
- air gasket material of on plate test top
- Comments: 0
- Category: General Photo Album
-
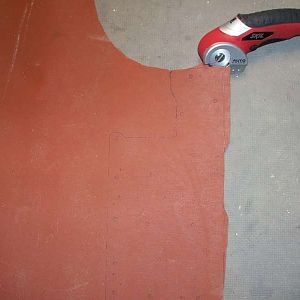
A larger view of the gasket being cut.
- BrooklynBay
- Media item
- a being cut gasket larger of the view
- Comments: 0
- Category: General Photo Album
-
Top view of the inner tube installation tool.
- BrooklynBay
- Media item
- inner installation of the tool top tube view
- Comments: 0
- Category: General Photo Album
-
Side view of the inner tube installation tool.
- BrooklynBay
- Media item
- inner installation of side the tool tube view
- Comments: 0
- Category: General Photo Album
-

Break out diagram of a turbo charger.
- BrooklynBay
- Media item
- a break charger diagram of out turbo
- Comments: 0
- Category: General Photo Album
-
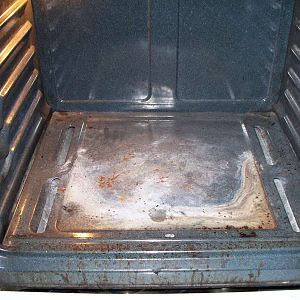
Inside of the oven.
- BrooklynBay
- Media item
- inside of oven. the
- Comments: 0
- Category: General Photo Album
-
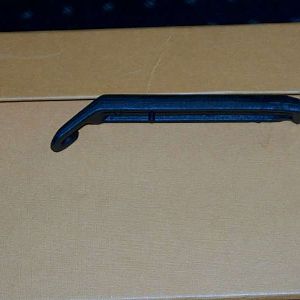
Rear view of the blade holder.
- BrooklynBay
- Media item
- blade holder of rear the view
- Comments: 0
- Category: General Photo Album
-
Front view of the blade holder.
- BrooklynBay
- Media item
- blade front holder of the view
- Comments: 0
- Category: General Photo Album
-

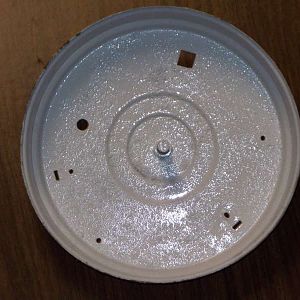
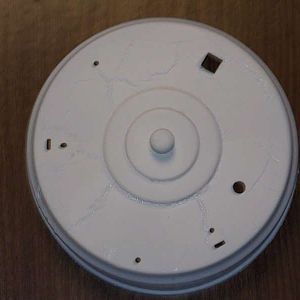
The outside of the pan with the drain plug.
- BrooklynBay
- Media item
- drain of outside pan plug the with
- Comments: 0
- Category: General Photo Album
-
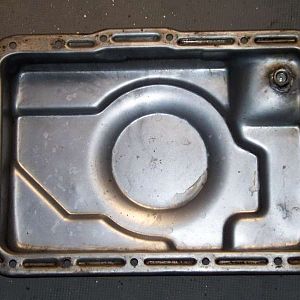
The inside of the pan with the drain plug.
- BrooklynBay
- Media item
- drain inside of pan plug the with
- Comments: 0
- Category: General Photo Album
-
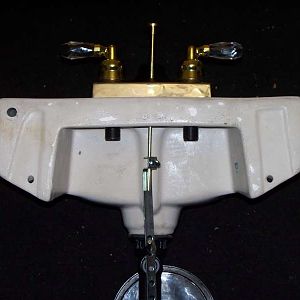
Top of the pop up assembly with putty.
- BrooklynBay
- Media item
- assembly of pop putty the top up with
- Comments: 0
- Category: General Photo Album
-
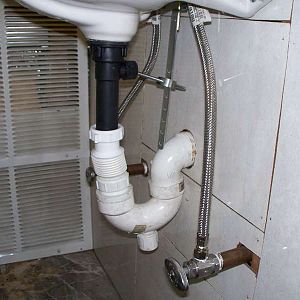
Side view of the trap & flexible waste connector.
- BrooklynBay
- Media item
- & connector flexible of side the trap view waste
- Comments: 0
- Category: General Photo Album
-
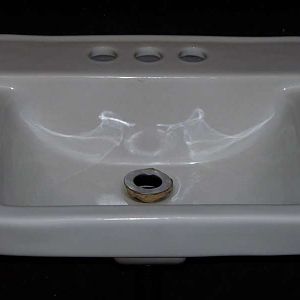
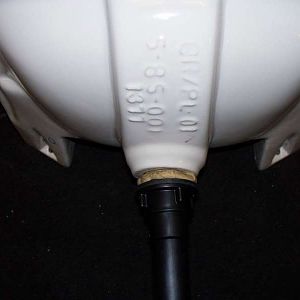
Rear of the sink with the pop up assembly properly adjusted.
- BrooklynBay
- Media item
- adjusted assembly of pop properly rear sink the up with
- Comments: 0
- Category: General Photo Album
-
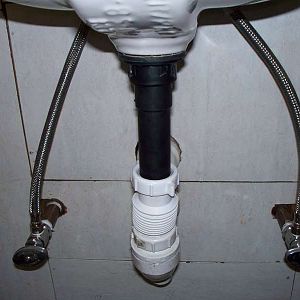
Front view of the trap, and flexible waste connector.
- BrooklynBay
- Media item
- and connector flexible front of the trap view waste
- Comments: 0
- Category: General Photo Album
-
Bottom of the pop up assembly with putty.
- BrooklynBay
- Media item
- assembly bottom of pop putty the up with
- Comments: 0
- Category: General Photo Album
-
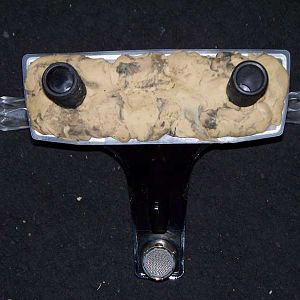
Bottom of the faucet with putty.
- BrooklynBay
- Media item
- bottom faucet of putty the with
- Comments: 0
- Category: General Photo Album
-

Cut away view of an oil filter
- BrooklynBay
- Media item
- an away cut filter of oil view
- Comments: 0
- Category: General Photo Album
-

Raush Creek Pine Grove PA
- ExplorerEB96
- Media item
- bowl" coming of out
- Comments: 3
- Category: Offroad Truck Photos
-

back
here is the back of my explorer- superxplorer
- Media item
- back explorer my of
- Comments: 0
- Album: superexplorer
-

Marcs Towed
My friends pouting right now... he shoulda rolled down his window.- sk1er17
- Media item
- mud of out towed
- Comments: 0
- Category: Offroad Truck Photos
-
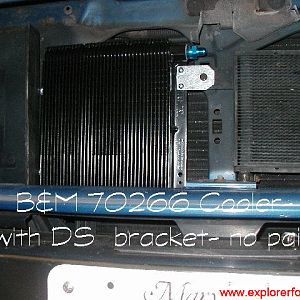
cooler
Pic of the B&M 28,000 GVW trans cooler on the Navajo. Mounted on the grill support, with 2 grommeted screws on Pass side, and a custom (electric box cover) bracket to the existing cooler mount.- SteveVB
- Media item
- b&m cooler install my of photo trans
- Comments: 0
- Category: General Photo Album