K80's A4LD Rebuild Diary 2.0 part 1. | Ford Explorer Forums - Serious Explorations

  • Register Today It's free!

K80's A4LD Rebuild Diary 2.0 part 1.

K80

Well-Known Member
Joined
March 18, 2007
Messages
118
Reaction score
0
City, State
Oklahoma City, Ok
Year, Model & Trim Level
1989 Aerostar
Greetings and salutations to you all. For those of you who have been here for a while, you may recall my first rebuild diary.

(MOD: my title was renamed? Was "A4LD for the po' man")

Anyway, that was then. As promised, I am doing it once more (but I'm cheating a little...this will be rebuild number three, as the second time around I simply was not well equipped to publish) and this time there are PHOTOS! Yay!

I'm going to refrain as much as possible from covering ground already trod by Glacier991 in his rebuild diary (thanks much again, Glacier!), except where I feel a little rigging, while not "bullet-proof", will get one down the road more quickly and easily.

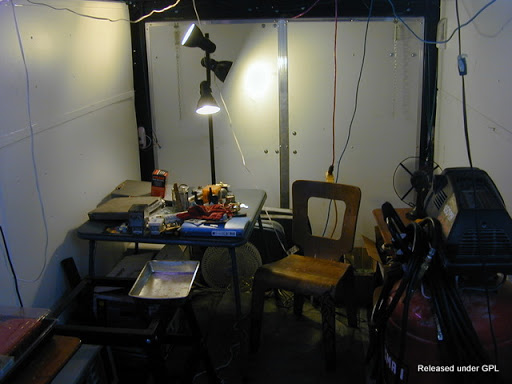
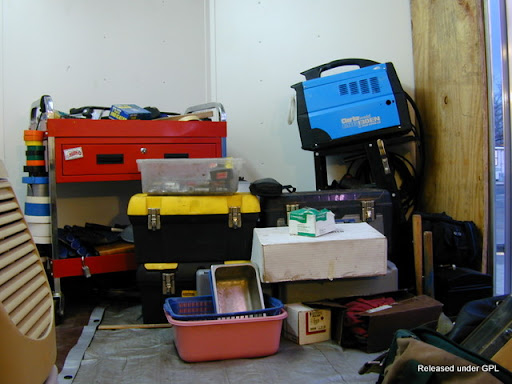
I'm not sure how you guys want to handle this, but I hereby release this diary (which parts of it are mine and not the forums') with all photos and my text under the General Public License; which means anyone is free to reproduce, in whole and not in part, my photos and text provided the author (me) gets credit for it. And I intend this to be FREE to people. I will be seriously pissed off if I find my photos in a book for sale or something like that. But give them freely all you like.
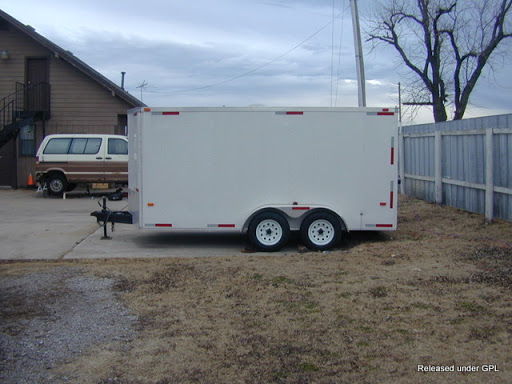
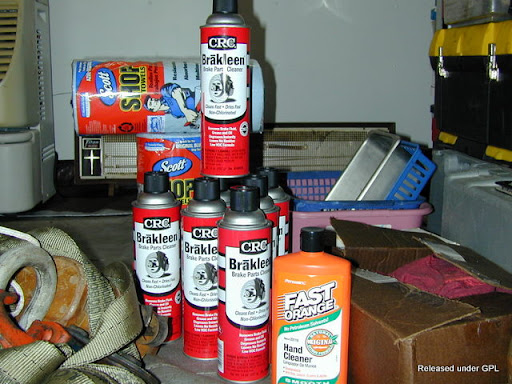
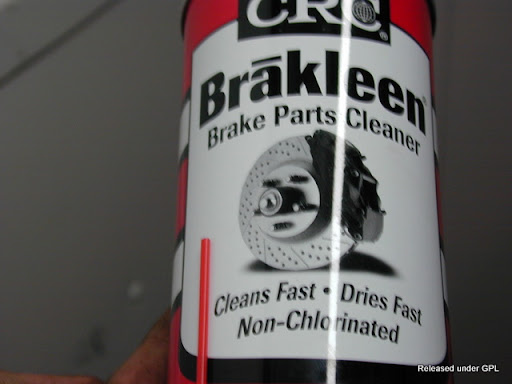
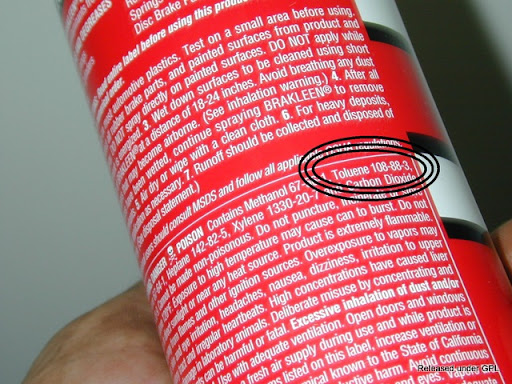
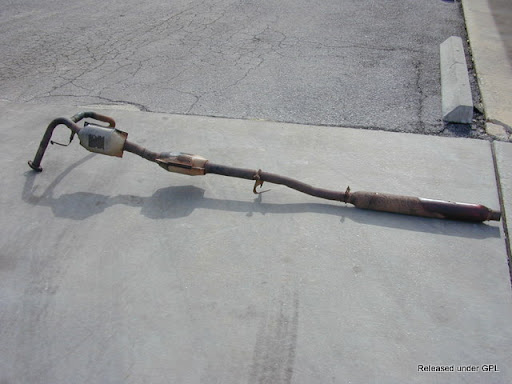
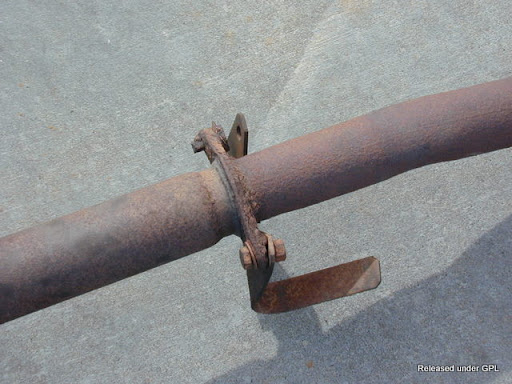
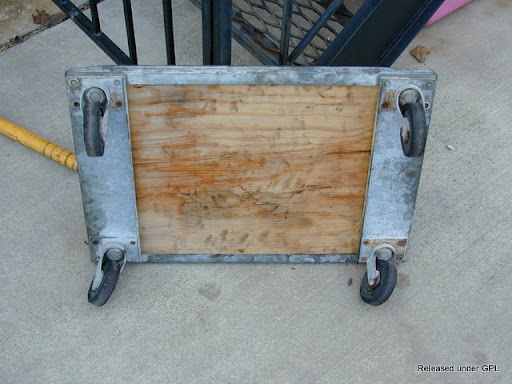
Now on to the rebuild::p:


Join the Elite Explorers for $20 each year.
Elite Explorer members see no advertisements, no banner ads, no double underlined links,.
Add an avatar, upload photo attachments, and more!
.


Okay. Allow me to begin by specifying what went wrong this time:

I think the reverse/high clutch in my tranny went out.

After the second time I rebuilt the tranny, I towed a 5800 Lb. cargo trailer
Dimitri%203.JPG

from Topeka to Oklahoma City in three days. It took three days because the first day out the tranny started ejecting fluid and caused me to start smoking. Once I got to Oklahoma City , the 4th gear was out for about two months. Then I took it out on the highway and over-revved in third until fourth finally kicked in. When it did, it worked for about a mile, then it locked up so bad I went from 65 to 25 in maybe 200 ft. When I recovered from that, it was normal again, everything worked, and continued to work for about a year.

Then the first winter storm blew through about a month ago and there was a foot of snow on the ground everywhere, with drifts up to four feet tall. I had to do a lot of rocking my way out of places, and that's when my tranny went south. Very weak reverse, and 3rd works maybe 5% of the time. Otherwise 3rd works for two seconds and then slips back out to nothing.

I'm really thinking it's my reverse-high clutch, but I'm hoping I can get away with doing a REALLY cheap re-build this time. I still have the torque wrench I bought from Glacier991 back in '07, and I have built a trailer (the one I towed down here) to work in.

SO. Here is the arsenal:
Arsenal.JPG

What you see here is about $30. Dollar General only had seven cans of Brakleen, so I will need to add that extra cost later.

A special note about this particular brake parts cleaner:
Brakleen%20Front.JPG

It has Toluene, which I have not found in any other brake parts cleaner.
Brakleen%20Back.JPG

And you get the stuff at Dollar General, so it's relatively cheap.


So I did the standard stuff; Removed the driveshaft, exhaust, crossmember, etc.
Oh, and BTW...WTF is THIS thing?
WTF2.JPG

Here it is a little closer.......
WTF1.JPG

It can spin, but why? Is it a weight? What for? My best guess is it's some kind of vibration damper, because that's the only thing I can think of that it might do. As you can see, it's just bolted to the diff there. WTF?

Anyway, some points I'd like to cover about removing the tranny.
When you pull the starter, be sure to support it with something.....
Supporting%20the%20Starter.JPG

Don't just let it hang there.

When you lift the vehicle, BE SURE TO USE JACKSTANDS. They are cheap compared to your life which you are risking by getting under a car supported only by a jack.
Jackstands%20Front.JPG

Jackstands%20Rear.JPG


Yes, I know I have blocks under the rear stands, but notice the 5-ply wood squares between the stands and the stone....

Gulliver%20On%20the%20Operating%20Table%202.JPG

Gulliver%20On%20the%20Operating%20Table%201.JPG


And of course you want to be on a LEVEL surface....note the roof line parallel to the horizontal siding on the building.


Here is my little operating theater:
Dimitri%201.JPG

The%20Operating%20Theater%202.JPG

The%20Operating%20Theater%201.JPG


It may seem cramped, but that's because I built it inside a '10x'20 storage unit and I had to clear the roll-up door. As things were, I had to pull it out of the unit to put the springs, axles and fenders on. The whole thing was up three inches on furniture dollies for two years while I picked away at it.
Fully %100 of the structural steel is from scrap, and the aluminum panels are from what I think was a sign. Before I put the metal prep to it you could see the faded edges of some lettering, but it was so large I couldn't read it. There's even a few recycled screen doors on the trim....lol

Anyway, this humble space will be where I 'm working on the tranny.


I will post more in a couple hours.....gotta hit the sack.


Thanks for posting pictures. How long does it take you to remove the transmission? It takes me around 3 1/2 hours. Why did you remove the catalytic converter? There is enough clearance to drop the transmission without making extra work. What kind of transmission jack or adapter do you use? I saw that you removed the lower pan. As for that round disk, I don't know what it's used for. You could save some money if you get a plastic or metal container, and soak the parts inside of it instead of spraying each part separately. They sell a gallon container of parts cleaner in Autozone. You could still use your sprays over the container to catch the chemicals to soak the parts.


Okay....I'm back. I did not time myself while doing this, and I certainly did not aim for speed....lots of 4:20 breaks :smoke:....anyway; I would say I was right around six hours start to finish, with unknown hours taken up by searching for batteries for my camera, getting munchies, etc. But I will also say I gave myself 45 minutes to have it done, and If I'd done it the way I planned I could have done it in an hour. I don't know where you get 3.5 hrs....unless you are like my self in that you like to take MANY breaks....lol.

I removed the exhaust because 1. Ford says to; 2. The exhaust branch runs underneath the bellhousing, such that while it may be possible to remove the tranny with it up....well, 3.5 hours looks pretty fast to me in that case...not to mention the fact that the exhaust is ONE PIECE in my car because the entire thing is welded south of the manifold (see me *****ing about that in the first rebuild diary); 3. The passengers' side of the exhaust neatly blocks access to the tranny cooler lines in my application.

Exhaust%20Line.JPG

Welded%20Joint.JPG

Baked%20Tranny%20Fluid%20on%20the%20Pipe.JPG


I am not using a tranny jack...I'll show you what I did use a little later.

Tranny%20lift%201.JPG

Tranny%20lift%202.JPG

Tranny%20lift%203.JPG

Tranny%20dolly.JPG


I removed the pan to drain the fluid, cleaned it so I can re-use the gasket (more on that in a bit) and re-attached it with 6 bolts so the VB wouldn't be exposed, and so I could set the tranny on the dolly I made for it.

Almost%20new%20Pan%20Gasket.JPG

I plan on reusing this thing because it has less than 50 miles on it from when I changed the filter a bit ago. Same goes for the filter itself, maybe.

:UPDATE: Will definately NOT be re-using the filter...so cruddy it is useless:fire:

As for soaking the parts, I did that the first time I rebuilt this thing, and it did not work out well. The pressure coming out of the spray can is required to really get the crud out. If I have to buy spray anyway, I'm not sure it saves money to purchase parts soaker as well....lol

Anyway, I have to get back to it. I will post in parts as Glacier did so people can comment without having the comments separate the sections of the diary.


Two things are recommended.
1. Get new gaskets for the exhaust, with nuts, and anti-seize for the threads.
2. Install a drain plug in the pan to make the job easier for the time you have to change the fluid & filter.


Two things are recommended.
1. Get new gaskets for the exhaust, with nuts, and anti-seize for the threads.
2. Install a drain plug in the pan to make the job easier for the time you have to change the fluid & filter.


Will definitely do the drain plug thing...good Idea. Thanks:D


Okay, I'll go ahead and do that. BTW, what IS an O2 sensor, and what is its' purpose? I know where it is and what it looks like, but let's say it breaks....what would the symptoms be?


The Wiki is quite informative....I can almost guarantee you my O2 sensor is crap. Maybe not too late to save it though. Will Remove it soon....IF it will come out....Wonder what to do if it breaks? Will Bust Loose be sufficient to crack it loose, or will it probably break? What are my honest chances here? Assuming it is OEM (which I'm sure it is at 150K or so) how many of ya'll broke one? I only ask because in my limited experience exhaust line fasteners are second only to water system(pump, outlet, etc)fasteners for probable tool-use failure due to extreme environmental variations.
Just want to be prepared for the worst is all...lol


You could use a propane torch to heat the exhaust pipe near the sensor, then use an oxygen sensor socket or a wrench to turn it. It should be easy to remove once the pipe gets hot, but it will start to stiffen up as it's cooling down. Use anti-seize on the threads of the new sensor. Some sensors come with a small squeeze tube in the package.


Hey, great Idea! And wouldn't ya know it, I just happen to have a propane torch! I might use MAPP gas on it instead, though. Just to help avoid overheating it....I also happen to have a nifty little device called a Fluke IR thermometer
Fluke_561.jpg

I can use to make DAMN sure I don't overheat it....
As for a new sensor, hold on just a cotton-picking minute.....the reason I'm trying to be careful here is I want to reuse the Lambda sensor if possible. Now, I realize that if the catalyst is worn off, that won't be possible, but I'm holding out hope that it has enough gunk on it to have been somewhat protected.....I know....foolish...but these things are about the same price as I paid for my PAP tranny!


Glacier!!! How ya doing, man?

Great thread, BTW. I suppose you will be yelling at me for not replacing my TC that first rebuild!


Join the Elite Explorers for $20 each year.
Elite Explorer members see no advertisements, no banner ads, no double underlined links,.
Add an avatar, upload photo attachments, and more!
.


I saw a short video on Youtube with a bunch of teardown shots on a 1987 Aerostar A4LD:
There is one thing that confuses me in this video. The 86 & 87 A4LD have one solenoid, and this 87 has 2 solenoids. I wonder if this is a very late model that was in production right before the 1988 model came out?


Back
Top