-
Ford Explorer Community - Maintenance - Modifications - Performance Upgrades - Problem Solving - Off-Road - Street
Explorer Forum Covers the Explorer ST, Explorer Sport, Explorer Sport Trac, Lincoln Aviator,
Mercury Mountaineer, Mazda Navajo, Ford Ranger, Mazda Pickups, and the Ford Aerostar
Register Today It's free!
the
-
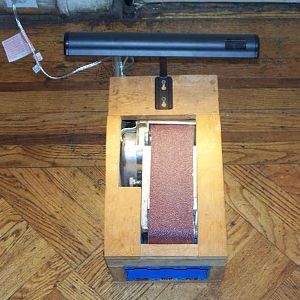
The light is installed.
- BrooklynBay
- Media item
- installed is light the
- Comments: 0
- Category: General Photo Album
-

The face plate is installed.
- BrooklynBay
- Media item
- face installed is plate the
- Comments: 0
- Category: General Photo Album
-
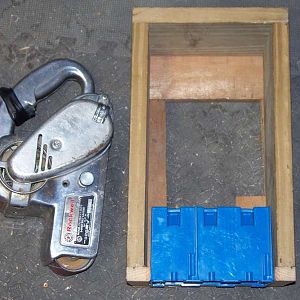
Bottom view with the machine removed.
- BrooklynBay
- Media item
- bottom machine removed the view with
- Comments: 0
- Category: General Photo Album
-
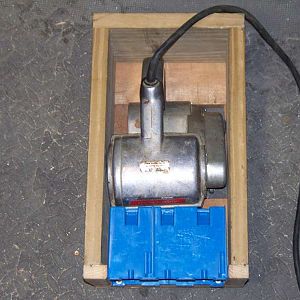
Bottom view with the machine installed.
- BrooklynBay
- Media item
- bottom installed machine the view with
- Comments: 0
- Category: General Photo Album
-
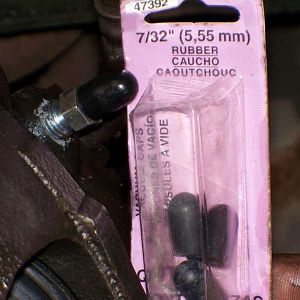
Vacuum caps for the bleeder screws.
The part number from Motormite/Dorman/Help is 47392. The size is 7/32".- BrooklynBay
- Media item
- bleeder caps for screws the vacuum
- Comments: 0
- Category: General Photo Album
-
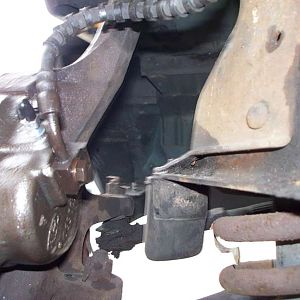
One bolt connects the brake line to the caliper.
- BrooklynBay
- Media item
- bolt brake caliper connects line one the to
- Comments: 0
- Category: General Photo Album
-
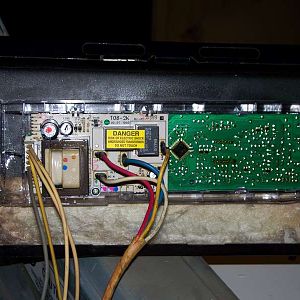
The mounting tabs have mending strips.
The computer board in an oven was damaged due to the heat of a self cleaning cycle. The mounting tabs melted, so metal mending strips were used with self drilling screws to reattach the computer board.- BrooklynBay
- Media item
- have mending mounting strips tabs the
- Comments: 0
- Category: General Photo Album
-
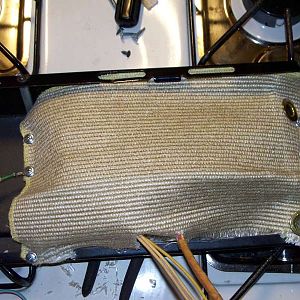
The computer panel has a heat shield.
This is extra protection for the computer board in an oven.- BrooklynBay
- Media item
- a computer has heat panel shield the
- Comments: 0
- Category: General Photo Album
-
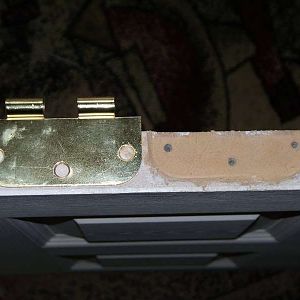
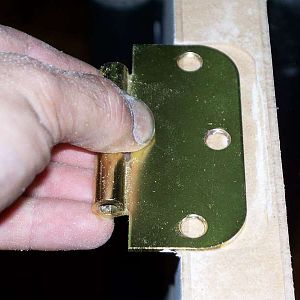
The hinge is removed.
- BrooklynBay
- Media item
- hinge is removed the
- Comments: 0
- Category: General Photo Album
-
The hinge fits into the routed door.
- BrooklynBay
- Media item
- door fits hinge into routed the
- Comments: 0
- Category: General Photo Album
-
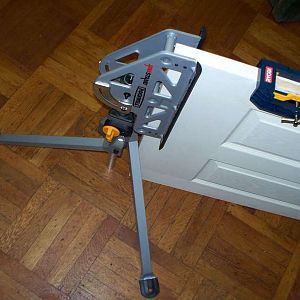
The Rockwell Jawstand is holding the door in place.
- BrooklynBay
- Media item
- door holding in is jawstand place rockwell the
- Comments: 0
- Category: General Photo Album
-
Plane the door.
- BrooklynBay
- Media item
- door plane the
- Comments: 0
- Category: General Photo Album
-
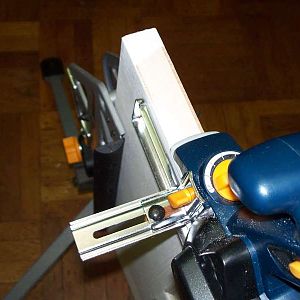
Attach & align the jig.
- BrooklynBay
- Media item
- & align attach jig the
- Comments: 0
- Category: General Photo Album
-
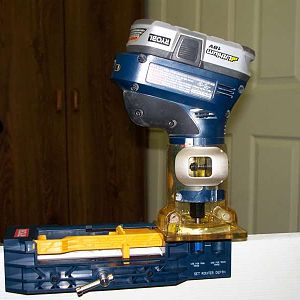
Adjust the router to match the depth gauge.
- BrooklynBay
- Media item
- adjust depth gauge match router the to
- Comments: 0
- Category: General Photo Album
-
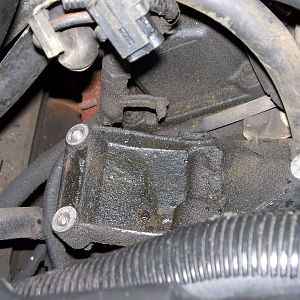
This is the lower mounting base of the alternator.
- BrooklynBay
- Media item
- alternator base is lower mounting of the this
- Comments: 0
- Category: General Photo Album
-
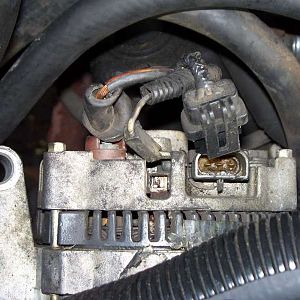
The alternator has three electrical connectors.
- BrooklynBay
- Media item
- alternator connectors electrical has the three
- Comments: 0
- Category: General Photo Album
-
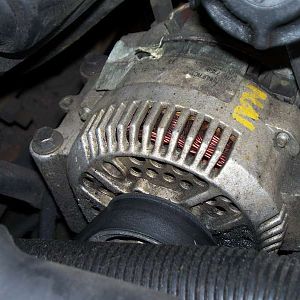
The alternator has three bolts.
- BrooklynBay
- Media item
- alternator bolts has the three
- Comments: 0
- Category: General Photo Album
-
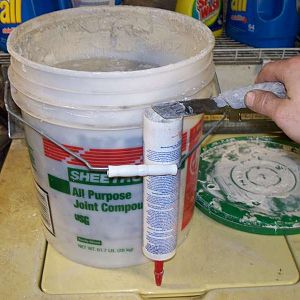
The tube is refilled after it's cleaned out.
- BrooklynBay
- Media item
- after cleaned is it's out refilled the tube
- Comments: 0
- Category: General Photo Album
-

The bottom is replaced after it's refilled.
- BrooklynBay
- Media item
- after bottom is it's refilled replaced the
- Comments: 0
- Category: General Photo Album
-
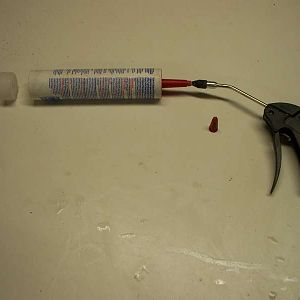
Compressed air pushed out the bottom.
- BrooklynBay
- Media item
- air bottom compressed out pushed the
- Comments: 0
- Category: General Photo Album
-
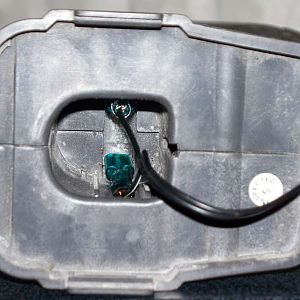
The terminals are connected.
- BrooklynBay
- Media item
- are connected terminals the
- Comments: 0
- Category: General Photo Album
-
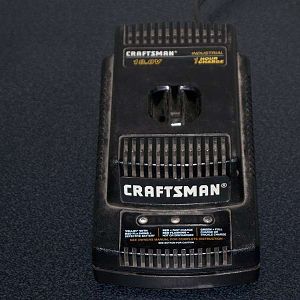
The power supply base.
This was the original power supply that burned out. It was converted into a charging base to be used with an external power supply.- BrooklynBay
- Media item
- base power supply the
- Comments: 0
- Category: General Photo Album
-
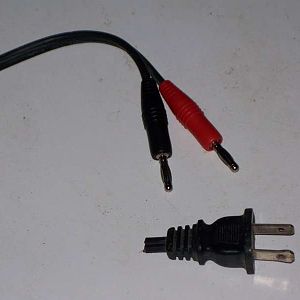
The old & new power plugs.
- BrooklynBay
- Media item
- & new old plugs power the
- Comments: 0
- Category: General Photo Album
-
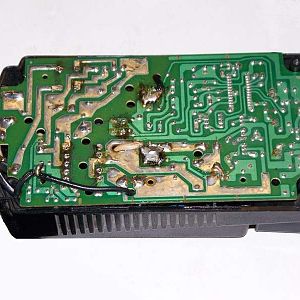
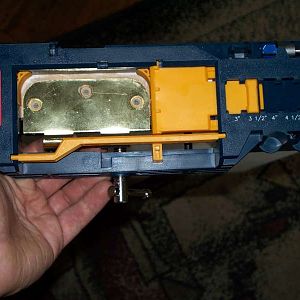
The circuit board.
This is an internal view of the modified battery charging base.- BrooklynBay
- Media item
- board circuit the
- Comments: 0
- Category: General Photo Album
-
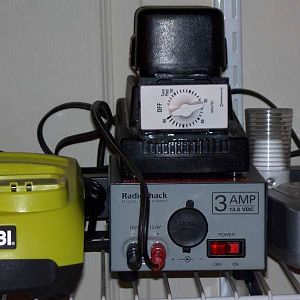
The base is connected to the power supply.
Power supply with the modified battery charging base.- BrooklynBay
- Media item
- base connected is power supply the to
- Comments: 0
- Category: General Photo Album
-
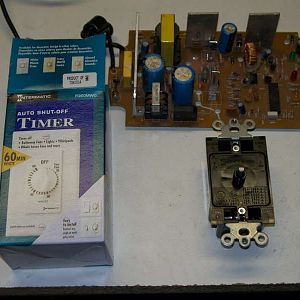
The 60 minute timer with the circuit board.
Mechanical charger modification.- BrooklynBay
- Media item
- 60 board circuit minute the timer with
- Comments: 0
- Category: General Photo Album
-

Close up view of the banana plugs.
- BrooklynBay
- Media item
- banana close of plugs the up view
- Comments: 0
- Category: General Photo Album
-
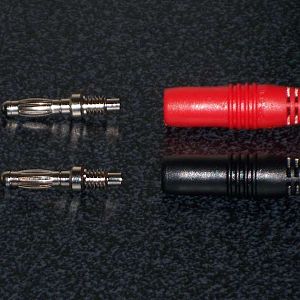
Break out view of the banana plugs.
- BrooklynBay
- Media item
- banana break of out plugs the view
- Comments: 0
- Category: General Photo Album
-
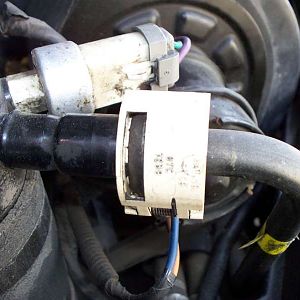
The pipe on the rear of the unit has three O rings.
- BrooklynBay
- Media item
- has o of on pipe rear rings the three unit
- Comments: 0
- Category: General Photo Album
-
The pipe is removed.
- BrooklynBay
- Media item
- is pipe removed the
- Comments: 0
- Category: General Photo Album
-
The accumulator is removed.
- BrooklynBay
- Media item
- accumulator is removed the
- Comments: 0
- Category: General Photo Album
-
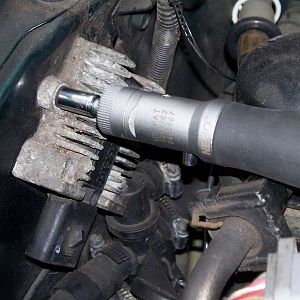
Remove the two bolts & clamps.
- BrooklynBay
- Media item
- & bolts clamps remove the two
- Comments: 0
- Category: General Photo Album
-
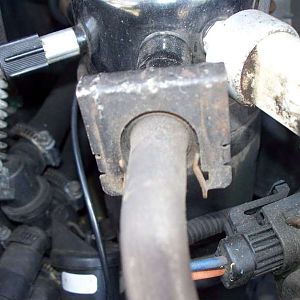
Remove the metal cover.
- BrooklynBay
- Media item
- cover remove the
- Comments: 0
- Category: General Photo Album
-
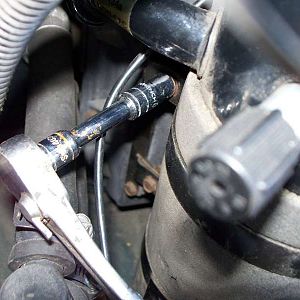
Removing the ignition module.
- BrooklynBay
- Media item
- ignition module removing the
- Comments: 0
- Category: General Photo Album
-
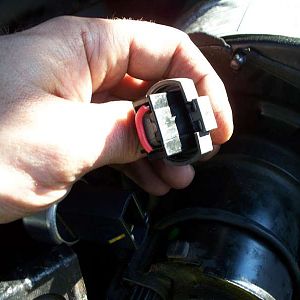
Jump the connector while freon is added.
- BrooklynBay
- Media item
- added connector freon is jump the while
- Comments: 0
- Category: General Photo Album
-
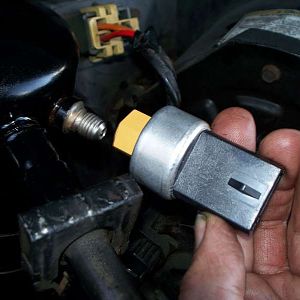
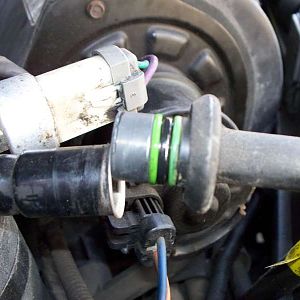
Install an O ring before you install the pressure switch.
- BrooklynBay
- Media item
- an before install o pressure ring switch the you
- Comments: 0
- Category: General Photo Album
-
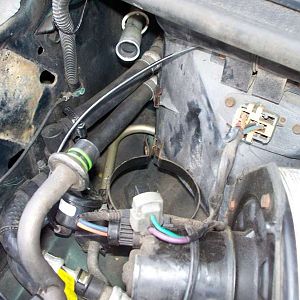
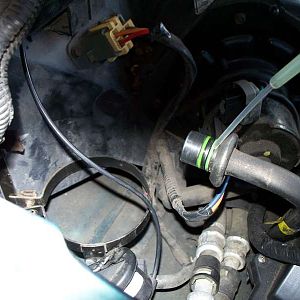
Insert the tool, and pull on the pipe to disconnect.
- BrooklynBay
- Media item
- and disconnect insert on pipe pull the to tool
- Comments: 0
- Category: General Photo Album
-
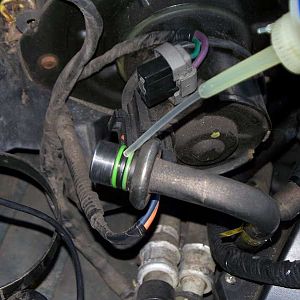
Close up view of the pipe with O rings.
- BrooklynBay
- Media item
- close o of pipe rings the up view with
- Comments: 0
- Category: General Photo Album
-
Always lubricate the O rings prior to installation.
- BrooklynBay
- Media item
- always installation lubricate o prior rings the to
- Comments: 0
- Category: General Photo Album
-
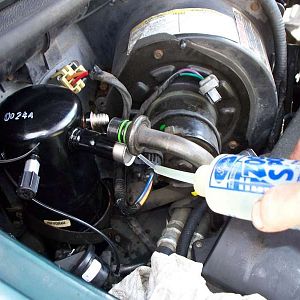
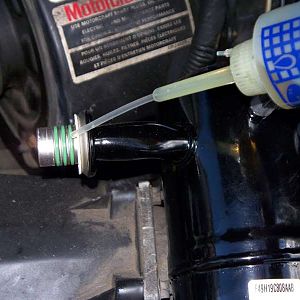
Add compressor oil before the system is closed.
- BrooklynBay
- Media item
- add before closed compressor is oil system the
- Comments: 0
- Category: General Photo Album