-
Ford Explorer Community - Maintenance - Modifications - Performance Upgrades - Problem Solving - Off-Road - Street
Explorer Forum Covers the Explorer ST, Explorer Sport, Explorer Sport Trac, Lincoln Aviator,
Mercury Mountaineer, Mazda Navajo, Ford Ranger, Mazda Pickups, and the Ford Aerostar
Register Today It's free!
the
-
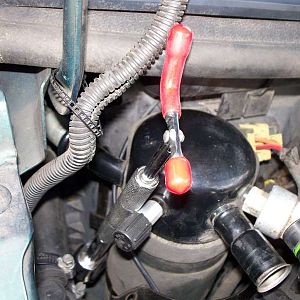
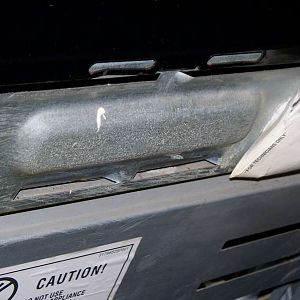
A Sidewinder ratchet easily removes the two bolts.
Accumulator removal in an Aerostar.- BrooklynBay
- Media item
- a bolts easily ratchet removes sidewinder the two
- Comments: 0
- Category: General Photo Album
-
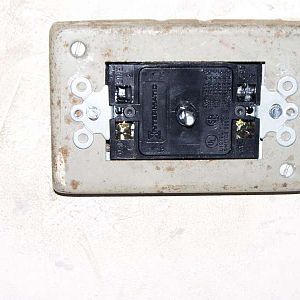
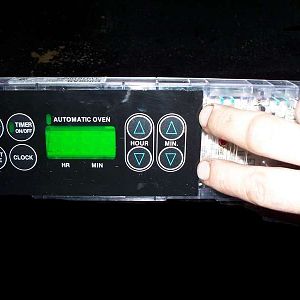
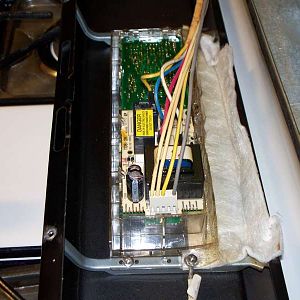
The timer is mounted to the extension box.
- BrooklynBay
- Media item
- box extension is mounted the timer to
- Comments: 0
- Category: General Photo Album
-

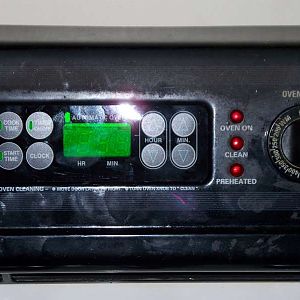
The timer is installed.
- BrooklynBay
- Media item
- installed is the timer
- Comments: 0
- Category: General Photo Album
-

Tighten the set screws with an Allen wrench.
- BrooklynBay
- Media item
- allen an screws set the tighten with wrench
- Comments: 0
- Category: General Photo Album
-

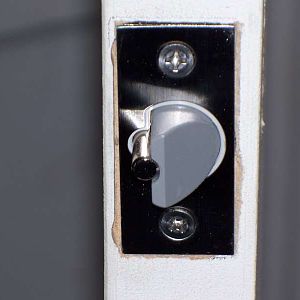
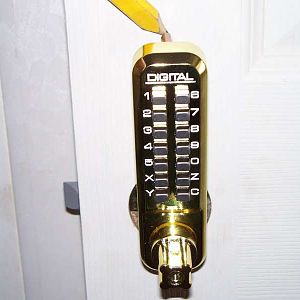
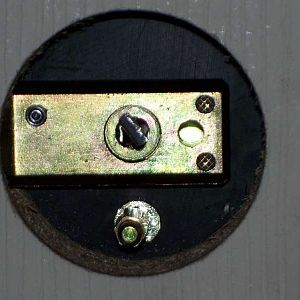
The lock is installed!
- BrooklynBay
- Media item
- installed is lock the
- Comments: 0
- Category: General Photo Album
-
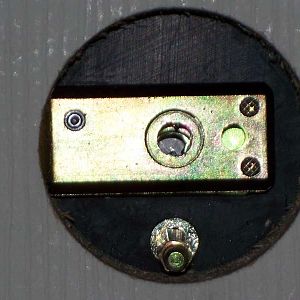
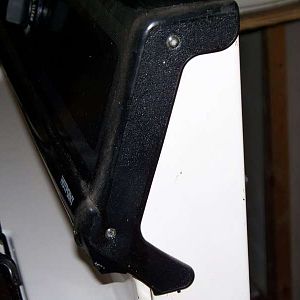
The latch is installed.
- BrooklynBay
- Media item
- installed is latch the
- Comments: 0
- Category: General Photo Album
-
The latch has two slots.
- BrooklynBay
- Media item
- has latch slots the two
- Comments: 0
- Category: General Photo Album
-
The box.
- BrooklynBay
- Media item
- box the
- Comments: 0
- Category: General Photo Album
-
Mark the upper hole.
- BrooklynBay
- Media item
- hole mark the upper
- Comments: 0
- Category: General Photo Album
-
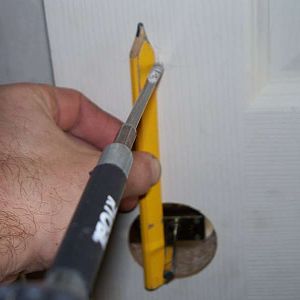
Double check the alignment of the hole.
Don't drill a 1/4" hole until you check the alignment first.- BrooklynBay
- Media item
- alignment check double hole of the
- Comments: 0
- Category: General Photo Album
-
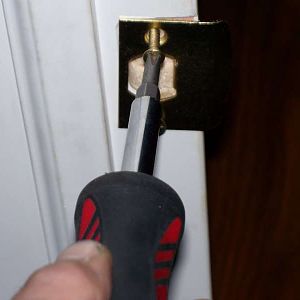
Connect the strike plate.
- BrooklynBay
- Media item
- connect plate strike the
- Comments: 0
- Category: General Photo Album
-

Chisel the door for the latch.
- BrooklynBay
- Media item
- chisel door for latch the
- Comments: 0
- Category: General Photo Album
-
Angle the bar this way for right hand operation.
- BrooklynBay
- Media item
- angle for hand operation right the this way
- Comments: 0
- Category: General Photo Album
-
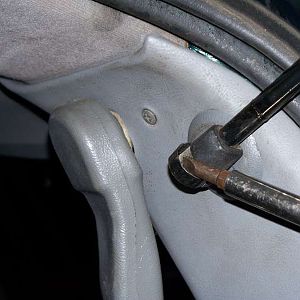
Lift the clip, then pull on the shock.
Lift support shock removal.- BrooklynBay
- Media item
- clip lift on pull shock the then
- Comments: 0
- Category: General Photo Album
-
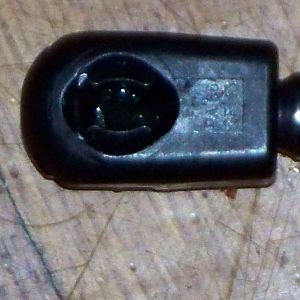
Front of the head.
This is a lift support head.- BrooklynBay
- Media item
- front head of the
- Comments: 0
- Category: General Photo Album
-
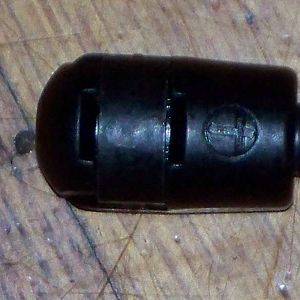
Back of the head.
This is a lift support head.- BrooklynBay
- Media item
- back head of the
- Comments: 0
- Category: General Photo Album
-
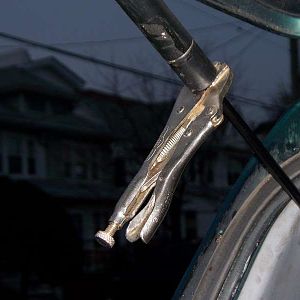
Always support the opposite shock with a Vice Grip.
Always support the opposite shock with a Vice Grip when replacing lift support shocks.- BrooklynBay
- Media item
- a always grip opposite shock support the vice with
- Comments: 0
- Category: General Photo Album
-
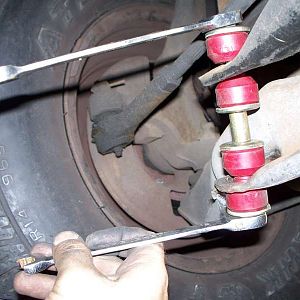
Tighten the new stabilizer link.
- BrooklynBay
- Media item
- link new stabilizer the tighten
- Comments: 1
- Category: General Photo Album
-
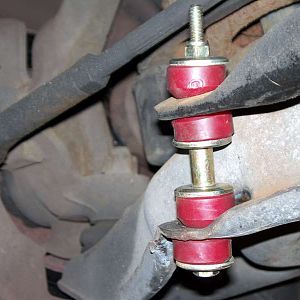
The stabilizer link is installed.
- BrooklynBay
- Media item
- installed is link stabilizer the
- Comments: 0
- Category: General Photo Album
-
Lubricate the seal.
- BrooklynBay
- Media item
- lubricate seal the
- Comments: 1
- Category: General Photo Album
-

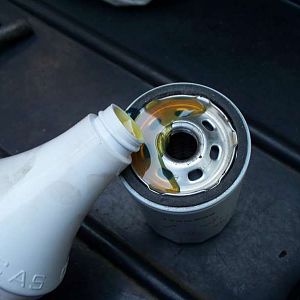
Fill the filter.
- BrooklynBay
- Media item
- fill filter the
- Comments: 0
- Category: General Photo Album
-
Two Torx head screws on the side.
- BrooklynBay
- Media item
- head on screws side the torx two
- Comments: 0
- Category: General Photo Album
-
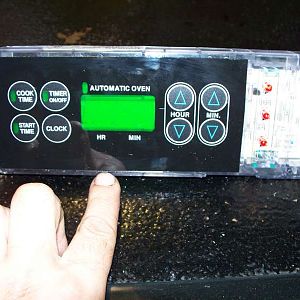
The side of the face plate is aligned with a tab.
- BrooklynBay
- Media item
- a aligned face is of plate side tab the with
- Comments: 0
- Category: General Photo Album
-
Two screws on the back.
- BrooklynBay
- Media item
- back on screws the two
- Comments: 0
- Category: General Photo Album
-
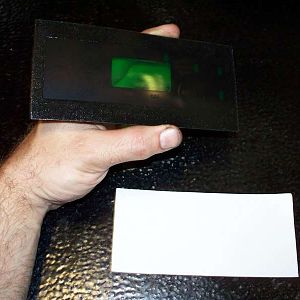
The paper on the back of the face plate is peeled off.
- BrooklynBay
- Media item
- back face is of off on paper peeled plate the
- Comments: 0
- Category: General Photo Album
-
The panel is installed.
- BrooklynBay
- Media item
- installed is panel the
- Comments: 0
- Category: General Photo Album
-
The old computer board.
- BrooklynBay
- Media item
- board computer old the
- Comments: 0
- Category: General Photo Album
-

The new computer board.
- BrooklynBay
- Media item
- board computer new the
- Comments: 0
- Category: General Photo Album
-
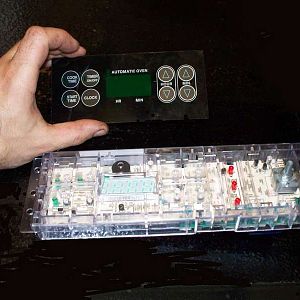
The face plate attaches to the computer board.
- BrooklynBay
- Media item
- attaches board computer face plate the to
- Comments: 0
- Category: General Photo Album
-
The bottom of the face plate is aligned with a tab.
- BrooklynBay
- Media item
- a aligned bottom face is of plate tab the with
- Comments: 0
- Category: General Photo Album
-
Check the thread with a die.
- BrooklynBay
- Media item
- a check die the thread with
- Comments: 0
- Category: General Photo Album
-
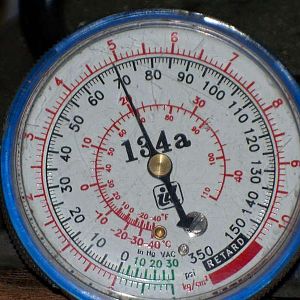
The pressure is still rising, but is stabilizing.
- BrooklynBay
- Media item
- but is pressure rising stabilizing still the
- Comments: 0
- Category: General Photo Album
-
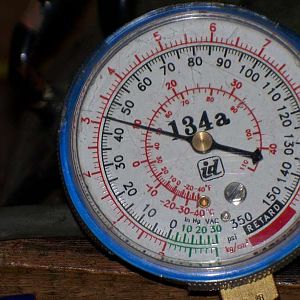
The pressure goes up when the compressor is off.
- BrooklynBay
- Media item
- compressor goes is off pressure the up when
- Comments: 0
- Category: General Photo Album
-
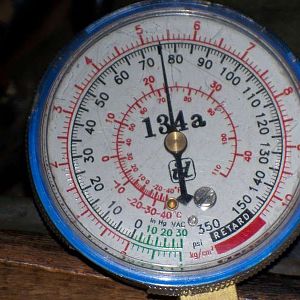
The pressure goes up to a certain point when it's off, then it stops increa
- BrooklynBay
- Media item
- a certain goes increasing it it's off point pressure stops the then to up when
- Comments: 0
- Category: General Photo Album
-
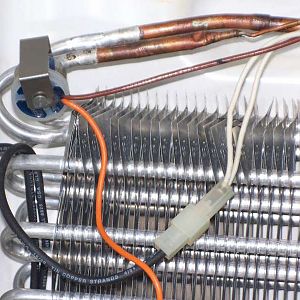
Temperature sensor on the evaporator.
- BrooklynBay
- Media item
- evaporator on sensor temperature the
- Comments: 0
- Category: General Photo Album
-
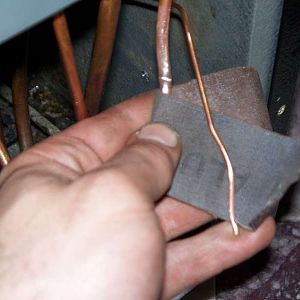
Cleaning the tubing with an abrasive.
- BrooklynBay
- Media item
- abrasive an cleaning the tubing with
- Comments: 0
- Category: General Photo Album
-

A low freon charge will cause ice to build up on the line coming from the e
- BrooklynBay
- Media item
- a build cause charge coming evaporator freon from ice line low on the to up will
- Comments: 0
- Category: General Photo Album
-
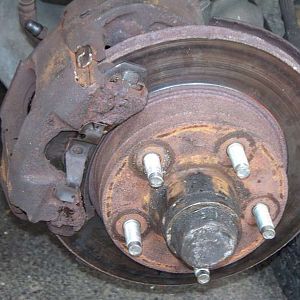
The wheel studs are in place.
- BrooklynBay
- Media item
- are in place studs the wheel
- Comments: 0
- Category: General Photo Album
-
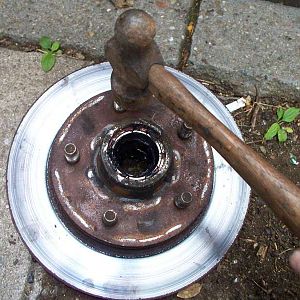
The wheel studs are hammered out.
- BrooklynBay
- Media item
- are hammered out studs the wheel
- Comments: 0
- Category: General Photo Album
-
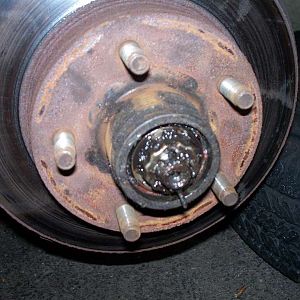
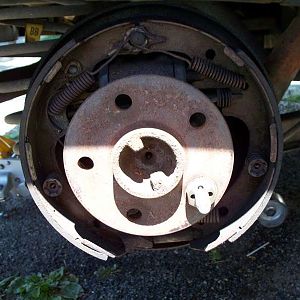
The hub without the grease cap.
- BrooklynBay
- Media item
- cap grease hub the without
- Comments: 0
- Category: General Photo Album