-
Ford Explorer Community - Maintenance - Modifications - Performance Upgrades - Problem Solving - Off-Road - Street
Explorer Forum Covers the Explorer ST, Explorer Sport, Explorer Sport Trac, Lincoln Aviator,
Mercury Mountaineer, Mazda Navajo, Ford Ranger, Mazda Pickups, and the Ford Aerostar
Register Today It's free!
the
-
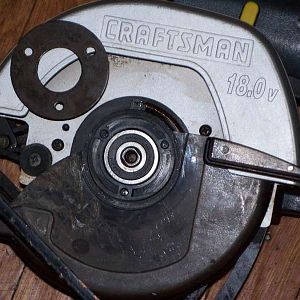
This ring holds the blade guard in place.
- BrooklynBay
- Media item
- blade guard holds in place ring the this
- Comments: 0
- Category: General Photo Album
-
The switch is good, but the battery contacts are not.
- BrooklynBay
- Media item
- are battery but contacts good is not switch the
- Comments: 0
- Category: General Photo Album
-
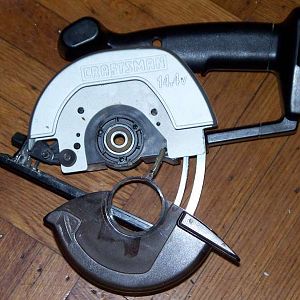
The spring with the blade guard removed.
- BrooklynBay
- Media item
- blade guard removed spring the with
- Comments: 0
- Category: General Photo Album
-
The spring of the blade guard.
- BrooklynBay
- Media item
- blade guard of spring the
- Comments: 0
- Category: General Photo Album
-
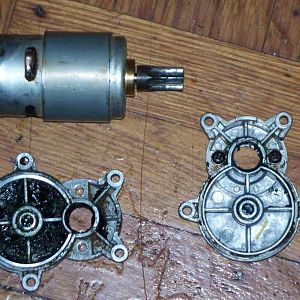
The motor with the mounting base plate.
This is the motor from a Craftsman cordless trim saw.- BrooklynBay
- Media item
- base motor mounting plate the with
- Comments: 0
- Category: General Photo Album
-
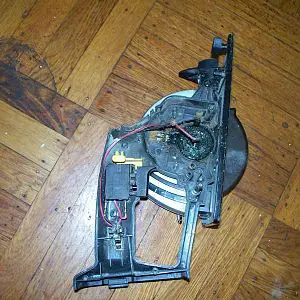
The motor is removed from the 14.4 volt cordless trim saw.
- BrooklynBay
- Media item
- 14.4 cordless from is motor removed saw. the trim volt
- Comments: 0
- Category: General Photo Album
-
The motor is installed, and the saw is ready to be closed up.
- BrooklynBay
- Media item
- and be closed installed is motor ready saw the to up.
- Comments: 0
- Category: General Photo Album
-
The motor is connected with 4 screws.
- BrooklynBay
- Media item
- 4 connected is motor screws the with
- Comments: 0
- Category: General Photo Album
-
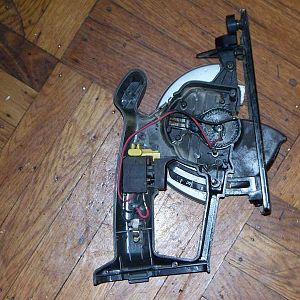
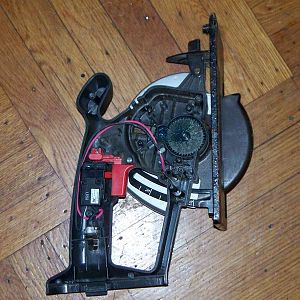
The 14.4 volt cordless trim saw is dismantled for spare parts.
- BrooklynBay
- Media item
- 14.4 cordless dismantled for is parts. saw spare the trim volt
- Comments: 0
- Category: General Photo Album
-

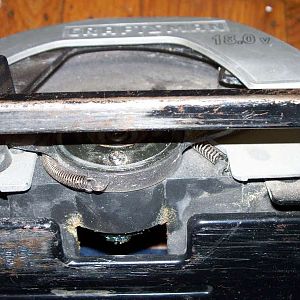
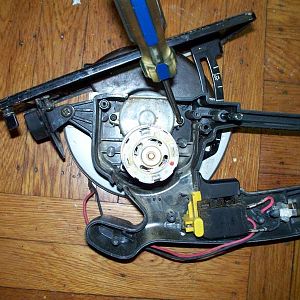
Removing the rear cover.
- BrooklynBay
- Media item
- cover rear removing the
- Comments: 0
- Category: General Photo Album
-
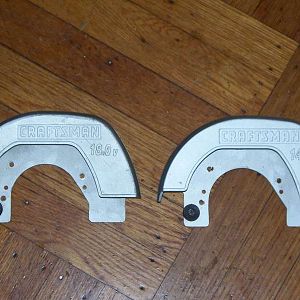
Comparison of the upper blade guard.
This is for a cordless trim saw.- BrooklynBay
- Media item
- blade comparison guard of the upper
- Comments: 0
- Category: General Photo Album
-

Comparison of the lower base plate.
This is for a cordless trim saw.- BrooklynBay
- Media item
- base comparison lower of plate the
- Comments: 0
- Category: General Photo Album
-
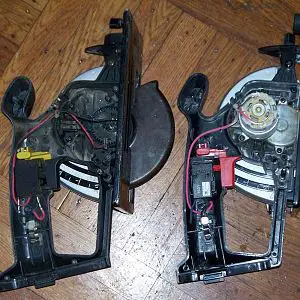
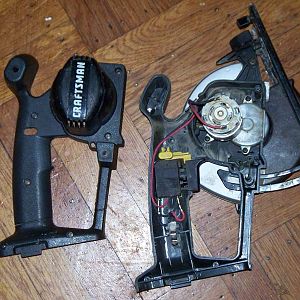
Comparison of the inside of both saws.
- BrooklynBay
- Media item
- both comparison inside of saws the
- Comments: 0
- Category: General Photo Album
-
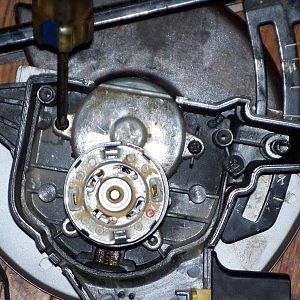
Close up of the motor.
This is the electric motor inside of a cordless trim saw.- BrooklynBay
- Media item
- close motor of the up
- Comments: 0
- Category: General Photo Album
-

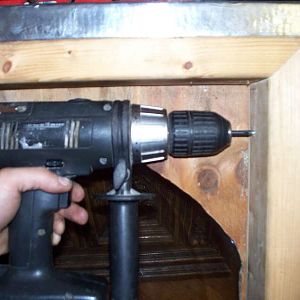
The upper holes are drilled.
- BrooklynBay
- Media item
- are drilled holes the upper
- Comments: 0
- Category: General Photo Album
-
The rear view of the combination lock.
This is what the rear of the keyless entry lock looks like on the back of the door.- BrooklynBay
- Media item
- combination lock of rear the view
- Comments: 0
- Category: General Photo Album
-
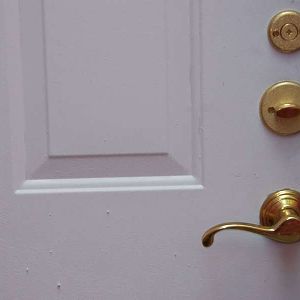
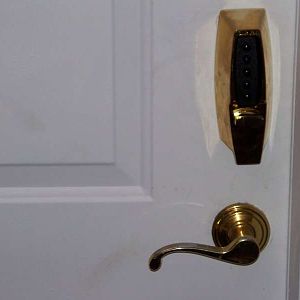
The lock is installed!
- BrooklynBay
- Media item
- installed is lock the
- Comments: 0
- Category: General Photo Album
-
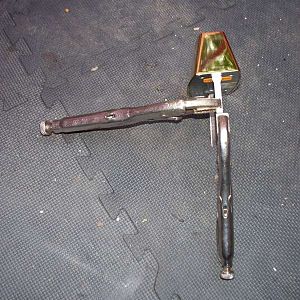
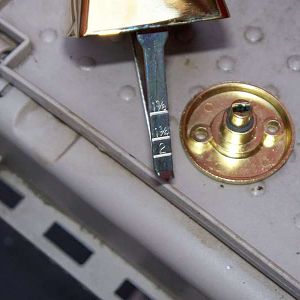
This is how you break off the shaft.
- BrooklynBay
- Media item
- break how is off shaft the this you
- Comments: 0
- Category: General Photo Album
-
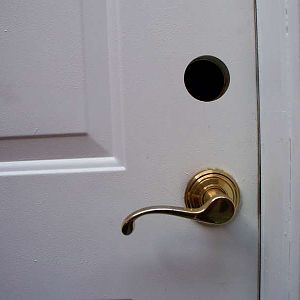
The steel door comes with two holes.
- BrooklynBay
- Media item
- comes door holes steel the two with
- Comments: 0
- Category: General Photo Album
-

The side of the door with the latch.
- BrooklynBay
- Media item
- door latch of side the with
- Comments: 0
- Category: General Photo Album
-
The rear shafts need to be cut to the width of the door.
- BrooklynBay
- Media item
- be cut door need of rear shafts the to width
- Comments: 0
- Category: General Photo Album
-
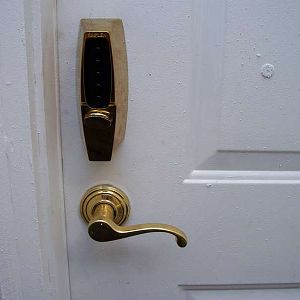
The lock is installed!
- BrooklynBay
- Media item
- installed is lock the
- Comments: 0
- Category: General Photo Album
-

The door needs another set of holes.
- BrooklynBay
- Media item
- another door holes needs of set the
- Comments: 0
- Category: General Photo Album
-

The back of the lock.
- BrooklynBay
- Media item
- back lock of the
- Comments: 0
- Category: General Photo Album
-
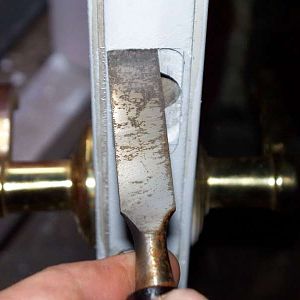
Enlarging the recess hole.
- BrooklynBay
- Media item
- enlarging hole recess the
- Comments: 0
- Category: General Photo Album
-

The hatch is open.
- BrooklynBay
- Media item
- hatch is open the
- Comments: 0
- Category: General Photo Album
-
The hatch is closed.
- BrooklynBay
- Media item
- closed hatch is the
- Comments: 0
- Category: General Photo Album
-
Two lid supports holding up the lid.
- BrooklynBay
- Media item
- holding lid supports the two up
- Comments: 0
- Category: General Photo Album
-
The outer grab handle.
- BrooklynBay
- Media item
- grab handle outer the
- Comments: 0
- Category: General Photo Album
-
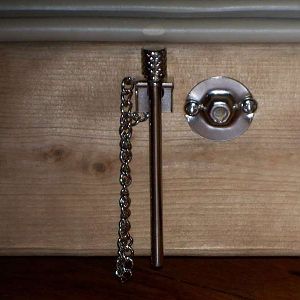
The locking pin in its holder.
- BrooklynBay
- Media item
- holder in its locking pin the
- Comments: 0
- Category: General Photo Album
-
The inner grab handle.
- BrooklynBay
- Media item
- grab handle inner the
- Comments: 0
- Category: General Photo Album
-
The completed top view.
- BrooklynBay
- Media item
- completed the top view
- Comments: 0
- Category: General Photo Album
-
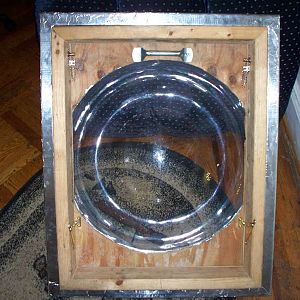
The completed bottom view.
- BrooklynBay
- Media item
- bottom completed the view
- Comments: 0
- Category: General Photo Album
-
A hole is made for the locking pin.
- BrooklynBay
- Media item
- a for hole is locking made pin the
- Comments: 0
- Category: General Photo Album
-
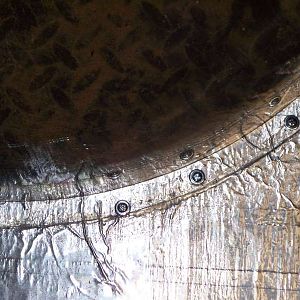
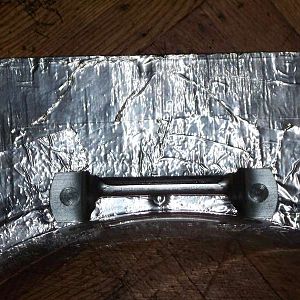
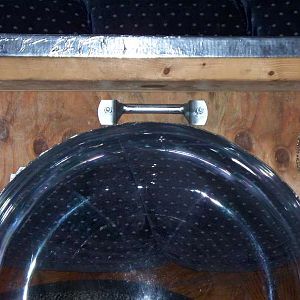
The screws are getting mounted to the rim.
- BrooklynBay
- Media item
- are getting mounted rim screws the to
- Comments: 0
- Category: General Photo Album
-
The screws are all around the rim.
- BrooklynBay
- Media item
- all are around rim screws the
- Comments: 2
- Category: General Photo Album
-
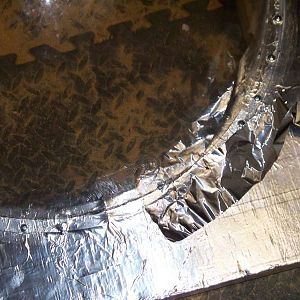
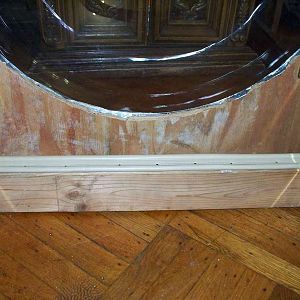
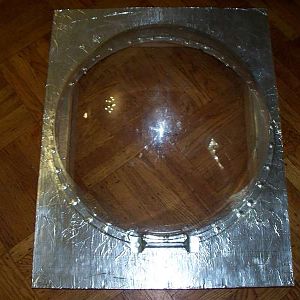
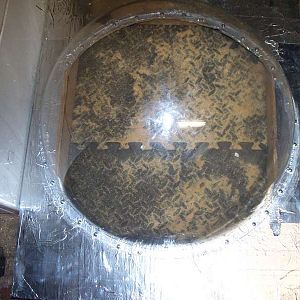
The aluminum tape is covering the rim.
- BrooklynBay
- Media item
- aluminum covering is rim tape the
- Comments: 0
- Category: General Photo Album
-
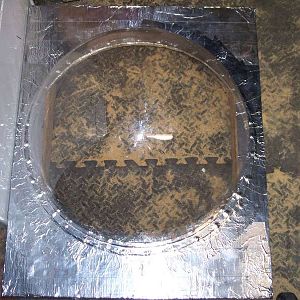
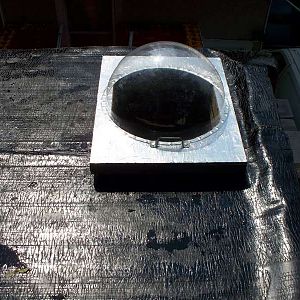
The aluminum tape is around the hemisphere.
- BrooklynBay
- Media item
- aluminum around hemisphere is tape the
- Comments: 0
- Category: General Photo Album
-
Mark the place where the hemisphere will go.
- BrooklynBay
- Media item
- go hemisphere mark place the where will
- Comments: 0
- Category: General Photo Album
-
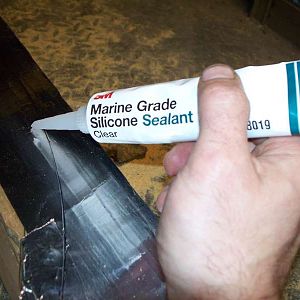
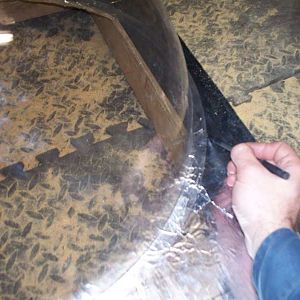
Apply a bead of silicone to the base.
- BrooklynBay
- Media item
- a apply base bead of silicone the to
- Comments: 0
- Category: General Photo Album