- Joined
- February 7, 2003
- Messages
- 2,816
- Reaction score
- 3
- City, State
- Mountain Home AFB, ID
- Year, Model & Trim Level
- No more Exploder
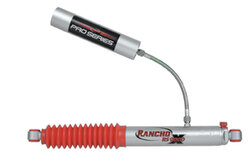
Dannyboy said:I just picked up a set of shocks too...Rancho long travel Pro series w/ remote resivoirs. 19" compressed!!! That's about how long my stock shocks were extended!!!
How much travel do they have? Can't wait to see pics of those.
 Are they adjustable, other than how much nitrogen you charge them with?