Old member first time posting. My SAS. | Page 4 | Ford Explorer Forums - Serious Explorations

  • Register Today It's free!

Old member first time posting. My SAS.

Well I've been a member on here for a few years but have never posted. So for my first post I decided I would add my '95 to this SAS thread because I've done a couple of thing different than a lot of the others I've seen on here.

First, let me just say that I'm just an amateur and did all the fab work myself so go easy on me if there is something that you think should be changed. Second, everything has worked well. Besides already doing numerous runs also I've jumped the truck a few times now out at TDS and Lucernce Valley and everything has held up nicely.

So here it is. I used a high pinion D30 out of an '88 Cherokee but used leaf springs to keep it simple and low cost. For the leaf springs I used the main leaf from a front pack off a Wangler. I then took the rest of the front and rear leafs and made my own 7 leaf packs that keep the springs flat like they are on a Wrangler. This gives me enough room to clear 33's. I'd like to have customer packs made to give it about another 2 or 3 inches when I have the money but for now these are working well. For the rear I'm using the main and second leafs from the Explorer pack but then the rest are from an OME pack for an FJ40 with one additional leaf added. So they now have 8 thinner leafs.

Here is what I did for the front sprint mounts. The cross bar is 3 inch and the down bars are 3.5. All are .250 wall.

2.jpg


Here is how I did my shackle mount which is different than any of the others that I've seen on here. I wanted to keep the spring as level from front to rear as I could so the ride would be nice and the geometry would work well. So instead of having even longer mounts in the front I instead went through the frame for the rear and made a shackle that is 1.5 inches longer than a stock Wrangler shackle.


Here's some of it going through Crowbar.


Here's an old one of it before the SAS when it had TT and rear shackles.


Join the Elite Explorers for $20 each year.
Elite Explorer members see no advertisements, no banner ads, no double underlined links,.
Add an avatar, upload photo attachments, and more!
.


yeah that is what I am using but see none of them. :-( All is good. Will keep looking to see Leaf SAS for the explorer. Is yours a V8?


Join the Elite Explorers for $20 each year.
Elite Explorer members see no advertisements, no banner ads, no double underlined links,.
Add an avatar, upload photo attachments, and more!
.


Sorry, I don't have the originals and when I try to download them from Photobucket they are screwed up. I can take some pictures of the box though and try to post them here. Let me know if that would help.


I downloaded the Firefox extension that allows me to see the images so I took a screen shot of the pictures, saved them and uploaded to another site so I could post them again. The first few pictures are how it was mounted when I had the V6. I didn't do the original mounting, I paid a shop to do it because I couldn't weld. The others are of me moving it into the frame more to clear the V8 when I swapped it in. I can weld now so I did that work.

Old_Bracket.png

Old_Bracket_2.png

Old_Bracket_Hole.png

Bracket.png

New_Bracket_Mount.png

New_Bracket_Mount_2.png

New_Bracket_Mount_3.png


:eek: - OMG! Photos! How nice to see a thread with real photos and not the photobucket error message.

Great looking work.

Could you please post detailed photos of your SAS installed? Frame, Links, axles, etc? I will be doing my 97'. Photos are always great to look at for ideas. Were there any measurements that you had to consider (angles and such) when setting up the front end?

Thanks in advance! :afro:


I'll have to look to see if I can find the original pictures. I explained on the first page of this thread what I did. Since I used leaf springs for the conversion it was fairly simple. I built a front crossmember with square tubing and then used more square tubing for the front spring mounts. For the upper shackle mount I drilled a hole through the frame and welded in some DOM that had the correct inside diameter for the shackle bushing. I made the shackles the a little longer than a YJ shackle. In fact, all the measurements for the springs were based off a YJ since I used YJ springs with a bunch of extra leafs. When it came time to weld on the spring perches I towed the truck down to the shop my brother was working at and we put it on the alignment rack and set the castor to the Explorer specs and then welded them on.


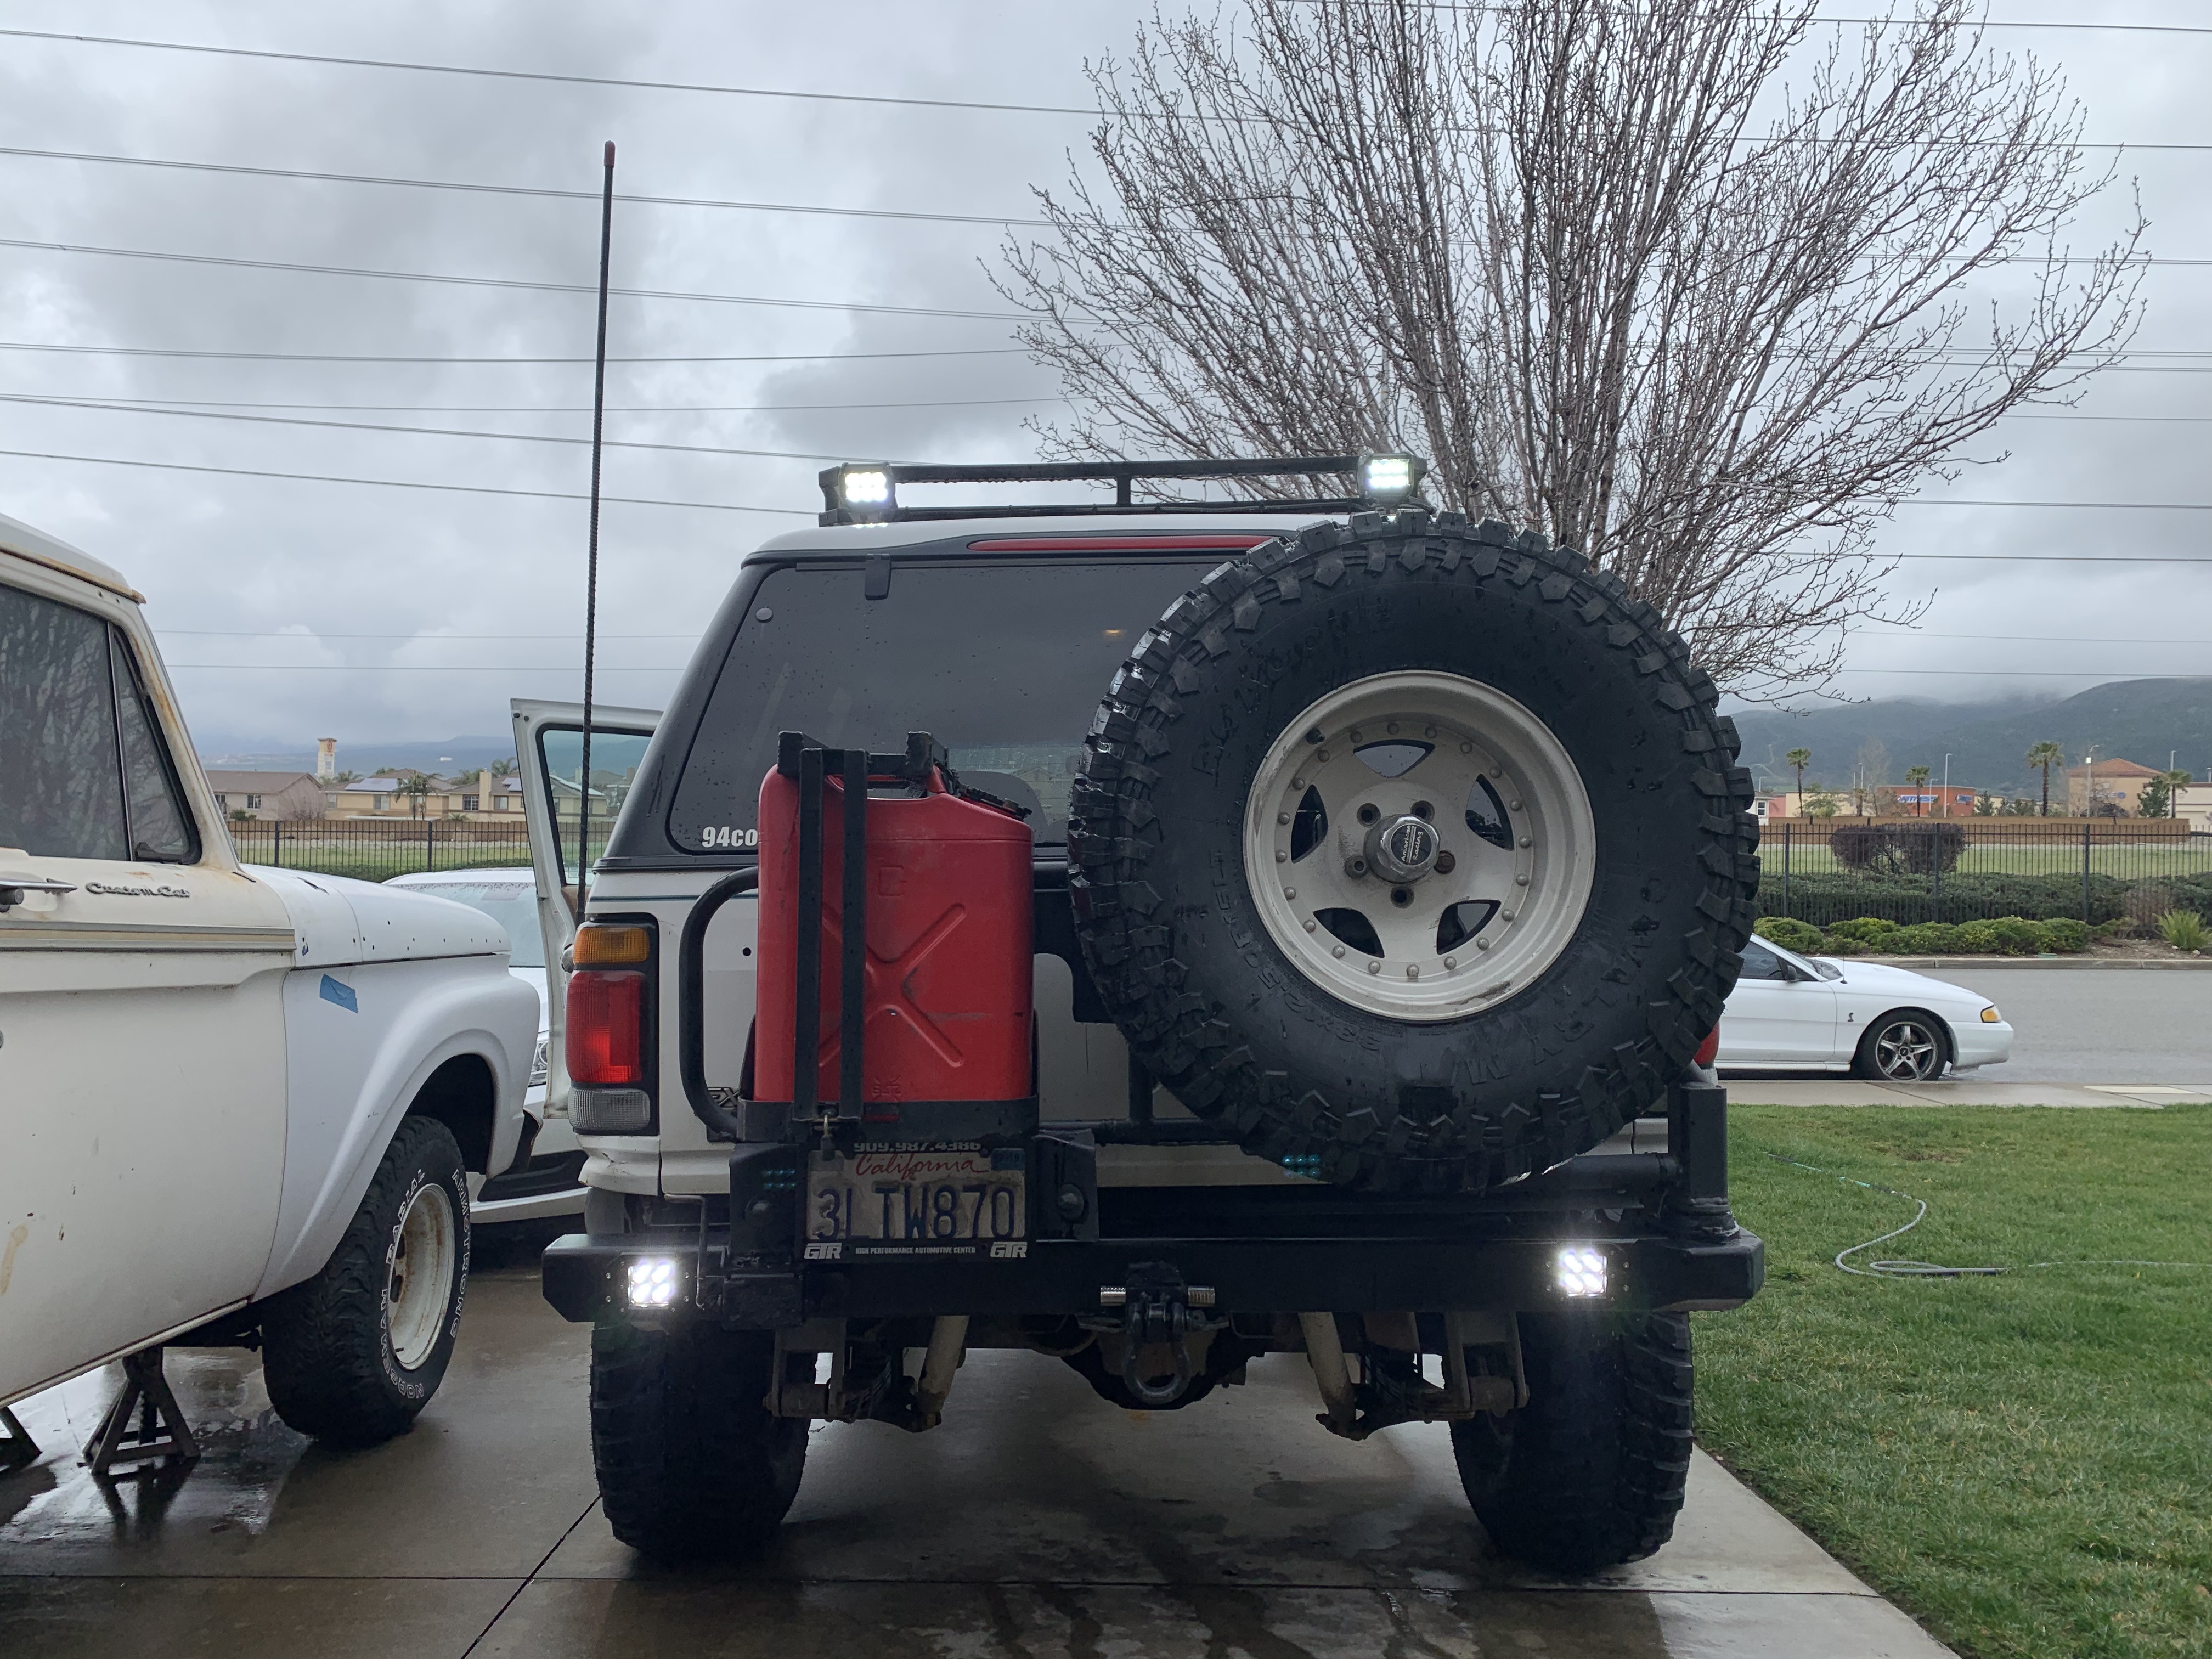
I added a couple of 4in. LED lights to the rear of my roof rack for backing up. They aren't super bright like the front ones but they're way better than just the reverse lights. You can actually see what's around you when backing up at night offroading. I made a couple tabs that I welded onto the rack and then drilled a hole in the lower tube to run the wiring.

20180111_163755.jpg

20180111_163819.jpg

20180111_163811.jpg

20180111_163836.jpg

20180129_162452.jpg


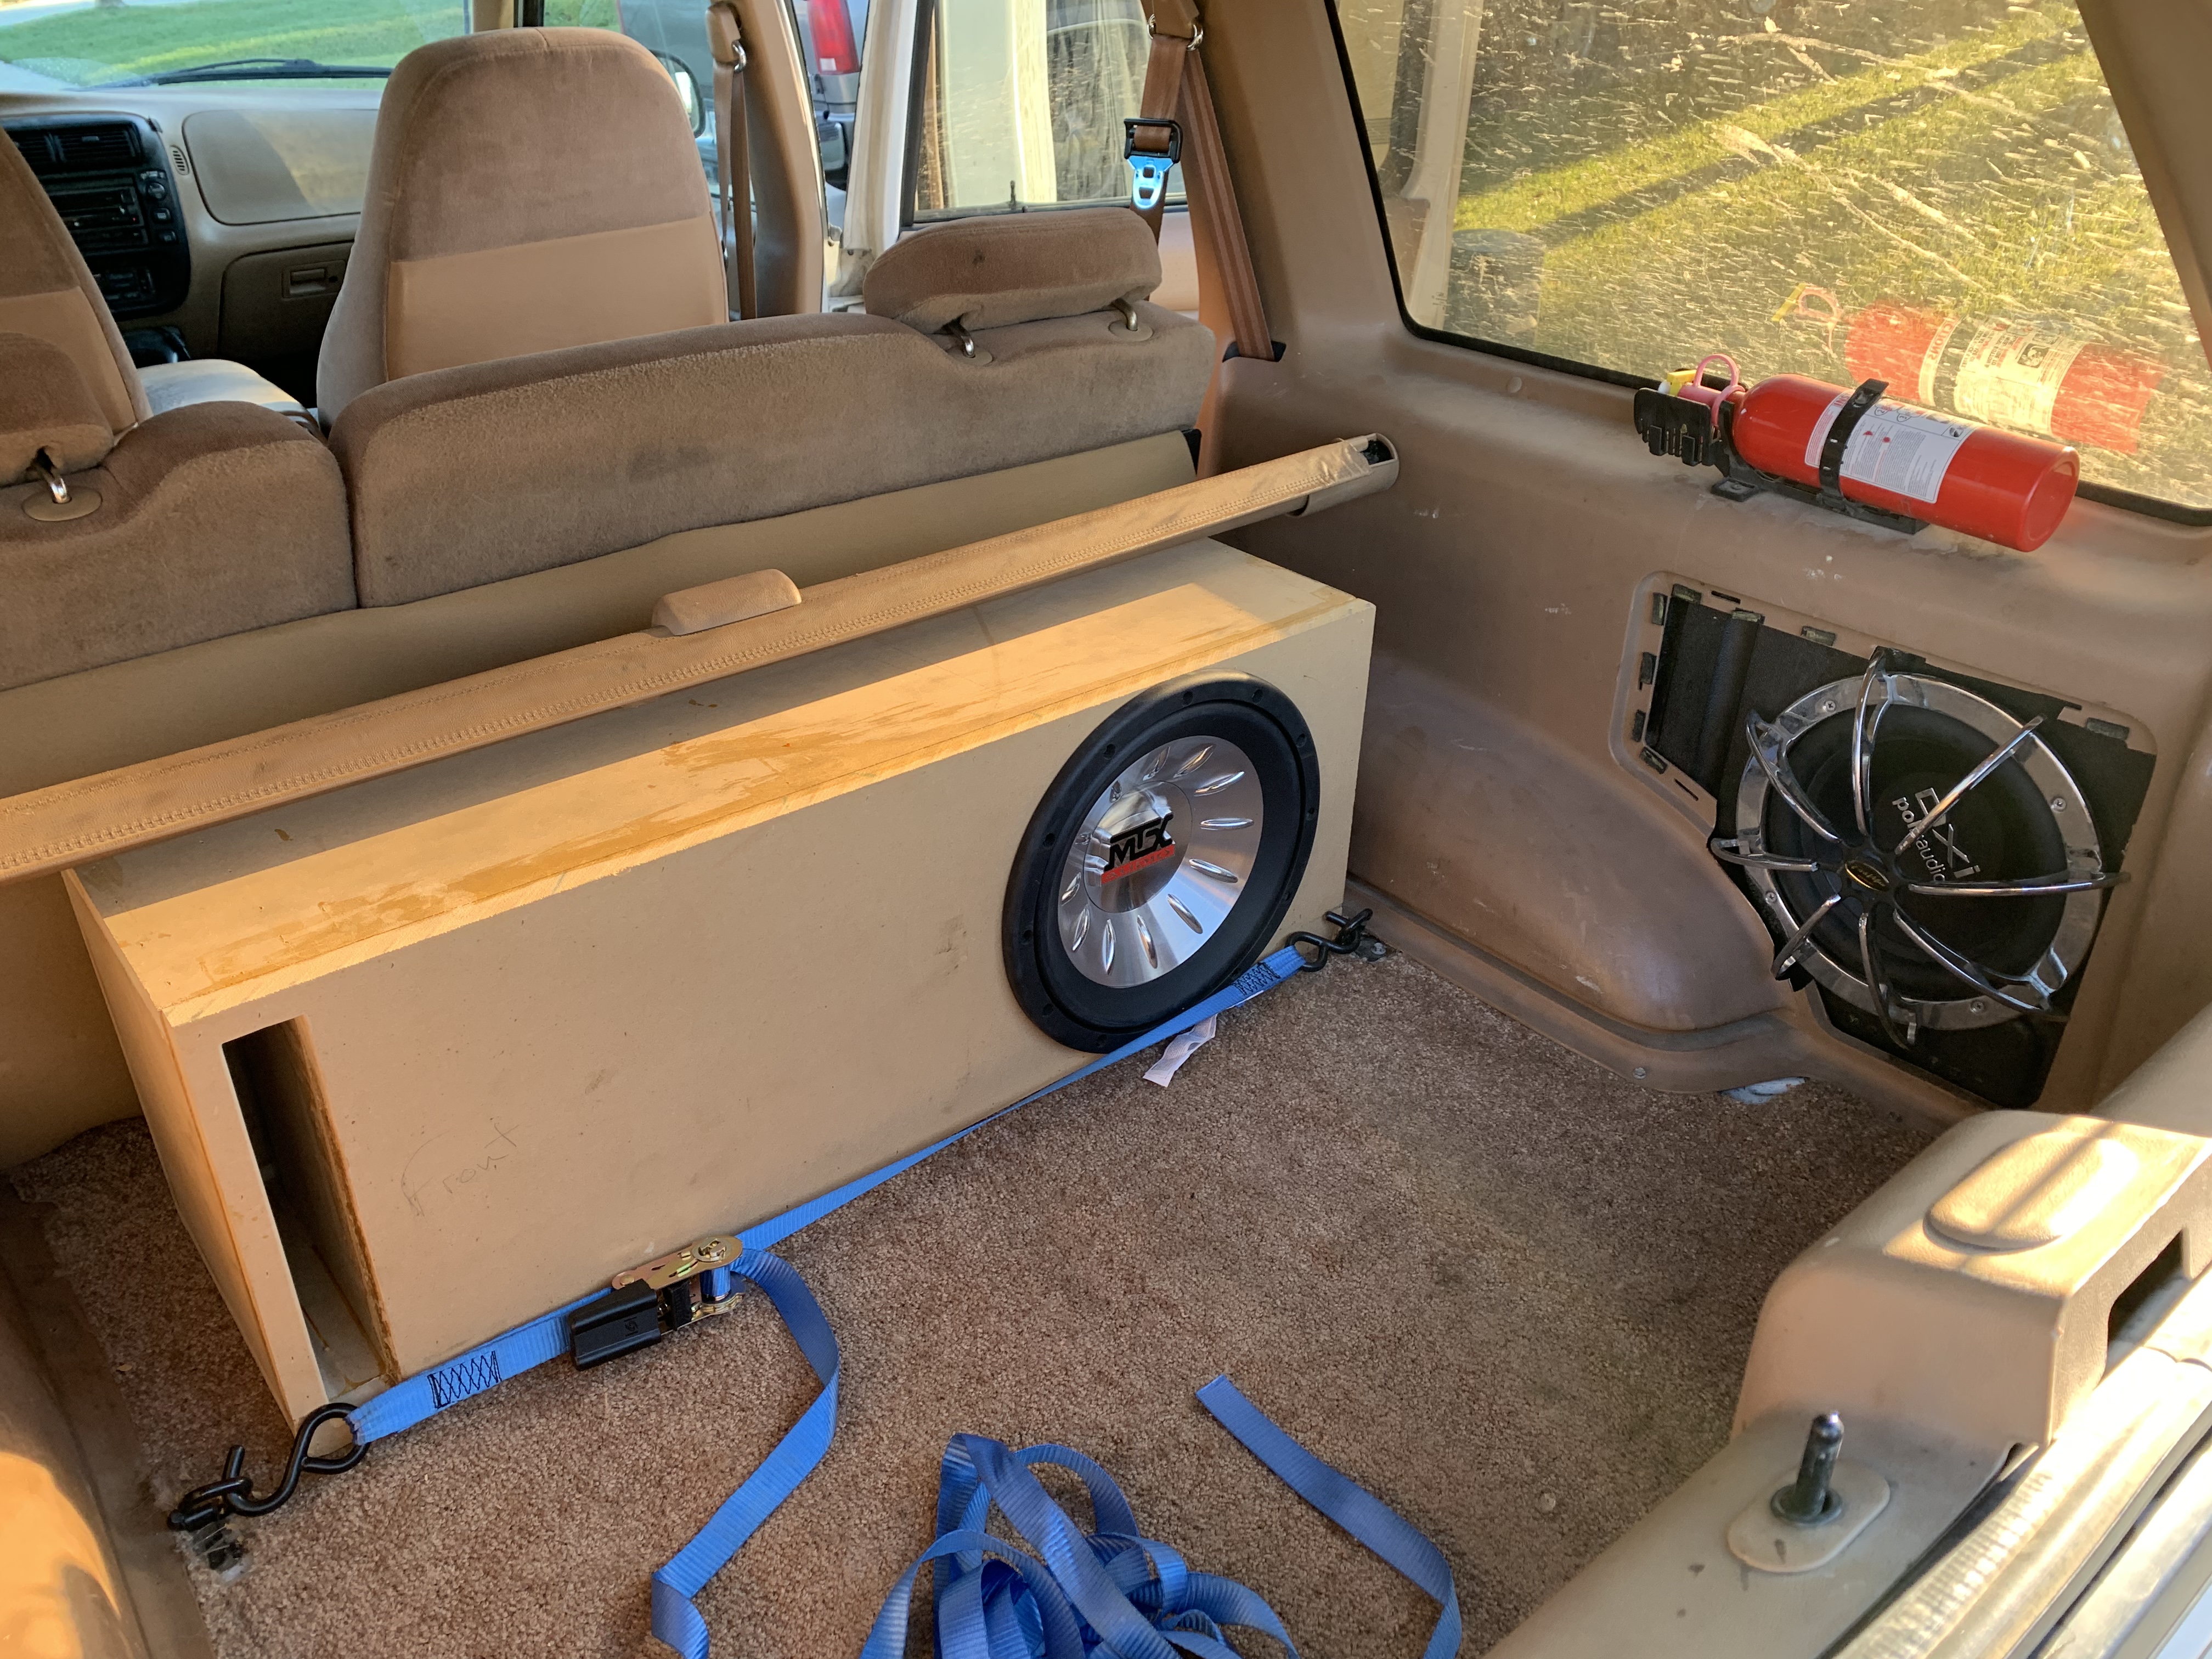
Wow, I haven't updated this page in a while! But I really haven't done much to the truck though. I changed the stereo head unit to a new one that has BlueTooth, swapped the single Sony 5 channel amp (40x4 + 120x1) for dual JBL amps (40x4 + 1200x1) and built a box for an old MTX Thunder 8000 12 that I had so now I have a Polk 10 and the MTX 12. I only have a picture of the subs.
A7F3D53D-8546-4BEC-A45C-4C35E61B9A06.jpeg

showfull.php


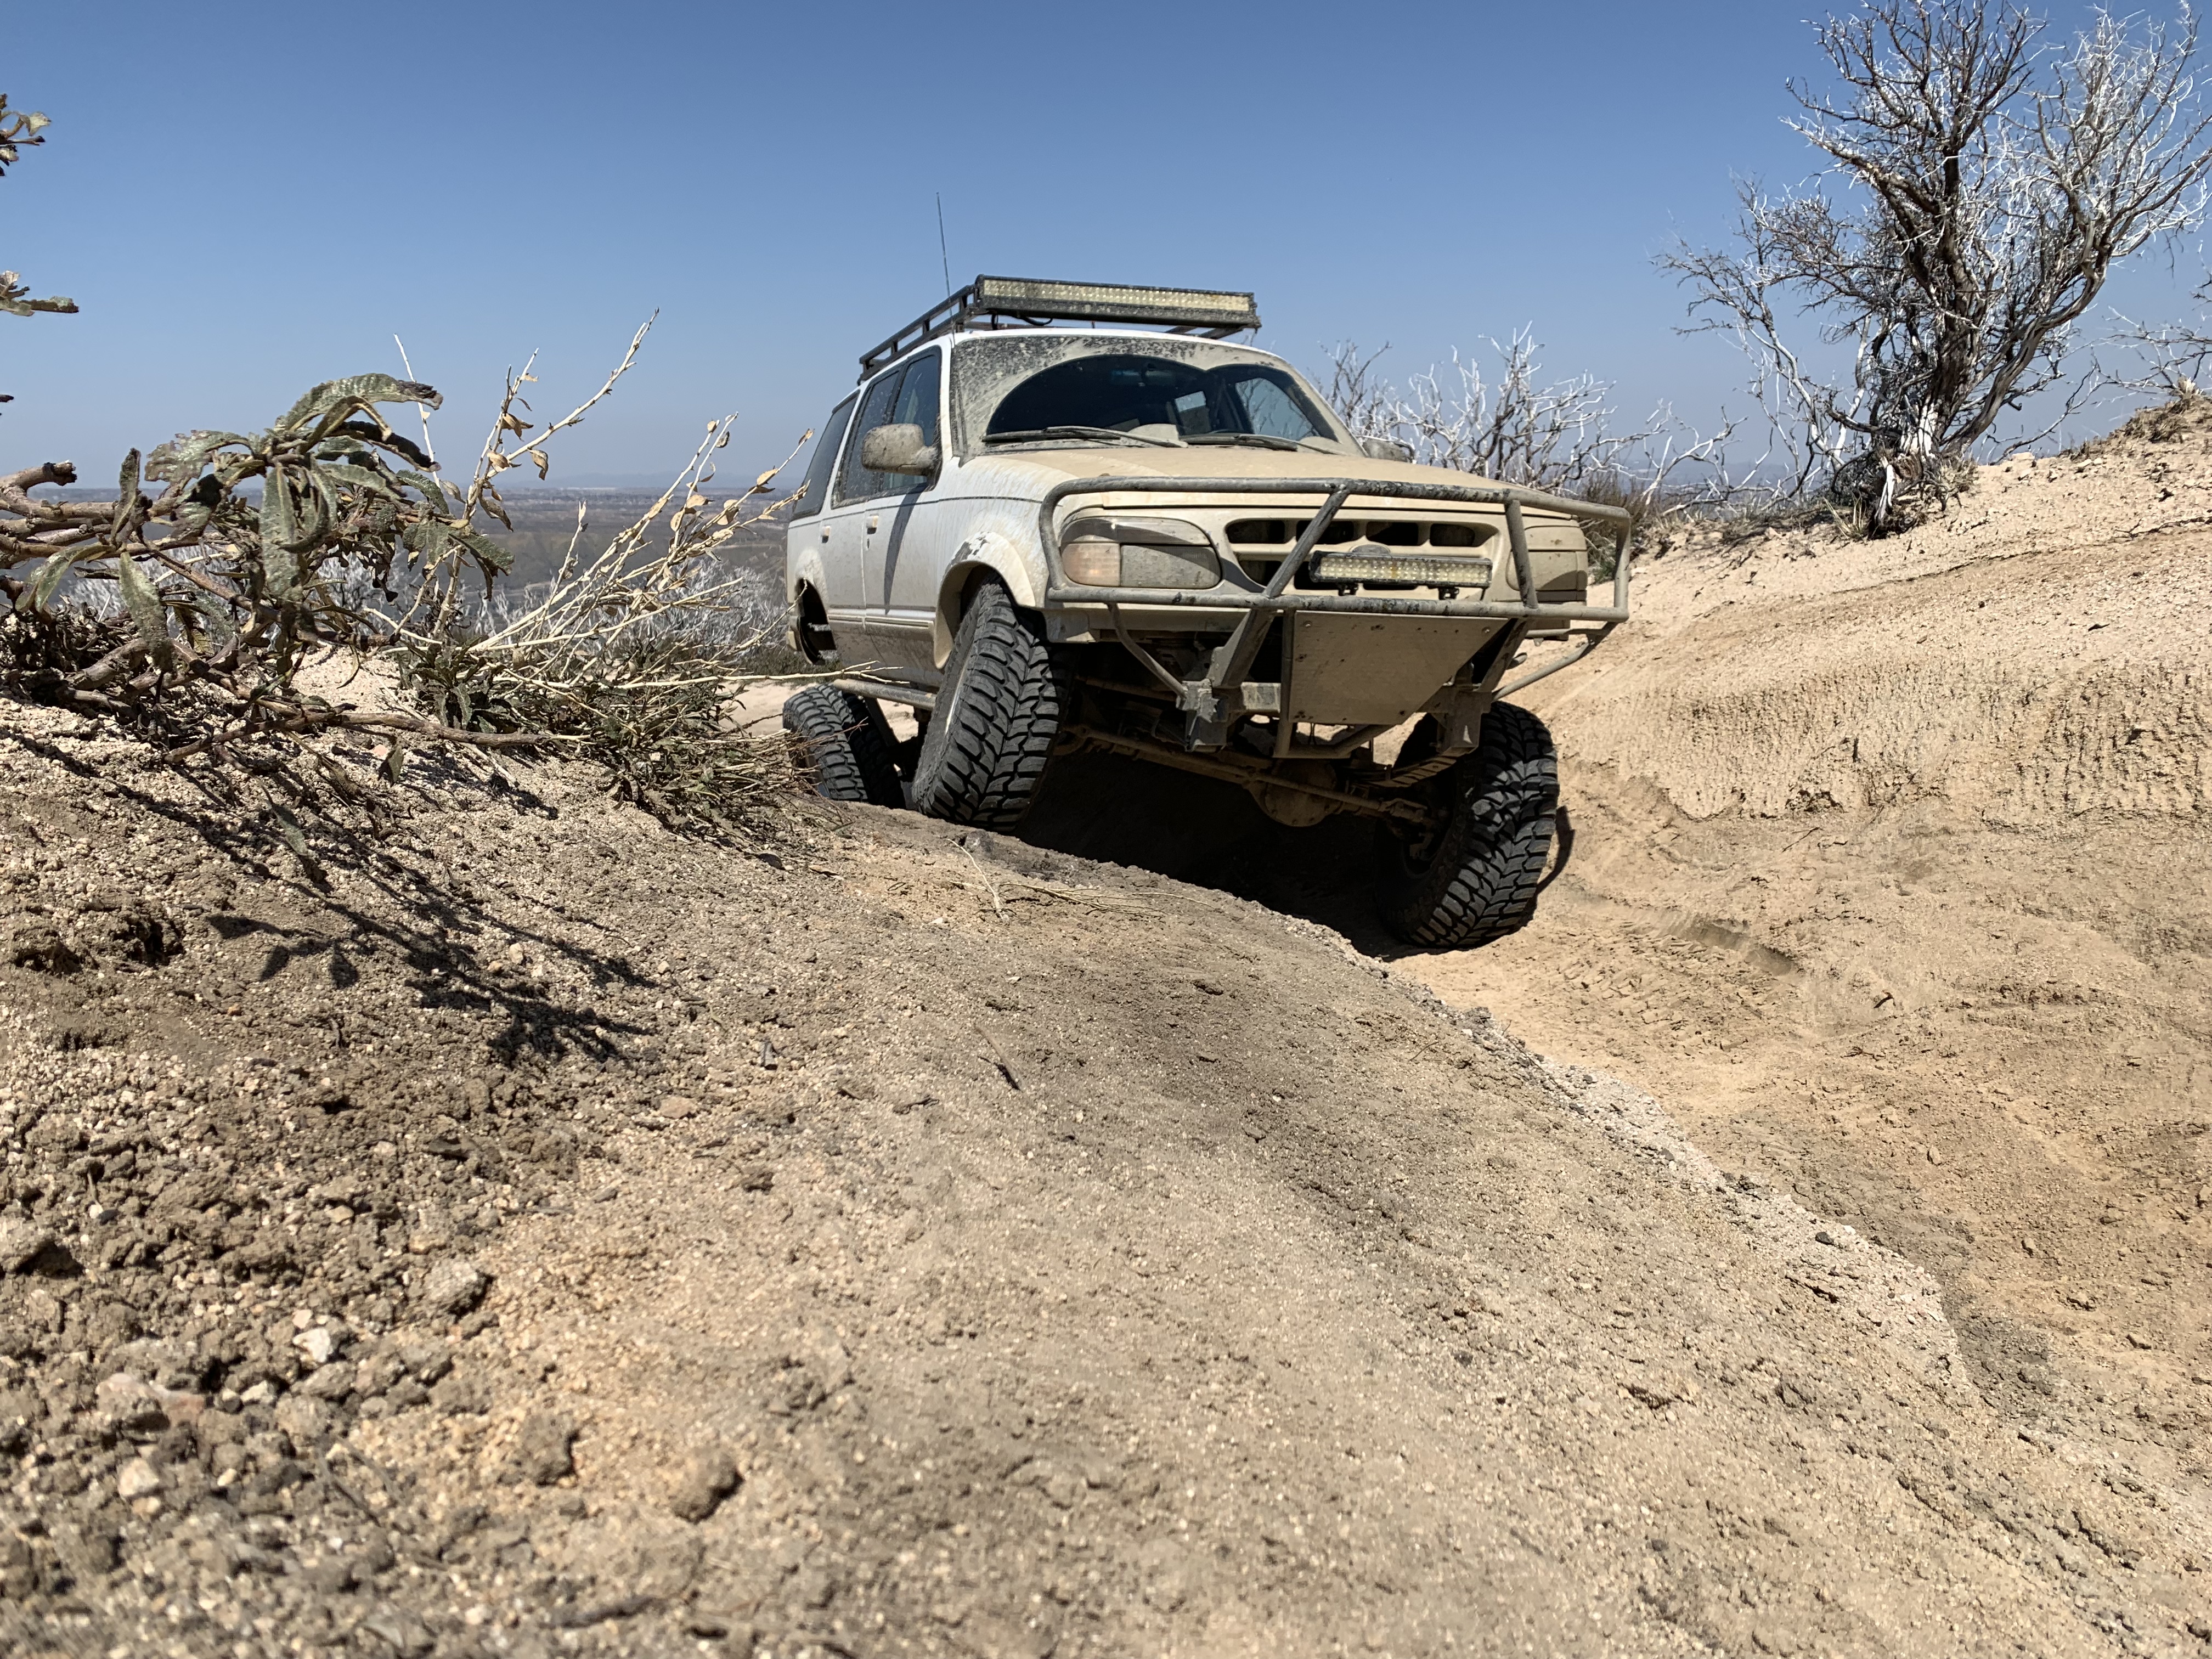
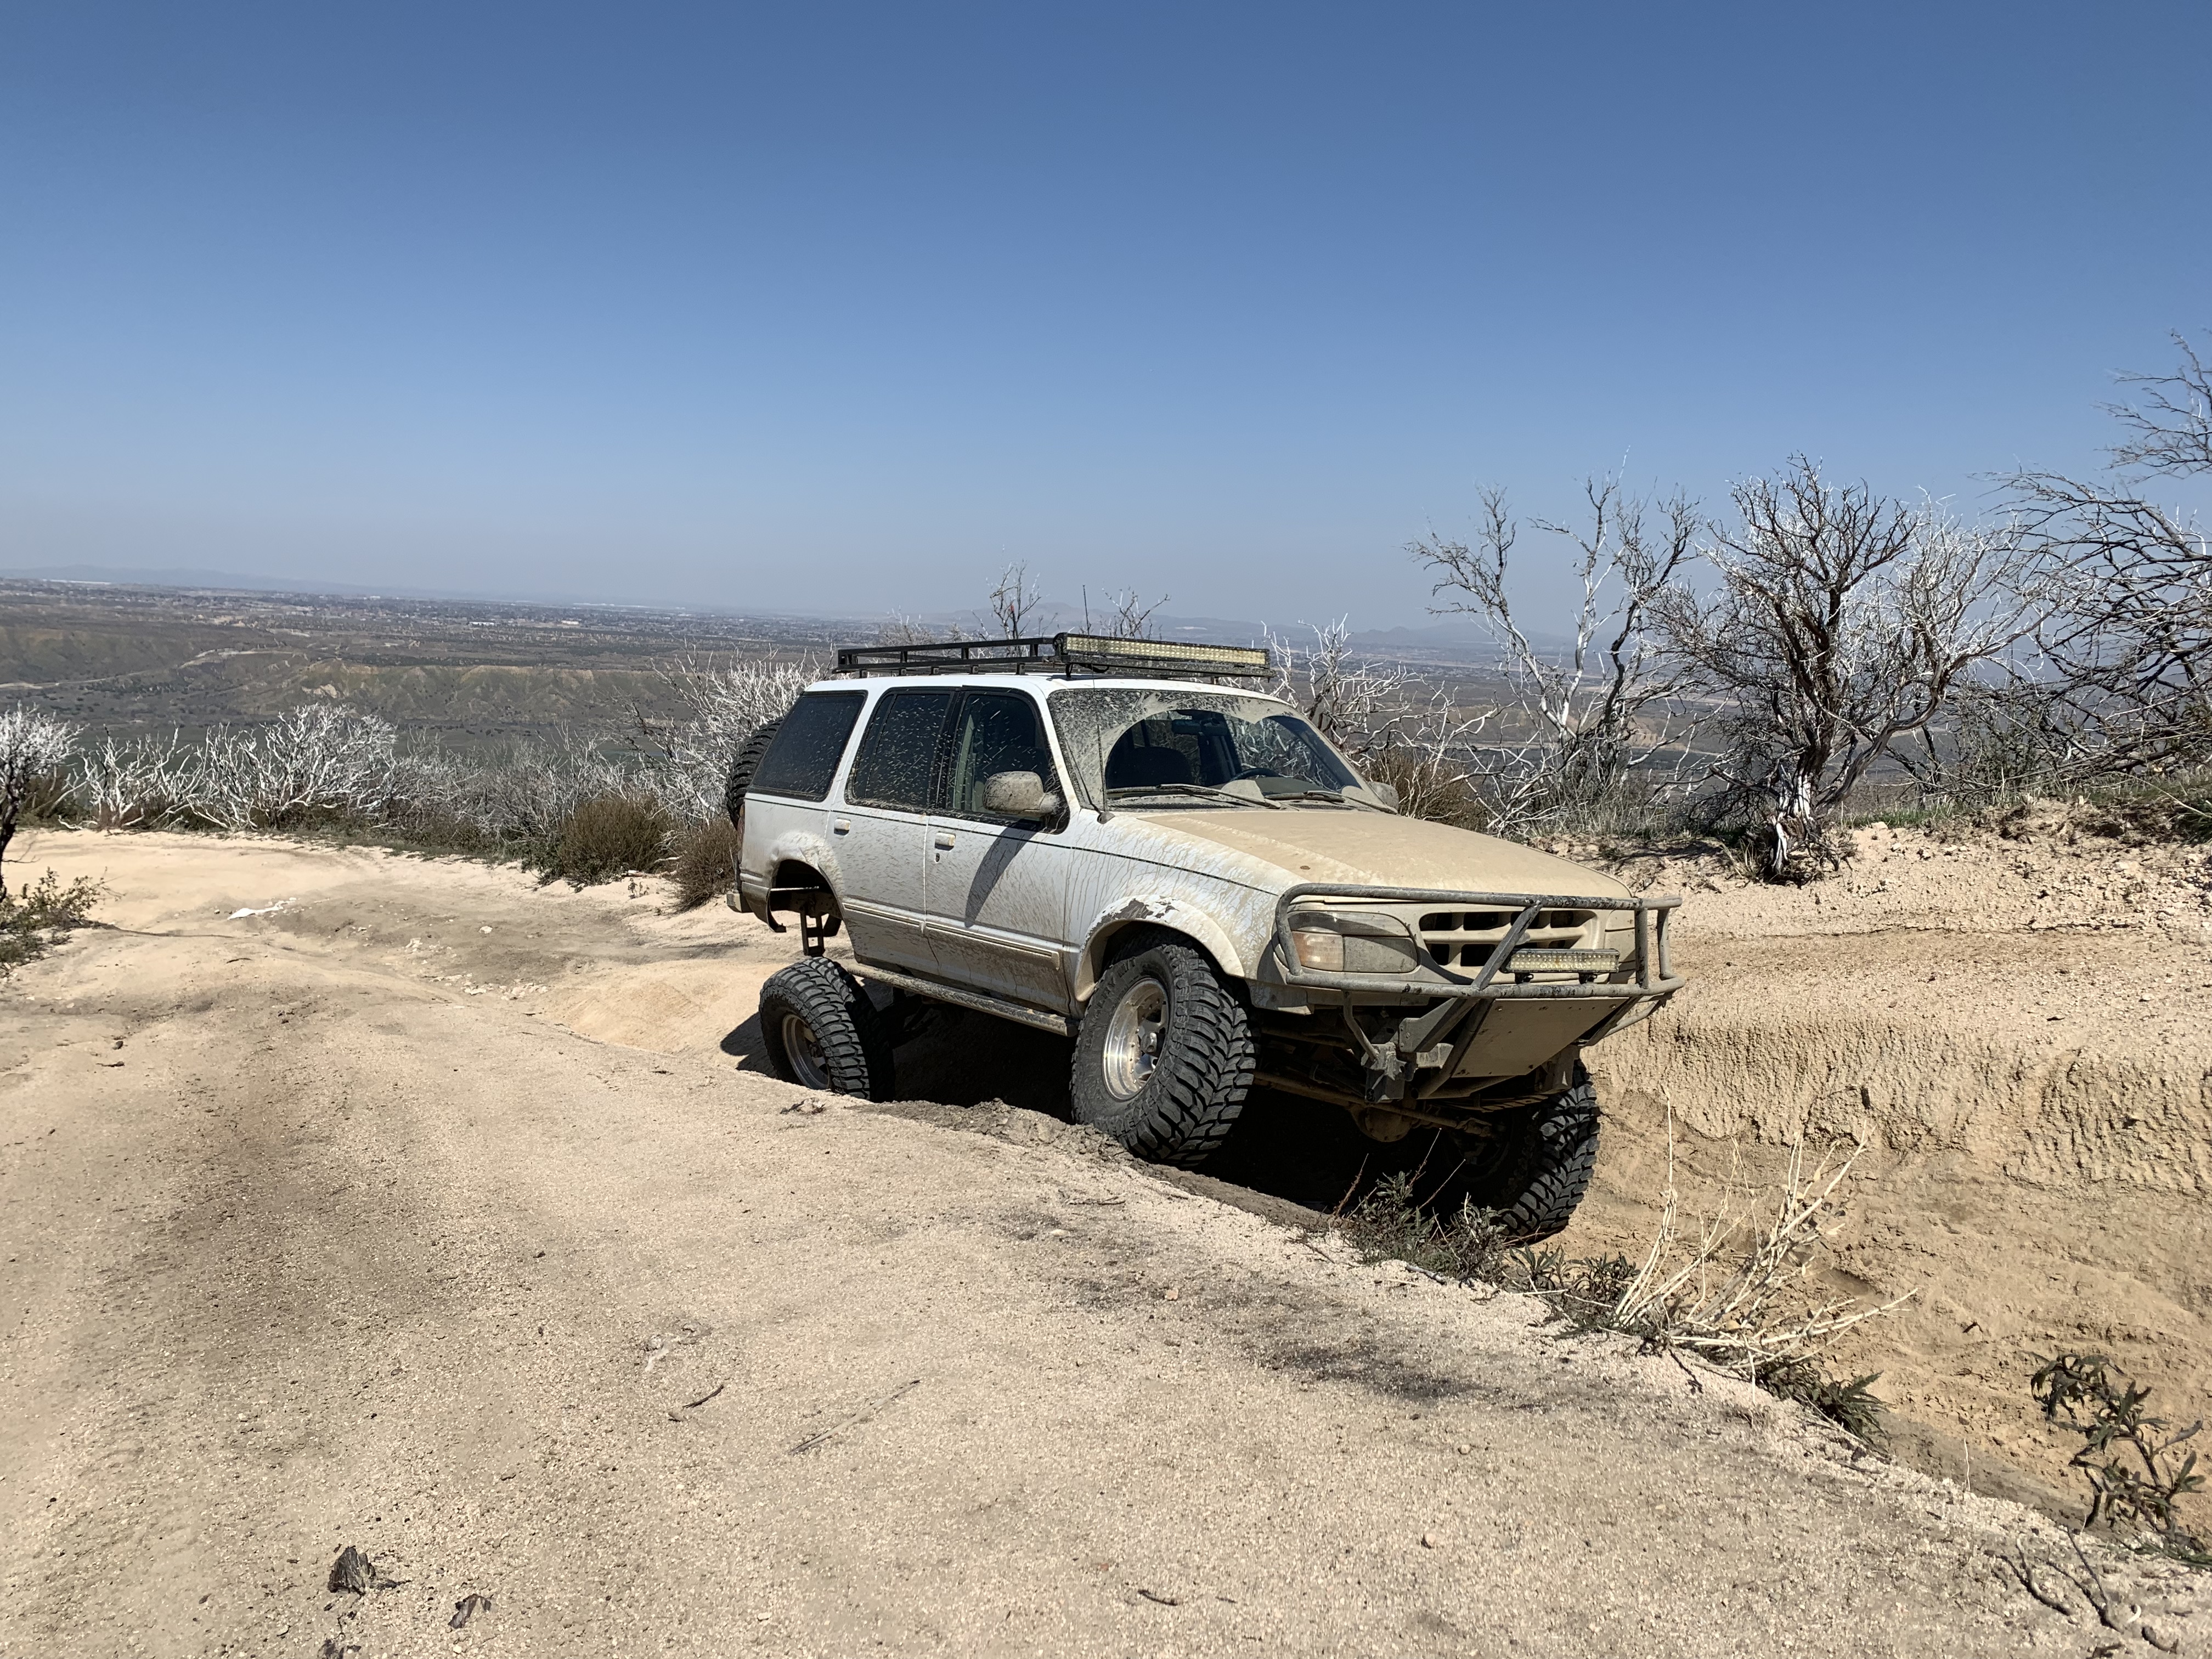
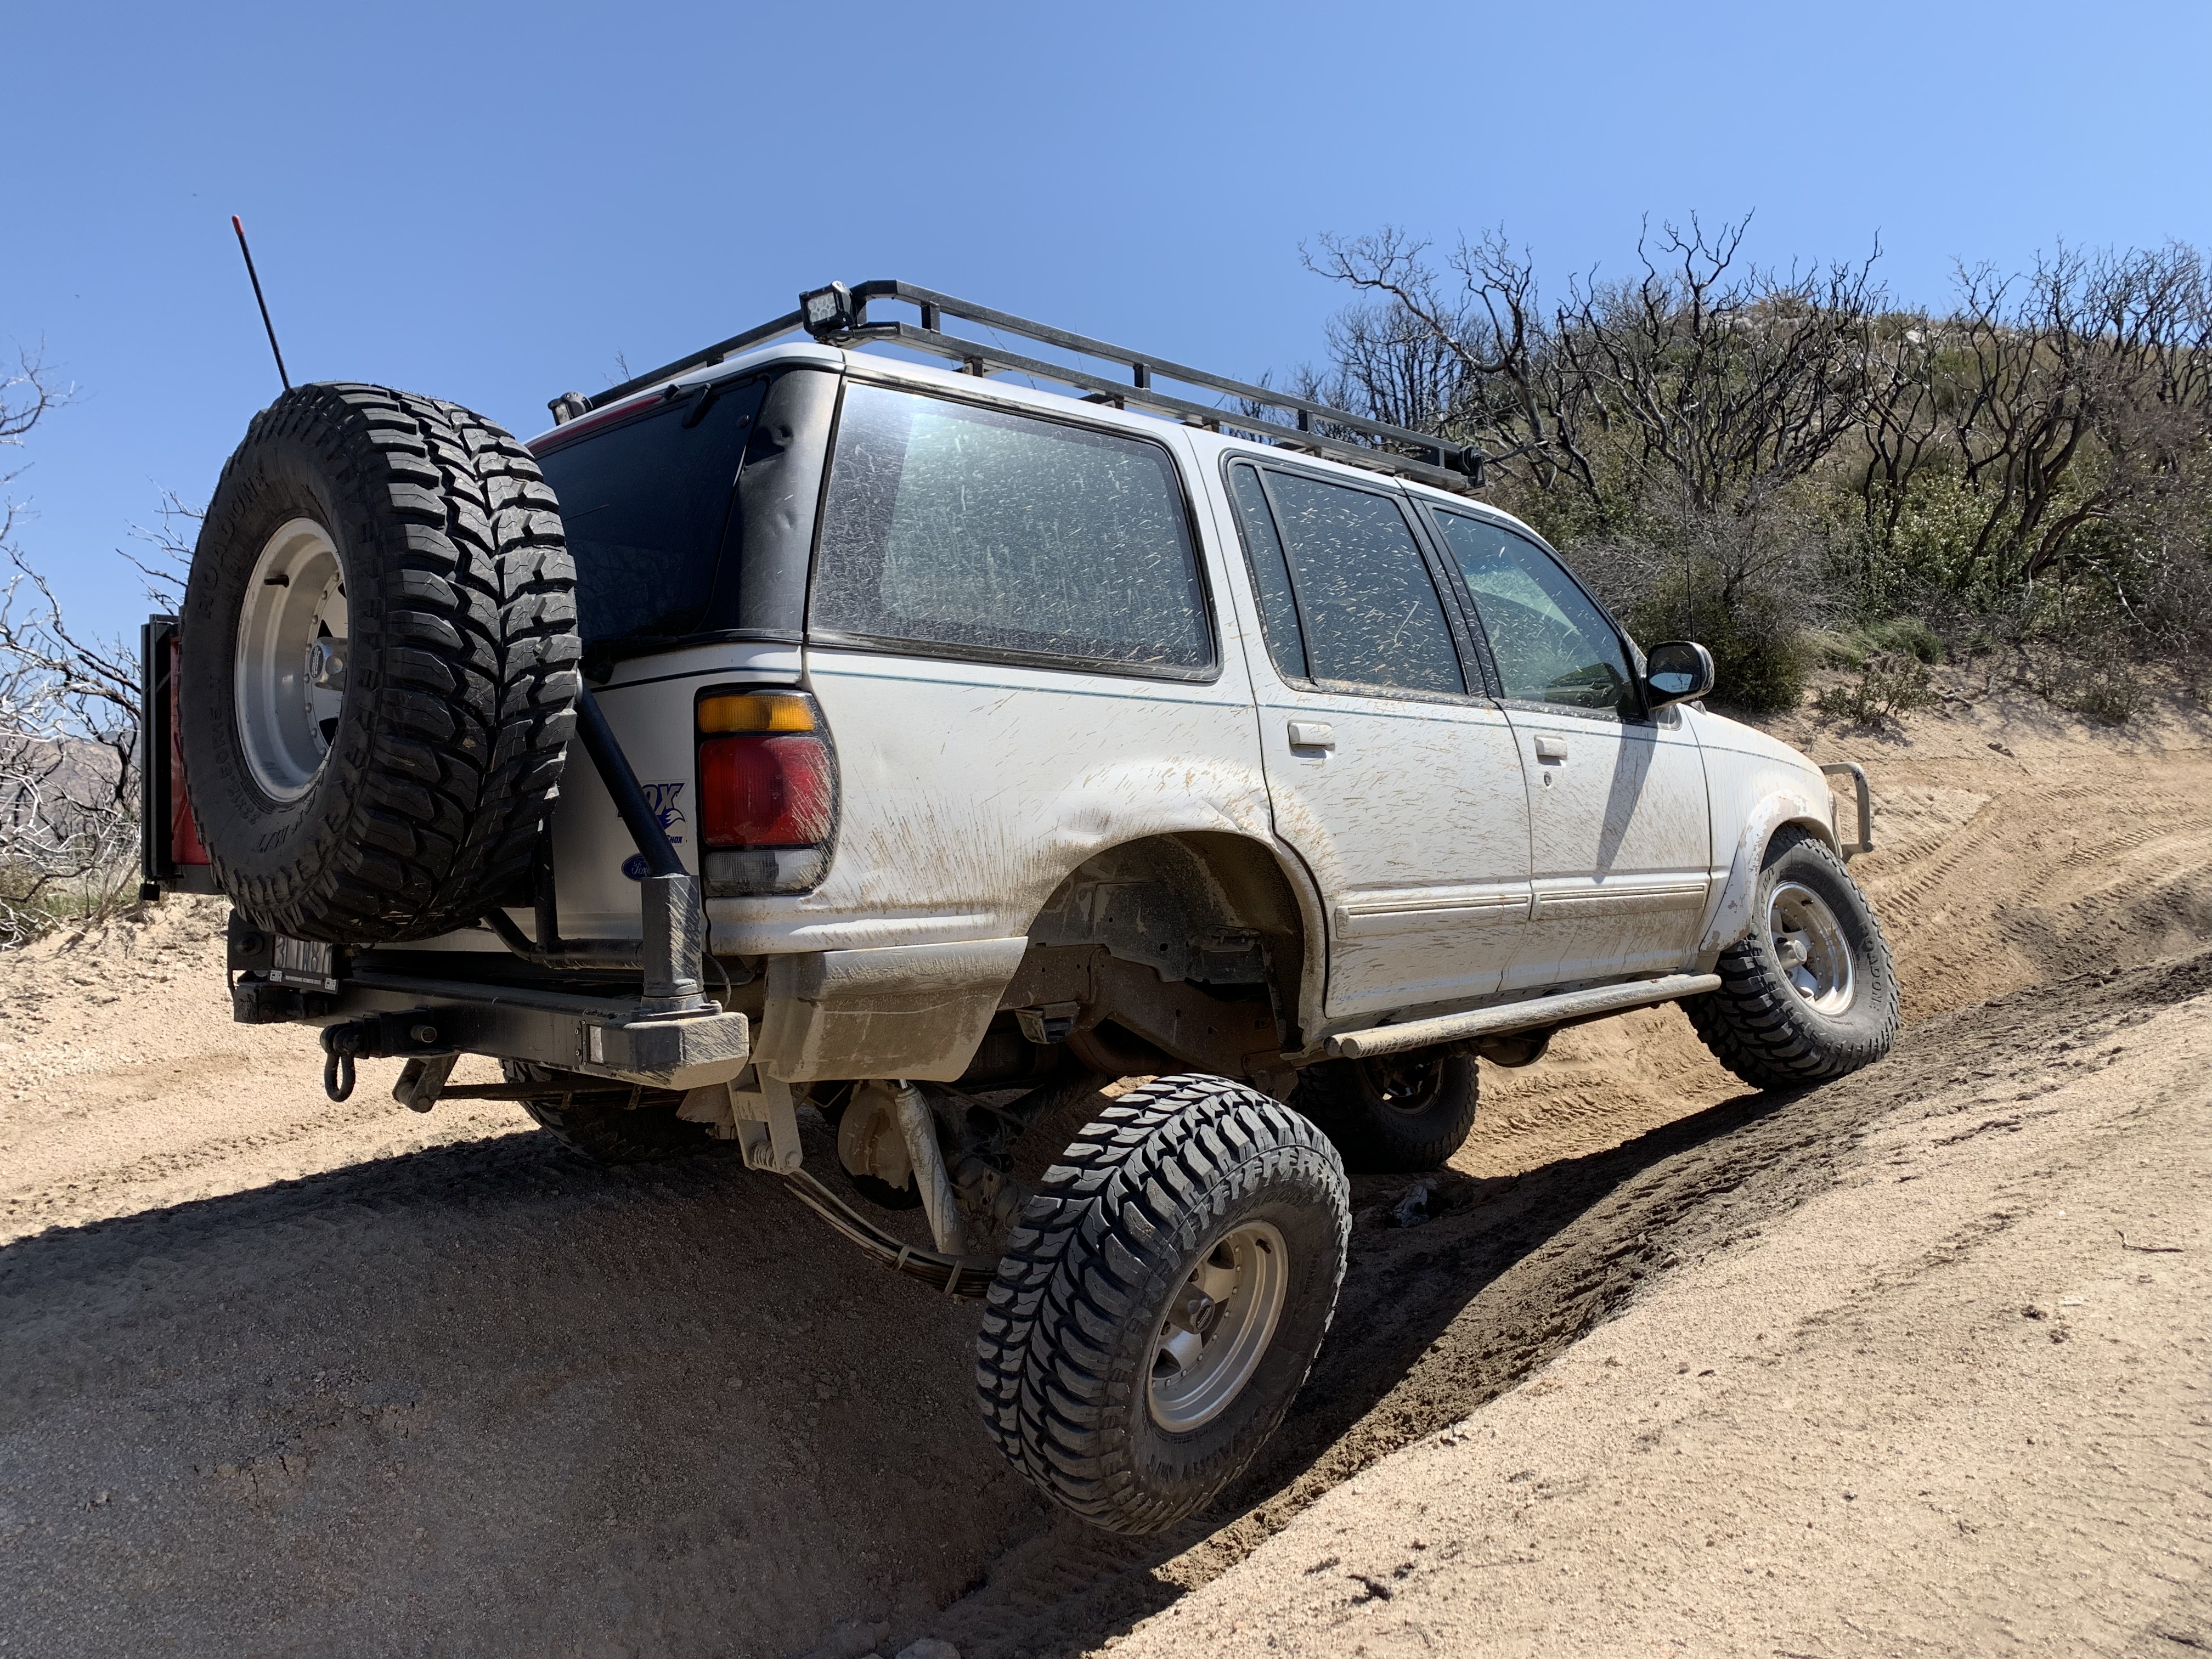
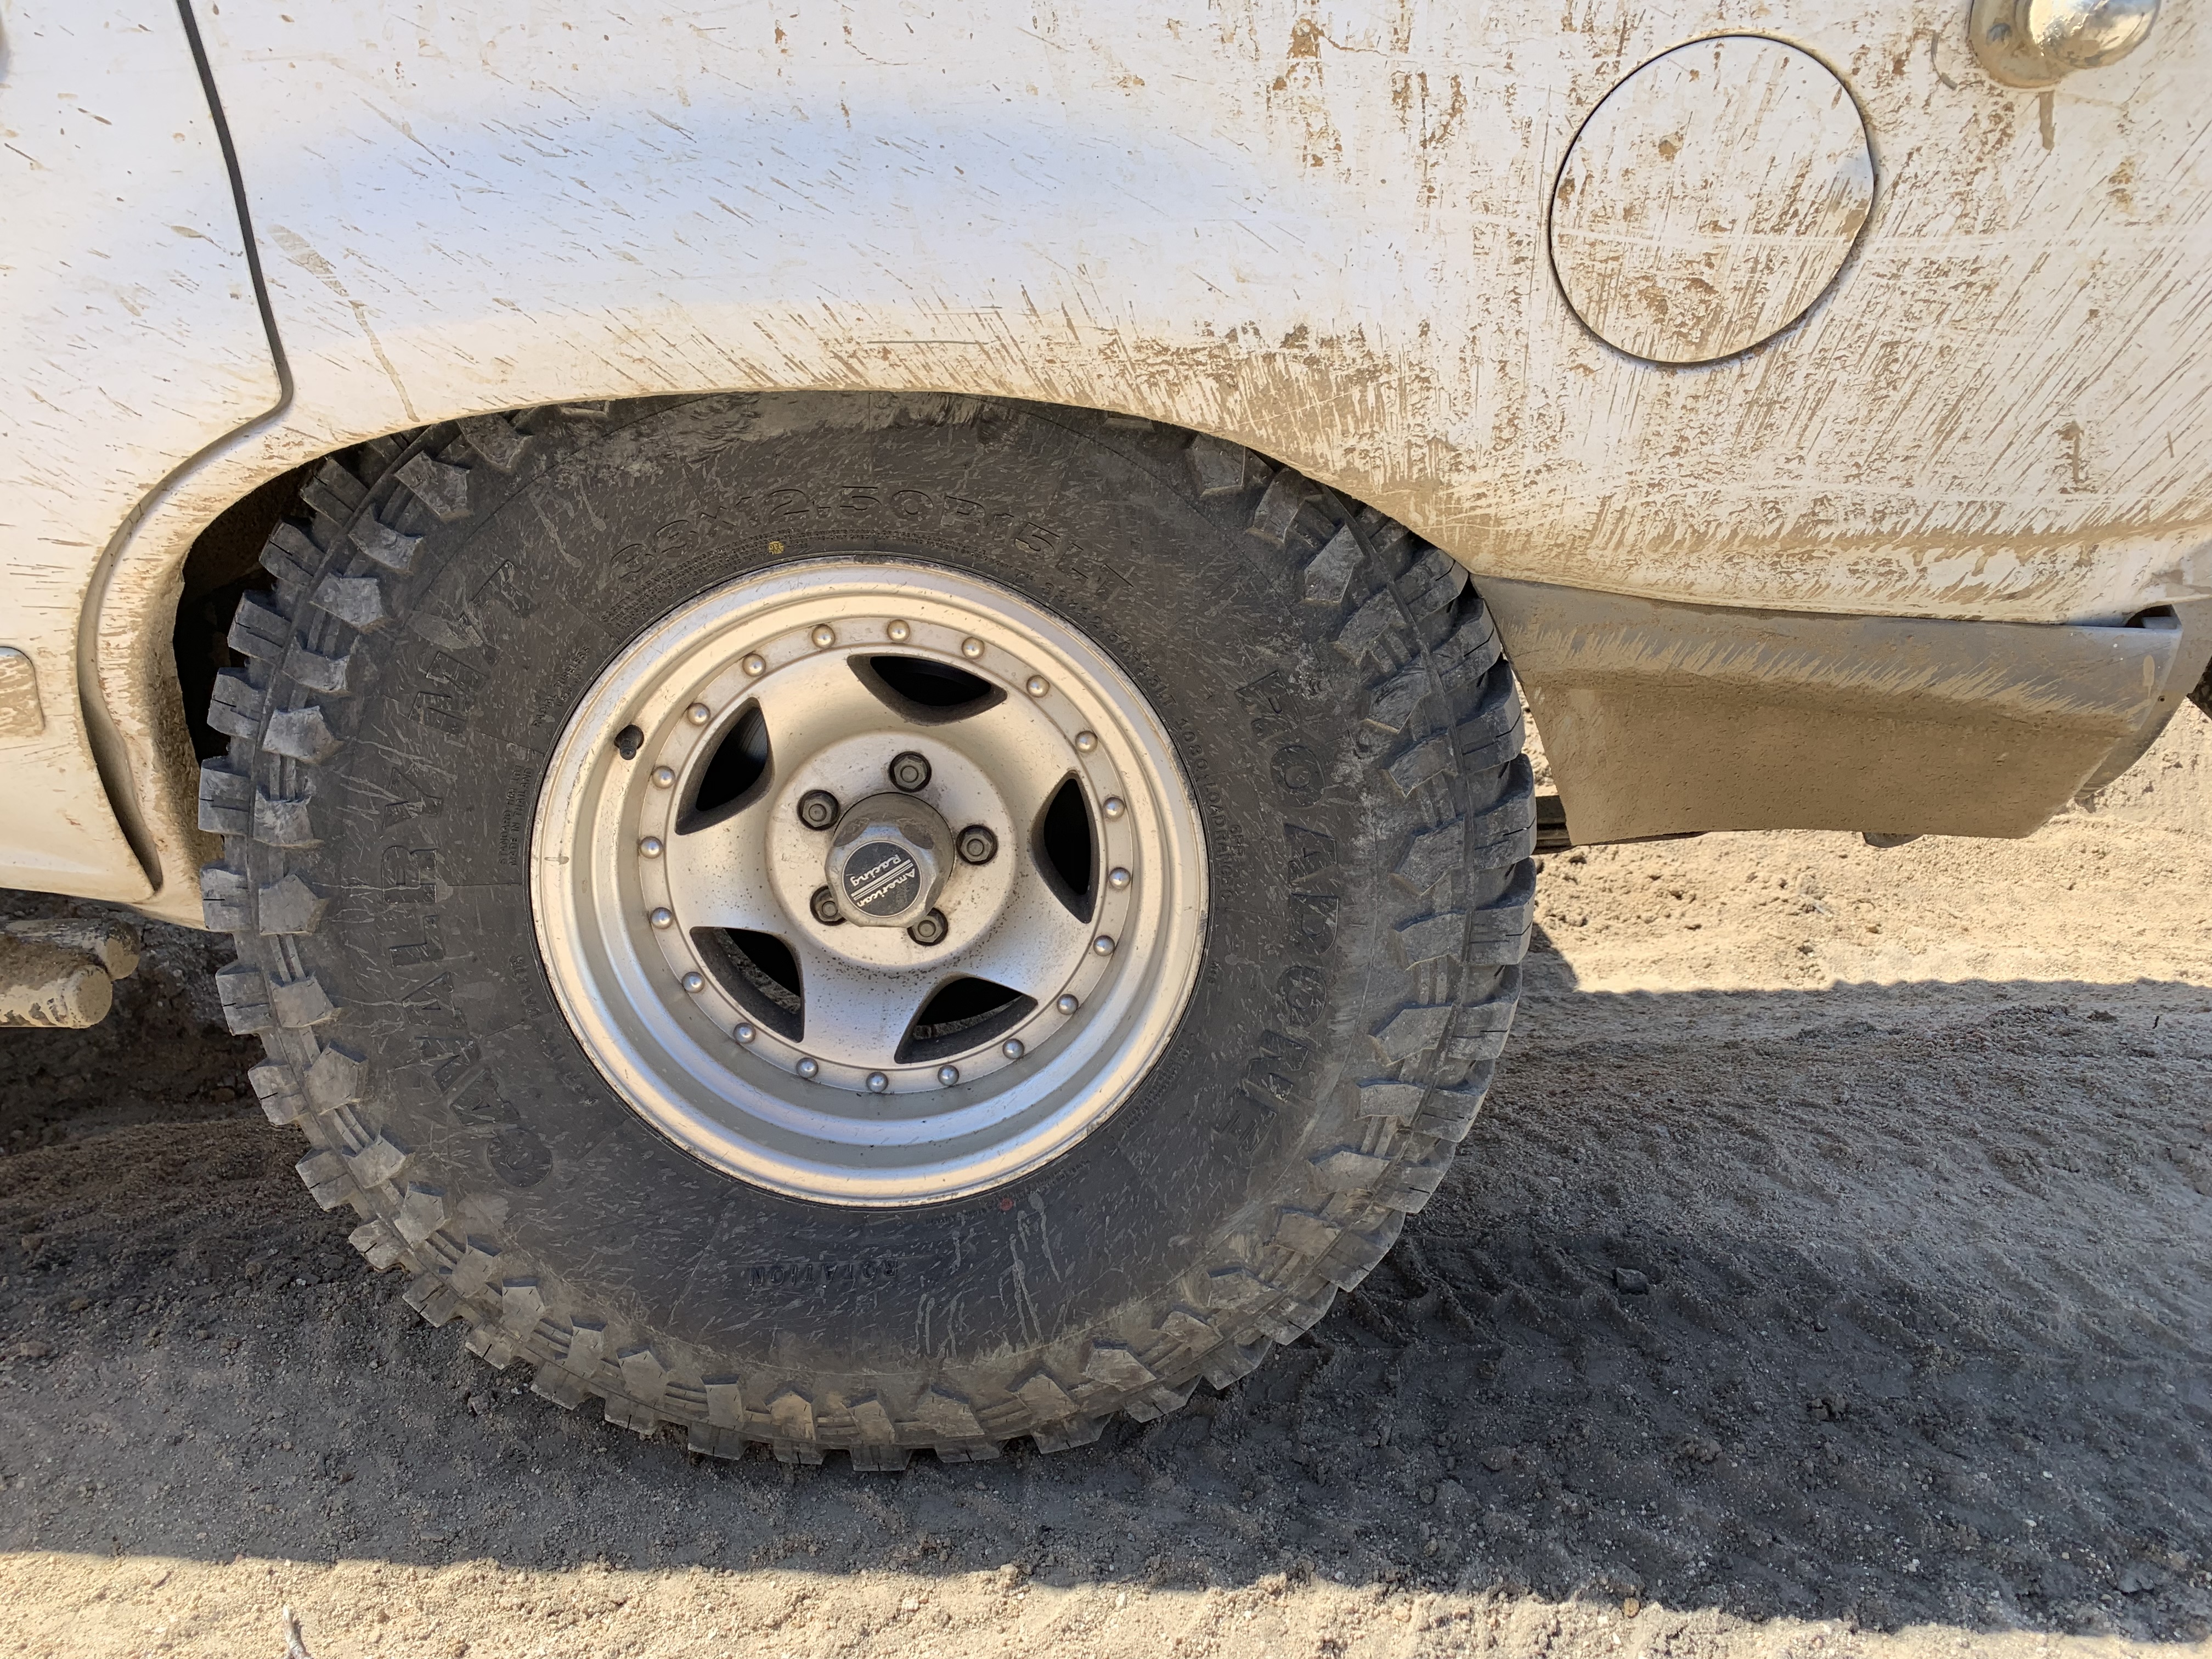
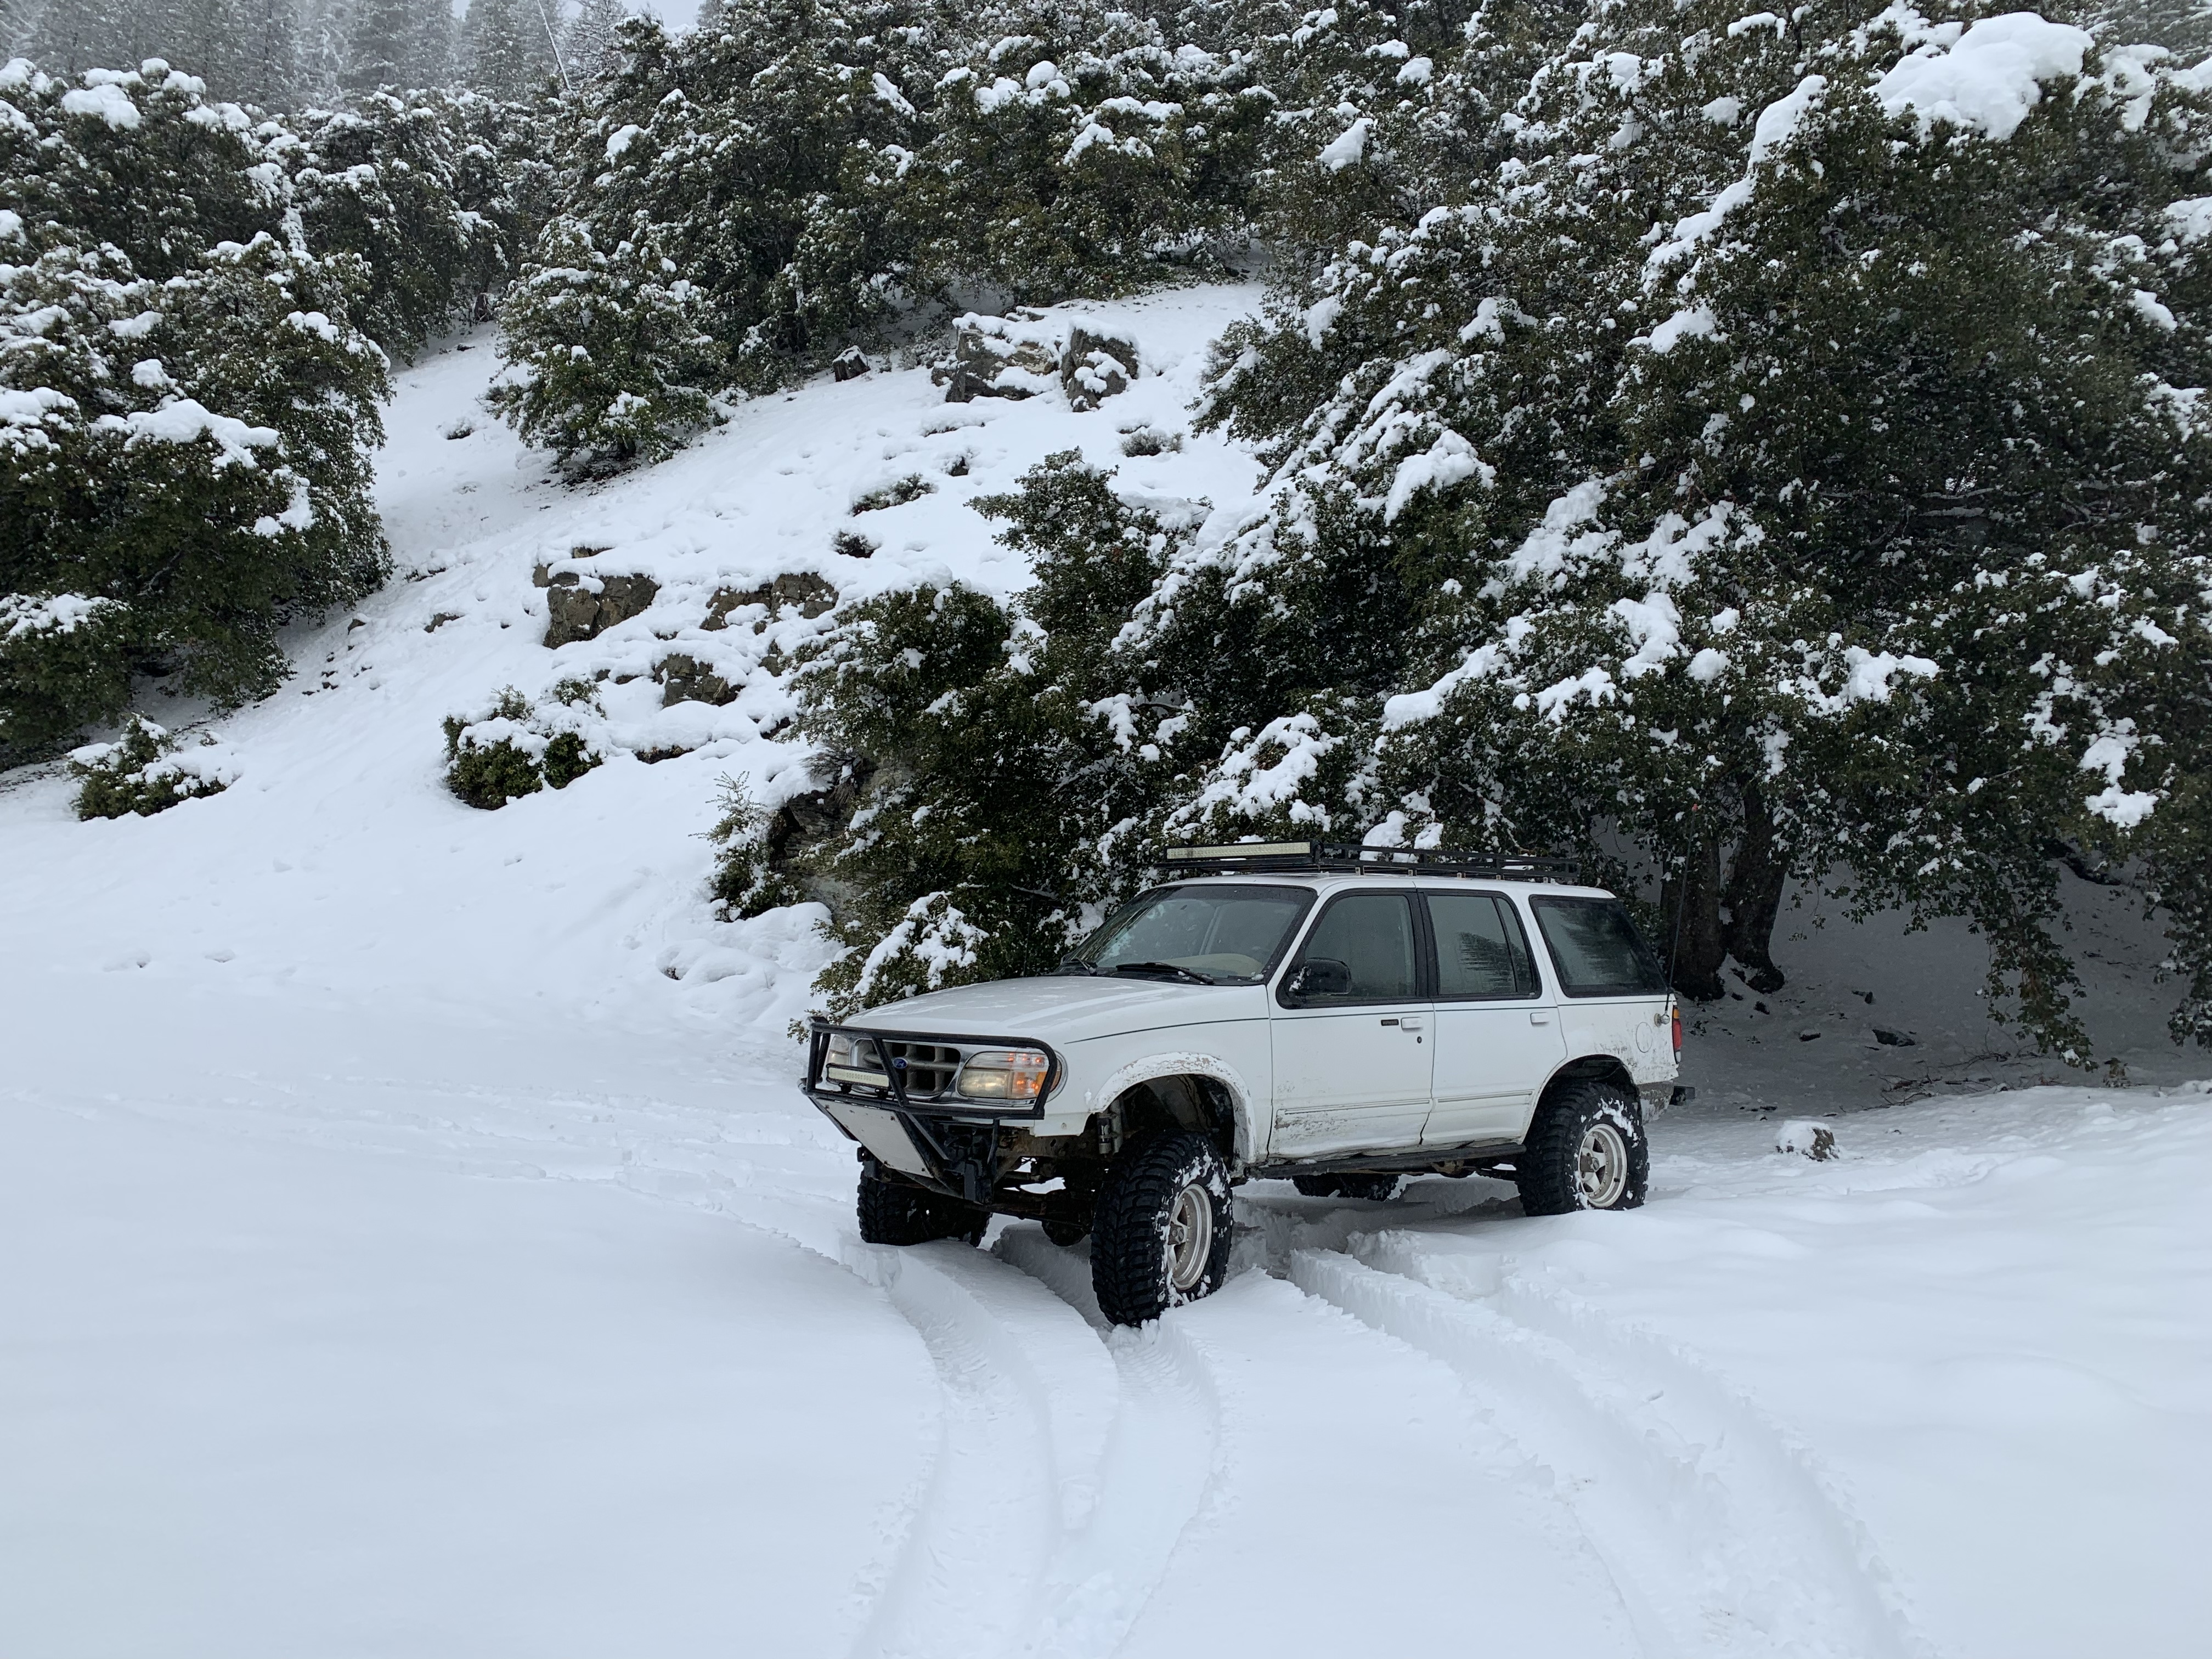
Then I got some new tires and tested them out in the snow, mud, soft dirt. They work way better than the old Firestone AT I had previously!
9E7B5BE7-DD86-437C-8102-A75F64214534.jpeg

943A7325-8234-4773-89C4-72E752ACF89D.jpeg

FC008F7B-CFBE-42B6-B99F-82DCBA4793B8.jpeg

A6504A22-1A07-41B9-A3B5-9A1422308846.jpeg

showfull.php

showfull.php

showfull.php

showfull.php

showfull.php

83AC28ED-3B68-4A1F-8B6D-5C94343049DA.jpeg


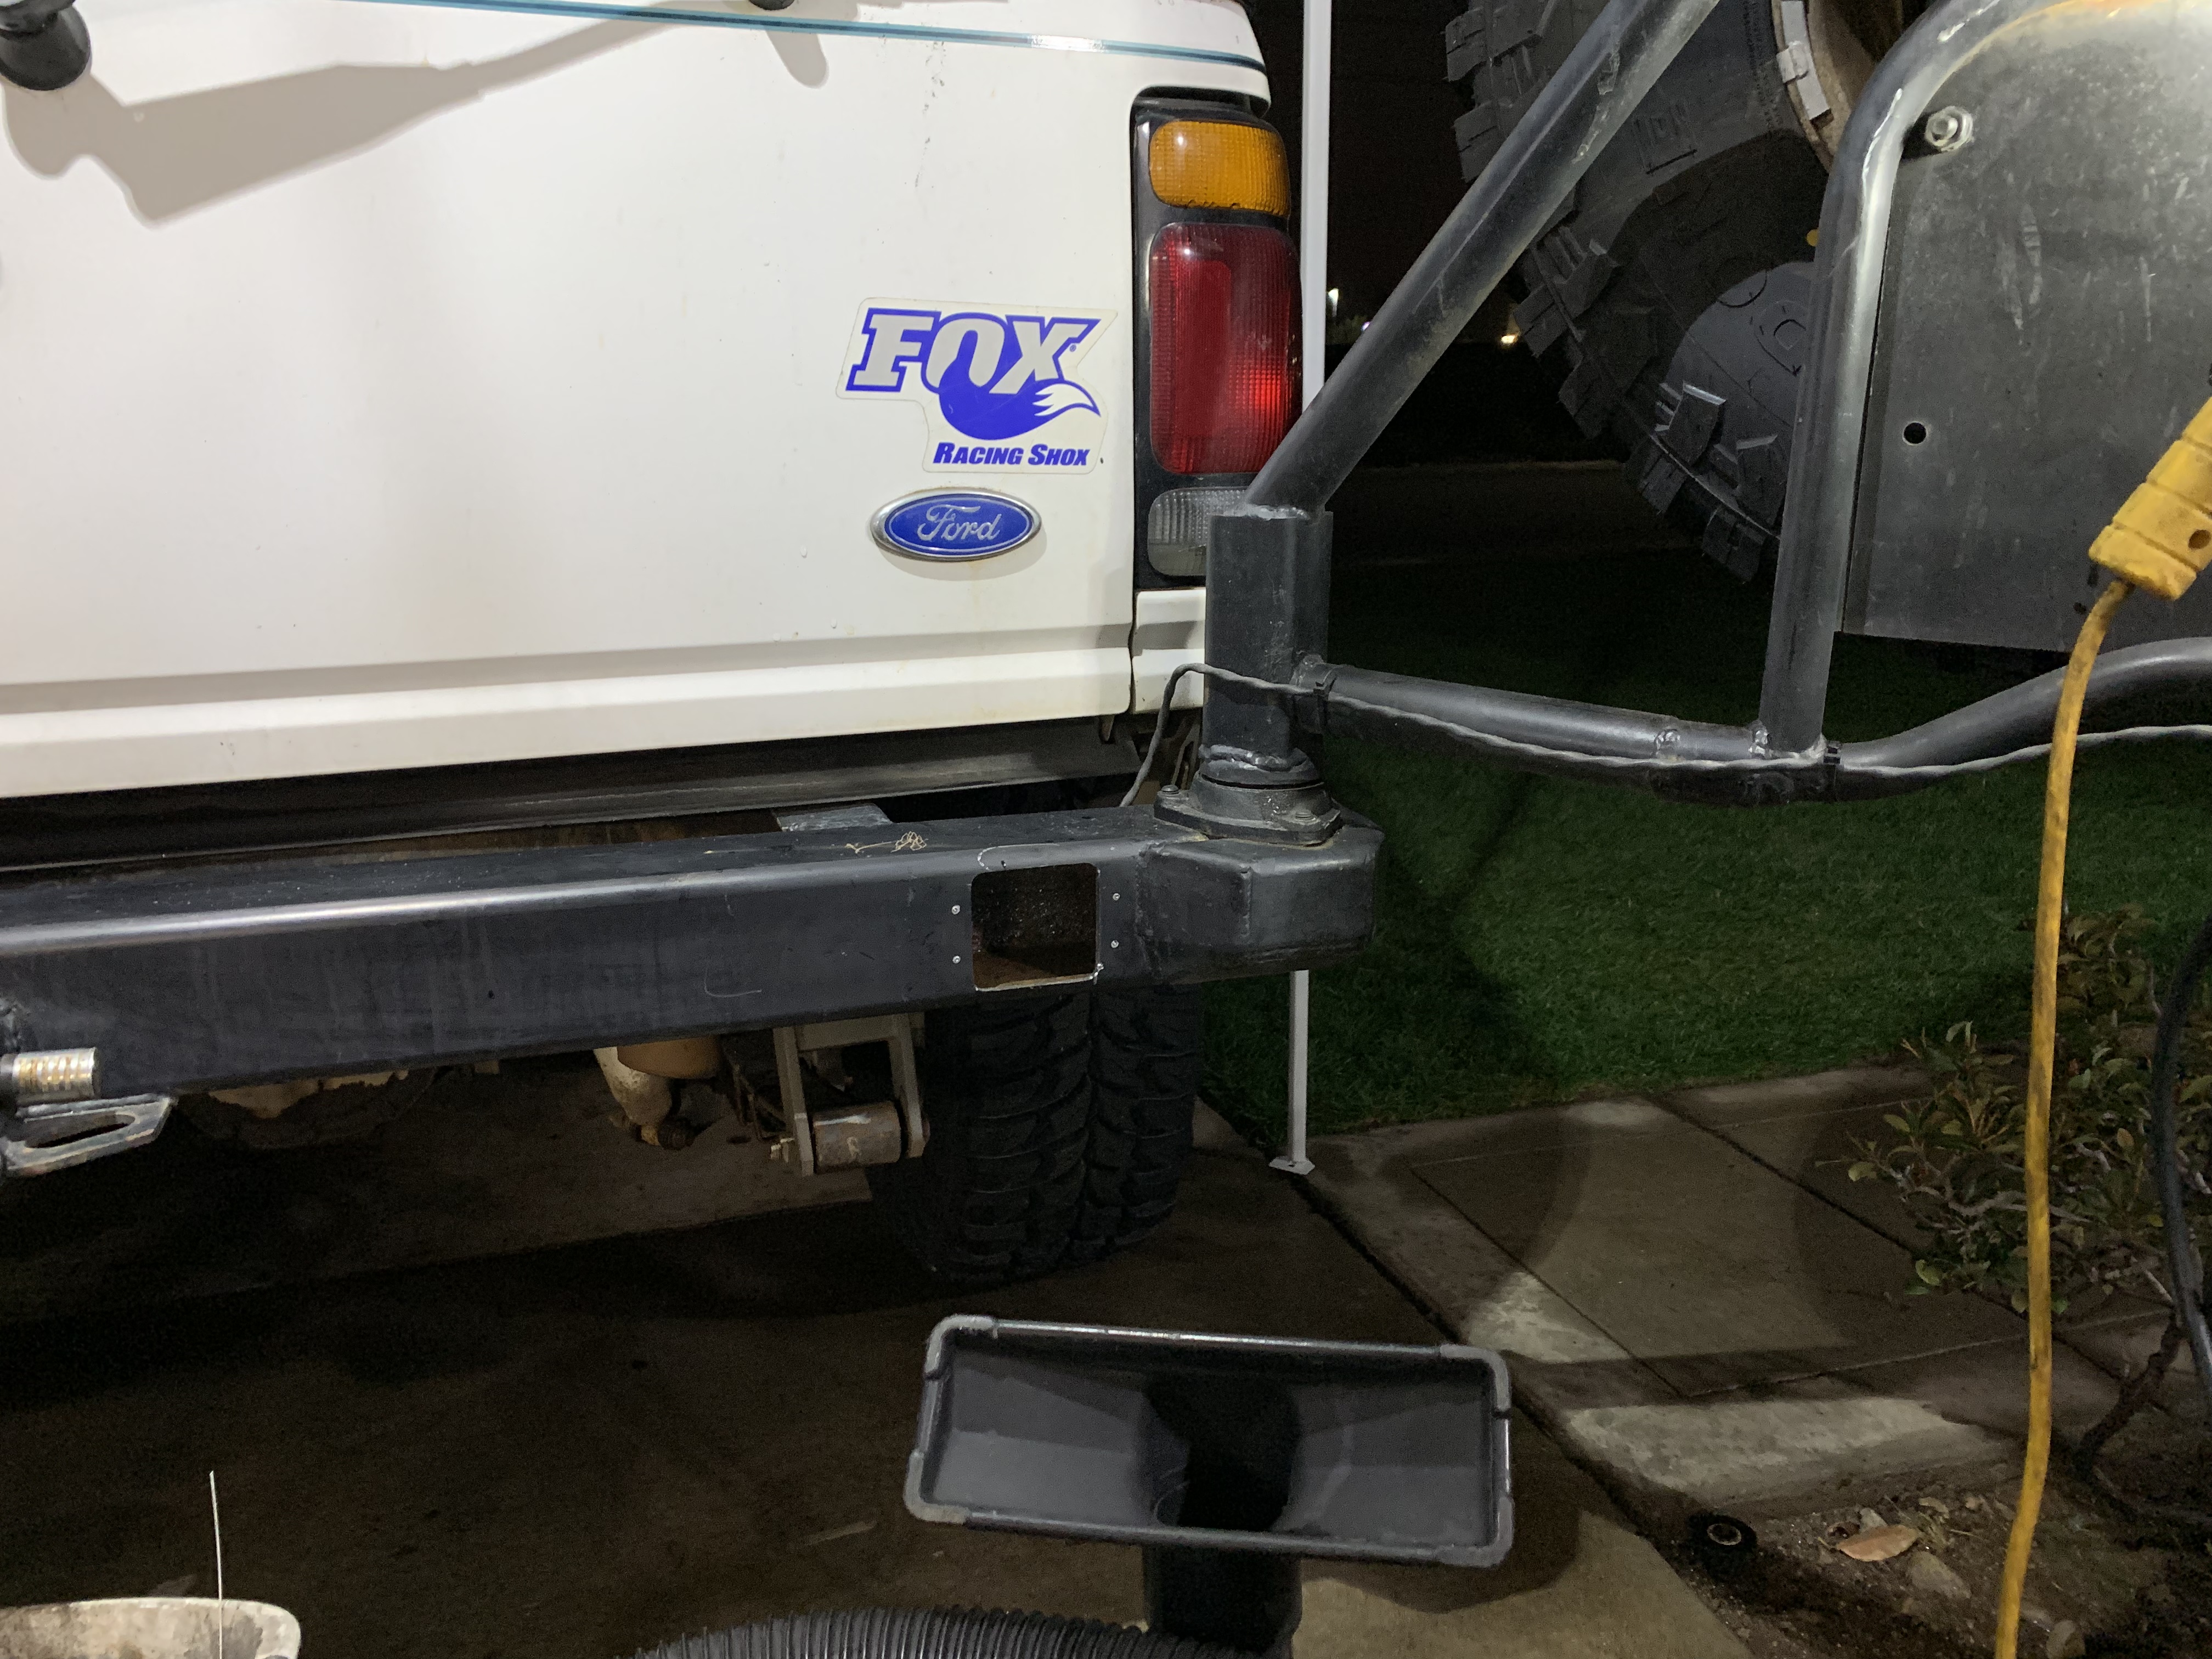
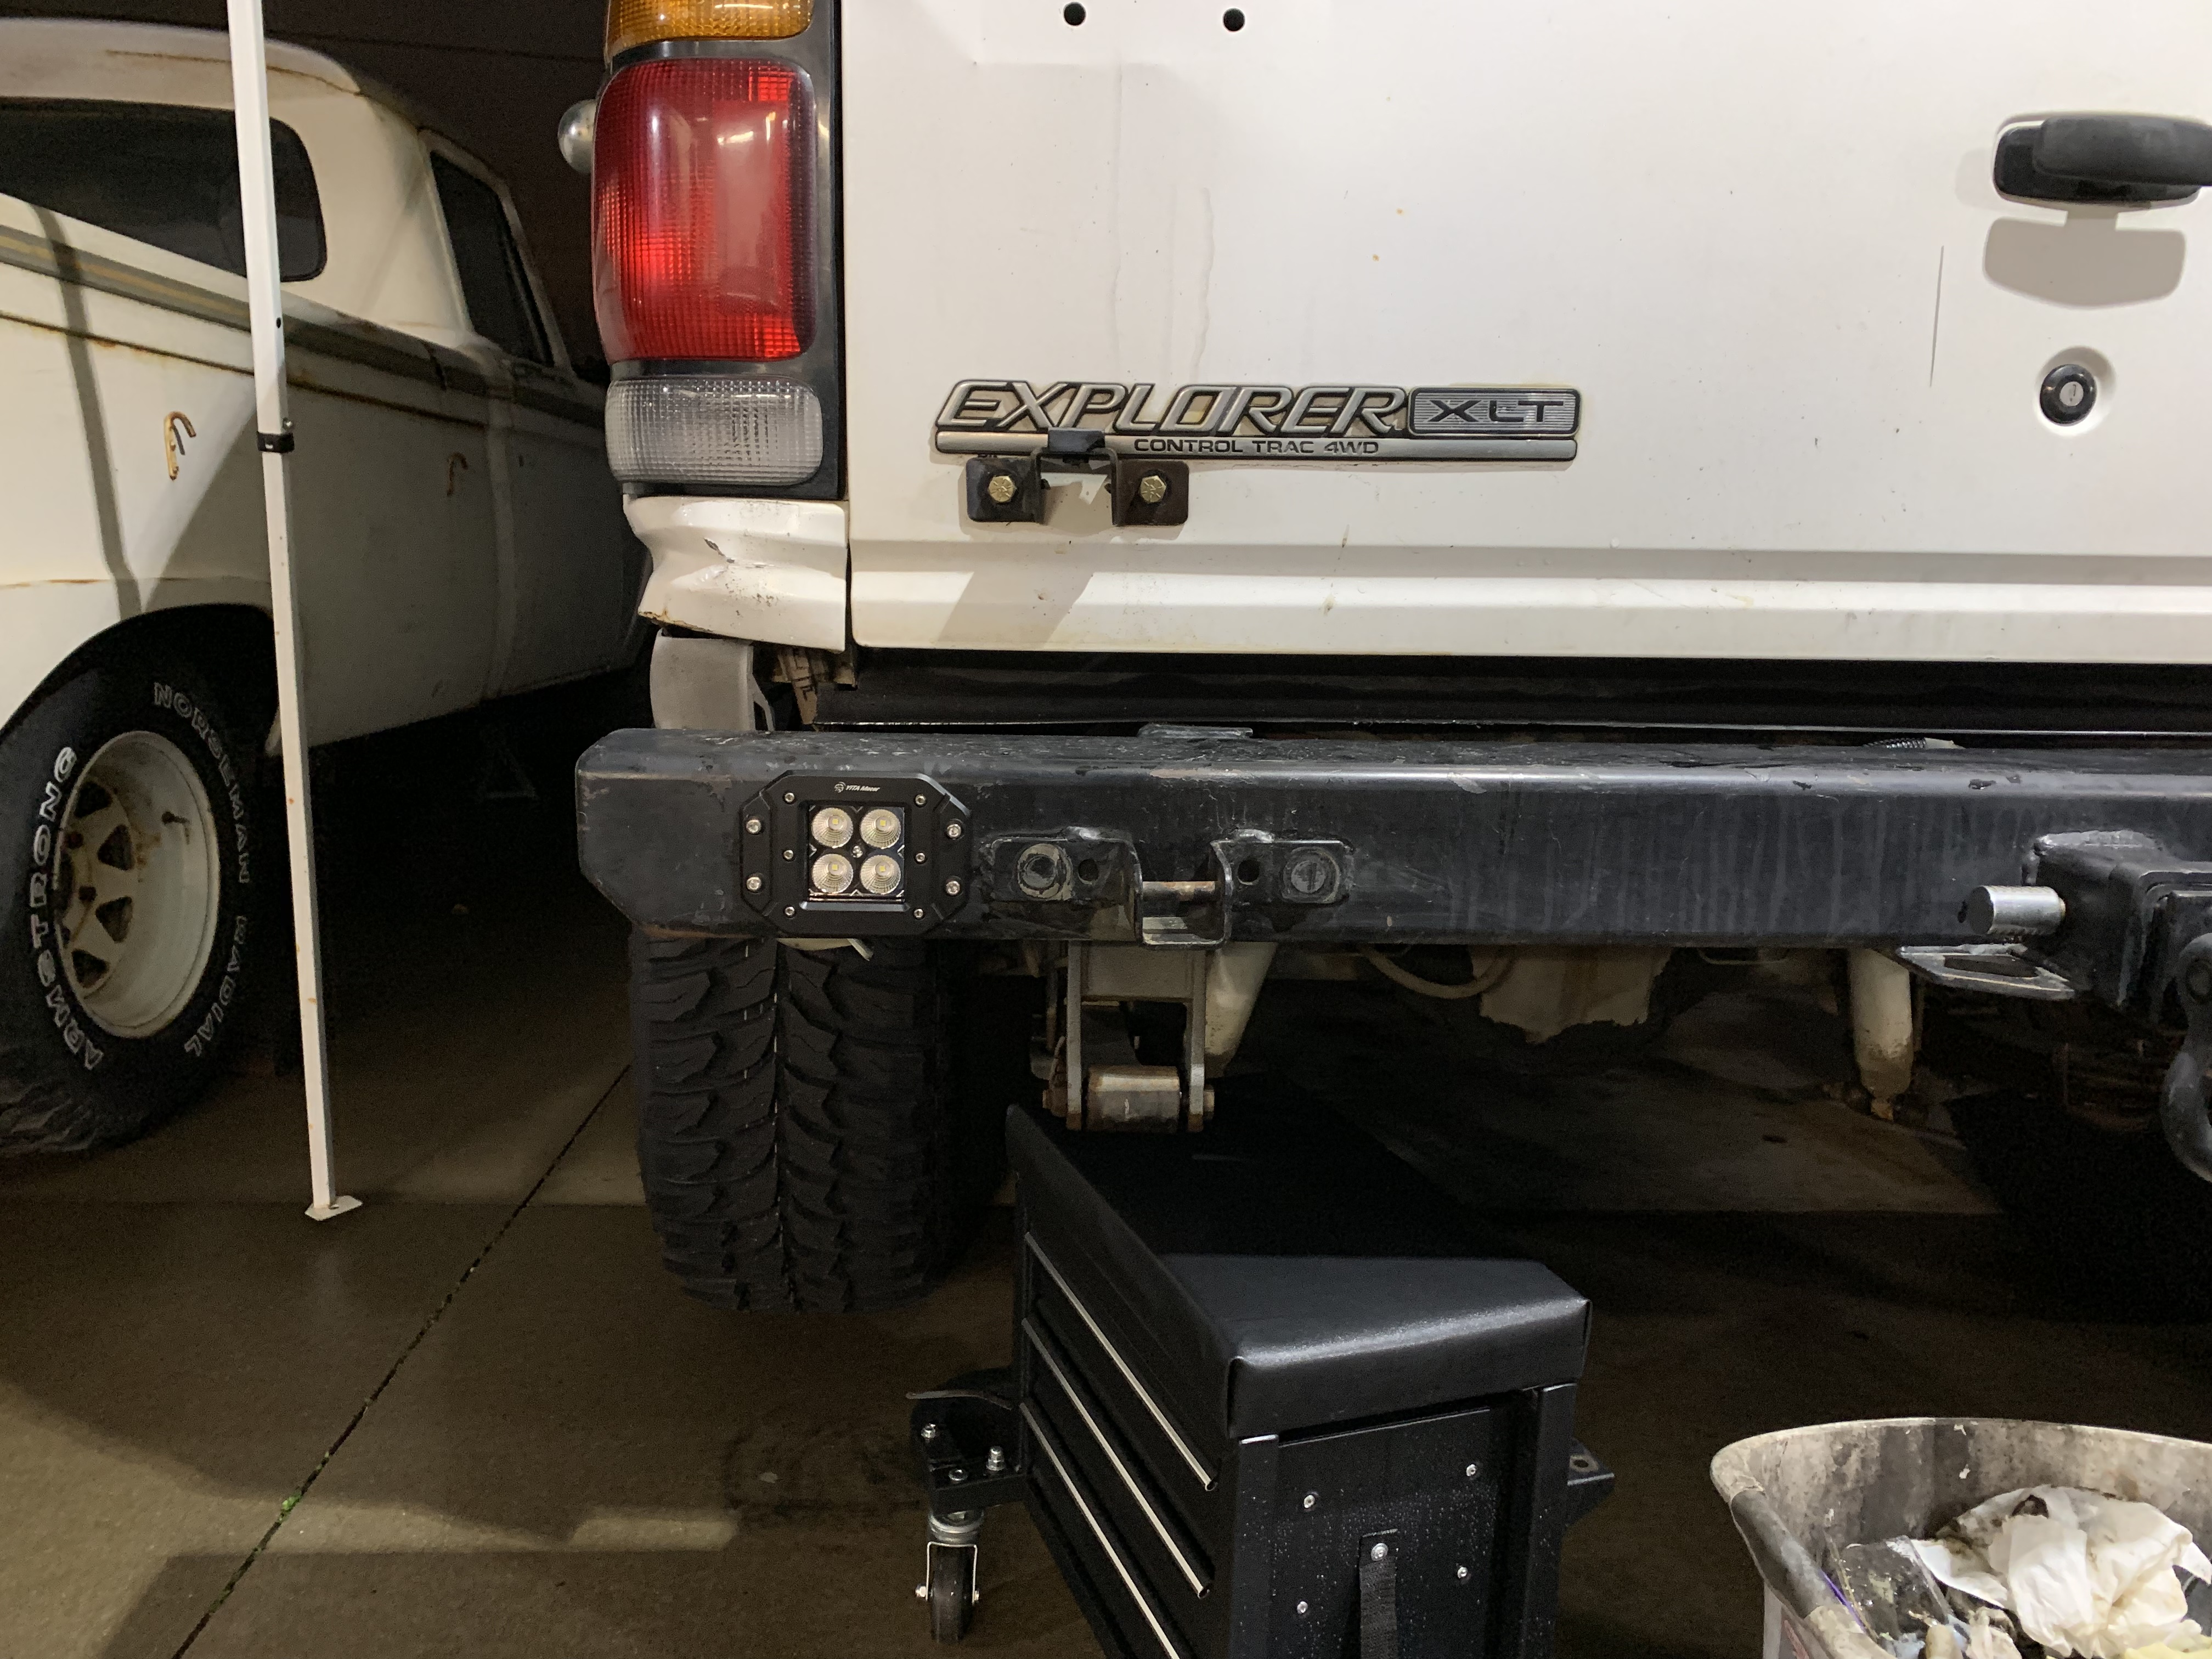
And I added some new backup lights to the rear bumper.
0D19B2A1-16E2-453E-9B1A-5A156A47A4BF.jpeg

3E9F232C-FE80-483B-8685-56BD314C4D28.jpeg

0ECD0404-D68A-4721-879B-82A743F204B4.jpeg


And for those wondering, YES I'm still running the welded up pitman arm!


Back
Top