howserss
Member
- Joined
- January 31, 2010
- Messages
- 13
- Reaction score
- 0
- City, State
- Largo, Florida
- Year, Model & Trim Level
- 2002 Explorer Eddie Bower
Here are some pictures of Brakes, Ball Joints being pressed and sway bar end links.
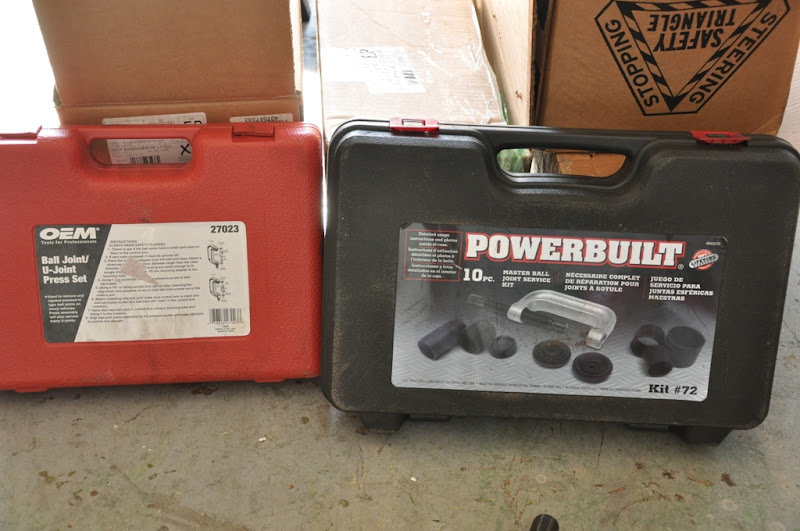
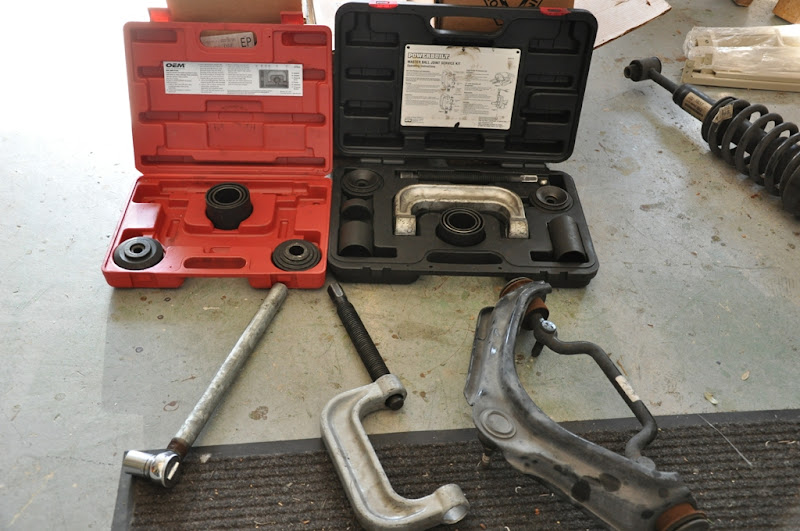
I needed 2 ball joint press sets because all the parts I needed were not in either single set.
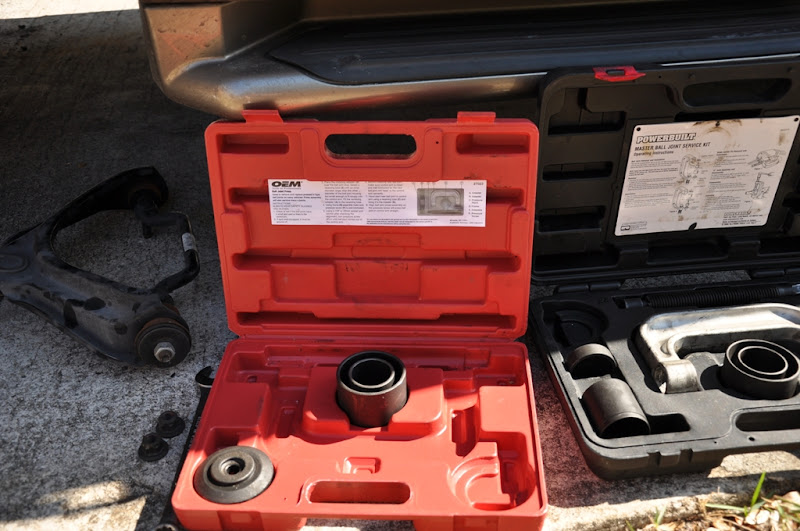
There is a seat with a large hole and one with a small hole. The large hole is for the bottom ball joint the small one is
for the top. The first set I got had 2 of the small hole brackets. Make sure your set has both sizes before you take it
home. I found it to actually be very easy to press in and out the ball joints. I did make a mistake the first time I
started pressing out the bottom joint. The receiving tube I was using was to small and I was in effect just crushing the
joint. I ended up breaking off a thread from the press and almost hurting myself in the process. After this when things
are setup correctly it takes very little effort to press in or out the joints. I got one from advanceautoparts one from autozone.
You put money down and get it 100% back when you return the tool. They did not notice the little chip in the first therad so I got 100% back on both.
(IMPORTANT**) Another thing worth mentioning here is seperating the lower ball joint is a real pain. It took me about 10 minutes with a 3lb sledge hammer to get the ball joint seperator to work. I also had to shim it with a small wrench one each side. Also removing all rubber and metal wire from the joint where you are hammering helps. This was the most difficult part of the job for me by far. I think if you can get past this you can easily do everything I do below.
=========================LOWER BALL JOINT===========================================
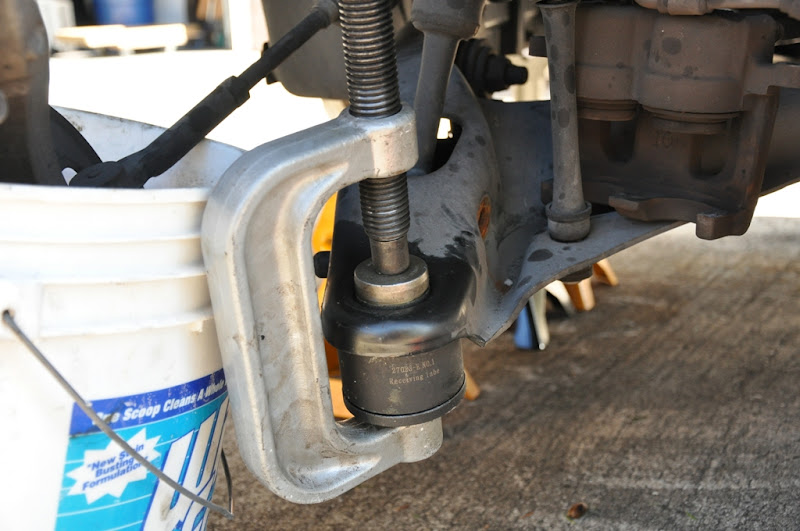
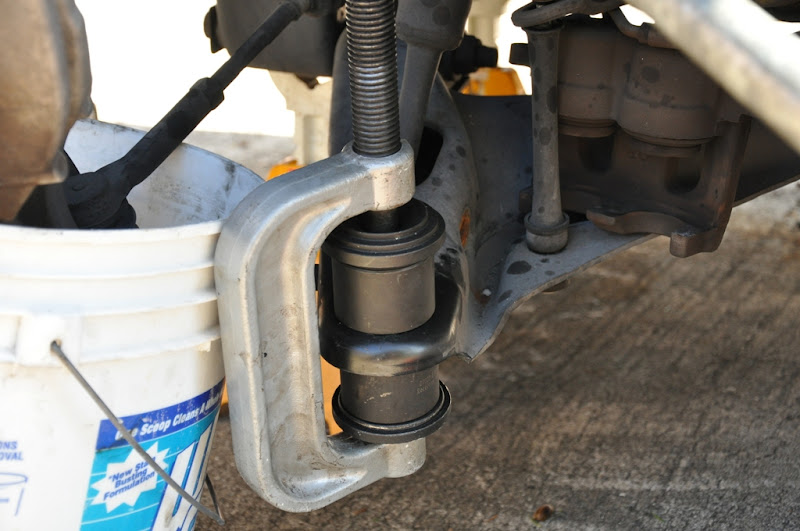
Pressing OUT the lower ball joint. Use large hole seat so the ball joint stem (threads) fits through it and use the
largest receiving tube (or the one that fits correctly, allows the joint to fall into it without touching the sides.)
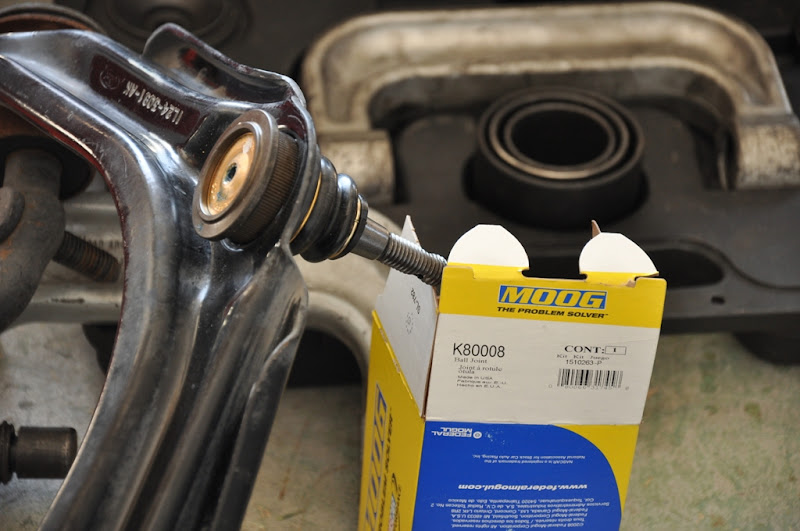
This is actually a pic of the new joint after I was cleaned up to take the picture.
Pressing IN the lower is very easy you just need to get the press setup correctly. This is when I broke the thread on the
tool. Not in this actual picture but during this stage.
=========================UPPER BALL JOINT===========================================
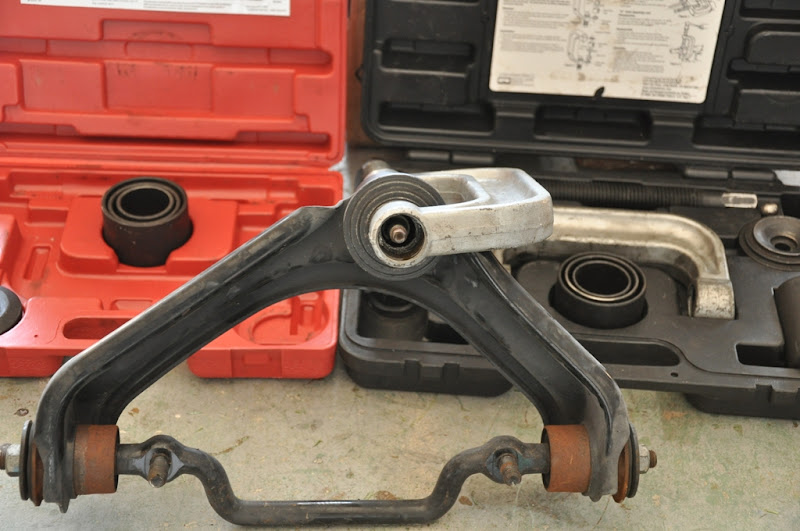
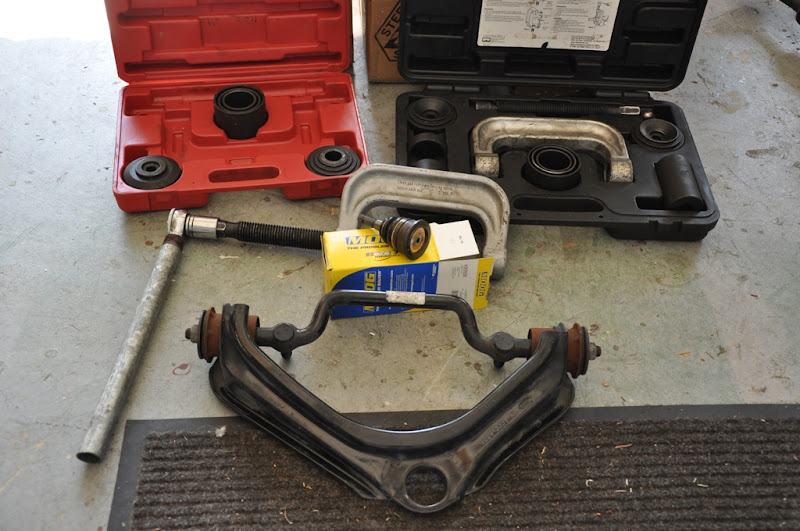
Upper control arm / ball joint before pressing. This also has a good view of the different size holes in the seats for
the press.
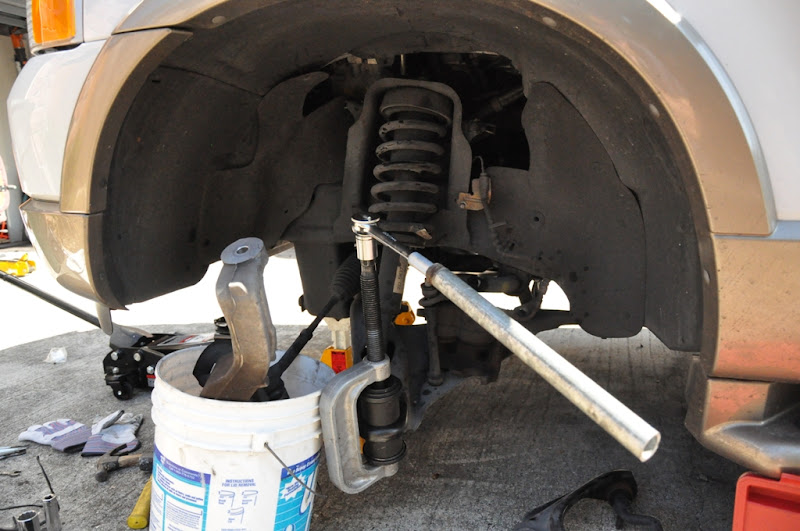
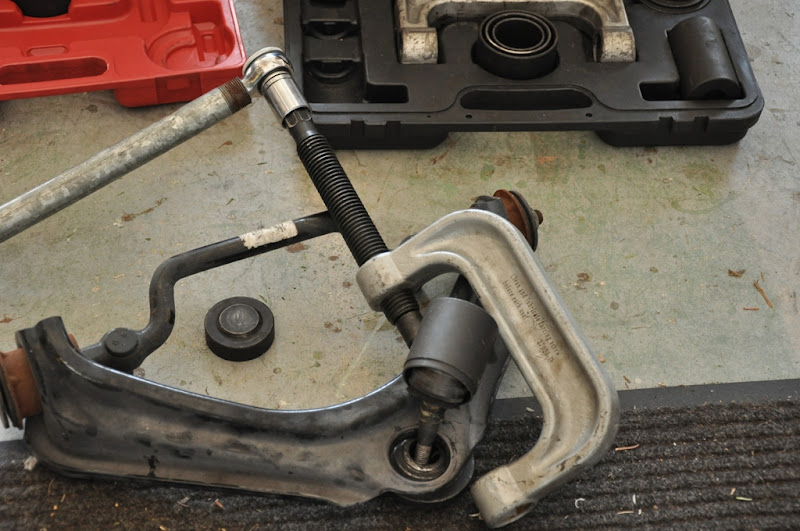
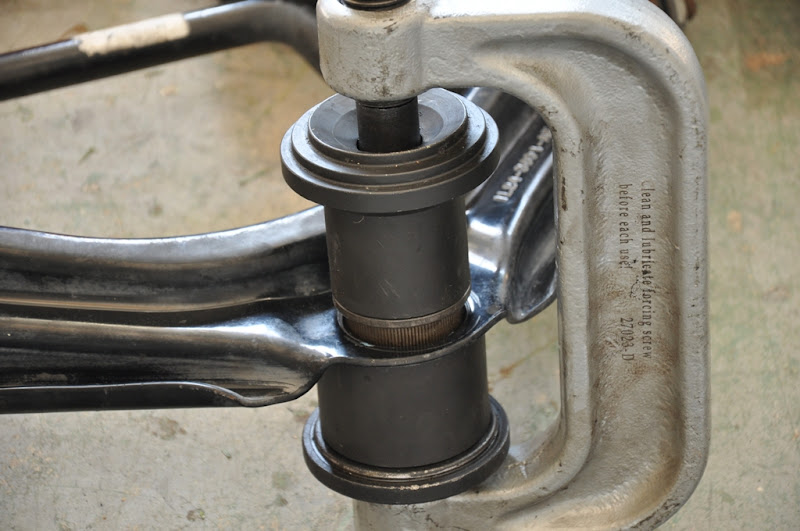
The press setup to press it out. You will need to be creative on this step. It took a little trial and error for me to
figure this out.
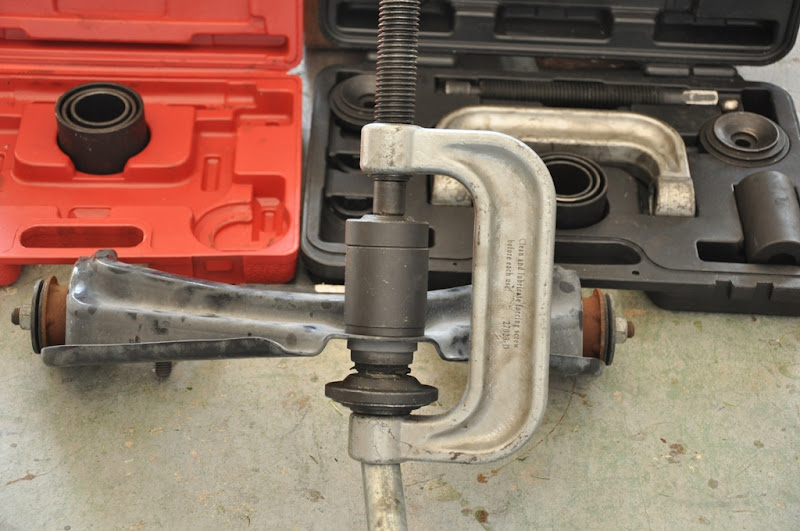
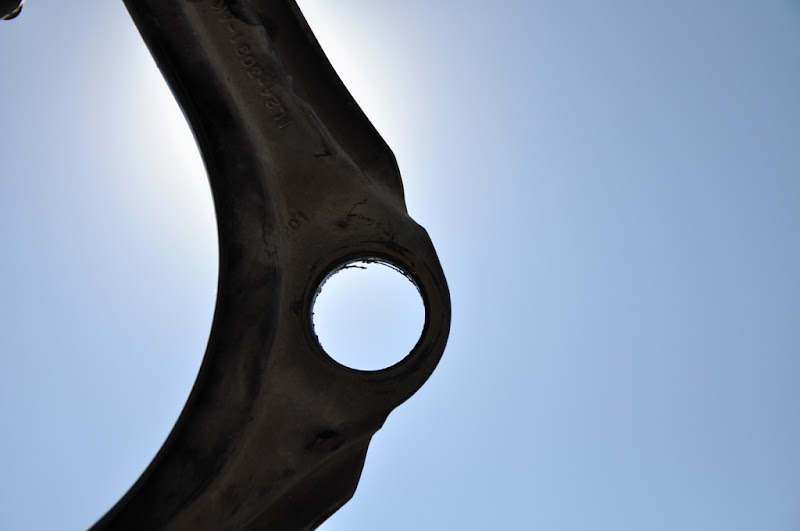
Bottom view shows threads going through hole in seat.
When finished everything just falls apart, the press is very unstable when there is no pressure on it. This is also what
makes it a little difficult to assemble when pressing. A vice is a real helper when doing the control arm. I dont have
one right now so I had to use my feet and leverage off of that. Even like this is was very easy to do.
Clean the crap out of the control arm before pressing in the new joint. DONT lube it just clean it.
The new Upper joing almost ready to be pressed in.
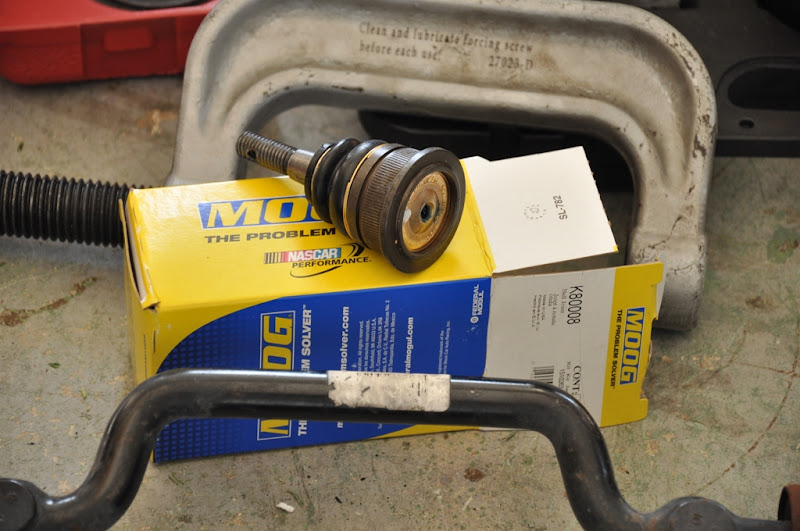
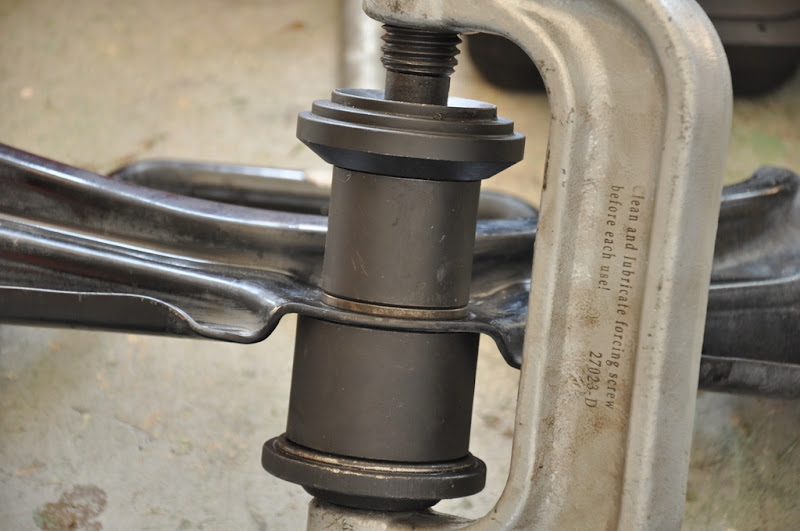
The press setup ready to start pressing the joint. It will only take a few gentle turns to press this in. Its done when
you cant turn anymorre with a regular amount of force. (you will need to judge).
Done pressing.
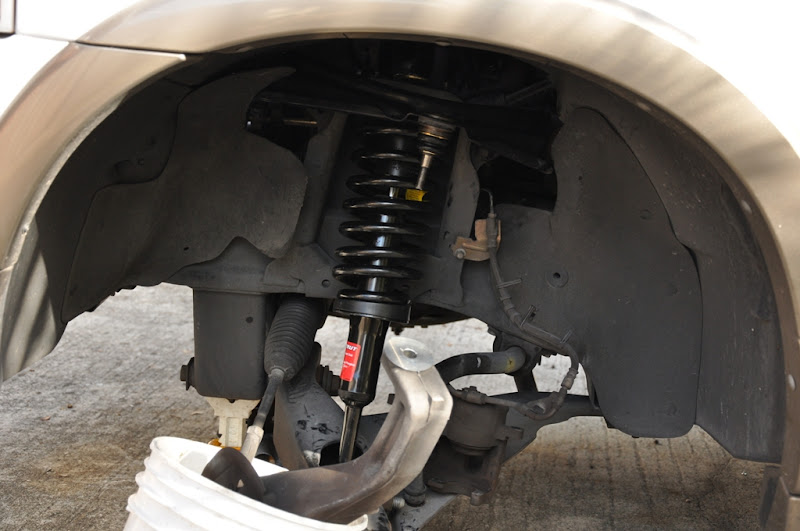
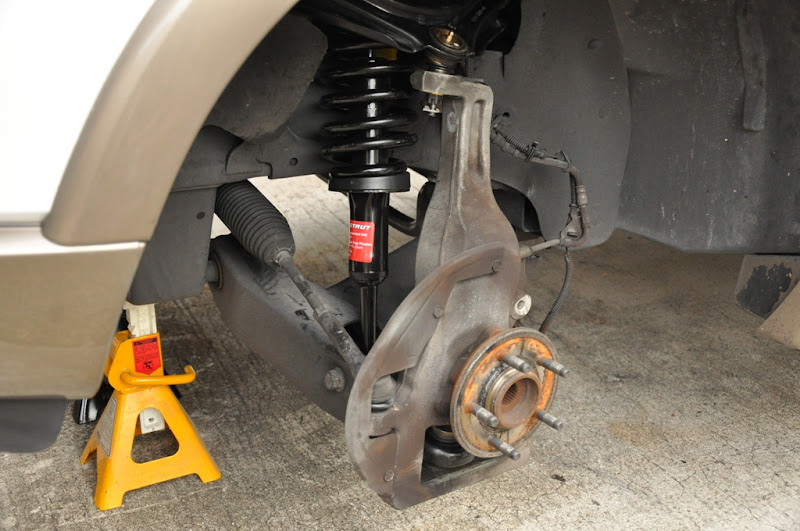
Upper control arm back on SUV. Yes I put new struts on while I had things apart. Also I found a good way to save money
at advanceautoparts. They have codes for discounts (ES123) for 30$ off 100 or more. SO I always break my order up to as
close to 100 as posible to get almost 30% off. Also over 75$ is free fast UPS shipping.
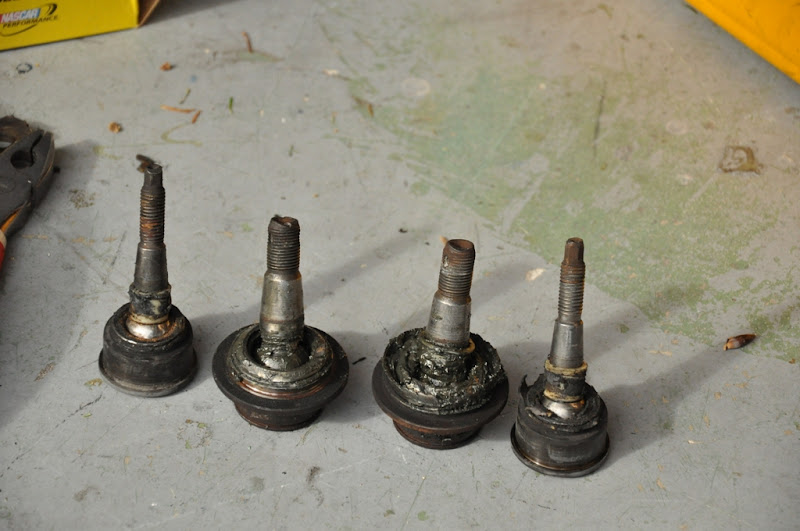
Old ball joints. From 2002, 75K on the SUV.
Back together. Use a jack right under the lower ball joint to get the top joint together with the steering knuckle.
If you are woried about damaging the bottom threads of the lower ball joint use a piece of 2x4 with an 1 inch hole in it
as a buffer between the jack and the joint.
=================================BACK================================
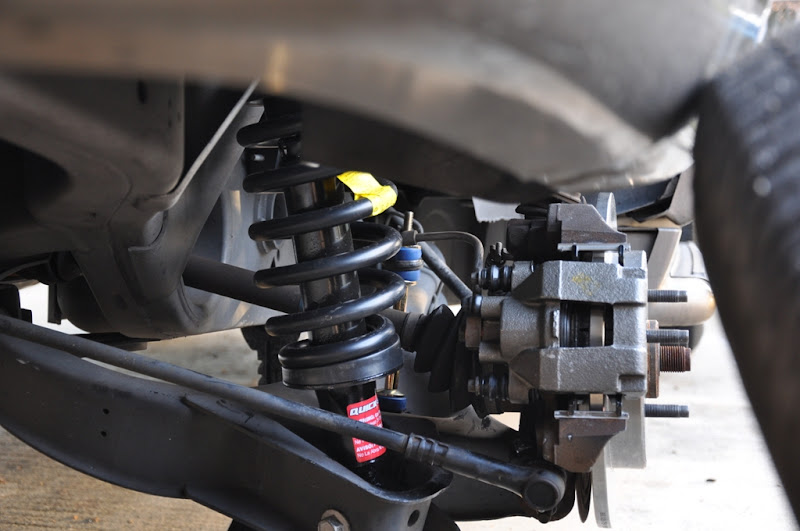
This is the back with new struts, brakes, sway bar bushings, wheel bearings.
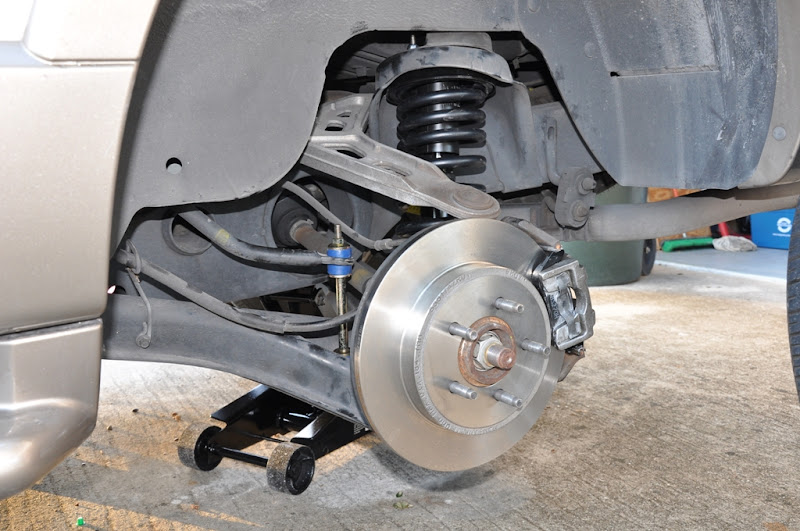
Back view.
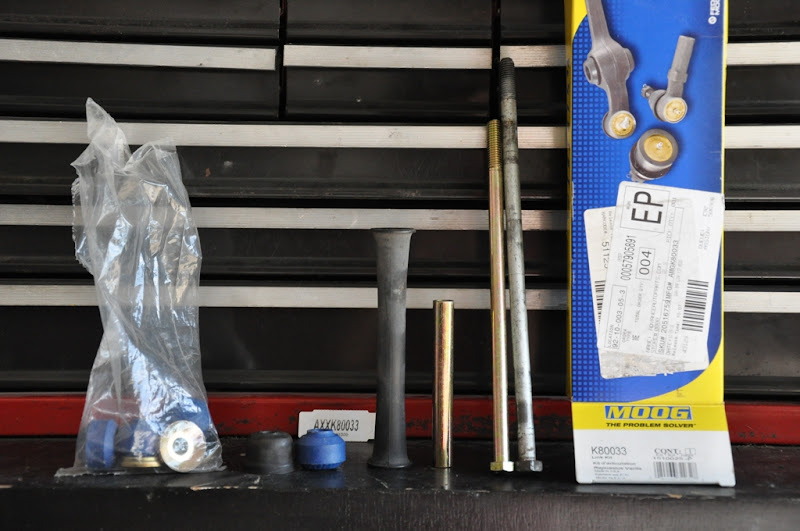
This is the difference in size between the front (longer) and back (smaller) sway bar end links. The new part in this
picture is for the back. The old is from the front.
MORE TO COME......12/17/2010 See Ya......
I needed 2 ball joint press sets because all the parts I needed were not in either single set.
There is a seat with a large hole and one with a small hole. The large hole is for the bottom ball joint the small one is
for the top. The first set I got had 2 of the small hole brackets. Make sure your set has both sizes before you take it
home. I found it to actually be very easy to press in and out the ball joints. I did make a mistake the first time I
started pressing out the bottom joint. The receiving tube I was using was to small and I was in effect just crushing the
joint. I ended up breaking off a thread from the press and almost hurting myself in the process. After this when things
are setup correctly it takes very little effort to press in or out the joints. I got one from advanceautoparts one from autozone.
You put money down and get it 100% back when you return the tool. They did not notice the little chip in the first therad so I got 100% back on both.
(IMPORTANT**) Another thing worth mentioning here is seperating the lower ball joint is a real pain. It took me about 10 minutes with a 3lb sledge hammer to get the ball joint seperator to work. I also had to shim it with a small wrench one each side. Also removing all rubber and metal wire from the joint where you are hammering helps. This was the most difficult part of the job for me by far. I think if you can get past this you can easily do everything I do below.
=========================LOWER BALL JOINT===========================================
Pressing OUT the lower ball joint. Use large hole seat so the ball joint stem (threads) fits through it and use the
largest receiving tube (or the one that fits correctly, allows the joint to fall into it without touching the sides.)
This is actually a pic of the new joint after I was cleaned up to take the picture.
Pressing IN the lower is very easy you just need to get the press setup correctly. This is when I broke the thread on the
tool. Not in this actual picture but during this stage.
=========================UPPER BALL JOINT===========================================
Upper control arm / ball joint before pressing. This also has a good view of the different size holes in the seats for
the press.
The press setup to press it out. You will need to be creative on this step. It took a little trial and error for me to
figure this out.
Bottom view shows threads going through hole in seat.
When finished everything just falls apart, the press is very unstable when there is no pressure on it. This is also what
makes it a little difficult to assemble when pressing. A vice is a real helper when doing the control arm. I dont have
one right now so I had to use my feet and leverage off of that. Even like this is was very easy to do.
Clean the crap out of the control arm before pressing in the new joint. DONT lube it just clean it.
The new Upper joing almost ready to be pressed in.
The press setup ready to start pressing the joint. It will only take a few gentle turns to press this in. Its done when
you cant turn anymorre with a regular amount of force. (you will need to judge).
Done pressing.
Upper control arm back on SUV. Yes I put new struts on while I had things apart. Also I found a good way to save money
at advanceautoparts. They have codes for discounts (ES123) for 30$ off 100 or more. SO I always break my order up to as
close to 100 as posible to get almost 30% off. Also over 75$ is free fast UPS shipping.
Old ball joints. From 2002, 75K on the SUV.
Back together. Use a jack right under the lower ball joint to get the top joint together with the steering knuckle.
If you are woried about damaging the bottom threads of the lower ball joint use a piece of 2x4 with an 1 inch hole in it
as a buffer between the jack and the joint.
=================================BACK================================
This is the back with new struts, brakes, sway bar bushings, wheel bearings.
Back view.
This is the difference in size between the front (longer) and back (smaller) sway bar end links. The new part in this
picture is for the back. The old is from the front.
MORE TO COME......12/17/2010 See Ya......

")


