I think this post, from the A4LD Rebuild Diary Postscript, page 2 may answer that Q.
TOOLS FOR REBUILDING THE A4LD
Precision Tools
I thought this might be a good place to discuss what tools you might want to have available to do your own rebuild... let's start by talking precision measuring tools... here's a more or less full complement (missing feeler gauge and dial indicator and possibly other things)
But while I used all of these, I could have done it with but one. One you can buy these days for $15... that's this...a digital caliper
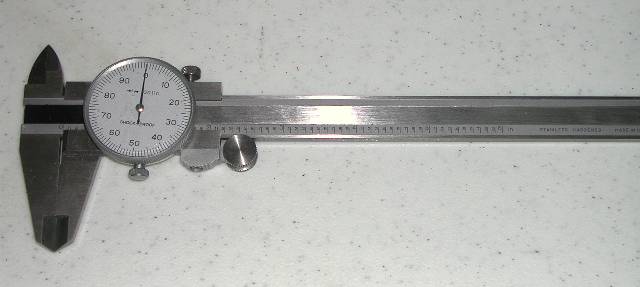
or a similar one using a dial instead of digital
You need this tool (or others from the list below that can do the multiple jobs it does)
The dial caliper is a good all around tool to own. BUY ONE! Anyway long as we are here let's look at the others. A depth micrometer is a nice tool.... but you can do the same thing in this instance with the dial caliper. Cost fort he depth micrometer? About $40
Micrometers keep getting cheaper and cheaper... for those who cannot read the micrometer there are digital versions.... a set of 3 of these (0-1, 1-2 and 2-3")will cost you about $30
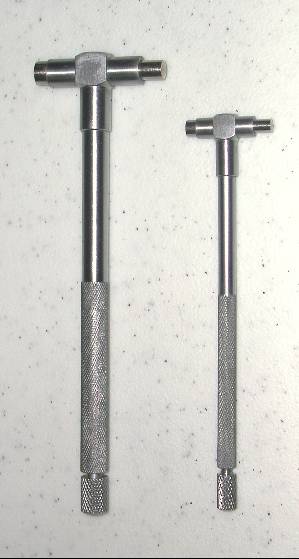
Inside gauges can be nice to check bores for round and for size... cost ? about $20 for a set 0 to 4 inches.
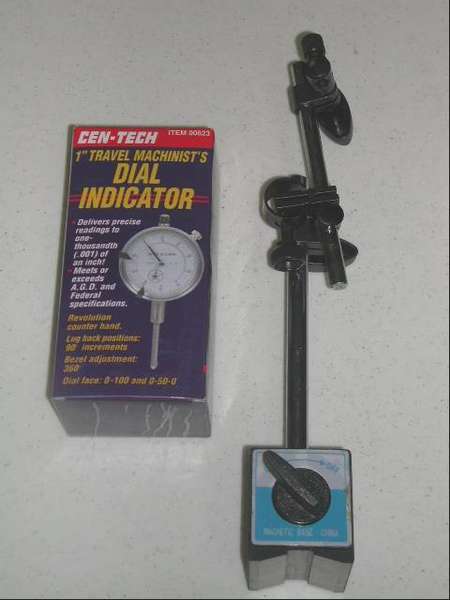
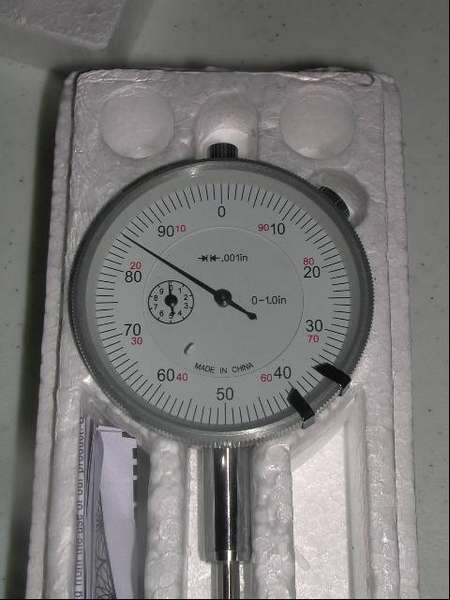
Finally, though you really can do without it, a dial indicator is a nice tool to own for a lot of chores. They can be had now with a mag base for about $25. I only used it to check the torque convertor... and even THAT needed another tool to use as well. They are *nice* to have though... brake rotor runout i where mine sees a lot of use
they come in various versions. This one reads up to an inch of travel... there is also a version that reads plus or minus from a set point (usually .100). At their cost it's nice to have both but if you only buy one, my advice is get the the one shown - 1 inch travel..
TORQUE WRENCHES
These have come a long way. In the old days they were more or less all beam type.... like this:
To read these you watch where the pointer goes to as the handle with the gauge attached bends under pressure... not always an easy thing..
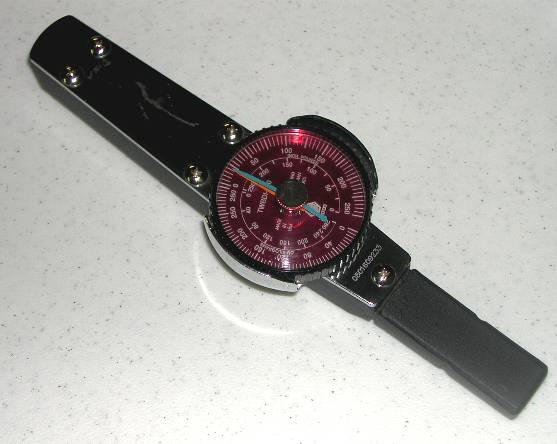
We have come a long ways since then. Dial type torque wrenches appeared, and would indicate the maximum torque on a needle....
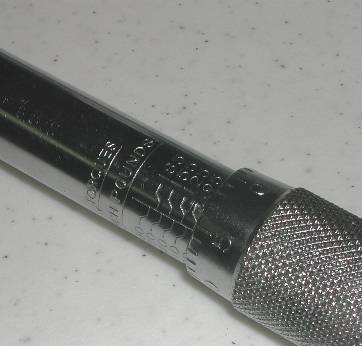
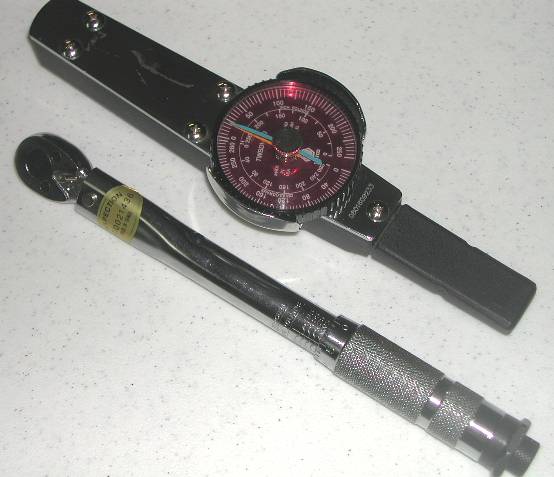
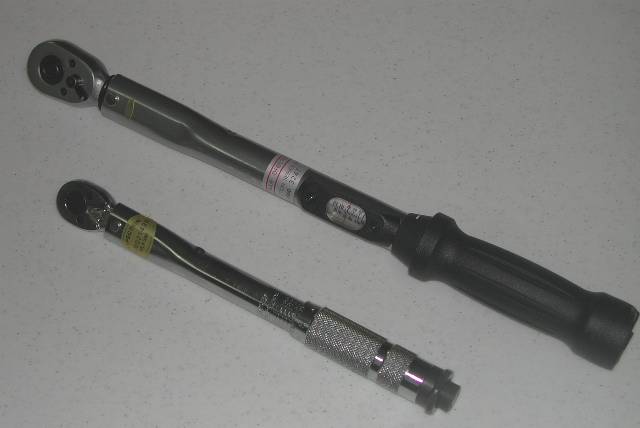
then came "click type" where the wrench could be set for a specific torque "micometer style" and it would audibly click when it was reached. These are handy and increasingly inexpensive.. on sale about $20 each. This is the setting part o a 1/4 inch inch pound" torque wrench
Here it is beside the 3/8" drive inch pound dial version
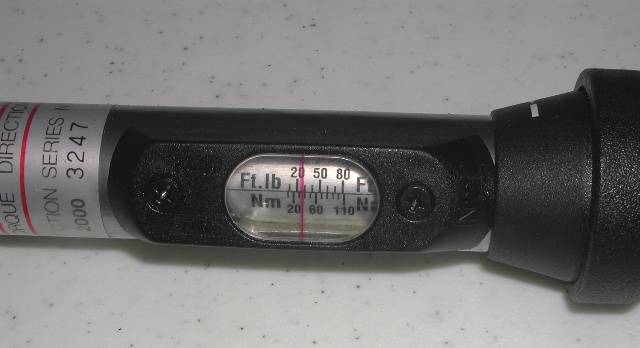
Click style torque wrenches are now coming with other ways to set them...here is a 80 ft lb version of one..
Side by side with the inch pound version
A note.. torque wrenches are more accurate at mid range and above.. using a 150 ft lb torque wrench to measure 10 ft lbs is not likely to be very accurate.
finally, we now have VERY expensive highly accurate strain gauge digital ones... guess what - NO PIC ! <g>
Pick up a 1/4 inch click type that reads in "inch pounds" and you are all set.
YOU NEED THIS TOOL.
SNAP RING PLIERS
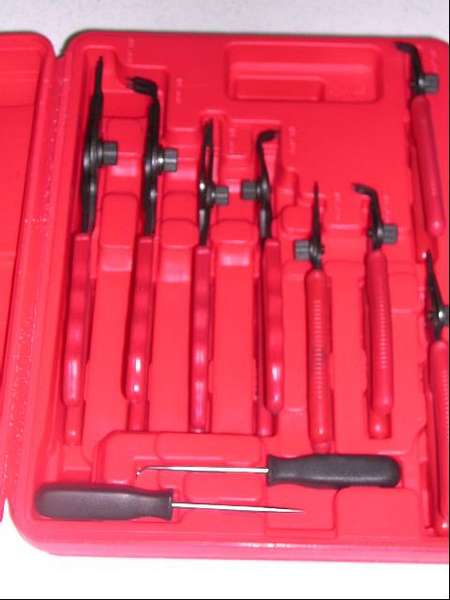
There is but a single traditional snap ring in the A4LD..on the output shaft. It is down in the case deep and a bztch to get off... anyway here is an assortment of snap ring pliers... This particular set bought off E-bay for $35
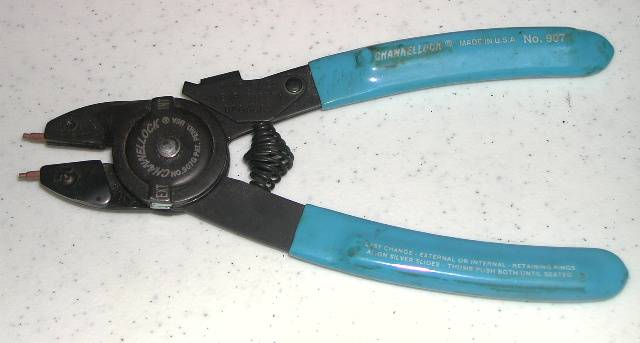
One of these was perfect or the job. Anther approach is a combination tool with replaceable tips, and the tool itself can be converted from inside to outside... this one is a Channellock
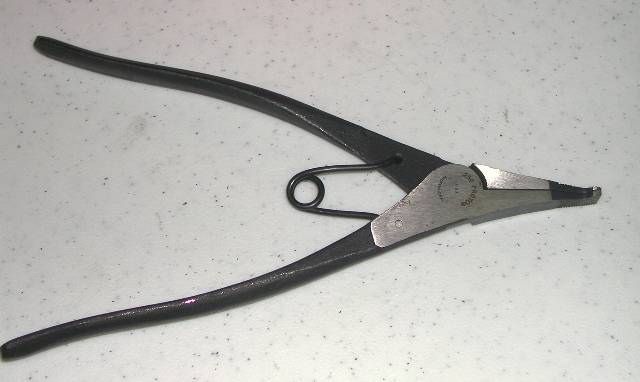
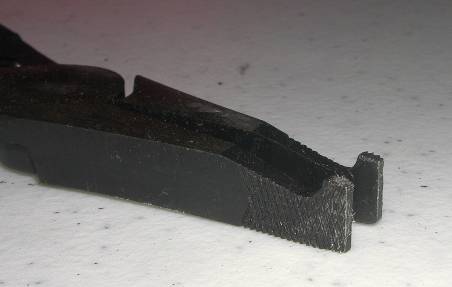
Now the IMPORANT ONE... the snap ring spreader plier... mine was made by Proto... NAPA ought to have it
here is a closeup of the nose
YOU NEED A STRAIGHT BIT SNAP RING PLIER AND A SPREADER PLIER to do this job.
SPECIALTY TOOLS (Or Trannie tools)
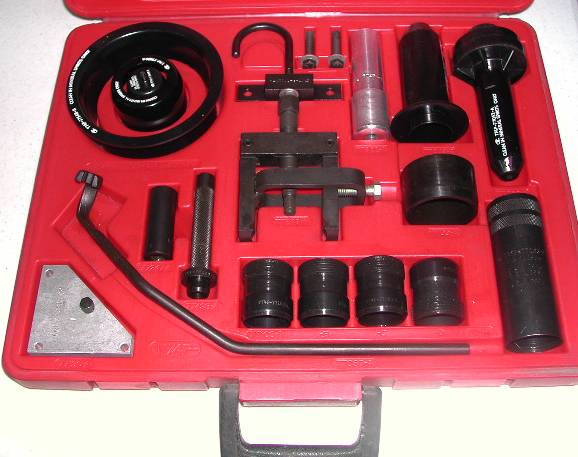
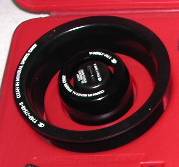
The A4LD is a C-3 with an OD. SO, it should come as no surprise that the tools needed are in fact C-3 tools....first sold in 1974! Here is that toolset
Of these only 1 is a MUST have, and then only if you splt the pump and bellhousing... it is this one...
I found a couple VERY nice to have.... the servo cover tool
and the seal protectors
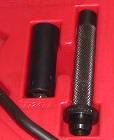
Other useful things include the reverse switch socket and throttle valve seal driver.... but you can replicate these easily...
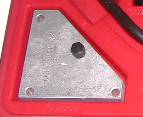
an the low reverse gauge tool....
The rest of these tools in the 1974 tool set were not really necessary.
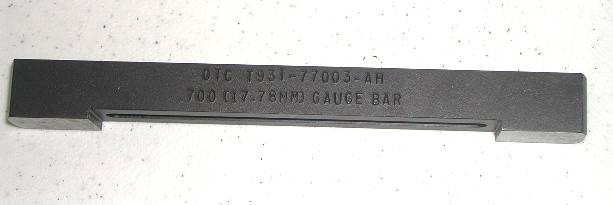
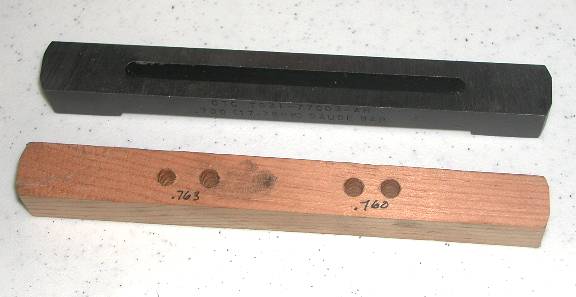
Another tool you will need is a gauge bar, to measure rear case and front case clearance. This tool was first offered by FORD in the 90's.
The good news is.... you can make your own...side by side (details are in the diary)
YOU NEED THIS TOOL
REBUILD MANUALS
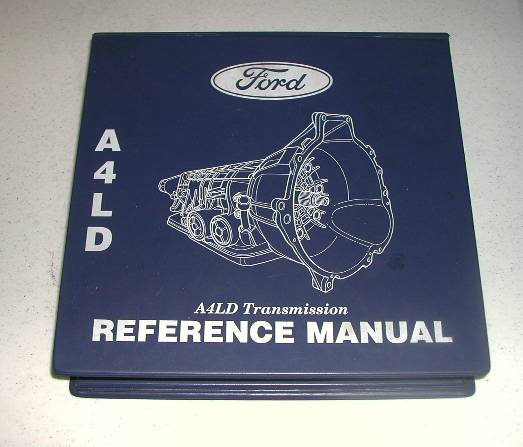
Another nice thing to have is the factory manual
ATSG has a manual too, though a poor second to the factory manual but easier to come by
(pic coming)


