arco777
Explorer Addict
- Joined
- April 6, 2008
- Messages
- 2,404
- Reaction score
- 59
- Year, Model & Trim Level
- 1994 Explorer 2dr 4x4
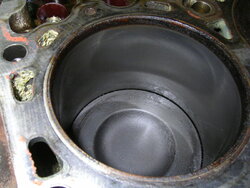
Ready for cleaning.
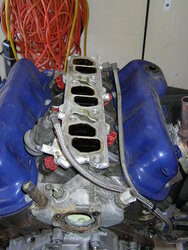
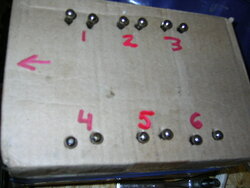
1. Hey, kids! How many vacuum caps can you count?
¡sdɐɔ ɯnnɔɐʌ uǝʌǝlƎ :ɹǝʍsu∀
2. Reconnected fuel line to FPR - don't want water in there
3. Bonus picture of my factory cam position sensor. Keep on trucking, little guy!
That's it for tonight.
1. Hey, kids! How many vacuum caps can you count?
¡sdɐɔ ɯnnɔɐʌ uǝʌǝlƎ :ɹǝʍsu∀
2. Reconnected fuel line to FPR - don't want water in there
3. Bonus picture of my factory cam position sensor. Keep on trucking, little guy!
That's it for tonight.