Lefty04LevelII
Member
- Joined
- January 16, 2007
- Messages
- 15
- Reaction score
- 0
- City, State
- New Mexico
- Year, Model & Trim Level
- 2004 Ranger FX4 Level II
Hey Scott,
I haven't forgotten about you and the grille. Work's been crazy, truck needed repairs, and I haven't been on-line much up until this weekend. I'll shoot you an e-mail a little later.
As for the AVM, I'm looking forward to this write-up too. Now I just have to re-purchase all the manual t-case conversion stuff I once had and possibly add the AVM work to the to-do list.


 :
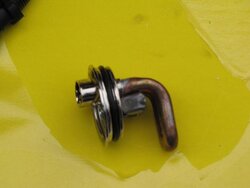
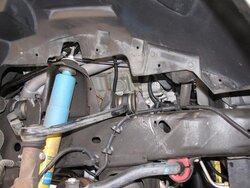
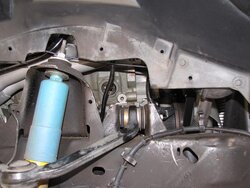
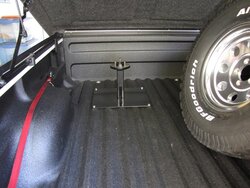
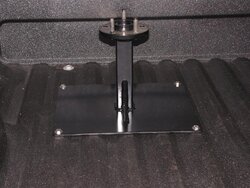
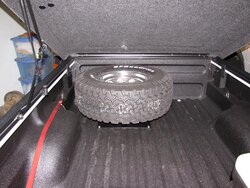
: ) I probably should have put on the right side for weight distribution. Oh well.