Scott B.
Explorer Addict
- Joined
- February 15, 1999
- Messages
- 2,713
- Reaction score
- 34
- City, State
- GA
- Year, Model & Trim Level
- '93 Ranger XLT
Where do you get those stickers of the different passes you've been over?

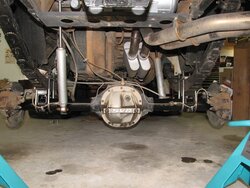
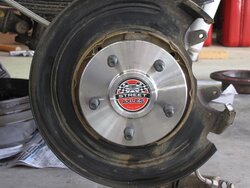
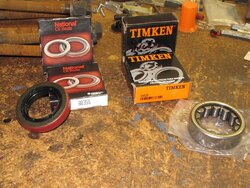
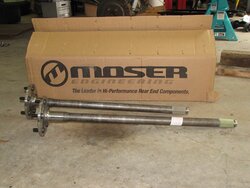
 ). While I was at it, I changed both axle bearing and seals.
I just finished reading through your entire build, very impressive sir. You should be proud of what all you have accomplished!
")
<snip>
PS - nice to see someone is reading this thread!
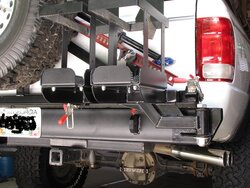
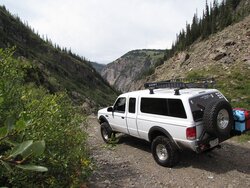
This is one of the places I go for ideas for our X... The Tire carrier (similar style to yours) is on my short list now.
~Mark
In 1 more year you can start feeding that truck alcohol!