- Joined
- September 1, 2002
- Messages
- 14,117
- Reaction score
- 1,719
- City, State
- Lake View Terrace, CA
- Year, Model & Trim Level
- '91 Navajo '99 X '19 Rngr
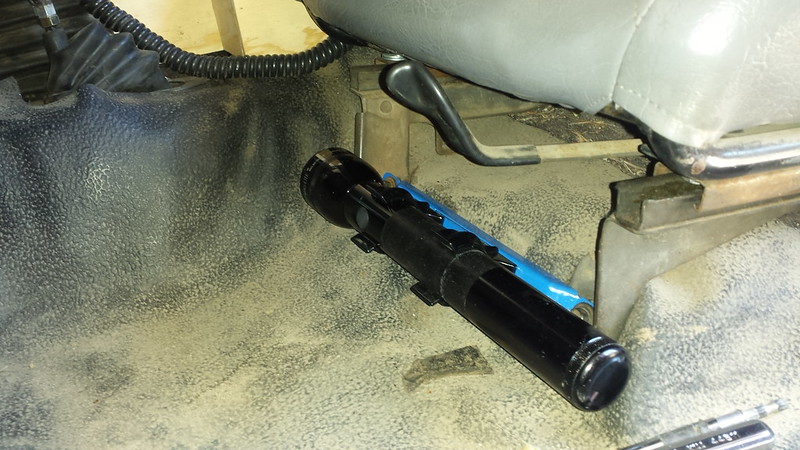
I haven't had a fire extinguisher in my truck for a while. It needed to be easy to access and not buried behind the seat so I drew and cut these brackets.
20150509_133008 by Matthew Dresselhaus, on Flickr
It is designed so either side can be bolted or hose clamped on. It could be used for more then just fire extinguishers. I used hose clamps to mount a fire extinguisher to one side.
20150509_135443 by Matthew Dresselhaus, on Flickr
The other side I left the plate off and welded it directly to cage. Pull the upper pin out and it drops out and is ready for use. No tools needed to remove it.
20150509_135339 by Matthew Dresselhaus, on Flickr
Love the fire extinguisher mount. Where were you when I built mine with a grinder
 Zukmam is making me a nylon pull for mine that is red and has word FIRE sewn into it. I'm sure she could make two
 ")
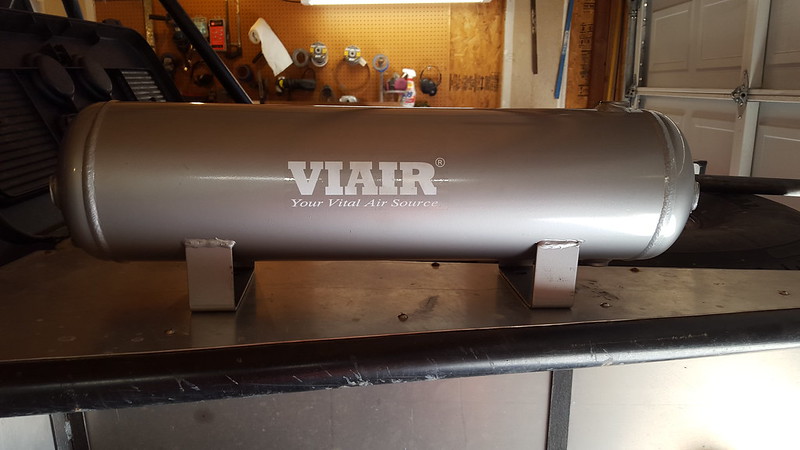
Just be careful with the garage work bench. It gets piled up with stuff fast and becomes unusable


")