Low vacuum/rough idle post 5.0 swap | Page 2 | Ford Explorer Forums - Serious Explorations

  • Register Today It's free!

Low vacuum/rough idle post 5.0 swap

Yes, I'd bet you put in the right, new cam. Those cams are also generally great to resell, they don't really wear down like flat tappet cams.


Join the Elite Explorers for $20 each year.
Elite Explorer members see no advertisements, no banner ads, no double underlined links,.
Add an avatar, upload photo attachments, and more!
.


Not following on that - why would bet that direction?


With the pushrods being changed, due to a different lift, it's most likely not the same cam put back into it. You can check the lift easy enough, but the valve cover has to come off.


Right - I don't know what length pushrods were required this time, and I added roller rockers to the mix which could have affected that anyway. So it's kind of an open question...

If I can't lay my hands on the other cam in the storage unit, I guess the simplest option is pulling a valve cover and measuring lift with a dial indicator?


Yes, if you do that at the pushrod, loosen one intake rocker to check the lift, the lifter won't deflect a ton without the spring resistance.


Of course, an aggressive cam can screw-up idle.

This goes deeper than an idle adjustment...........at that recognition, I still have been one to crank-up the idle to make it more drivable till I got the underlying problem fixed. Good luck!


Well...
For better or worse, I can stop diagnosing the problem and start fixing. I really did hand the wrong cam to the shop - the right one turned up in a box yesterday.

I'm seriously considering cutting a section out of the core support and rigging up a way to bolt it back in later so I can swap the cam without raising the body or pulling the engine (again).


do it, cut the core support.
You can easily make a new support or make that portion bolt back in
You better make damn sure you have the correct cam and pushrod combo in that engine
Get the cam sensor tool and install it on the correct tooth
There is NO REASON to adjust the idle set screw on the 5.0 throttle body, all it does is stop the butterfly at full close or open it slightly to allow air to bypass it....this is the job of the IAC on these fuel injected vehicles.

I seem to recall someone else getting a TFS cam when they ordered the COMP?? Did this Amazon cam make a few circles in the wrong box?
After you install the correct cam, ensure you have the correct pushrods etc then recheck your firing order :)


Yes, you've put in a ton of time and money into the truck. Spend the small amount more to fix those things and double check a few items to make it right.

The core support, I would cut it also, but for the future I might cut a longer section from a JY vehicle, and overlap that with the cut out part. That would make it fit great, and it could be R&R'd easily. But that's overkill, almost nobody ever needs to swap a cam more than once in these. You can easily add a piece of metal or two and overlap them onto the cut seams.

Projectthread010.JPG


do it, cut the core support.
You can easily make a new support or make that portion bolt back in
You better make damn sure you have the correct cam and pushrod combo in that engine
Get the cam sensor tool and install it on the correct tooth
There is NO REASON to adjust the idle set screw on the 5.0 throttle body, all it does is stop the butterfly at full close or open it slightly to allow air to bypass it....this is the job of the IAC on these fuel injected vehicles.

I seem to recall someone else getting a TFS cam when they ordered the COMP?? Did this Amazon cam make a few circles in the wrong box?
After you install the correct cam, ensure you have the correct pushrods etc then recheck your firing order :)

Thanks for the encouragement re the core support.

If someone else experienced the TFS cam mixup, I hadn't heard about it. But there was a thread here about my initial story with this three years ago, so you might be thinking of that. I really wish I'd sold, thrown out, or otherwise gotten rid of that TFS cam to avoid recreating the mess this time around.

I'll definitely measure things to ensure what size pushrods I need. And I do have a cam sync tool this time around, that just came in the mail a couple of days ago.


I get the cam issue and idle quality in this instance, but setting the idle is standard procedure after you have made modifications that allow more air in.

So, I am going to post again the procedure you should follow after you have made modifications to your engine that can effect idle speed. I have done this several times over the years to get the idle where I want it in addition to tuning idle speed with a Tweecer. I currently run a slightly higher idle with the supercharger.

Ford Racing

Idle Setting Procedure

Please Note: These steps MUST be performed in sequence!!

1. Get engine to operating temperature.

2. Disconnect IAC (Idle Air Control) Solenoid. If engine stalls, turn throttle-stop screw in one full turn and restart. Repeat as necessary until engine will idle with IAC unplugged.

3. Set idle using throttle stop. Idle speed will vary depending upon modifications made to the engine. Set to where you are comfortable with idle speed.

4. Set TPS (Throttle Position Sensor) anywhere from .96 to .98 volts. This is done by loosening the mounting screws, and lightly rotating TPS. If you cannot obtain the desired range, you may need to make the mounting holes slightly larger. This can be done by drilling them.

4a. TPS wire colors to be probed are generally BLACK and GREEN wire or the GRAY/RED and GRAY/WHITE, depending on your vehicle.

5. Stop engine. Disconnect negative terminal battery cable for 15-20 minutes. You may wish to tap the brakes or turn the headlights on and off a few times as this will help to ensure that you have purged any remaining electrical current from the vehicle.

6. Reconnect IAC Solenoid

7. Reconnect battery cable to the negative terminal

8. Restart engine.

9. If problem persists, inspect for mass air meter problems and possible vacuum leaks.


I'm editing this post, but I still think the idle screw should be left alone 99% of the time. The IAC controls the idle all of the time, ...

I don't know the official procedure for setting the idle screw to the OEM spec position, but I have thankfully never needed to know it. ...I think the setting should be low enough that the engine will die without the IAC providing more air, which helps to reduce dieseling or the affects of a backfire.


BTW, in contrast, I am very familiar with the adjustment of a carburetor idle screw. That is very important, and in most cases it needs to be adjusted, so that the transition fuel circuit is beginning to flow while at idle. That reduces a bog due to lack of fuel as the transition circuit tries to catch up. For a carb, the answer is to set the idle as needed, then check the transition hole or slot, and readjust the screw. Often that ends up requiring a hole(~1/8") drilled into the throttle blades, and then the screw is adjusted again, etc, until the idle is correct for the proper throttle blade position.

...


I once drilled a small hole in the butterfly valve because I had a 84 Ranger with a 92 Explorer 4.0 using a 93 throttle body and it just would not idle no matter what I did to the IAC. I noticed the earlier trucks 90-92 had a tiny hole in their butterfly, so I drilled one in our butterfly = bingo idle was fixed! In hindsight I bet I could have messed with the idle screw a little

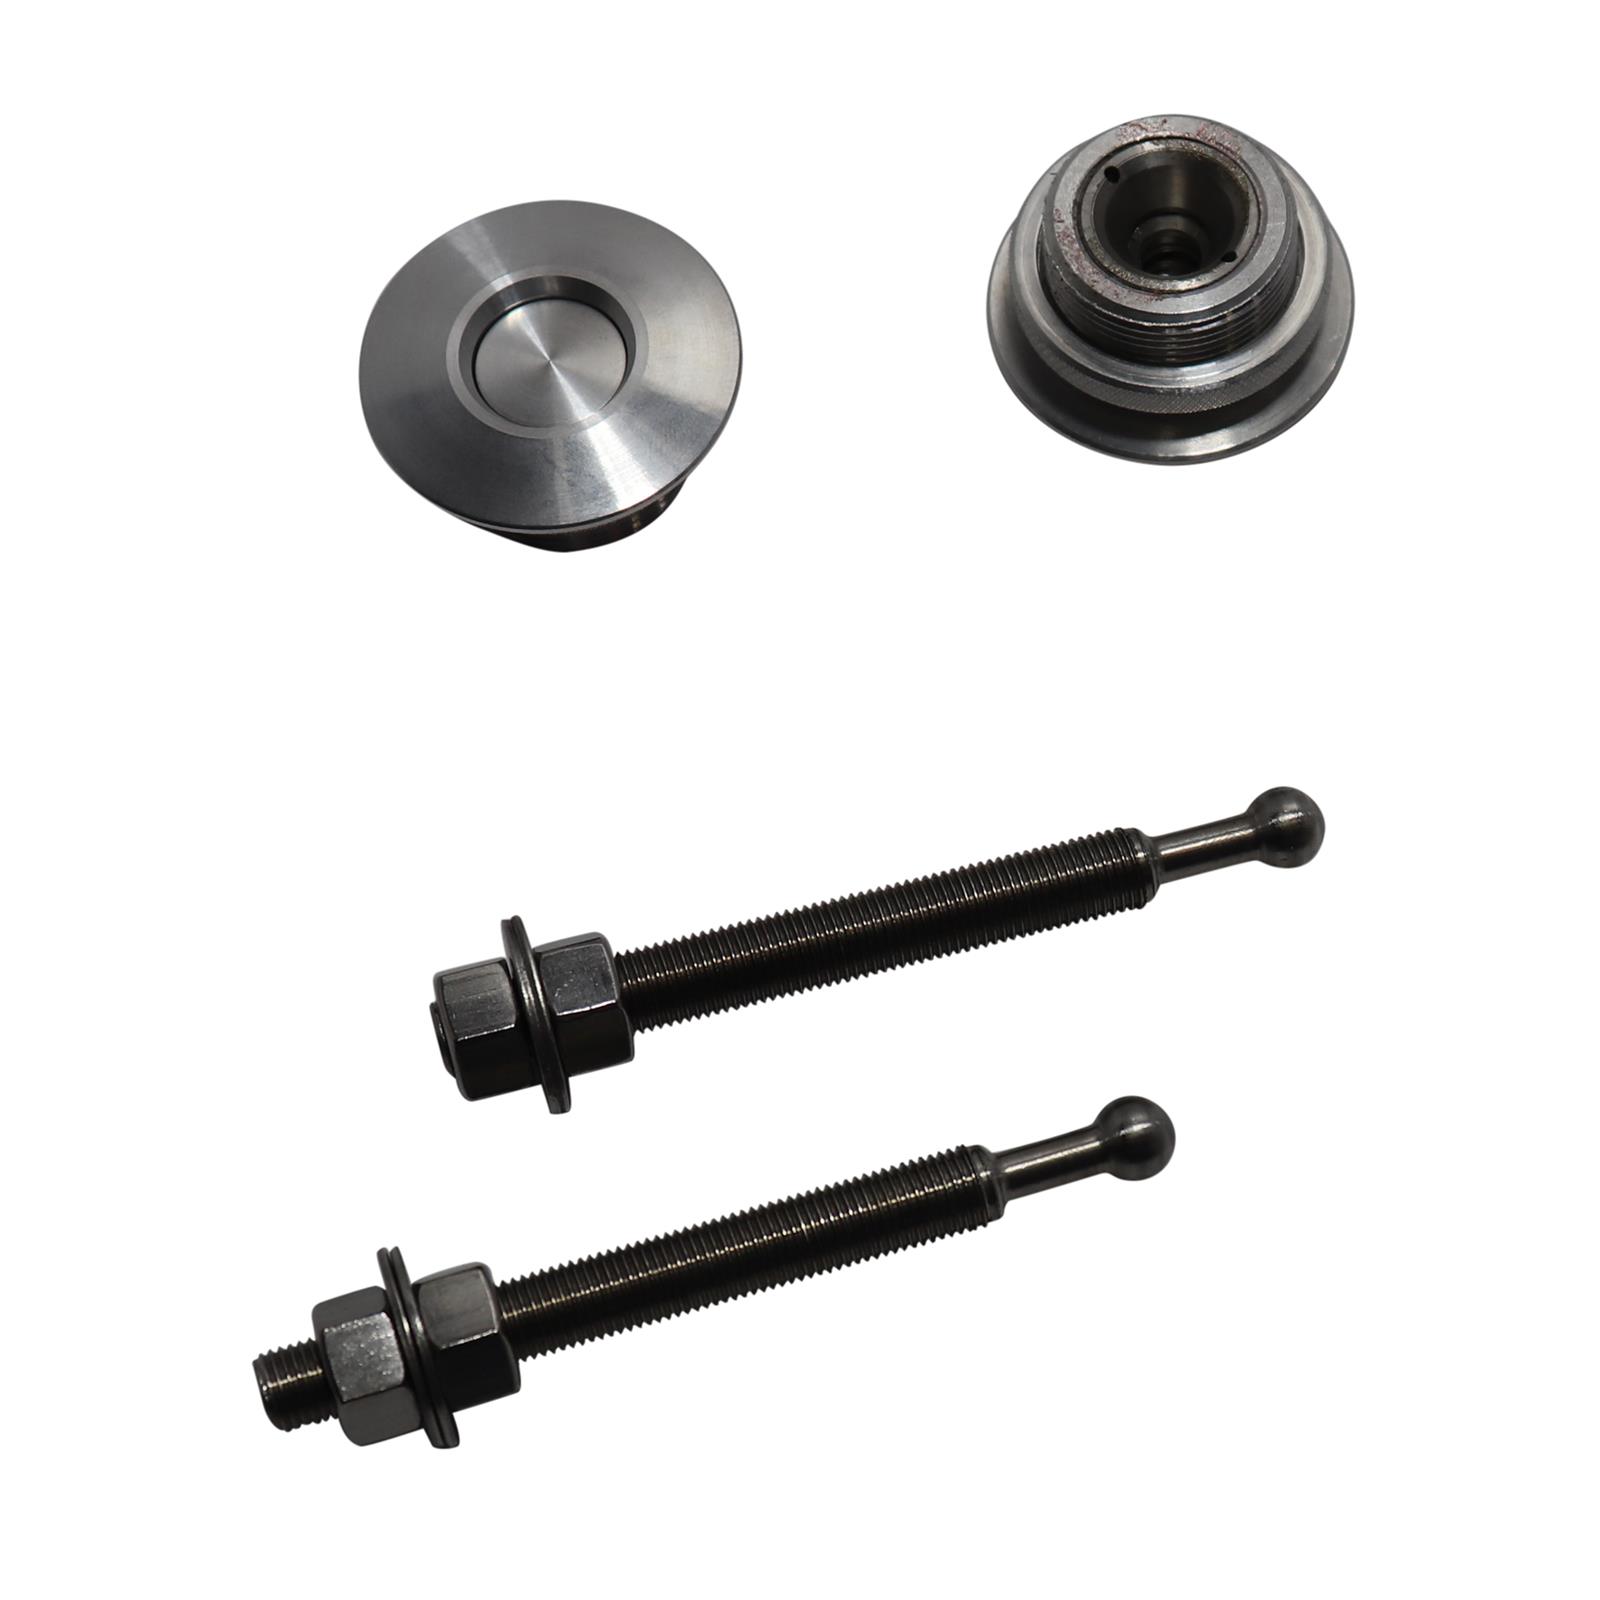
With the core support MIA it makes it so much easier for of course the cam swappage but also if you need to work on the timing cover/waterpump, etc in the future (5.0 owners will likely need to access the PIA timing cover bolts eventually). I like Autofab hood pins and urethane pucks..........there are some neato hood latches on the market these days as well "quick latch" they call them


sku=UP149030&utm_medium=CSEGoogle&utm_source=CSE&utm_campaign=CSEGOOGLE&gclid=CjwKCAjwmK6IBhBqEiwAocMc8uWynKxfmyF0pT8x3N8M1Yfa5yTmMCDHo4JnJhyHIuyENvBwJgOofxoCc9IQAvD_BwE


Unless someone alters the TB idle screw, that never needs to be touched, 99% of the time. As said, the IAC controls the idle, all of the time, the idle screw is never supposed to have anything to do with the idle. If it has to be adjusted, ask the question; who messed with it, and why did they mess with it?

The throttle blade simply needs to be an amount above closed, allowing a very small amount of air in, little enough that the engine will shut down when the IAC stops helping additional air to get passed the TB blade.

I don't know the official procedure for setting the idle screw to the OEM spec position, but I have never needed to know it. I have read the steps before, and I don't recall them being exactly as described above. I think the setting should be low enough that the engine will die without the IAC providing more air, which helps to reduce dieseling or the affects of a backfire.


BTW, in contrast, I am very familiar with the adjustment of a carburetor idle screw. That is very important, and in most cases it needs to be adjusted, so that the transition fuel circuit is beginning to flow while at idle. That reduces a bog due to lack of fuel as the transition circuit tries to catch up. For a carb, the answer is to set the idle as needed, then check the transition hole or slot, and readjust the screw. Often that ends up requiring a hole(~1/8") drilled into the throttle blades, and then the screw is adjusted again, etc, until the idle is correct for the proper throttle blade position.

For an EFI, leave the idle screw alone, forever, unless it has been messed with, and only then, find the proper procedure, and correct the screw position. Then if that has to be done, never touch it again. It is not something that has to be done, or needs to be, often or every once in a while. You are messing with something that should not be, the idle control is in the computer, learn how to adjust that, and leave the idle screw alone.
You know much and help here much. This one you got wrong and I want the correct info here. I am a little miffed at your post because I do know about this procedure.

The handout from Ford shows what I know and have done many times! This is for those that need it.

Again, it is standard procedure to set idle after modifications..............

Here:
ford-racing-idle-setting-procedure.jpg


I appreciate your efforts here also, I've been learning by watching others who modified their vehicles, or were trying to fix them. I think you may be the first to say the idle screw should be adjusted every time with modifications, I hadn't read that before. The vast majority of the idle screw adjustment coming up here, has been about chasing a symptom. It's rarely due to a modification, but someone pops in in says skip the IAC and just adjust the idle manually. Then there isn't anyone handy who knows the proper procedure to correct the adjustment, and it ends up being something else and not that screw.

I will resist commenting on the idle screw from now on, there is a place to be adjusting it, and usually it's not those times when it comes up here. I can see it as being a final adjustment to place it in the center of range for the IAC.

@fastpakr may need to adjust his, but I think he has an underlying issue that playing with the idle screw isn't going to fix. Regards,
Thanks!

I am with you in that the idle screw shouldn't be messed with for just any reason. It should not be used to bring-up idle to cover another existing problem. It may help driveability if you have to drive it and cannot get to the proper fix right away, but it needs a proper fix.

It often needs to be done once you have added considerably more air, bigger heads, blower, turbo, etc.


Thanks for the encouragement re the core support.

If someone else experienced the TFS cam mixup, I hadn't heard about it. But there was a thread here about my initial story with this three years ago, so you might be thinking of that. I really wish I'd sold, thrown out, or otherwise gotten rid of that TFS cam to avoid recreating the mess this time around.

I'll definitely measure things to ensure what size pushrods I need. And I do have a cam sync tool this time around, that just came in the mail a couple of days ago.
Correct cam is in place. Assuming I did the math right when checking pushrod length and preload, the correct pushrods will be here on Monday. Hopefully on Tuesday I'll have confirmation of that. It's a new area for me, and I couldn't lay my hands on the adjustable pushrod I bought a couple of years ago to simplify things.


I messed up the initial measurement, but the good news is that the original set of pushrods I had will work. 6.35" pushrods with .030 shims on both intake and exhaust.


Quick bit of closure... Everything is buttoned back up and the truck seems to run great now. I put a few miles on it yesterday and parked it at a garage for state inspection and to get the A/C vacuumed/charged.

For the record, I did use the tool to line up the cam synchronizer this time around. It definitely does just center the pointer in the window, but it dummy proofs the process.

Thanks for all the help!


Join the Elite Explorers for $20 each year.
Elite Explorer members see no advertisements, no banner ads, no double underlined links,.
Add an avatar, upload photo attachments, and more!
.


Excellent, now it should last a long time and run better than ever.


Back
Top