mjmcdowell
Active Member
- Joined
- January 18, 2009
- Messages
- 83
- Reaction score
- 0
- City, State
- nys
- Year, Model & Trim Level
- 2009ranger4x4 sport
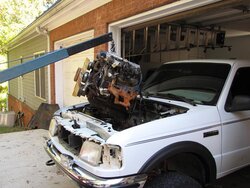
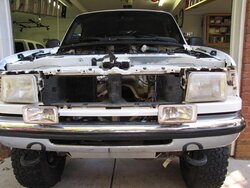
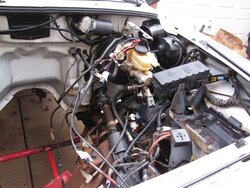
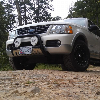
Scott's "new truck"
Hey Scott, you have been busy, looks good, I like the flares, I don't want to wish my life away....... but darn I can't wait till the marching orders for Moab to come out and we can start this grand adventure! stay safe, Michael
Hey Scott, you have been busy, looks good, I like the flares, I don't want to wish my life away....... but darn I can't wait till the marching orders for Moab to come out and we can start this grand adventure!
stay safe, Michael