redranger4.0
Well-Known Member
- Joined
- April 8, 2003
- Messages
- 729
- Reaction score
- 0
- City, State
- Salem CT
- Year, Model & Trim Level
- 2000 Ranger XLT
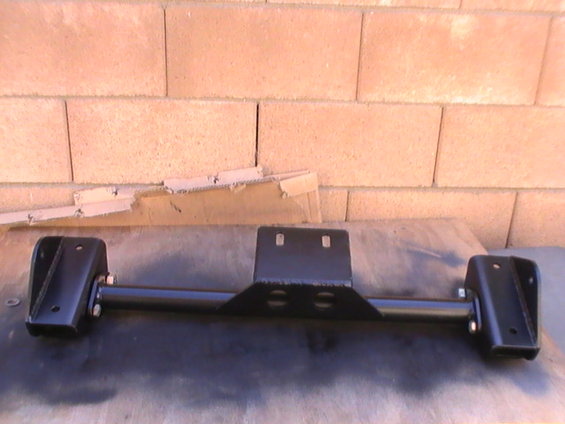
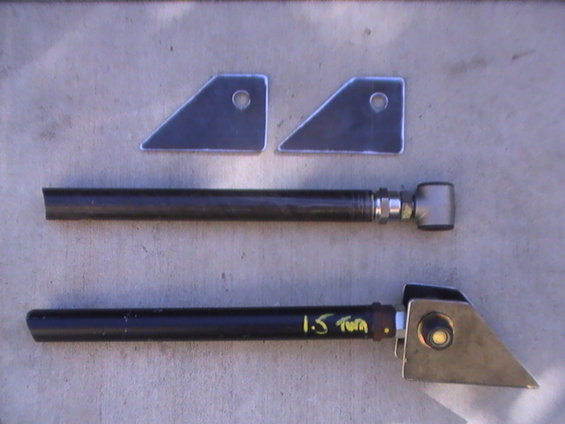
Whos panhard mount is that?

")

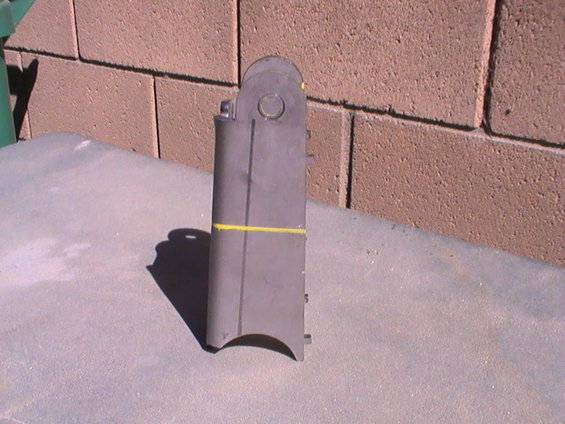
 : I actually have a battery box/mount from Kartek in the garage somewhere, someday i'll put it to use.
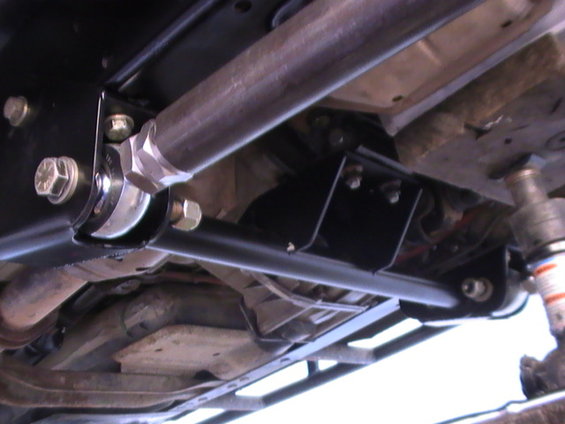
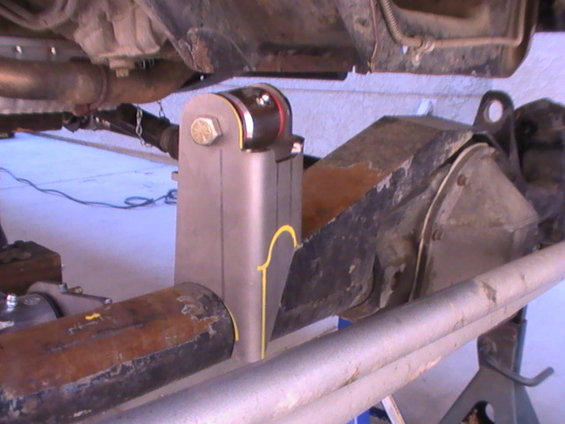
Damn that welding is sexy
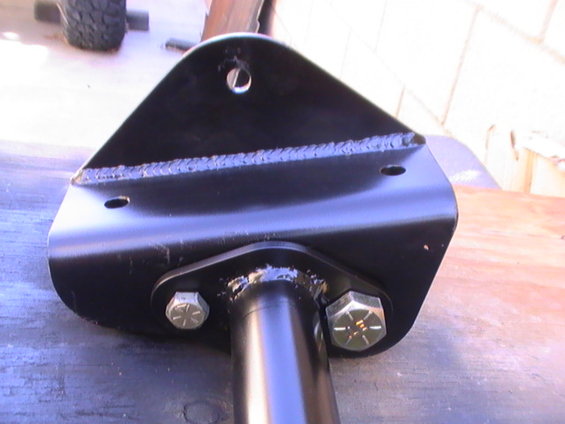
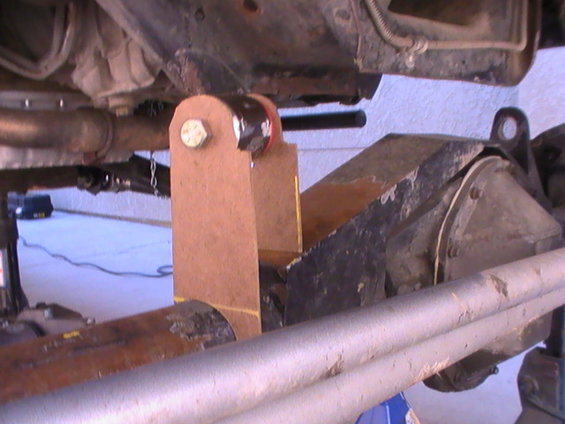
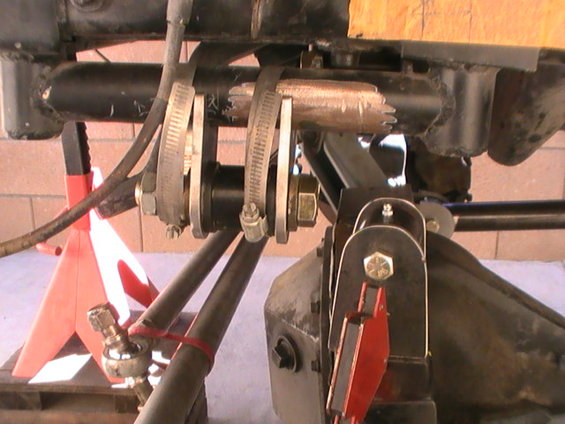
one question tho in the Second pic why is there a large bolt in there and a small one ?
Front bolt of the X-member will be shared with the heim bolt (3/4") on the bracket.
Then I just drilled a 1/2" further back on the bracket to finish it off.
:


 I miss Kartek
