DB_1's re re re...aww heck, i'm re-doing my set-up | Page 2 | Ford Explorer Forums - Serious Explorations

  • Register Today It's free!

DB_1's re re re...aww heck, i'm re-doing my set-up

I've reworked my front suspension a few times since doing the SAS but this time i'm going change up my front set up once and for all because it's never quite been dialed in. Currently I'm running a control arm set up just like the Rubicon Express long arm system...It's really just a fancy radius arm.

So the problem is that on the frame end of the arms i'm running 7/8" x 3/4" rod ends which have only around 17* of misalignment. I quickly run out of misalignment on the rod end on downtravel which then loosens the jamb nuts. Not exactly the best situation when off roading with all that slop. That's the only reason I have good flex is from the jam nuts loosening up...it can be better.

Current specs on the links are:

Uppers:
1.5" x .250 wall DOM tubing
3/4" heims on the link end
3/4" rubber joints on the axle end

Lowers:
1.5" x .250 wall DOM sleeved with 1.75" x .120 wall DOM
3/4" rubber bushings on axle end
7/8" x 3/4" heims on the frame end

So the plan is to also move the axle forward an inch or so to keep the tires out of the firewall but it might interfere with the engine crossmember, that will be a challenge.
I also want to lower the front an inch as well as add an inch of travel. Somehow I have to find 2 inches of space in the engine bay for the upper shock mounts to do that.
The lower control arm mounts will be spread apart a few inches to help with the heim misalignment issue.

Now, on with the goods. I've been accumulating these parts for at least a year now so time to get them on the truck:D

New specs on the control arms will be as follows:

Uppers:
1.5" x .250 wall DOM
3/4" thread hex tube inserts from Spidertrax
3/4" shank with 5/8" bolt urethane boulder bushing from Poison Spider Customs on link end
Urethane bushings from Ballistic on axle end

Lowers:
2" x .250 wall DOM tubing
1.25" thread hex tube inserts from Currie
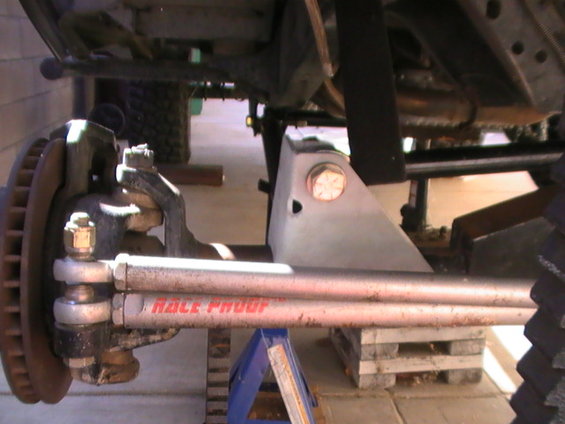
1.25" FK heims with hi-misalignment spacers (double the misalignment of my old heims)
2 1/8" dia. x .250 wall with 5/8 bolt urethane bushings from Summit Machine on axle end
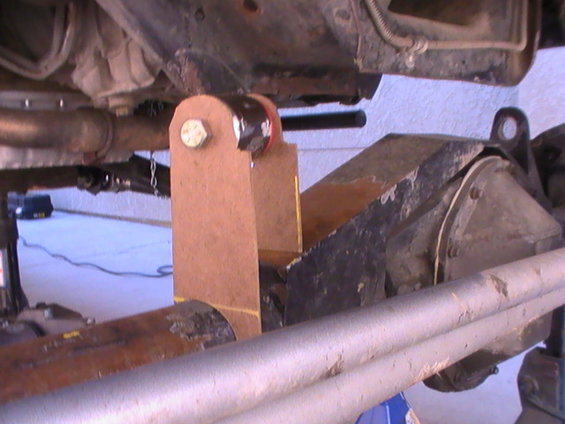
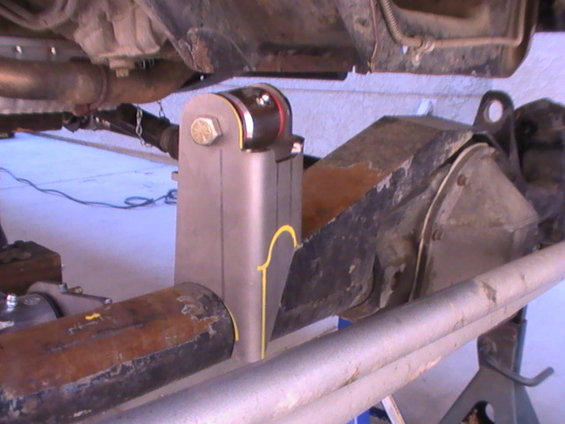
K.O.R.E. 1/4" thick link brackets on frame end
Ballistic 1/4" thick link brackets on axle end
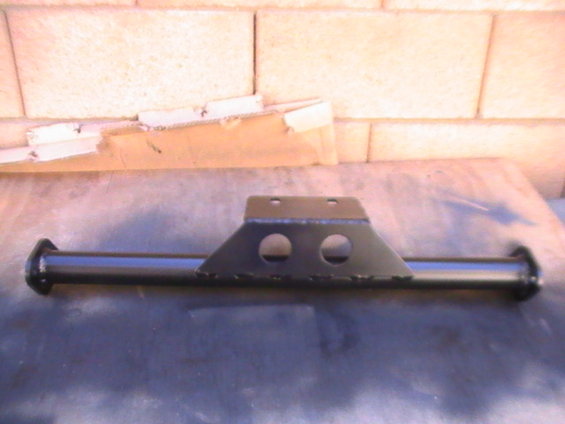
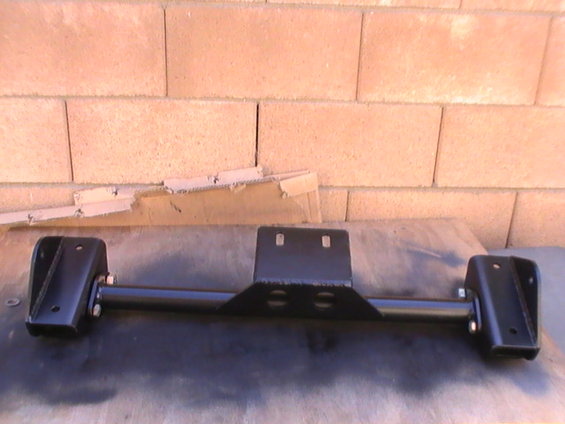
Ruff Stuff 1/4" brackets for X-member

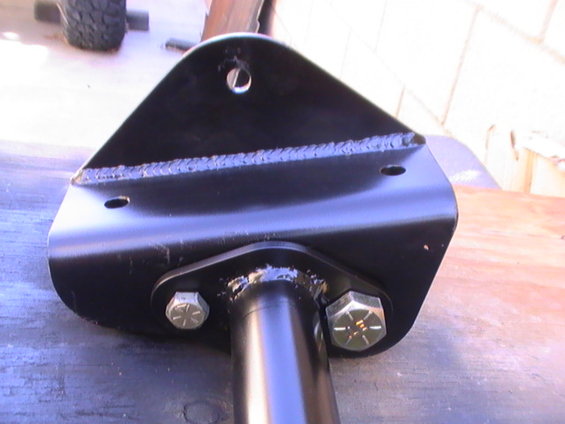
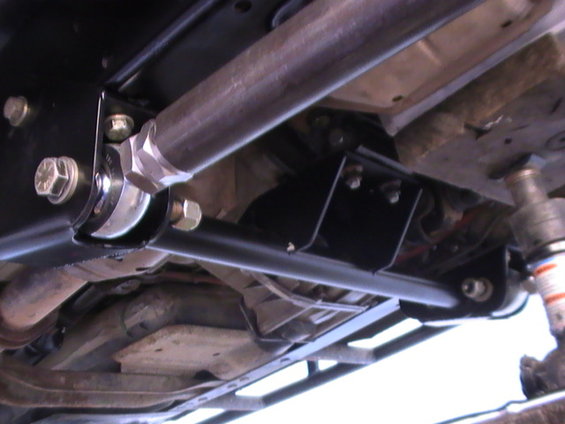
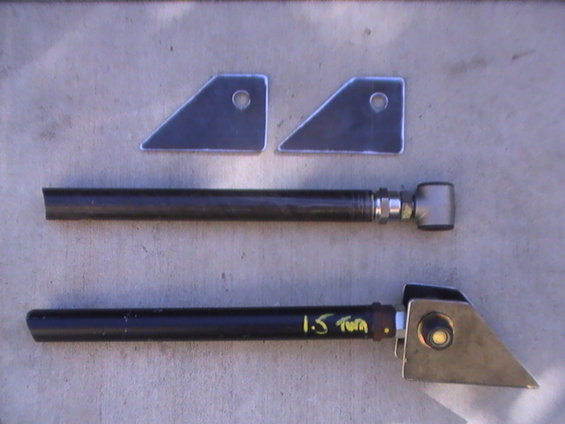
Here's some pics...just for giggles, last pic compares a 1.25" heim to a 3/4" heim. Makes it look...cute:p:

pic_0141.jpg

pic_0142.jpg

pic_0143.jpg

pic_0145.jpg


Join the Elite Explorers for $20 each year.
Elite Explorer members see no advertisements, no banner ads, no double underlined links,.
Add an avatar, upload photo attachments, and more!
.


Whos panhard mount is that?


Join the Elite Explorers for $20 each year.
Elite Explorer members see no advertisements, no banner ads, no double underlined links,.
Add an avatar, upload photo attachments, and more!
.


I've noticed a lot of people seem to be a little scared of hacking on that engine crossmember. I think it needs to be pointed out that the only reason that thing is so beefy to begin with is that the stock suspension also used it as a mounting point. Since the stress of the suspension is no longer there, it is way strong enough for the engine. Most of the engines weight and torque is absorbed further out by the framerails. I have very little of the front drivers side of mine left and haven't has any problems.


Why wait? :p:

Just be sure to take notes and make a template, so we all can have one. :D


Can't wait to see the final results! Sounds like it should work out great:chug:


Thanks guys:D

Josh, for now the battery will stay put behind the pass. seat, it's mounted with the j-hooks:p: I actually have a battery box/mount from Kartek in the garage somewhere, someday i'll put it to use.


Time to open this thread back up:D

After a long hot summer here in the dez, it's finally cooled off and I can work on the truck again. I've been making steady progress the last couple weeks so here's what i've got so far.

Got the lower frame brackets with tranny X-member welded, painted and installed. Front bolt of the X-member will be shared with the heim bolt (3/4") on the bracket.
Then I just drilled a 1/2" hole further back on the bracket to finish it off.

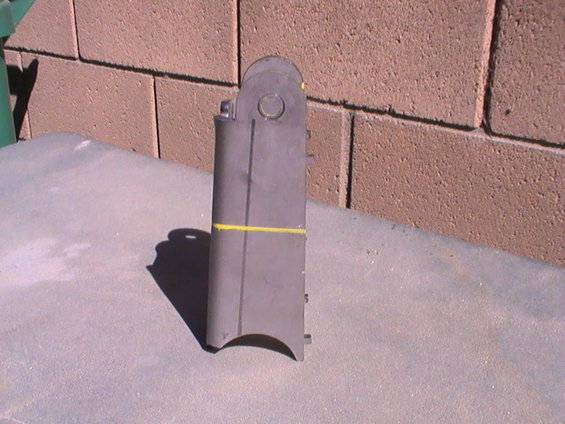
Next I worked on the upper mounts for the axle. I bought the tallest link bracket Ballistic makes to give me room for error. I made a template of the bracket and cut it down to what size I needed. I just layed the template pieces on the sides, traced it then cut one side with the angle grinder and the other with a hole saw...worked like a charm.

That's pretty much whats completed at this point but i'm plugging along so updates to come.
Here's the pics in order of description above.

xmember1.jpg


xmember2.jpg


xmember3.jpg


xmember4.jpg


upbrkt1.jpg


brkt_tmplt.jpg


cut_brkt.jpg


Damn that welding is sexy :cool:

one question tho in the Second pic why is there a large bolt in there and a small one ?


Damn that welding is sexy :cool:

one question tho in the Second pic why is there a large bolt in there and a small one ?

Front bolt of the X-member will be shared with the heim bolt (3/4") on the bracket.
Then I just drilled a 1/2" further back on the bracket to finish it off.


ok so i am hella tired tonight and not paying attention ;)


I can't take credit for the welding on the brackets, those were bought that way. My welding isn't quite up to par with that yet...as long as everything stays glued together then i'm happy:p:


I like this thread...


It will be close, I have the upper/lower shock mounts and shock hoop brace to figure out and fab yet. Then it's a matter of welding that stuff plus the links and all the bracketry on the axle.


Then stop webbing, and start welding. :p:


Nothing real exciting today...got the axle, all brackets and links prepped for welding.
The I had to fab up the drivers side upper link bracket on the axle because I hoped I could use what was there already but it wasn't going to work. Had I known before hand I would've ordered a pair of the Ballistic link brackets.
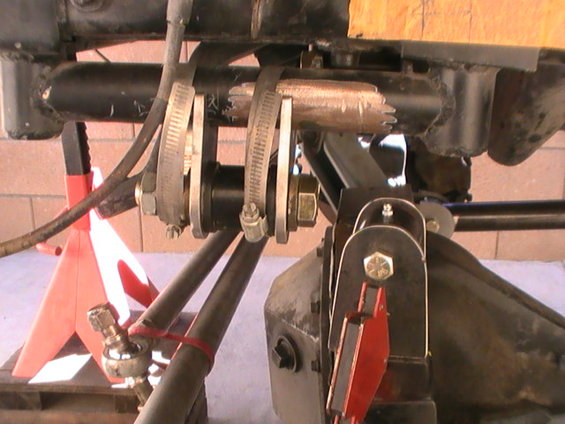
Snapped a few pics of the upper links, the brackets they will attatch to and a mock up of where the Polyperformance panhard bracket will go plus a pic of the drivers side upper link bracket.

uplnks.jpg


phard_brkt.jpg


pass_upbrkt.jpg


Join the Elite Explorers for $20 each year.
Elite Explorer members see no advertisements, no banner ads, no double underlined links,.
Add an avatar, upload photo attachments, and more!
.


Stuff is still getting done but I had a bit of a snafu. The shock hoops I have on there aren't tall enough plus they angle out from the frame too much so i'm in the process of making new ones.
Originally they were set up for the shocks to be straight up with no angle and my ride height was an inch higher.
I have the pieces cut for one of the hoops and tomorrow I'll work on the other one.
I'll also have to come up with a new brace that spans the engine bay to tie the shock hoops together.

I'll have some updated pics to post sometime this weekend.


Back
Top