DB_1's re re re...aww heck, i'm re-doing my set-up | Page 5 | Ford Explorer Forums - Serious Explorations

  • Register Today It's free!

DB_1's re re re...aww heck, i'm re-doing my set-up

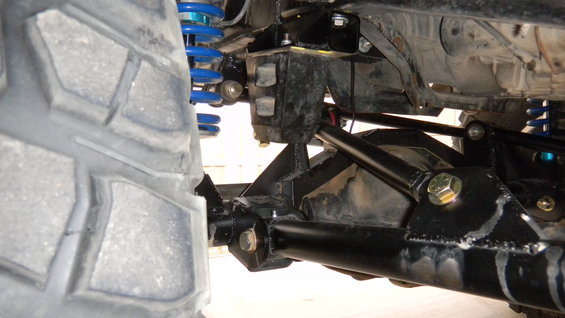
I've reworked my front suspension a few times since doing the SAS but this time i'm going change up my front set up once and for all because it's never quite been dialed in. Currently I'm running a control arm set up just like the Rubicon Express long arm system...It's really just a fancy radius arm.

So the problem is that on the frame end of the arms i'm running 7/8" x 3/4" rod ends which have only around 17* of misalignment. I quickly run out of misalignment on the rod end on downtravel which then loosens the jamb nuts. Not exactly the best situation when off roading with all that slop. That's the only reason I have good flex is from the jam nuts loosening up...it can be better.

Current specs on the links are:

Uppers:
1.5" x .250 wall DOM tubing
3/4" heims on the link end
3/4" rubber joints on the axle end

Lowers:
1.5" x .250 wall DOM sleeved with 1.75" x .120 wall DOM
3/4" rubber bushings on axle end
7/8" x 3/4" heims on the frame end

So the plan is to also move the axle forward an inch or so to keep the tires out of the firewall but it might interfere with the engine crossmember, that will be a challenge.
I also want to lower the front an inch as well as add an inch of travel. Somehow I have to find 2 inches of space in the engine bay for the upper shock mounts to do that.
The lower control arm mounts will be spread apart a few inches to help with the heim misalignment issue.

Now, on with the goods. I've been accumulating these parts for at least a year now so time to get them on the truck:D

New specs on the control arms will be as follows:

Uppers:
1.5" x .250 wall DOM
3/4" thread hex tube inserts from Spidertrax
3/4" shank with 5/8" bolt urethane boulder bushing from Poison Spider Customs on link end
Urethane bushings from Ballistic on axle end

Lowers:
2" x .250 wall DOM tubing
1.25" thread hex tube inserts from Currie
1.25" FK heims with hi-misalignment spacers (double the misalignment of my old heims)
2 1/8" dia. x .250 wall with 5/8 bolt urethane bushings from Summit Machine on axle end
K.O.R.E. 1/4" thick link brackets on frame end
Ballistic 1/4" thick link brackets on axle end
Ruff Stuff 1/4" brackets for X-member

Here's some pics...just for giggles, last pic compares a 1.25" heim to a 3/4" heim. Makes it look...cute:p:

pic_0141.jpg

pic_0142.jpg

pic_0143.jpg

pic_0145.jpg


Join the Elite Explorers for $20 each year.
Elite Explorer members see no advertisements, no banner ads, no double underlined links,.
Add an avatar, upload photo attachments, and more!
.


That might help in a couple areas but the real cure is just a cut-off wheel away:p:
Anything else that the tires were rubbing on can easily be relocated.


Join the Elite Explorers for $20 each year.
Elite Explorer members see no advertisements, no banner ads, no double underlined links,.
Add an avatar, upload photo attachments, and more!
.


Small update...got my hands a better camera so now I can post up pics again.

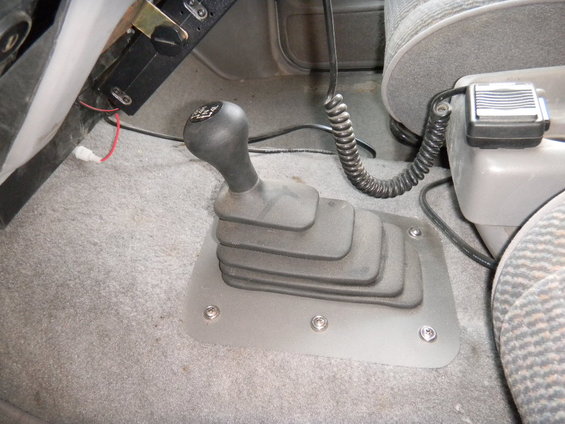
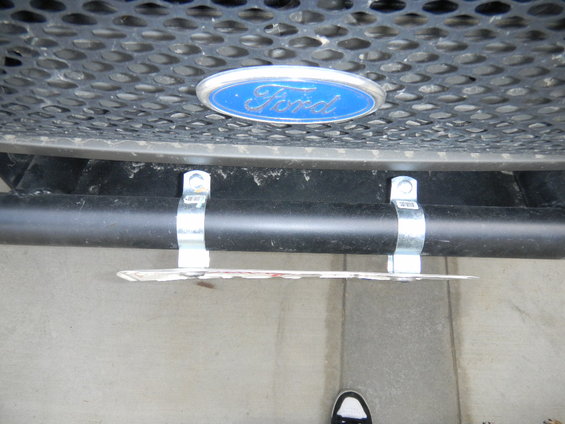
Here's a list of mods i've been working on with pics in no particular order:

* T-case boot bezel
* Inner fender well hackage, vacuum ball yet again had to be relocated back on the inner fender.
* Vacuum ball bracket found a new home being used to hold the radiator overflow canister
* Mounted bump stops
* Mounted front license plate with some 67 cent conduit hangers from Home Depot

dscn0007.jpg


dscn0009.jpg


dscn0010.jpg


Looks good Dave, what did you do with your overflow, and wiper tank?


Looks good Dave, what did you do with your overflow, and wiper tank?

Oops, forgot to add the rad. overflow tank pic:rolleyes: I'll add it in a sec.

Basicly I cut off the windshield fluid res. off of the overflow tank since I really don't have any room under the hood for it. I've been meaning to replace it with a smaller one maybe from an import car or something but you know how that goes.

Overflow tank is now in the area where the battery was, battery tray is now completely cut out.

EDIT: Added pic to my above post


Nice! I thought about cutting mine in half too. When ever I smog my truck and have to put the factory air box on I have to take the wiper/overflow box out temporarly:rolleyes:


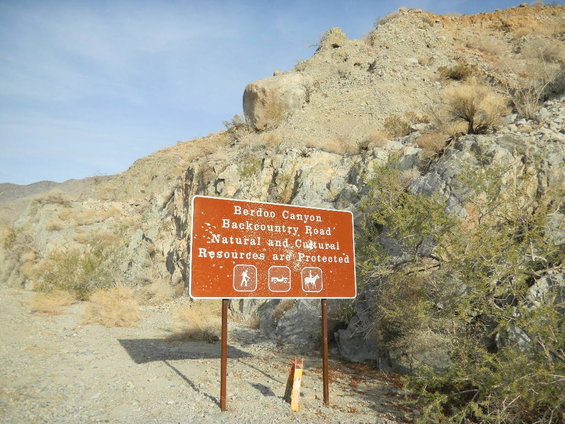
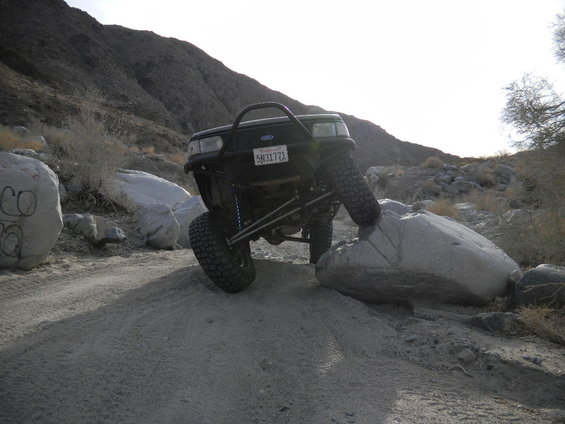
I headed over to Berdoo Canyon rd. today to see if my mods will work out or not. Berdoo Canyon rd. used to be a paved road from Indio to Joshua Tree and now it's mostly a dirt trail.

So I found some rocks to climb up on and check things out and it looks like the tires clear the inner fenders but the tires rub on the C/O's pretty good. I may have to get wheel spacers after all unless I can tilt the C/O's in some more.
Looks like the bumpstops are useless where they are mounted so they'll either have to be lowered a couple inches or make some raised landing pads.

dscn0056.jpg


dscn0053.jpg


Just came across this build - awesome work! Any more pics??


Sure-pics of the whole truck from the side, etc


Well there ya go:p: Probably as good as any pics i got.

Small update on my truck... As most of you know I rolled my rig last summer so even though it runs and is mechanically sound, it's far from being street legal in it's current condition. I've mostly just been removing and trashing stuff that I won't be re-using like the bed and front fenders.
The major thing is getting the cab somewhat back into a shape where I can stuff a cage in. So far i've been able to get the majority of the roof back into place but it still needs some fine tuning.
Until I get back to working steady it will be awhile before I can hit the trails again:thumbdwn:


Back
Top