Yostyexplorer94's 1994 Explorer Registry | Page 7 | Ford Explorer Forums

  • Register Today It's free!

Yostyexplorer94's 1994 Explorer Registry

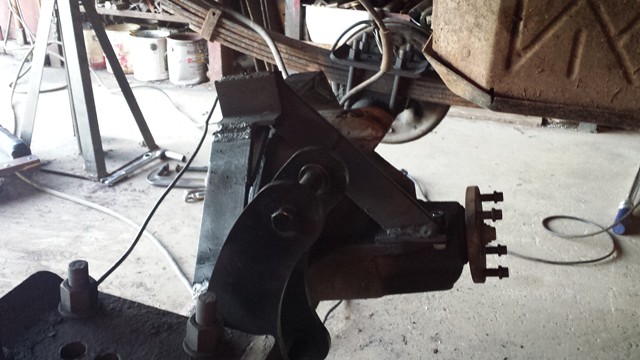
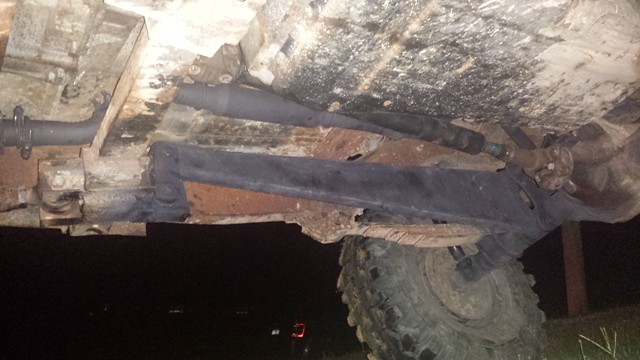
My 2233L tie rod had some slop to it, so I bought a new one from advanced auto and reamed it to fit my over the knuckle setup.


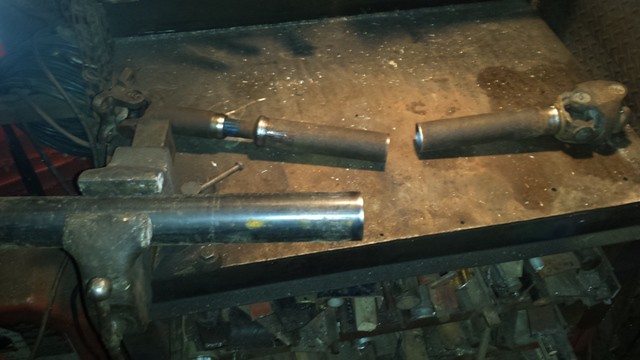
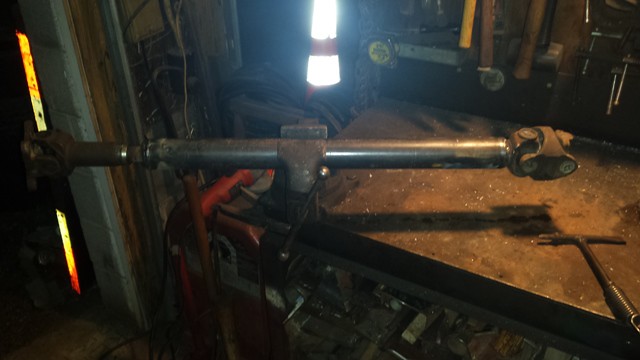
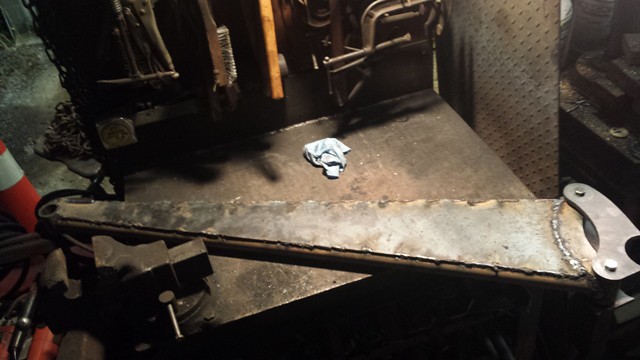
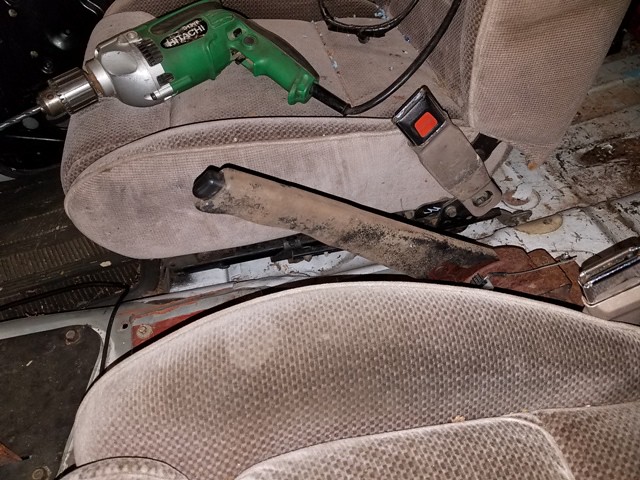
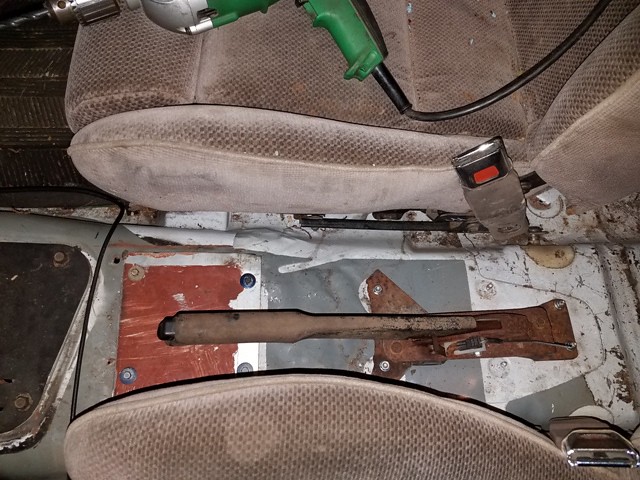
When I welded up my centerlink for my steering when I sas'd, I was very worried about cutting to much off. So I ended up with it too long. I just bought the ruff stuff specialties hex head tie rod threaded bungs to fix my issue. The plus side is I will not have to use a pipe wrench to adjust toe.


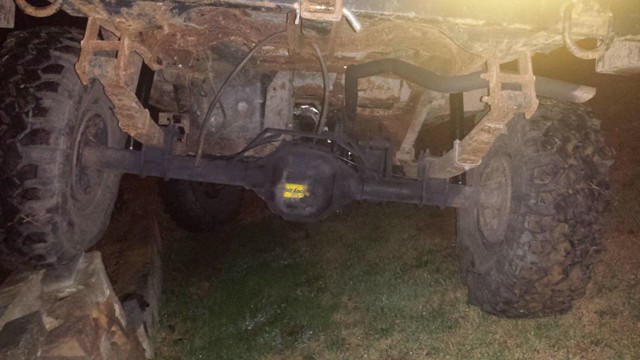
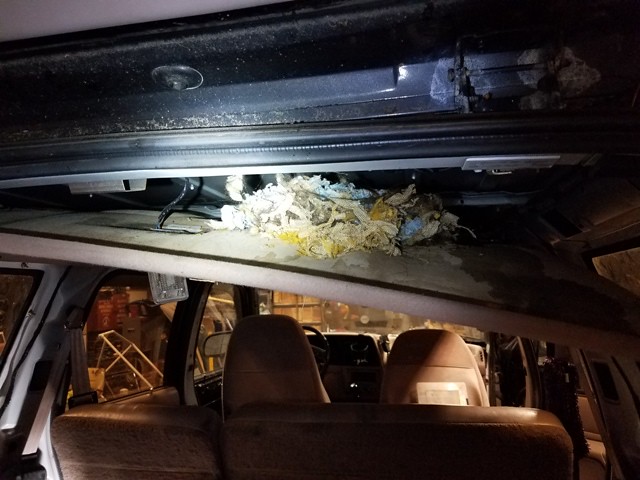
I bought air soft bb's to see if they will help the ride quality of the ltb swampers.
I put 2,000 in each tire. When I get the steering back together and it driveable, I will report back how they do.


Join the Elite Explorers for $20 each year or try it out for $5 a month.

Elite Explorer members see no advertisements, no banner ads, no double underlined links,.
Add an avatar, upload photo attachments, and more!
.


I kinda wish I stayed with actual TREs over heims.. might do that with the next one.

You got all fancy with your steering and all I did this weekend was install a dome light.


Update on my steering:

I had a tie rod end roll that would leave me a dead spot in my steering when I would counter turn. Jcr offroad has poly spacers that go between the tie rod ends and the knuckles. I bought two and had to figure out how to install them since there is very little space between the knuckle and the tie rod end.

At that time ruffstuffspecialties came out with a product called "the cure",
RuffStuffSpecialties said:
If you have driven a Jeep, you know the feeling. The steering wheel goes two inches to the right, two inches to the left and then back again, while your vehicle stays in a relatively straight line. That is the result of your Tie Rod rolling forward and backward forward and backward again and again. That's simply because there is nothing there to prevent it from doing that. And early wear on tie rods simply because they are always in motion. This results in torn tie rod boots because they have been flexed a jillion times in.

This small piece of machined Delrin plastic has had a lot of thought put into it. So much that we decided it would be the First Ruffstuff product we patented! Used against only the face of our Y-Link Adapter or a common Y-Link Tie Rod. It gives a self lubricated, fixed yet slightly flexible surface for the tie rod to rest against. The drag link does not flop forward or backward whatsoever yet in common usage it is allowed to roll which causes the steering wheel dead spot and allows for the tie rod roll.

So I took the jcr offroad bushing that I already bought and used it like the ruff stuff bushing is made for. It worked perfectly and cured my deadspot.

Update on the bb's in the tires:

It really smoothed out the higher speed driving and doesn't feel like the tires are skipping down the road. It still has bias ply tire ride quality though!


Cool, I was wondering if anyone used them yet, I'll be getting a set whenever it's time to build up the axle. I already have all the Mike's armless high steer knuckles, 1 ton chevy tre's and d.o.m. tubing kit from ruffstuff.


Cool, I was wondering if anyone used them yet, I'll be getting a set whenever it's time to build up the axle. I already have all the Mike's armless high steer knuckles, 1 ton chevy tre's and d.o.m. tubing kit from ruffstuff.
I just saw this post. Would tie rod roll be an issue with high steer and crossover steering?


It's an issue with most lifted offroaded trucks. I bought 4 "the cure" bushings, one for each tie rod end for when I get around to building the steering. I need to buy a yoga steering box to mount to the outside of the framerail, there's not going to be enough room on the inside with the 351w and exhuast. I buy my parts from ruffstuff when they have their 20%off sales. I ordered their diff covers for the Dana 44 HD front axle and 8.8 rear too.


It's an issue with most lifted offroaded trucks. I bought 4 "the cure" bushings, one for each tie rod end for when I get around to building the steering. I need to buy a yoga steering box to mount to the outside of the framerail, there's not going to be enough room on the inside with the 351w and exhuast. I buy my parts from ruffstuff when they have their 20%off sales. I ordered their diff covers for the Dana 44 HD front axle and 8.8 rear too.

That thing will be awesome with a 351w!


So I have been all over the place with what I want to do with my explorer. Here is the start.

I found 17x8 steel wheels for sale on the Rausch Creek Offroad Park Forum. I bought them and borrowed a set of 33's to see what they look like.

36491204845_0d8fb9544d_z.jpg


I was driving it on the road more and getting sick of the bias tire ride quality so I was planning on getting a radial mud terrain on my 17" wheels. After pricing tires for a 17" wheel I could not justify the extra cost for tires compared to a 15".

Here is a comparison of 17" and 15" wheel.

35656259904_1e2da25226_z.jpg

2016 snow storm

35656258484_cfaa2927da_z.jpg


Well I hit a snag with PA inspection. I have a problem with waiting until the last minute to get my stuff inspected. The last day before my inspection ran out I took it to two local shops and they nitpicked it pretty good.

When I sas'd it, I asked the inspection station about my full width axles. They told me as long as the tires are covered. My flares are at 6" and the legal bs law is 3" over stock. Now it is a big deal and they don't want to get into trouble so I tried to get creative.

35656255644_b3dd2f58a4_z.jpg


Suzuki Samurai wheels to the rescue, with out the rescue! The wheels fit the fw 8.8 rear axle no problem and put the tires about 1.5" over stock width. I had to grind on the calipers on front fw dana 44 to clear the wheels.

I got them clearanced and it got my front wheel width where I needed it. The problem is the fender tappers in on the front and rear side of the center wheel well. It was exactly 3" of flare in the center of the fender. I had about 4 - 4.5" on the front and rear side of it. I gave up so now I can't legally drive it on the road.

35656257944_c8c4f18faf_z.jpg


The end result is it looks better without the stupid flares. Now I gotta do something with the ugly bumper!

35656254604_dd60945125_z.jpg


I went to rausch creek last weekend.

I banged up my rear driveshaft so now I am going to try and improve it.

The plan is to take a front 1354 yoke and put it on the rear of my 1354 in the explorer. I am probably going to switch the flange on my 8.8 to a yoke. This will allow me to have the same driveshaft front and rear (different lengths though) . I want to make a square shaft that can be used front or rear for a spare.
I am planning to tip my 8.8 pinion up since i will be using a double cardan driveshaft to help stay clear of rocks.
Lastly install an antiwrap bar and reroute the exhaust.


33390756753_d33149a039_z.jpg
33358980604_4820942fa9_z.jpg
33390753133_8fbd36877c_z.jpg
33817201130_533723d7ab_z.jpg
33390749703_7fccc883e6_z.jpg

34070612511_749a396880_z.jpg
33817198690_b23000e35c_z.jpg


____________________________________________________________________________
I found something useful in a j**p! 1995 Grand Cherokee emergency brake so now I can drift with throttle or ebrake!

33817197000_390226c873_z.jpg
34044179292_72e76d2422_z.jpg
33817195970_4ca76a5cee_z.jpg


I tore the headliner out... who needs that anyways!

34041951262_c06df24f79_z.jpg


I added an aftermarket interior light.

34041950382_4ca94407e3_z.jpg


Cutting out rust.
33356746544_da4a2ee9f0_z.jpg


34041948652_5810b25ed3_z.jpg


33356744644_0e0b1de65c_z.jpg

34041947342_ac759f9b04_z.jpg

33356742344_a416565ea3_z.jpg

34041945572_679cab4605_z.jpg


33356740794_048a9188e3_z.jpg


I was determined to weld sheet metal with an ac arc welder.

34041943732_39b4a9900f_z.jpg


33356737764_f22600f552_z.jpg


I failed miserably, so here is my investment.

33814979310_22c80f6c27_z.jpg


This is my first mig welding experience.

33814976850_40d16898de_z.jpg


The firewall was separating from the floor. It was so bad that the floor would bang around when the swampers have flat spots. I pinched it together the best I could with vice grips and c clamps, then burned some welds in.

33356732584_0abbf64804_z.jpg


33814974750_8132d56fa1_z.jpg


33356730124_5e91241ed0_z.jpg


34158283926_1b592ece89_z.jpg

33814967690_09935f1435_z.jpg

33814972260_a7abe06fe8_z.jpg


nice work.. when are you going to weld some box tube to those rockers to keep all that work lookin purdy?
That is what I am doing with in the next week! haha


Join the Elite Explorers for $20 each year or try it out for $5 a month.

Elite Explorer members see no advertisements, no banner ads, no double underlined links,.
Add an avatar, upload photo attachments, and more!
.


Rock slider time! It is made of 2"x2" 3/16' wall square tubing going to the frame and 2"x4" 1/4" wall rectangle tubing. It was supposed to be all 1/4" thick but I didn't measure it when I bought it so it is my fault lol
33356499634_835355c957_z.jpg


34041703032_405c9774fa_z.jpg

34158076776_f79eace638_z.jpg


34158077666_1f2f38e521_z.jpg


34041705262_3731170545_z.jpg


Back
Top