Aaron "V8BoatBuilder"s Elite Explorer Registry Page

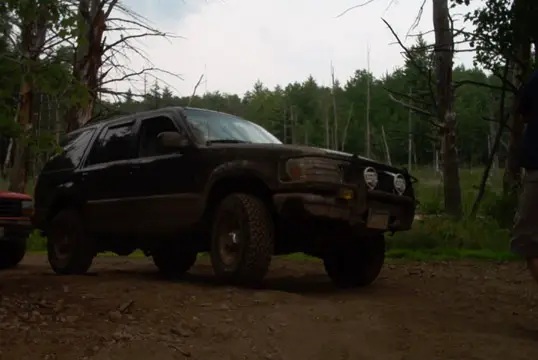
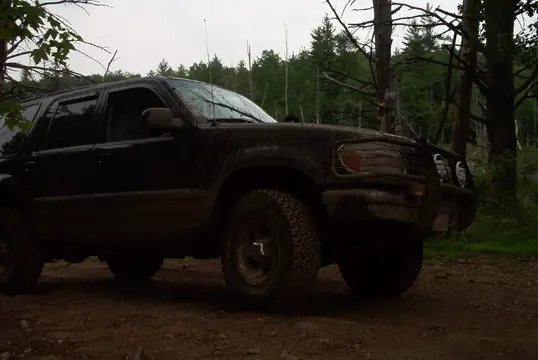
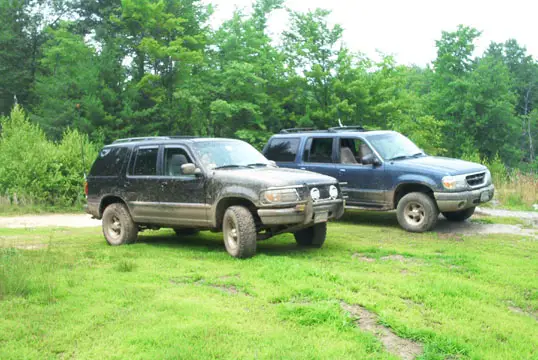
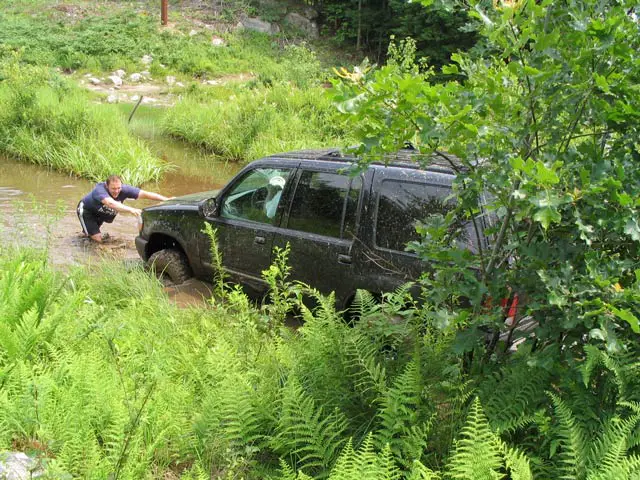
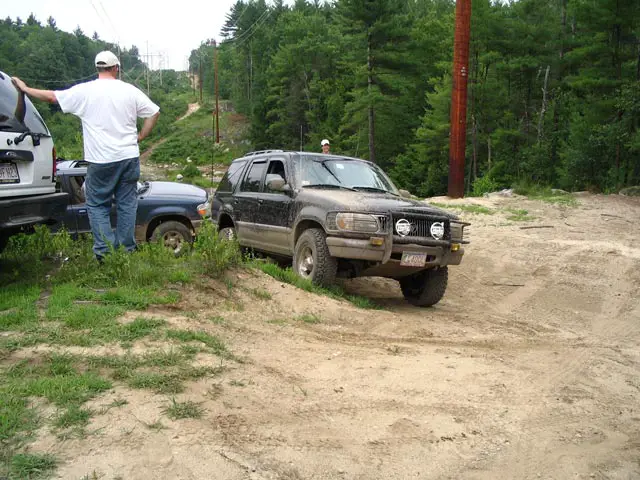
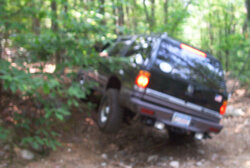
Rausch Creek Off Road Park, PA. 33" Tires, 4" Lift


West Dennis Beach, Cape Cod, MA. Truck as purchased, Christmas Eve 2002

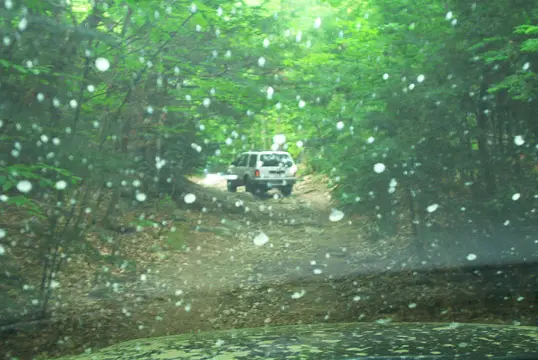
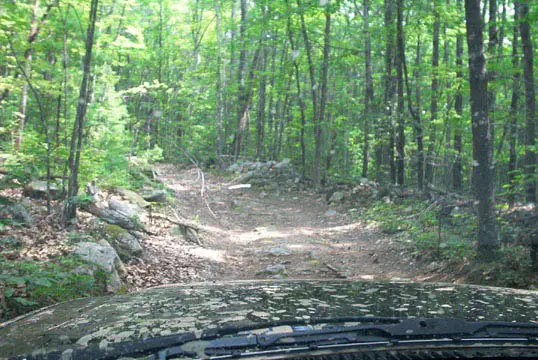
Got lost on the way to the mall..... Offroading in New Hampshire. November 2003
Introduction
I have set up this thread to detail my modifications, provide some step by step instructions for many of them, list my tips for general maintence procedures, and even throw a writeup or two of anytime I decide to subject my truck to the abuse of off-pavement driving.
I strongly encourage all members of Explorerfoum to read this thread, or skim over my dry writing and just look at the photos. Hopefully you can find a usefull tip or learn a little bit about your Mountaineer or Explorer. If you have a question, feel free to PM me, or even post it here. I've edited many posts to reflect conversations I've had over PMs. So yea, check the "older" posts, since I sometimes update them too..... (I have way too much time it seems....)
Now the Disclaimer:
If you follow any of my writeups or tips, I take no responsibilty for damage or injury you may encur. Always double check your work, and make sure everything makes sense. Never work under a truck that is only supported by a hydraulic jack - use jack stands! Remember, some systems, such as brakes, can affect others if you are not careful. Have fun, and get greasy. Make that truck your own.
Specifications As She Stands, 1/19/08:
Year, Make: 1997 Mercury Mountaineer
Color: Black, with gray trim and body cladding
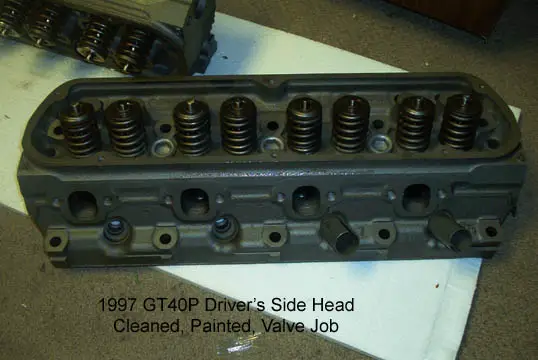
Engine: 5.0 Liter 302cu in. V8. GT40p Heads.
Battery Duralast Gold Grp 65 Wet Cell, custom wiring
Transfer Case: Borg Warner 4406 Control-Trac w/Torque on Demand and low range.
Front Drivetrain: Dana 35 SLA, 4.56 gears, Open Differentail, Center Axle Disconnect
Rear Drivetrain:Ford 8.8" 31 Spline, 4.56 gears, Track-Lock Limited Slip
Tires: Interco TrXus MT 33x12.5R15 on Cragar 15x8 Chrome Plated Steel Wheels
Interior: Gray with Leather and Mountaineer stitching
Options and Creature Comforts Power Seats, Alarm system, remote keyless entry, power locks, power mirrors, overhead console with Autodim mirror, outside temp, compass. Rear Air. Message Center.
Modifications:
Page One (You are here)
- Ford OEM Class III trailer hitch installed 1/10/03
- Rancho 9000x 9way Adjustible shocks installed 2/14/03
- Aux reverse lights installed 2/15/03
- Oil Pressure Sender conversion in progress 3/14/03
- Front Tow hooks installed 3/31/03
- JC Whitney Full Brushguard installed 3/16/03
- Hella 500 Driving Lights installed 3/17/03
- Audio System including: Pioneer MP3 headunit, Pioneer 12 disc changer, Alpine v12 Mono Amp, Dual 10" Rockford Fosgate Subs (Now removed), Sound deading insulation installed 3/18/03
Page Two
- Explorer Express Swaybars installed 4/13/03
- MAC open element Air Intake installed 8/15/03
- Ventshade VentVisors installed 8/15/03
- Custom made Stealth Subwoofer Box with Kenwood eXcelon 10" DVC woofer installed 8/17/03
- Warrior Shackles installed 11/20/03
- Aux Transmission Filter Installed 12/20/03
- Autometer guages (oil pressure, oil temp, trans temp) Installed 12/21/03
- Torsion bar adjusters, January 2004
Page Three
- 2" Front Lift from TT, Add-a-leafs in rear Installed Janurary 2004
- Front control arm Camber Adjusters, Installed January 2004
- 31" BFG AT KO tires Installed January 2004
- Custom Front skidplate, February 2004
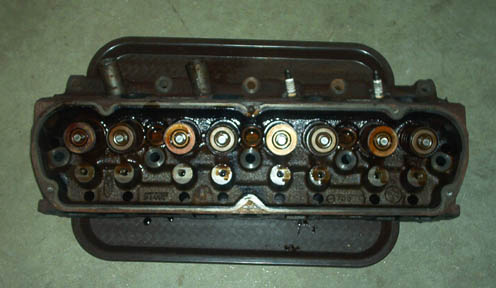
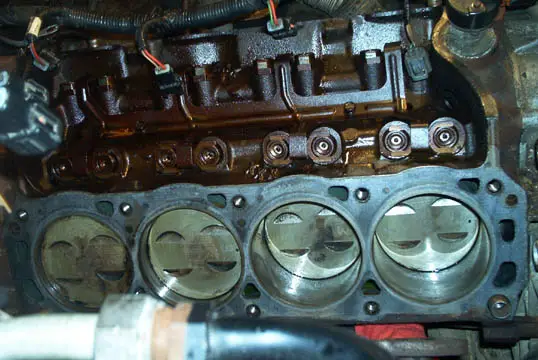
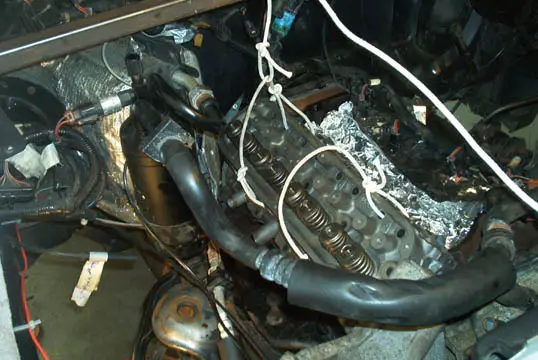
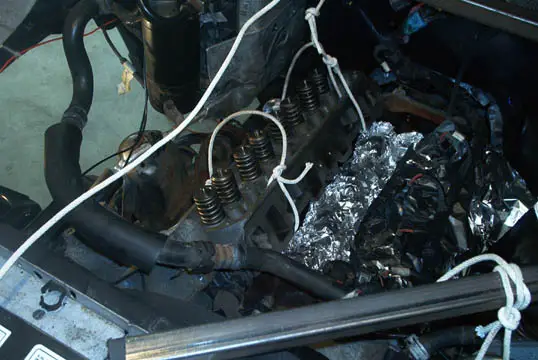
- New head Gaskets and a Valve job, June 2004
- Accell DIS coils, Taylor Ignition wires, June 2004
Page Four
- Baumann Engineering Shift kit and other 4R70W Mods, December 2004
- Message Center, January 2005
- Torque Monster Headers, March 2005
- Cruise Controll Deactivation Recall, June 2005
- Control Trac/4x4 trasnfer case swap, June 2005
Page Five
- More on the 1st BW4406 swap EVER!!
Page Six
- Waterpump, Timing Chain, Timing Cover, Cooling Hose Replacement
- Superlift K494 4" Front Lift, Central Axle Disconnect Swap
- Custom Stainless Steel Braided Brake Lines
- Rear SOA, 4.56 Gears
Planned Mods...
- Custom Rocksliders
- Custom Rear Bumper w/Tire Carrier
- Fatmat entire interior
- Sandblast, POR 15, and paint underbody, suspention and frame.
- Replace rear leaf spring bushings with Energy Suspention Poly
- Lockers
- A Pillar grab handles
- Flowmaster Exhaust with 50 series delta flow(s) with dual 2.5" piping or single 3", custom downpipes and high flow catalytic converters.
- Upgraded door speakers and amp
- SCT chip w/87 octane program(s)
- FMS E303 Cam and Roller Rockers
- Cut the roof off and put in a cage!!
Help.... this list is getting too short!
These photos were taken the night I purchased the truck: (Christmas Eve 2002)

ENJOY THE THREAD!
Rausch Creek Off Road Park, PA. 33" Tires, 4" Lift
West Dennis Beach, Cape Cod, MA. Truck as purchased, Christmas Eve 2002
Got lost on the way to the mall..... Offroading in New Hampshire. November 2003
Introduction
I have set up this thread to detail my modifications, provide some step by step instructions for many of them, list my tips for general maintence procedures, and even throw a writeup or two of anytime I decide to subject my truck to the abuse of off-pavement driving.
I strongly encourage all members of Explorerfoum to read this thread, or skim over my dry writing and just look at the photos. Hopefully you can find a usefull tip or learn a little bit about your Mountaineer or Explorer. If you have a question, feel free to PM me, or even post it here. I've edited many posts to reflect conversations I've had over PMs. So yea, check the "older" posts, since I sometimes update them too..... (I have way too much time it seems....)
Now the Disclaimer:
If you follow any of my writeups or tips, I take no responsibilty for damage or injury you may encur. Always double check your work, and make sure everything makes sense. Never work under a truck that is only supported by a hydraulic jack - use jack stands! Remember, some systems, such as brakes, can affect others if you are not careful. Have fun, and get greasy. Make that truck your own.
Specifications As She Stands, 1/19/08:
Year, Make: 1997 Mercury Mountaineer
Color: Black, with gray trim and body cladding
Engine: 5.0 Liter 302cu in. V8. GT40p Heads.
Battery Duralast Gold Grp 65 Wet Cell, custom wiring
Transfer Case: Borg Warner 4406 Control-Trac w/Torque on Demand and low range.
Front Drivetrain: Dana 35 SLA, 4.56 gears, Open Differentail, Center Axle Disconnect
Rear Drivetrain:Ford 8.8" 31 Spline, 4.56 gears, Track-Lock Limited Slip
Tires: Interco TrXus MT 33x12.5R15 on Cragar 15x8 Chrome Plated Steel Wheels
Interior: Gray with Leather and Mountaineer stitching
Options and Creature Comforts Power Seats, Alarm system, remote keyless entry, power locks, power mirrors, overhead console with Autodim mirror, outside temp, compass. Rear Air. Message Center.
Modifications:
Page One (You are here)
- Ford OEM Class III trailer hitch installed 1/10/03
- Rancho 9000x 9way Adjustible shocks installed 2/14/03
- Aux reverse lights installed 2/15/03
- Oil Pressure Sender conversion in progress 3/14/03
- Front Tow hooks installed 3/31/03
- JC Whitney Full Brushguard installed 3/16/03
- Hella 500 Driving Lights installed 3/17/03
- Audio System including: Pioneer MP3 headunit, Pioneer 12 disc changer, Alpine v12 Mono Amp, Dual 10" Rockford Fosgate Subs (Now removed), Sound deading insulation installed 3/18/03
Page Two
- Explorer Express Swaybars installed 4/13/03
- MAC open element Air Intake installed 8/15/03
- Ventshade VentVisors installed 8/15/03
- Custom made Stealth Subwoofer Box with Kenwood eXcelon 10" DVC woofer installed 8/17/03
- Warrior Shackles installed 11/20/03
- Aux Transmission Filter Installed 12/20/03
- Autometer guages (oil pressure, oil temp, trans temp) Installed 12/21/03
- Torsion bar adjusters, January 2004
Page Three
- 2" Front Lift from TT, Add-a-leafs in rear Installed Janurary 2004
- Front control arm Camber Adjusters, Installed January 2004
- 31" BFG AT KO tires Installed January 2004
- Custom Front skidplate, February 2004
- New head Gaskets and a Valve job, June 2004
- Accell DIS coils, Taylor Ignition wires, June 2004
Page Four
- Baumann Engineering Shift kit and other 4R70W Mods, December 2004
- Message Center, January 2005
- Torque Monster Headers, March 2005
- Cruise Controll Deactivation Recall, June 2005
- Control Trac/4x4 trasnfer case swap, June 2005
Page Five
- More on the 1st BW4406 swap EVER!!
Page Six
- Waterpump, Timing Chain, Timing Cover, Cooling Hose Replacement
- Superlift K494 4" Front Lift, Central Axle Disconnect Swap
- Custom Stainless Steel Braided Brake Lines
- Rear SOA, 4.56 Gears
Planned Mods...
- Custom Rocksliders
- Custom Rear Bumper w/Tire Carrier
- Fatmat entire interior
- Sandblast, POR 15, and paint underbody, suspention and frame.
- Replace rear leaf spring bushings with Energy Suspention Poly
- Lockers
- A Pillar grab handles
- Flowmaster Exhaust with 50 series delta flow(s) with dual 2.5" piping or single 3", custom downpipes and high flow catalytic converters.
- Upgraded door speakers and amp
- SCT chip w/87 octane program(s)
- FMS E303 Cam and Roller Rockers
- Cut the roof off and put in a cage!!
Help.... this list is getting too short!
These photos were taken the night I purchased the truck: (Christmas Eve 2002)
ENJOY THE THREAD!
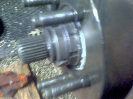
 I did one adjuster at a time, trying to set it like the factory one for the drive to VIP Auto.