OK, it's been nearly a week since my last post.... it's time to catch up on my progress. In fact, I will save part of my progress for tomorrow night. I was outside most of my "new weekend." My work schedule has changed, so I am now off Friday and Saturday.
I spent much of this past week, again, just staring at the Explorer chassis, but this time specifically on the inner fenders. Because I had the opportunity to set the hood onto it, I realize that it would sit too low to save more than a small sliver of mounting space, so it will be necessary to use the 56's inner fenders. On a previous post, there was a blue 56 that was built with what appeared to be the Explorer radiator mount/support panel and assume that there are other "saved" chassis parts from under the hood.
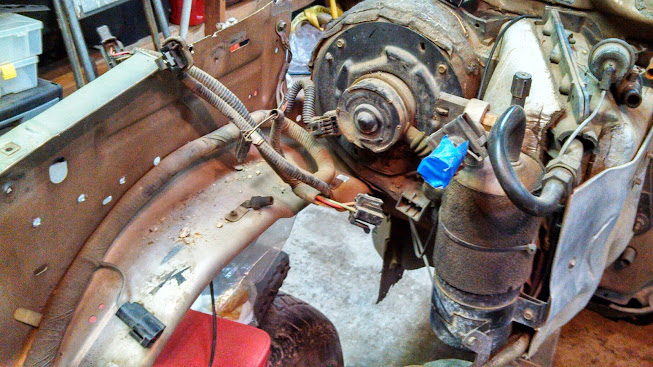
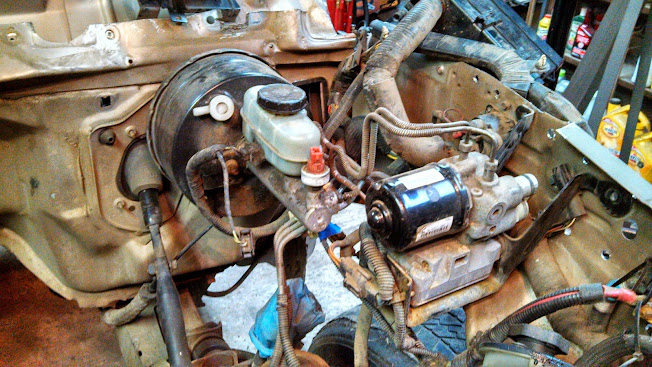
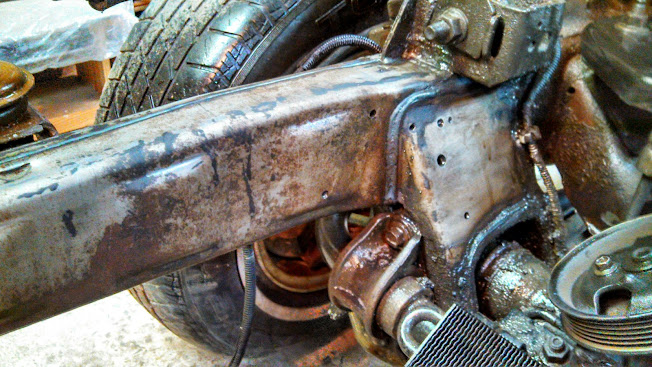
After removing the major components on the passenger side...
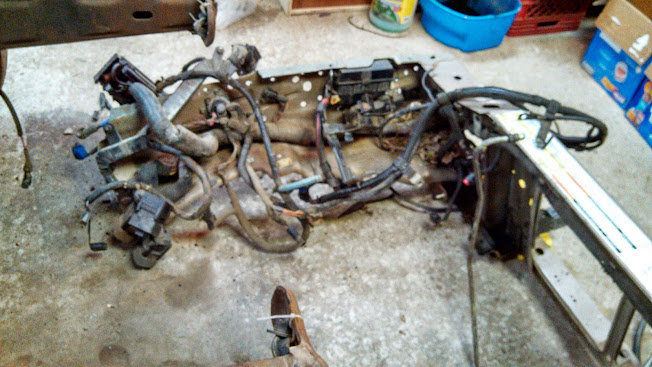
I took one look at the driver side and the complex wiring routes (and how late it was getting) so I took a bit of a shortcut.
So.... I decided to take the whole front end off! Luckily I sprayed the front cab spots on the inner fenders, this made it easy to determine where I needed to cut to insure enough material to weld the cab to.
I left just a little bit extra for "just in case"
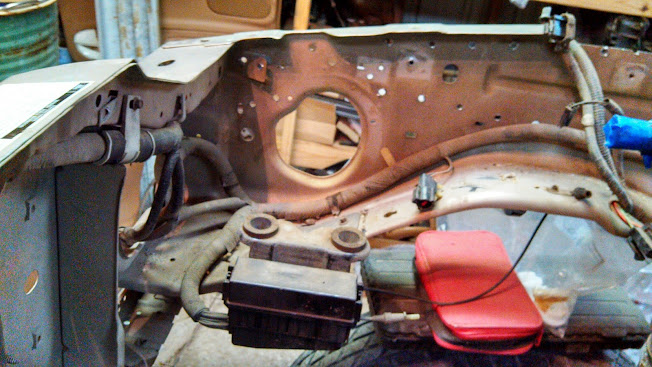
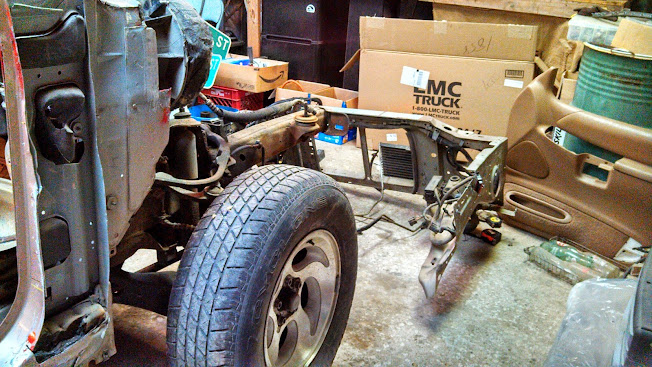
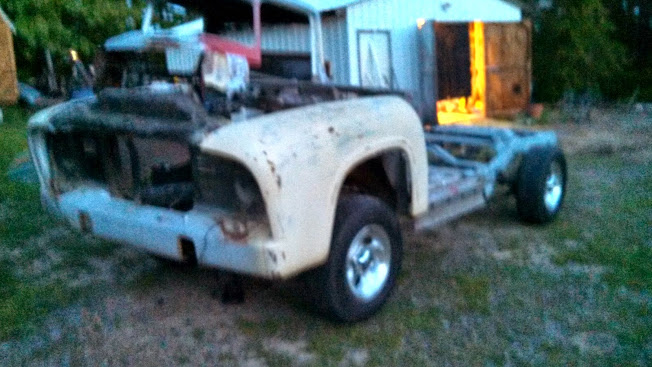
Boo ya, there it is! Once the front clip is in place, I'll easily be able to remove each piece and fabricate new locations on it's older counterpart. I'll leave this all together until then. There was very minimal connections to remove from the frame. Speed sensors on each side, a vacuum line/system, and a bracket that was bolted to the frame.
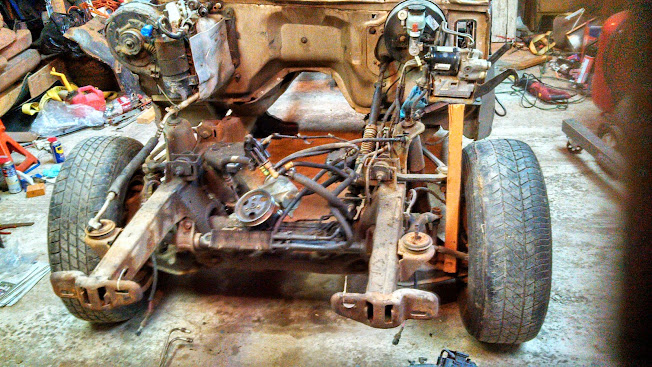
This is what is left, in all it's glory.
I used a 2x4 to hold up the brake system. I don't want to "break the brake" connection yet, as it may be necessary to roll it around and need it to stop. I don't trust parking brakes 100% on ANY car.
I started degreasing the frame, but have much to do here to clean it up like I want. I will be using a pressure washer (borrow from my in-laws) and get all the hard to reach areas.
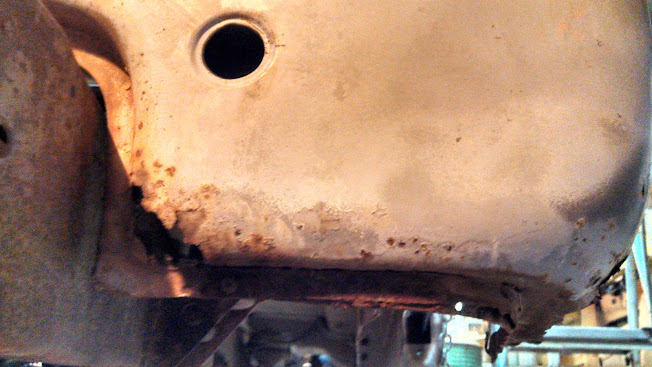
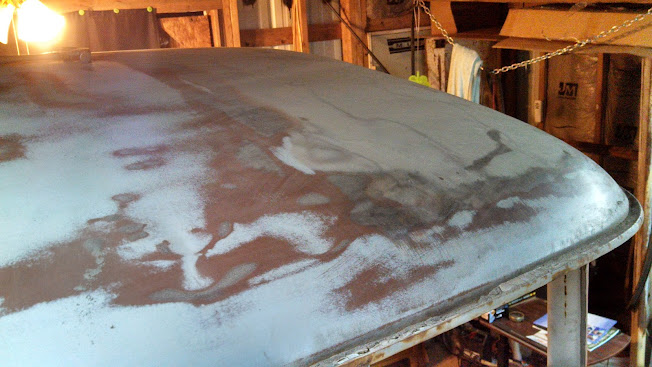
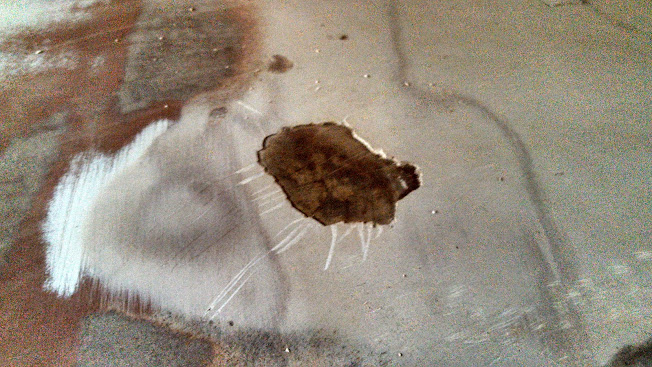
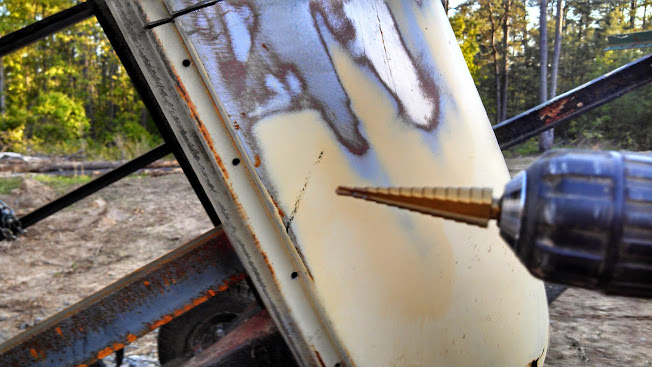
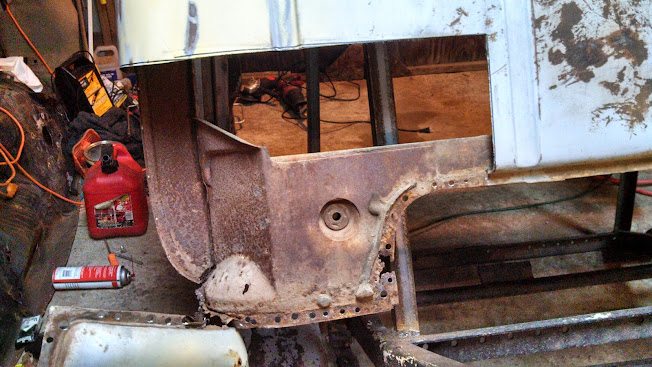
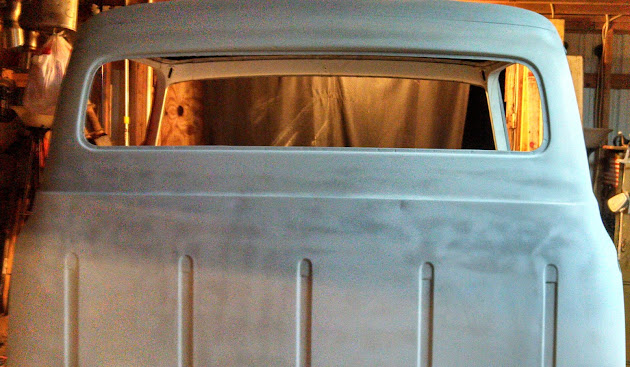
Back over in the cab department, it was time to remove the cab corners. I started by cutting along my marked edges (triple checking the accuracy first, of course) then drilling out the welds with the step-down bit. I gently pried with a screwdriver to make sure I drilled out the full weld. The step-down bit offers the ability to "go one more step" without changing bits. I really am an advocate for these tools.
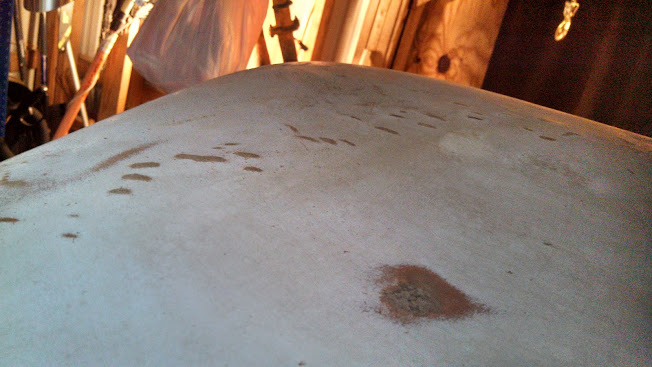
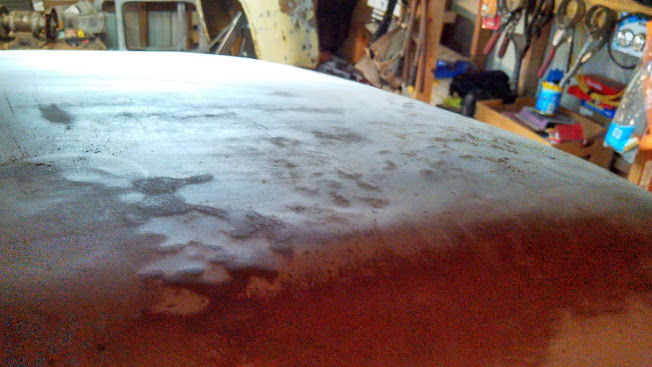
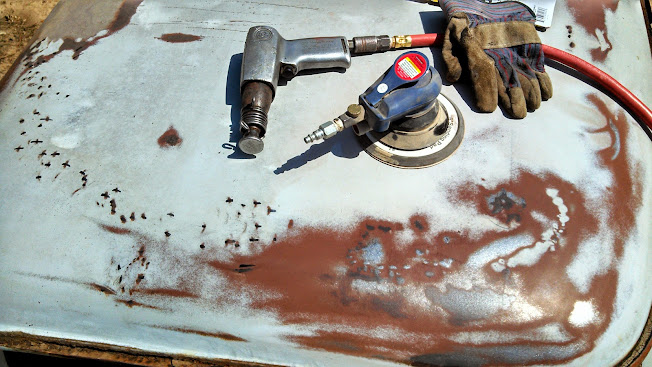
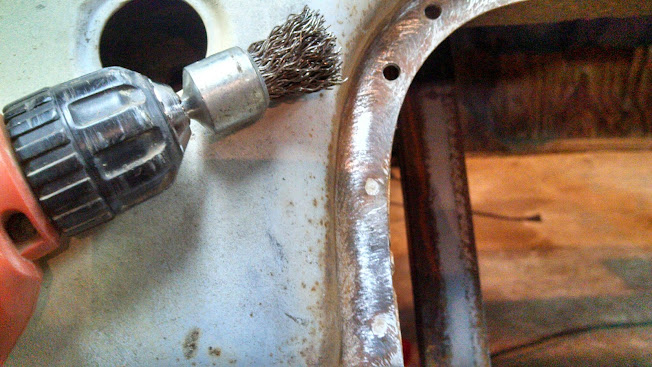
Using a wire brush attachment helped locate the welds. It basically left paint in the pocket that didn't scrape away. I've mentioned other ways of doing this in the past on a darker color. This worked better on the lighter paint.
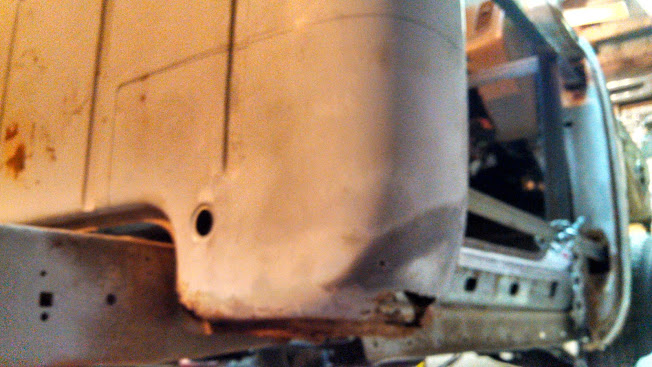
One down...
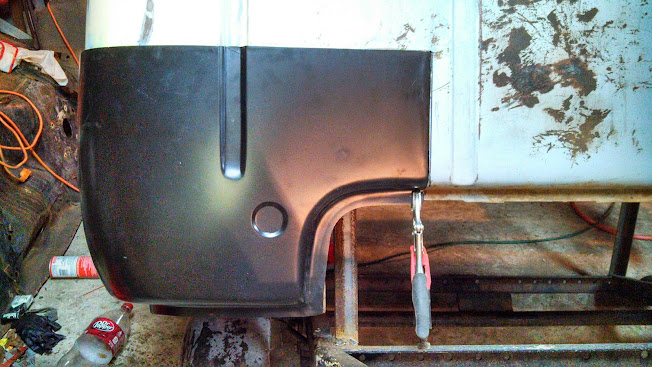
Now I have a different thought about the cab corners. They will need to be stretched, bent, man-handled, and cussed at before they look right. I had no idea. This is the first time I've ever done any panel replacement. I will be welding these on, but first I'll need to get the proper gas and welding wire to work with body parts. Since this metal is much thinner than most steel welding I've done so far,as well as an earlier post by Fordkid88, you will not want to use flux core welding wire on body panels.
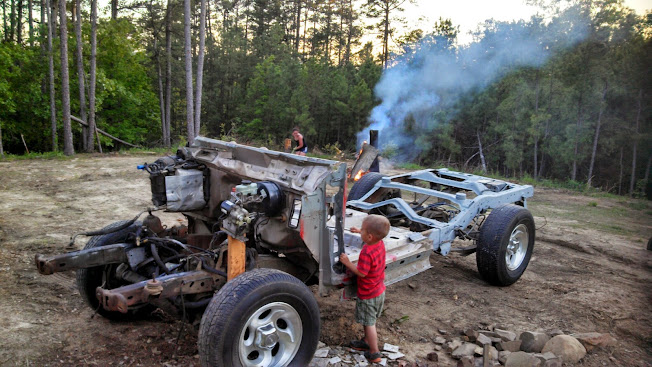
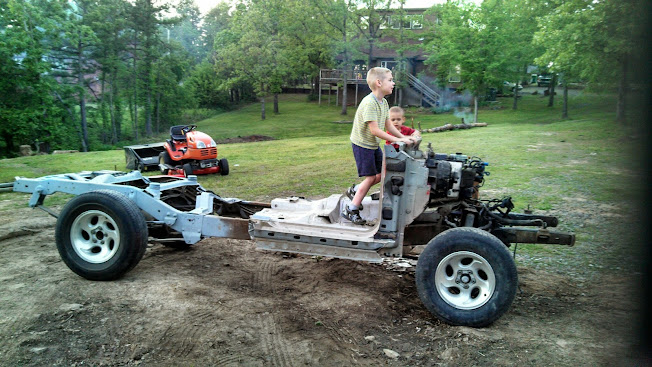
As soon as I rolled it out of the shop, (with brakes
")
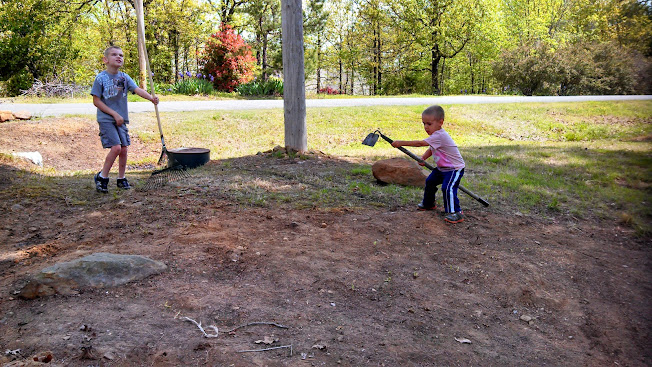
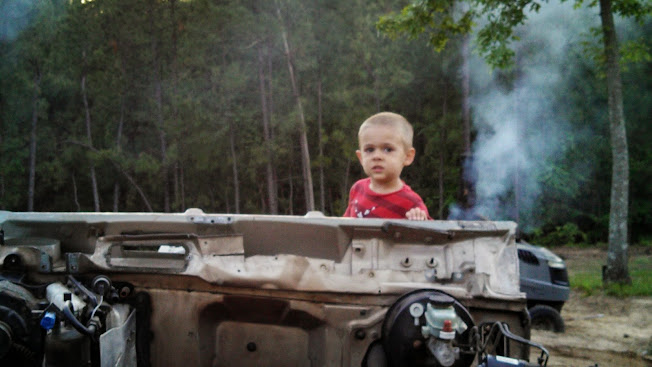
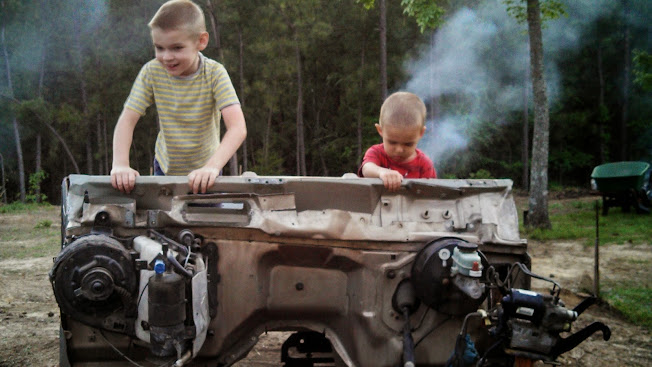
my kids became inquisitive.
Yeah, there are plenty of sharp edges, gotta teach them young what they can/can't touch! Please don't let your kids play around dangerous things like this without close supervision and direction.
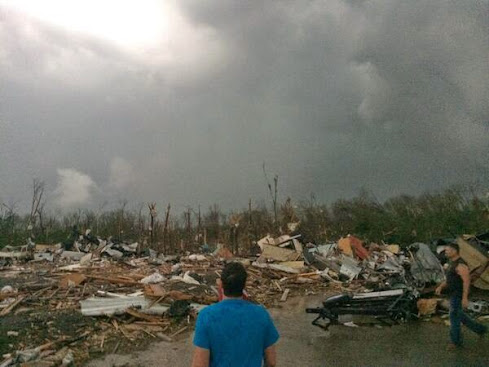
Some yard deconstruction required me to remove the front clip. High winds tore the roof off a small shed, had to tear down half of it and didn't want this to get damaged.
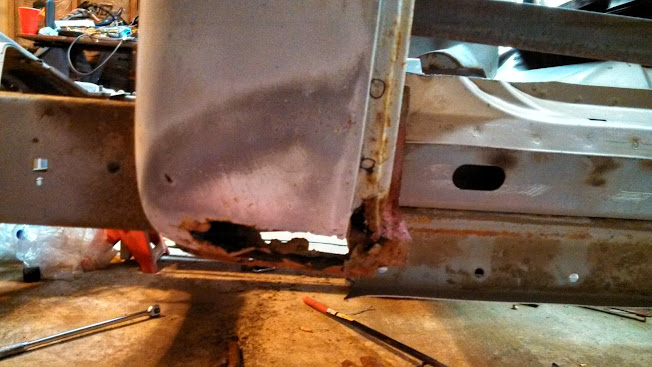
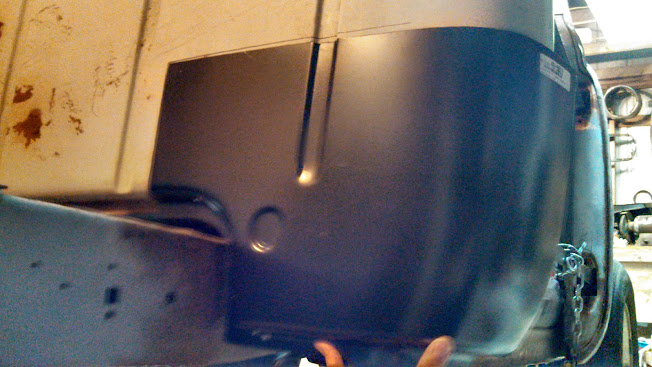
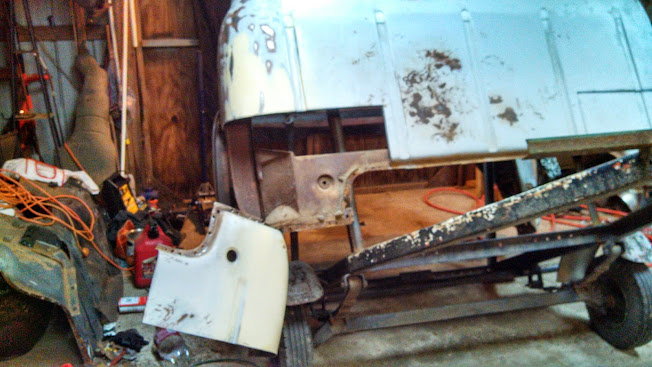
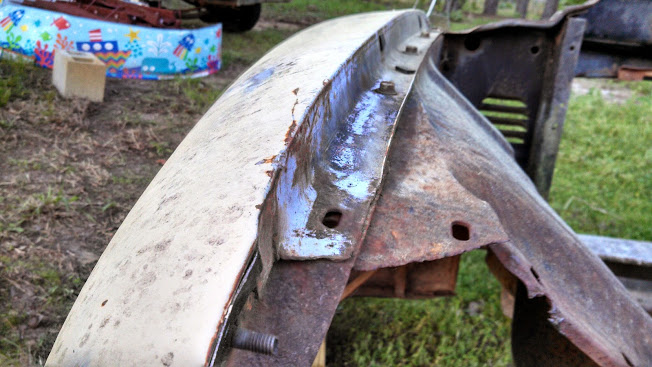
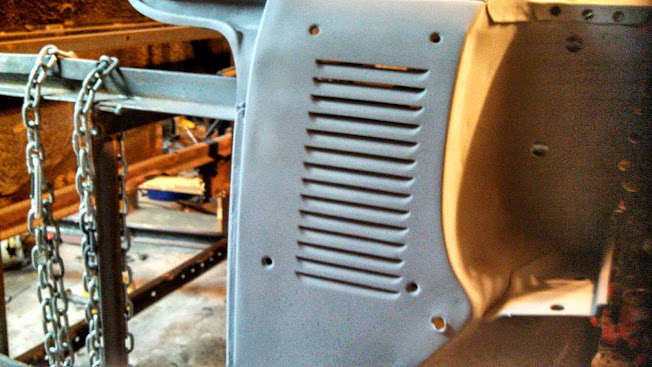
Close-up view of the driver POV down the length of the fender/inner fender.
Comparing that to the earlier picture with the sprayed Explorer inner fender, you can see how low the fender will actually be and why I'll need to use this.
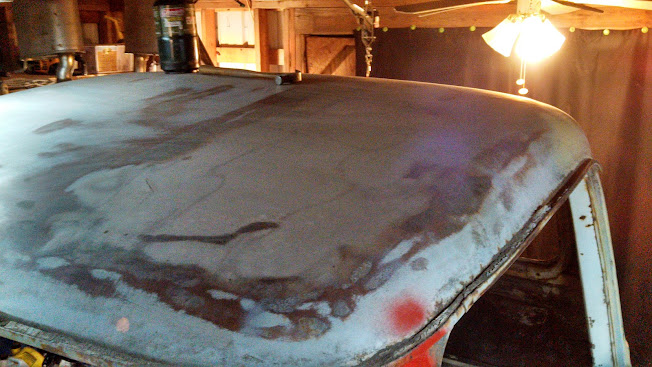
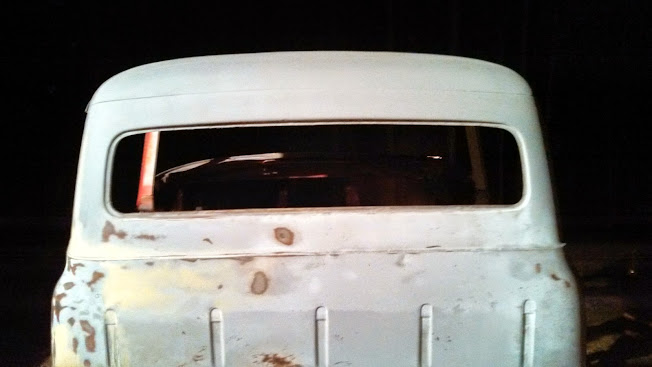
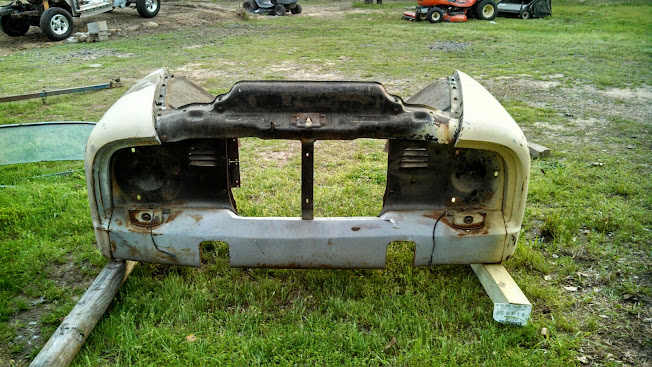
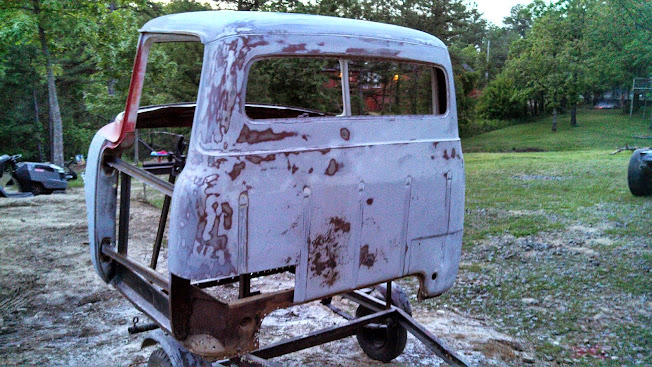
Ain't she pretty even without any jewelry?!?!?!
Dang, I thought this picture came out better, otherwise, you can see how this might look, minus the fact that it will sit down 10" or so.
More to come soon!


 Once I was satisfied, I went to sleep..... NO, just kidding, just kidding!
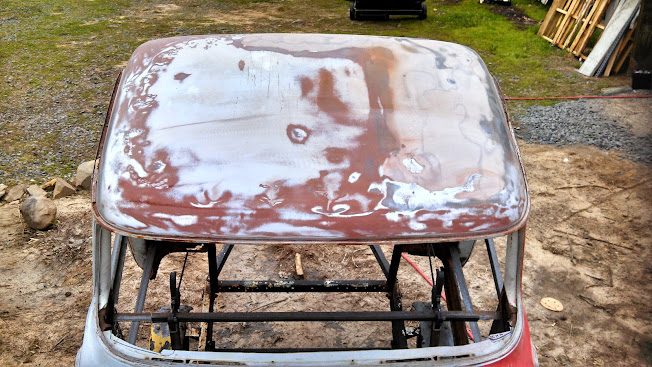
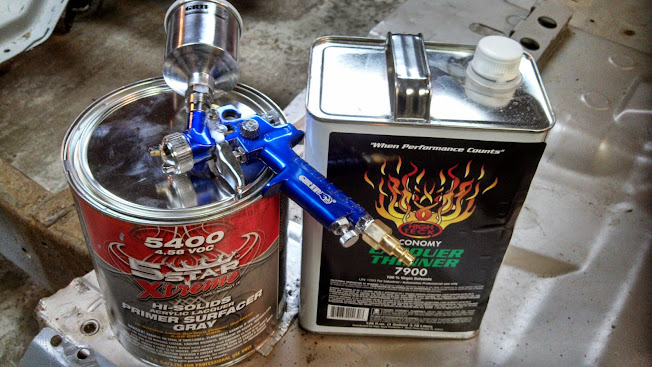


 I will send some pics of my modifications... They look pretty good now..
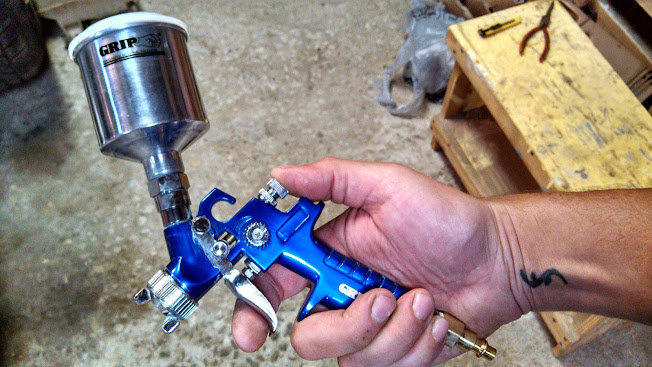
 and a larger capacity sprayer for only $10, couldn't pass up the opportunity to try it out and for this price I don't think that's bad at all!!!