1956 F100 Explorer Chassis Swap | Page 16 | Ford Explorer Forums - Serious Explorations

  • Register Today It's free!

1956 F100 Explorer Chassis Swap


Join the Elite Explorers for $20 each year.
Elite Explorer members see no advertisements, no banner ads, no double underlined links,.
Add an avatar, upload photo attachments, and more!
.


The last couple of days have been dedicated to the interior and other hidden areas. Sanding, scraping, welding, and painting.

I ended up getting a 110v welder from Harbor Freight on sale for $89.99. This is a big help not having to drag everything up to the house for occasional basic welds! I used it to mend the drip rails at the top of the cab. They aren't perfect, as the metal is so thin from the rust damage that goes through it in several places, but they are now no longer "flexible". I didn't get pics of the repair, though I should have. I still have the passenger side to do, so I'll get pics of it when I get there in the next few days.

The rust-through is bad through stretches where a good bead of weld that actually DOES catch, simply only holds the outer band from moving in or out. The proper way of repairing this area is to fully replace it. That's where I'll admit that I am cutting corners. I don't plan on driving this truck in the rain much and really don't see the benefit of having them over not having them. So, aside from cutting them off and changing the whole authentic look, I'll do the best I can to stabilize them, protect them from rusting again, and then filling them in with POR Patch that I recently received and/or body filler. This is the easiest and least expensive route for me. Don't judge. ;)

The sheet hanging from the cab is made of fiberglass. This will help reduce damage to other surfaces below your welding area. Plastic melts, paper burns, and sparks fly when your welding.... especially super rusted, damaged areas. You can get a 4 X 6 sheet for less than $20 at Harbor Freight.

Once welding was complete, grinding and sanding commenced to prepare for eventual finishing and protect from rusting using POR 15. One side complete. You'll also see in the below pics that I have taken some time to smooth out the interior surfaces that will be hidden with the headliner or other material. I sprayed these areas liberally. Using a drill with a wire wheel brush does make removing flaky rust or paint much easier prior to any sanding. Any areas that WILL NOT be painted with the final exterior color is currently the focus. The gloss black you'll see in the pics look to have imperfections, but 95% of this is purely from light reflections.

**** A word of caution **** Asbestos can be found in many automotive sealers, insulating surfaces, glues, insulation and other textures. They were used until 1978, so use plenty of fresh ventilation and wear protective gear to ensure no inhalation can occur. It's best not to disturb surfaces containing asbestos in the first place if possible.

IMG_20150116_142606_901.jpg


IMG_20150116_142620_942.jpg


IMG_20150116_142716_446.jpg


IMG_20150116_142754_379.jpg


IMG_20150116_142858_764.jpg


IMG_20150116_142921_798.jpg


IMG_20150116_143020_143.jpg


Today I got to work on more of the drip rail and took a few more revealing pictures. The rust is variable along the path, some areas better than others.

IMG_20150117_194942_947.jpg


After using a wire brush to remove the flaky rust, sandpaper to roughen up the metal surfaces a bit, then I tried to weld the gaps.

IMG_20150117_202302_436.jpg


Most of the time with this thin gap, the welding, even with the settings turned down to the lowest position, just cuts away more than it does any filling. Kind of like a plasma cutter I guess.

IMG_20150117_202209_325.jpg


Once I was satisfied with the results (to my very low standards) it was time for POR-15 degreaser, POR-15 Metal Prep, rinse and dry. To get as much liquid out of all the crevices, aside from compressed air, I decided to heat up the metal with a propane torch just enough to evaporate any water that may have still been lurking within the layers of metal. When you paint with POR-15, it specifically states that application should only be done when the surface is "bone-dry."

IMG_20150117_203353_908.jpg


Time to get down and dirty with the painting.

IMG_20150117_212826_070.jpg


I forgot to mention the scope of the area I decided to take this. The front of the cab takes much of the beating and weather while driving, so the areas that start from the drip rail all the way down to the windshield "zone" is being treated.

ResizedImage951421551858524.jpg


ResizedImage_1421551887848.jpg


Hell, my wife liked it so much in person, she asked me why I didn't think about doing the whole truck like this. She said it might last forever...... hmmmmm.... Maybe I'll add a couple areas like the roof and bed, of course anything else that is commonly a rust-prone area.

My wife was forced to endure a mild evening in the shop with me. It was, um, let's just say that neither of us want to go through it again. :p She wants to use some of the principles of the truck build to apply them to her college studies. She's been schooling me on how some of the chemicals work together and some physics behind other parts of the process. Now if I can just get her hands dirty with any of it, lol.

This is how I see her "working"

IMG_20150114_203533_262.jpg


CRAZY COOL build!!! Subscribing


Last night was a toss-up night, deciding what to do next. The wiring has been waving at me, saying "pick me, pick me!" Since I am done painting (most of) the interior and the the body seems to line up well, it was time to start making the cab position permanent. Such a worry, as I am not 100% completely confident that I haven't forgotten anything. It's spot welds for now..... baby steps. I keep forgetting to take pics of the rear cab to floor pictures. Next time I go out there, I promise to get them. :)

I laid out the wiring across the floor to examine what goes where and it seemed to need a lot of work. Then, as I started weaving it from the main dash plug, down the driver cowl, I ran into my first question; "How am I going to use any of the door wiring?" Well, luckily the big round plug tucks in nicely into the cowl out of the way for the moment until I have figured out IF and HOW I may do this in the future. For now, the rest of the wiring will need to be the priority.

(sorry, picture is very blurry - you'll also notice that I POR-15'd the brake pedal as they come from the factory rusty. Next up will be the parking brake)

IMG_20150120_012202_300.jpg


As you may know, on an Explorer the wiring cuts across below the back portion of the rear seats. Well, I don't have back seats, so what can I do without bunching up a mess of wires? Easy, the support bar that runs horizontally across the back of the cab will serve as a nice mounting beam, and it feels like it was meant to fit this way. Zip-tied for now.

IMG_20150120_012137_473.jpg


I did trim some components from the wiring harness, like the rear windshield washer pump, and the tailgate plug. Things like the rear dome and rear switch that also unlocks the doors, I decided to save in case I want to remotely mount switches or something in the center console at a later time. I used zip ties to keep these out of the way for the time being. I also tied up the rear door wiring to the harness for safe keeping. I just may cut those off too. Anything I have cut, has been protected to ensure no contact with the other wires or metal. It may look a mess, but it is not a nightmare as the picture may suggest.

I kept the original wiring channels that run along the door opening areas to help protect the wiring, then snapped wiring into the original mounting areas to be plugged in when those components are ready.

IMG_20150120_012116_929.jpg


You'll see that there is actually a plug that doesn't belong in that picture. This is done for testing purposes. As an Explorer is cavernous all the way back, the wiring for the taillights run INSIDE until the back corners, so I have to fashion a factory-looking method to get from inside the cab, then out to the back. Best way I can come up with is through the frame rails, while using the original rubber plugs to keep it clean and exhaust fumes out they look original to the untrained eye.

IMG_20150120_024343.jpg


I am contemplating cutting more unnecessary wiring, but I need to be more confident in what the final results will be like. It's all still up in the air in my mind.

Wanting to feel that there is more progress, I installed the driver door to ensure nothing has been misaligned with all the movement the cab has endured. only held on with a couple of bolts, it's not time for full adjustment with any body panels until body work is done, but the gaps are good and parallel. The door shuts where it should (without door seal anyway).

IMG_20150120_012520_541.jpg


Voila. Looks like a truck again, not a mess of parts completely scattered about.

Next up, who knows what I may try to do....


I forgot to mention recently, it was a cold night chiseling away at something when I heard a POP! I didn't realize it immediately, but the passenger front tire went completely flat. No nails, screws, or anything obviously protruding. I have no spare, so the white jack handle in the front is holding her up level so nothing gets tweaked while working on it.

Aside from a couple of temporary tires, I need a few other minor parts and thought about making a trip to a salvage yard. That's when I noticed my neighbor across the street that has a similar Explorer to the one I started with. She parked it to the side of the driveway and showed up in a new Edge like ours as well.

I took the opportunity to go and chat with them about what they were going to do with their Explorer. They said that they had a few offers for it, but they were much too low. It needs a windshield, the driver door doesn't open at all, and the thing that made them buy a new car..... the radiator was steaming due to the temperature changes and found a crack on the side in the plastic. I wanted to offer $300, but he said it was worth $2500 with those things fixed.

When I told him that I couldn't give more than $300 for the parts I might need in the future, he said "Why don't you give me $400 and you can just roll it into your driveway?" It does run and drive. Cheapest V8 Explorer locally on Craigslist currently in my state is $1400, so it's worth sticking a $100 radiator on it and give it a good cleaning.

"DEAL!!!" I said. So, either another car to flip, or spare parts for mine in the future. It's exactly the same 5.0 XLT as mine.

162502389&pitch=6.110626342718334&ll=34.896873,-92.jpg


Terrible picture from Google Maps, I haven't taken a pic of it yet myself.


Here's a clearer shot of the driver side front. There are two welds here and the point where the harness sits back into a curved metal area seems to be perfectly lined up (and is up against) with the metal frame bar from 56 cab that I ended up using a heavy duty screw/bolt to secure in place of welding in this tight spot that would be hard to "verify" that I have a good strong weld.

IMG_20150121_203746_941.jpg


Here's the back edge of the cab where I carefully tucked the back edge of the 56 cab under the Explorer floorboard. I put a few sheet metal screws to hold in place until I am ready to weld. I will be grinding away rust, paint, and debris prior to welding. I will also POR-15 the remainder of the 56 cab and the welds for future protection. I have the infamous hump to tackle coming up. Ugh.

IMG_20150121_203631_384.jpg


I'll be out in the shop again tonight, so I should have another update by tomorrow evening! Hopefully lots of progress :)


Do I have any regrets so far? Anything that I might do differently knowing what I know now?

SURE!!! Do not put off the inevitable as you will face things you put off later and will cost you ten times as much time and ten times the work.

I wish I would have completely prepped the cab looooooong before now, Things like the drip rail, firewall and windshield areas are not as easy to reach. I now have to work around things like the motor, frame, etc. I think my excuse was that I would be trimming more and there's no sense in taking time to sand or prep an area that might be just cut off.

And in case you might have looked at this thread and thought, "didn't I see this area worked before?" you just might be right. Like they say, "Measure twice, cut once." Today I'll say, "If it's worth doing, it's worth doing four times. " I've done a LOT of trial fitting to ensure things fit like they are supposed to, add the next piece to see it it will also fit, and then even one more fitment for overall look. I had to make sure that the cab was at the right angle to attach all four sides with consideration to the dash, be able to close the hood, all while without scraping the ground as I drive. Believe you me, the pictures do not do planning work any justice.

I say all this because I feel that the next pictures show work that looks like it could have been completed long ago but actually within the last 24 hours.

When you are working by yourself, it helps to have an extra set of hands to lift heavy things. If you don't have a crane, winch, or a complex pulley system, you can still easily mount a couple of bicycle lifts. They have stood the test of time, strong enough for my needs, and have been relatively easy to use.

Hood coming back off once again, probably not the last, but maybe close.

IMG_20150123_094440_476.jpg


Many hours of sanding were spent on the front of the cab to prepare for POR-15 treatment, but before I could do that, I needed to deal with these hood support areas. They needed strengthening as well as filling in the rest of the holes leftover from the firewall removal. I'll let the pictures tell the story from here.

IMG_20150123_111624_151.jpg


IMG_20150123_111600_688.jpg


A piece I cut from the original firewall for the added support and alignment of original holes.

IMG_20150123_105935_881.jpg


IMG_20150123_113300_619.jpg


Welded and grinded.

IMG_20150123_122140_792.jpg


Same with other side

IMG_20150123_140156_023.jpg


I used POR Patch to fill in voids within the welds and other crevices (not pictured) and then 6 hours later.....

IMG_20150124_012943_236.jpg


Please look past the reflections, the POR-15 paint really makes this look amazing in person.

IMG_20150124_012841_183.jpg


IMG_20150124_012805_470.jpg


I think I am tackling the remainder of the cab work before I do much of anything else from here. The passenger side needs some attention.


Time for dash installation, electrical connections, and preparation for other interior considerations. Since the cab was tweaked, I had to make sure, once more, that the dash would fit right. It fit just fine.... thank God. It will come down one last time for sealing the cab front to the firewall. Additional trimming of the 56 dash will be required to easily reach. I will also use some Great Stuff foam filler to fill the gaps to keep exhaust fumes from coming into the cab. There's just too many gaps to rely on welding it all. This will be done tomorrow.

In the meantime, here are the pics. Of course similar to before, but more angles.

IMG_20150126_022104_731.jpg


IMG_20150126_022126_226.jpg


IMG_20150126_022137_341.jpg


IMG_20150126_022207_846.jpg


IMG_20150126_022312_529.jpg


IMG_20150126_022357_979.jpg


IMG_20150126_022423_597.jpg


To me, it's beautiful.... although this would be a work of art

1104cct-07-%2B1956-ford-f100%2Bsteering-wheel.jpg


My dash is fully installed, wiring connected, steering wheel in place, and more. Luckily I took a lot of good pictures of the wiring connections piece by piece, because I nearly missed a few plugs that got tucked away over time. The one thing I didn't do was get pictures of the welding or sealing up of the cab and firewall due to my phone being too cold (or other issues) that it kept shutting off when I accessed the camera.

However, I did get some shots of the corner replacement. With the door temporarily in place, it serves as a guide for the alignment of the door edge of the corner. This is not an area you want to guess with.

With the corner removed, it's the perfect time to protect the inside surfaces with your choice of rust-proofing. Of course, I chose the POR-15 route again here.

IMG_20150206_121244_110.jpg


Using the welding clamps, and a lot of maneuvering (maybe some hammering too) I used a jack to hold the piece up and level.

IMG_20150206_131012_159.jpg


IMG_20150206_131023_827.jpg


Then welding commenced, It's not the prettiest weld, albeit a rush job, I could have played around with the settings to get it right, but it isn't going anywhere.

IMG_20150206_135910_436.jpg


I did take a notch out of the inside corner to allow the parking brake cable to ro run through without rubbing.

IMG_20150206_140001_458.jpg


Seems like overkill for an area that is so under-appreciated, but if it's worth doing...


Apparently I had many other pictures worth mentioning, a week ago I made a trek to go get a defrost deflector I've been looking all over creation for and found this gem within the state and it was along the way to another destination. It is in original condition and it is in a "9.9" out of 10 shape. $40 was reasonable.

IMG_20150131_195105_030.jpg


I did find a couple of pics with the steering wheel in place at least. I'll get more pics very soon.

IMG_20150201_134909_550.jpg


A little bit early to go for a spin, but he's got an imagination big enough that it didn't matter to him.

IMG_20150201_134855_679.jpg


Here's the 99 Explorer I picked up for $400

IMG_20150201_132529_139.jpg


Driver door wouldn't open (hasn't in about a year or so) without a bit of convincing. Luckily I still had a door laying around to dissect the mechanism that had been mutilated a bit.

IMG_20150201_132512_838.jpg


IMG_20150201_132455_511.jpg


Apparently pack rats had been visiting across the street from me too. That's why it was chewed up and needs a few repairs (still runs and drives), but it was cheap enough. I don't think they'll be dining here too many more times.

IMG_20150201_132432_766.jpg


I noticed some chew marks in the Bronco as well, so this'll take care of them from here. *******s.

IMG_20150201_131815_437.jpg


My oldest son just moved in with me, he'll be 14 in a few months, so, what better vehicle to teach him to drive? Yeah, tear it up son...... I'll just "have to" teach ya how to use my tools!!!

IMG_20150201_174724_639.jpg


He's loving his Mustang and airplanes themed room!

IMG_20150201_182551_108.jpg


IMG_20150201_182532_582.jpg


You can't teach them too young.

FB_IMG_1423317798722.jpg


I took my oldest son out to sushi the other day and he spotted this Lamborghini across the street at Twin Peaks parked in the Waitress of the month spot. You think that she might be selling more than what's on the menu??? @@

IMG_20150202_131552_357.jpg


Have you got any farther? If so do you have any pics? I'd love to see how it's turning out


My apologies for such a long delay in keeping up with the posts. I have yet again been super busy. Back in February I started buying up cars, fixing stuff, home projects, and then selling stuff. I have even since changed my career. I am now in sales for a local Ford dealership! I just sold a 2016 Explorer yesterday!!! Such irony how things happen.

tMUWqXr4QV1n_CE226jT3tFntLvV16ovos3d=w1126-h633-no.jpg


I had more than 10 cars, trucks, and of course the boat that came and went. Even added to the personal collection my dad's RV that had been parked for 5 years just outside of L.A. that my brother and I retrieved. That was the longest journey I've ever been on. Many memories but one of my favorite was waking up early and taking this shot in New Mexico on old Route 66 where the road abruptly came to an end where the interstate had cut through just out of view.

5noDz6UsPazx4T3tD-3Sg5bEZtsgf1ZXdQGI=w1126-h633-no.jpg


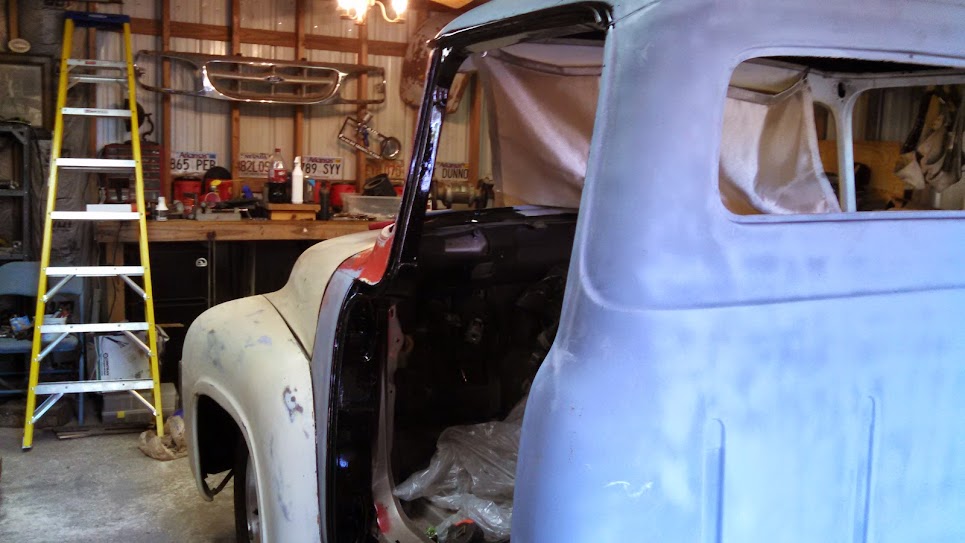
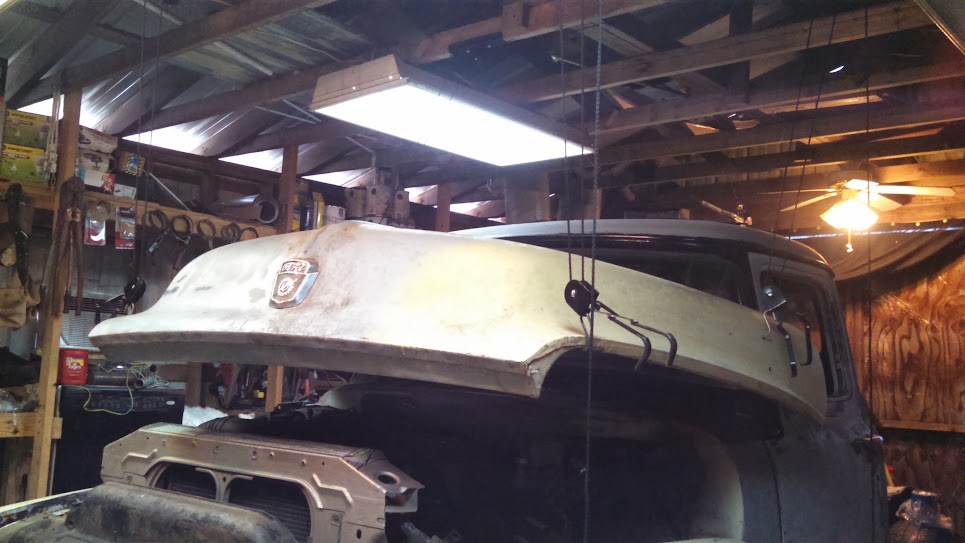
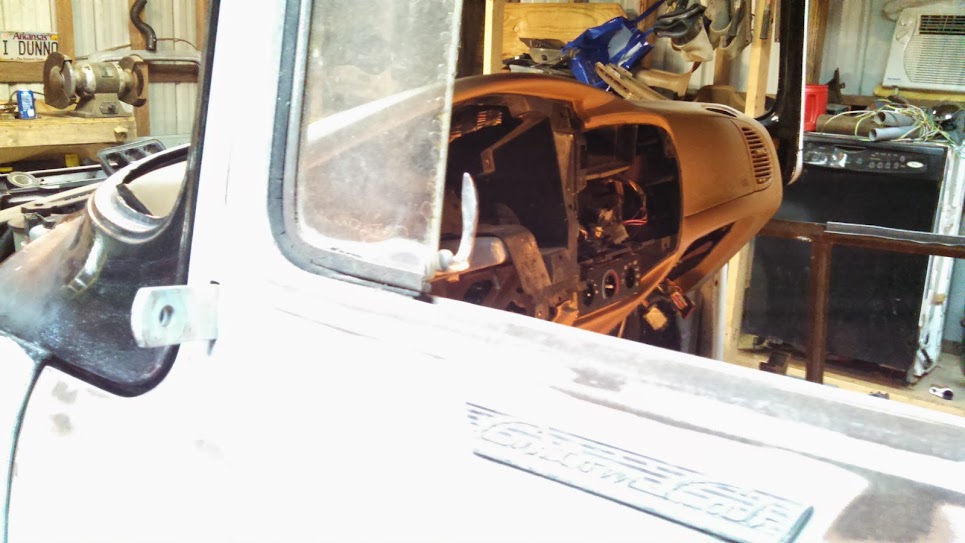
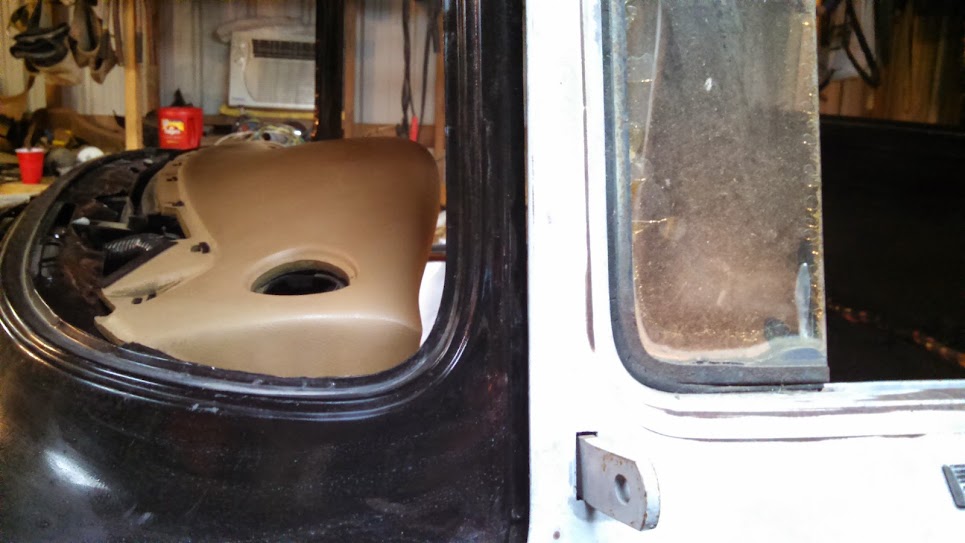
Well, I guess I'll try to catch everyone up to date and I think you'll like what you'll see for progress. We last left left off with the front end being trial-mounted and checking how everything else was going to fit under the hood.

WRMCqb8sybpnGO36t9Mxb4tKyJhEOOuDbFF-=w1126-h633-no.jpg


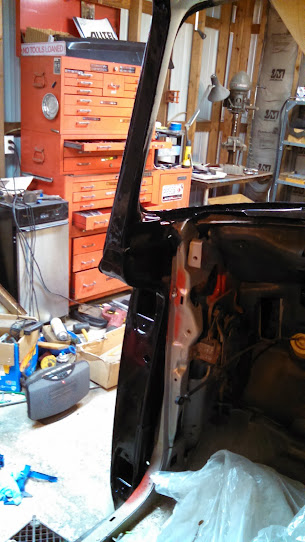
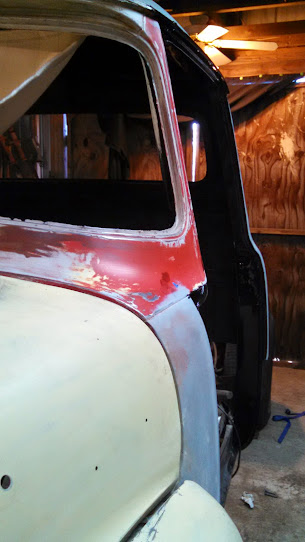
As you can see the windshield appears to be in place but low and behold, immediately after this picture, the windshield, which was NOT firmly attached, fell down and slid off the side breaking into many pieces :( 
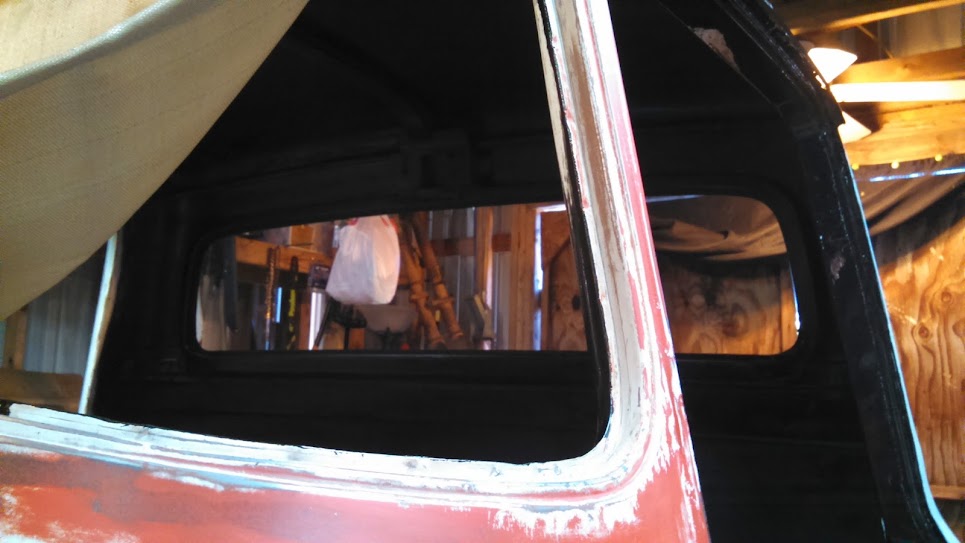
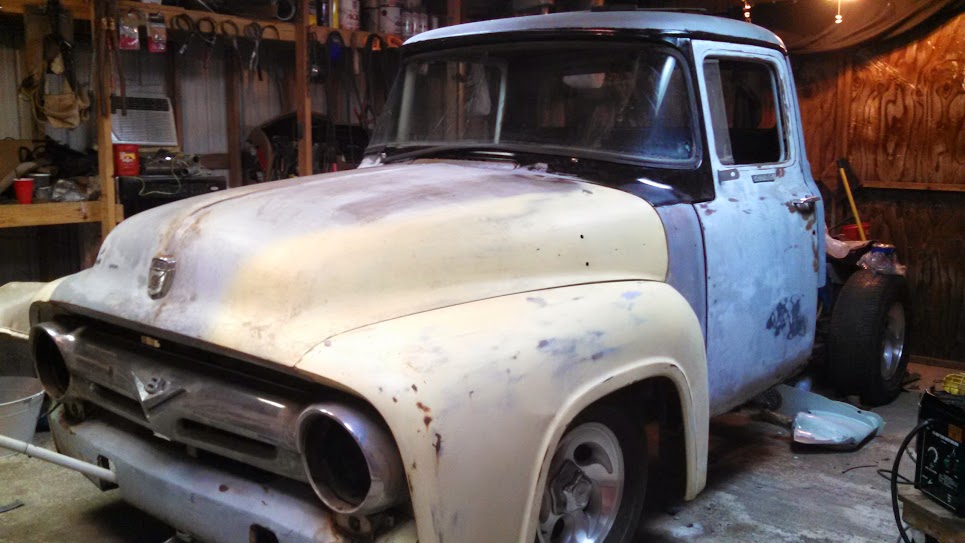
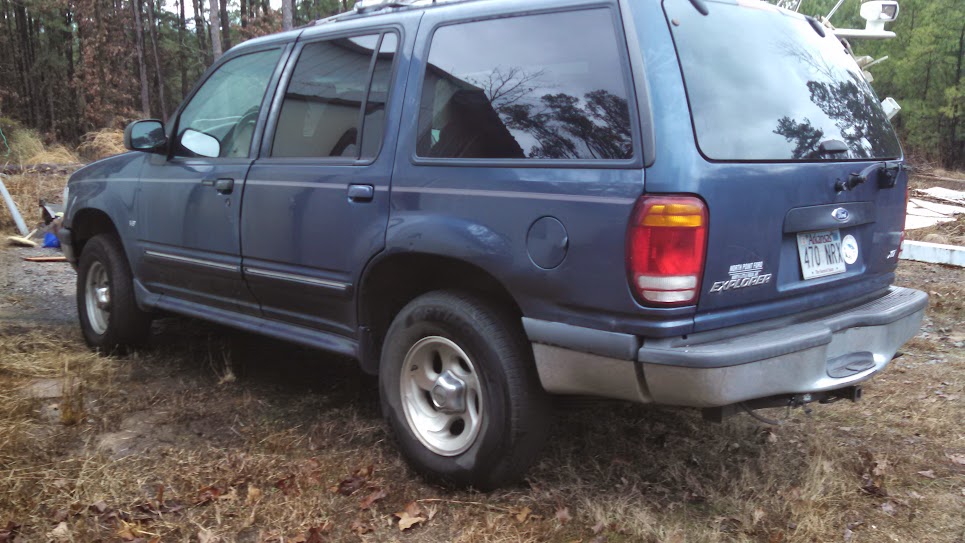
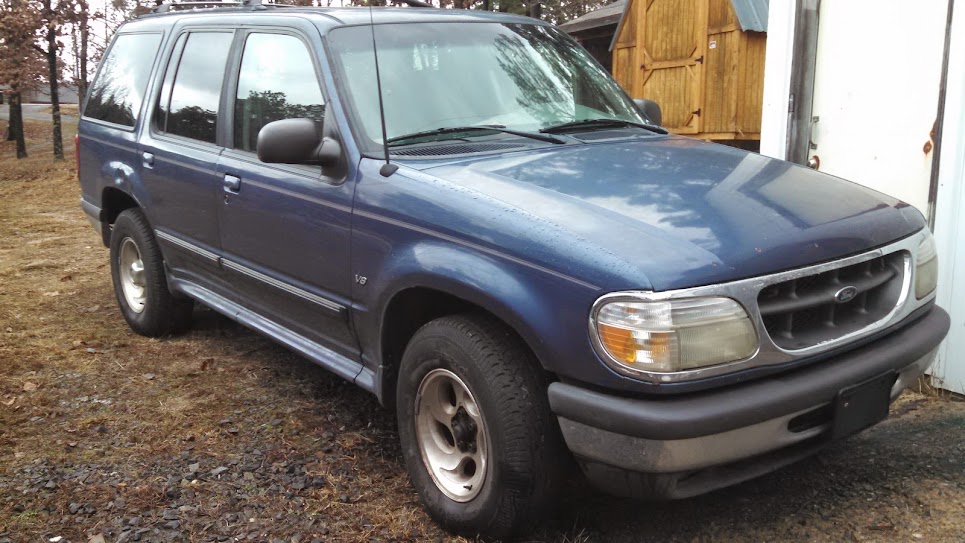
I planned on replacing it any way, but I wanted to use it to shield dust, paint, and other debris until I had a new one lined up. That, on top of other personal business had me doing absolutely NOTHING on the 56 project..... until I ran across a set of 20" wheels on Craigslist for a mere $160. (P275/45R20) I only had one decent tire on the 56, in fact, 2 had gone flat over time and one had steel belts showing that have cut me on more than one occasion. It was tough working on anything in the shop with the 56 on jack stands just sitting there in the way and I thought it was about time I found something I could live with once it was done PLUS be able to get rid of the old Explorer wheels. For $40 each, that was no more than getting some mismatched used tires!!!

DNAiAQo3HGpkJ1cUA7NI_UTDcxXRVPJtwxAka=w600-h450-no.jpg


After putting a couple on, I finally got enough excitement built up to spend the next week or so staying up until early morning hours working on getting the darn thing to fire up!

u_8akP-jdogTswUBpB8v-XmQBRcSLfeei4A1=w1126-h633-no.jpg


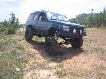
The new tires are taller and MUCH wider!

XOzafp6cv3b-Q4Im47bvF9CrNyVDFiQdKxsE=w1126-h633-no.jpg


Fk5MF-gAqFvx7UstfkozhbYW4Sq48Ham4SBh=w1126-h633-no.jpg


The picture doesn't do the width justice.

BFqEVx4_wuM72TT2SKY-J_m44N6yySdj5TtR=w1126-h633-no.jpg


It.... just.... looks.... so.... right!

Md8ujrcM-AUvZFUACn6TL4smTy0IIy2dJACR=w1126-h633-no.jpg


LTgcZjxOiswshUUwN55ml28pmUyMA6grqek1=w1126-h633-no.jpg


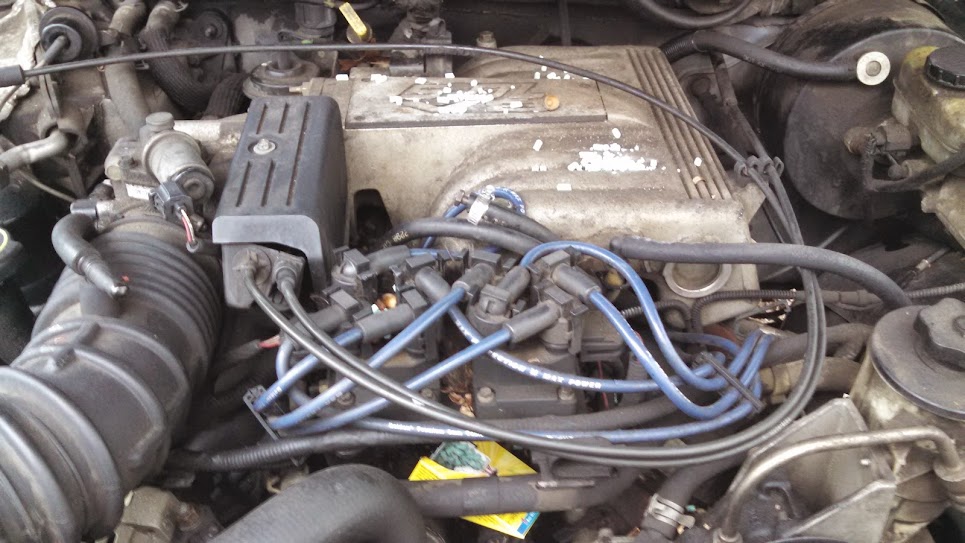
New spark plugs installed.

Kg2R2_pP44qaP-9ZFWdyzpa4D_2UPCCZ6l_L=w1126-h633-no.jpg


Also, new serpentine belt, fresh oil and filter, and then on to the transmission. New filter, gasket, and fluid.

3azT3zq9vhZaqfuS7syRiUHul7mlL18tojam=w1126-h633-no.jpg


Minimal signs of issues in the trans filter (opened up)

sdRTXXsH5WqFSOhV_G50gGXPef5sx-qA5Owr=w1126-h633-no.jpg


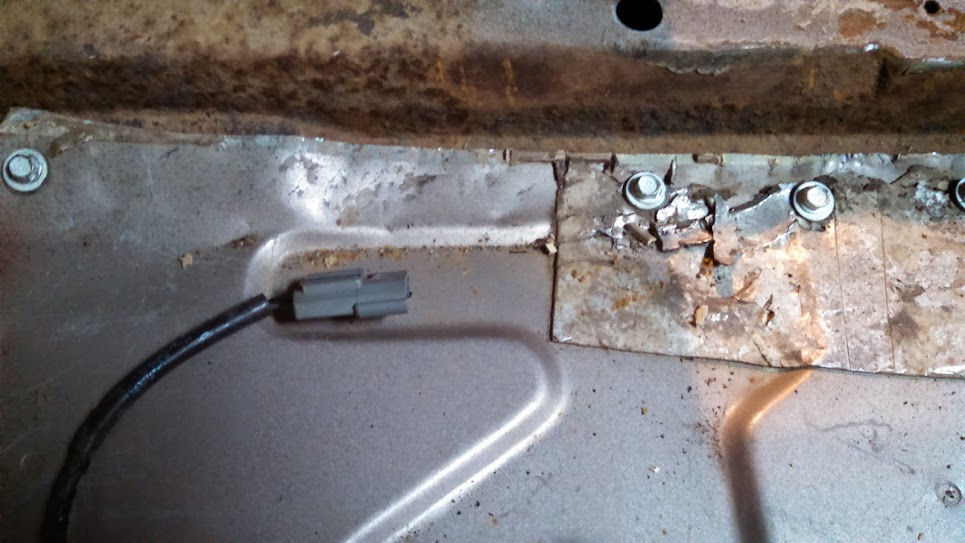
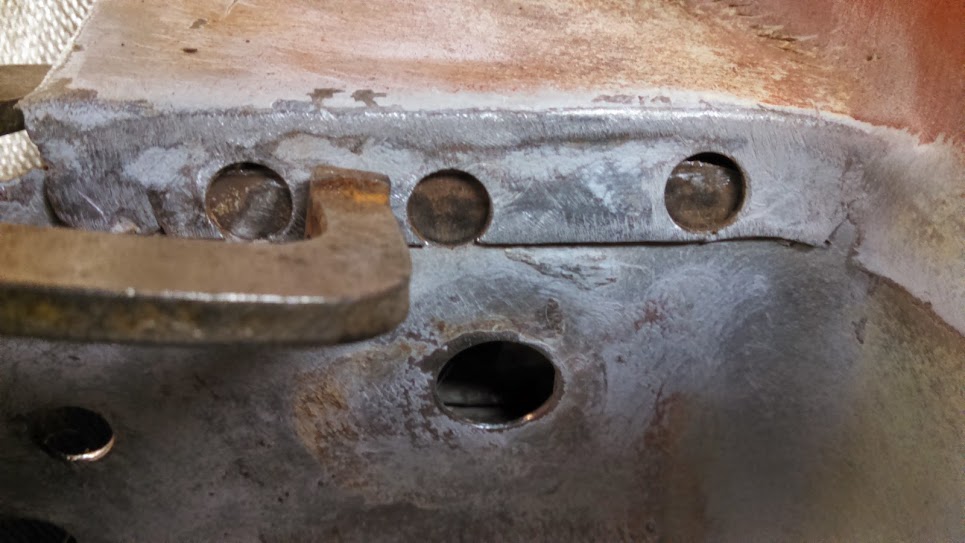
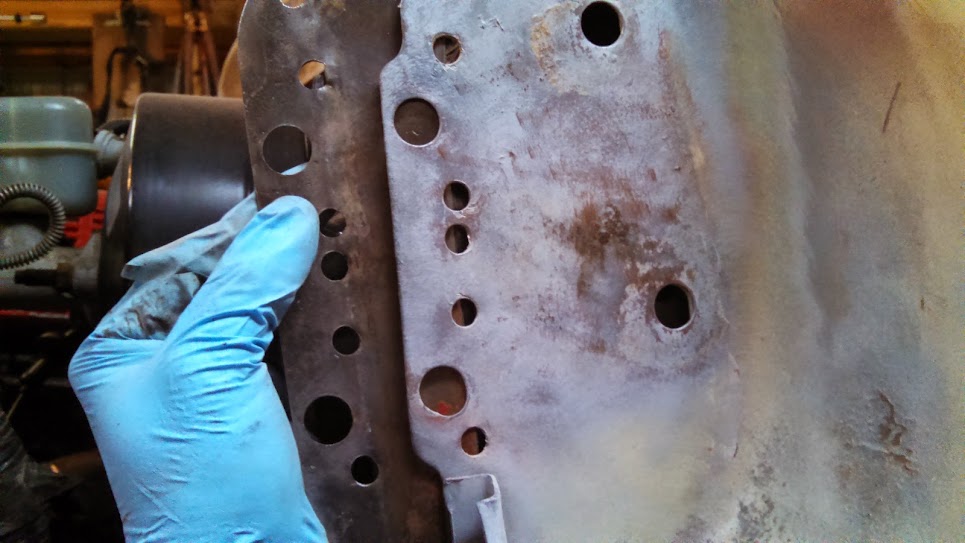
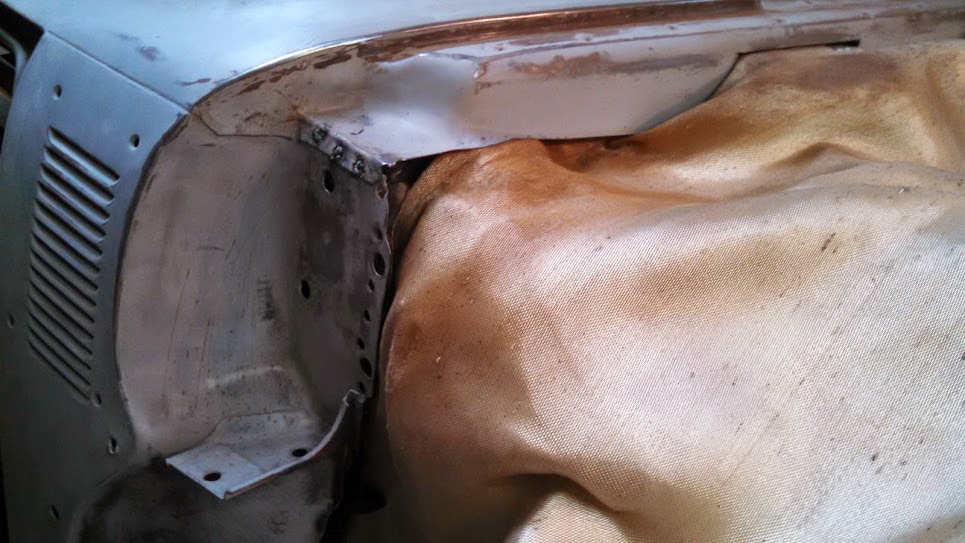
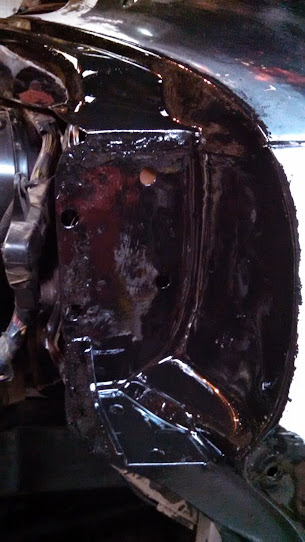
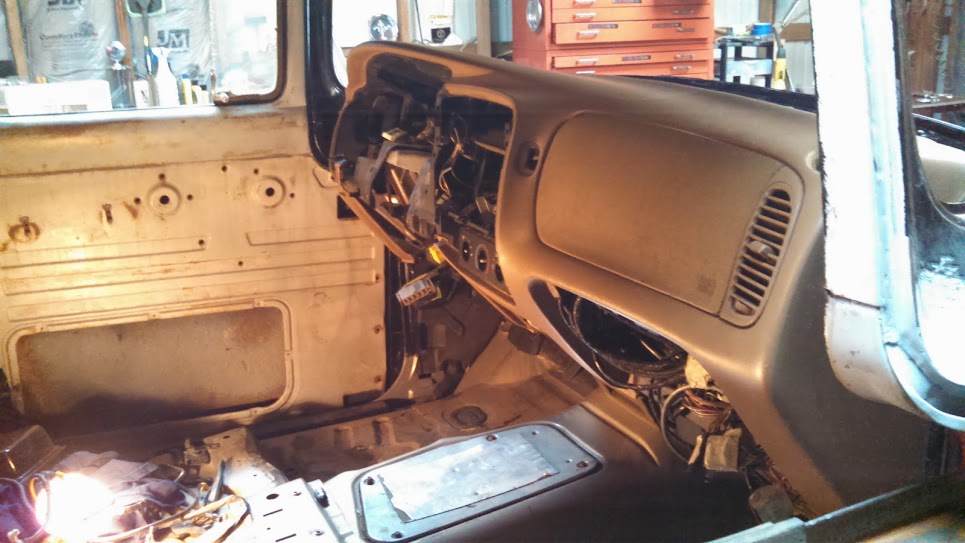
To ensure everything under the hood would fit properly and securely, I had to modify some of the brackets like this one.

P-upa64NyACU8CmaCBhZr8HEbisF3oAEVuK6=w1126-h633-no.jpg


I ended up fabricating upside down to take advantage of the bolt hole. Just needed to drill another hole to accommodate all the bolts for the cruise control unit.

YatnUY3vDd8iF2ScqiodyWzAc9ogKYJlIqTu=w1126-h633-no.jpg


QleoGg_C2hgwFHiELArDjLZWhbEyp7-N5lhR=w1126-h633-no.jpg


UgQOFDf9Bmqtpyku1qJpkOuS6SVCYodNnaRw=w1126-h633-no.jpg


And voila!

D-cpcEIOmcp0gnXPZcU4X5N8VhWvq6dp9YSv=w1126-h633-no.jpg


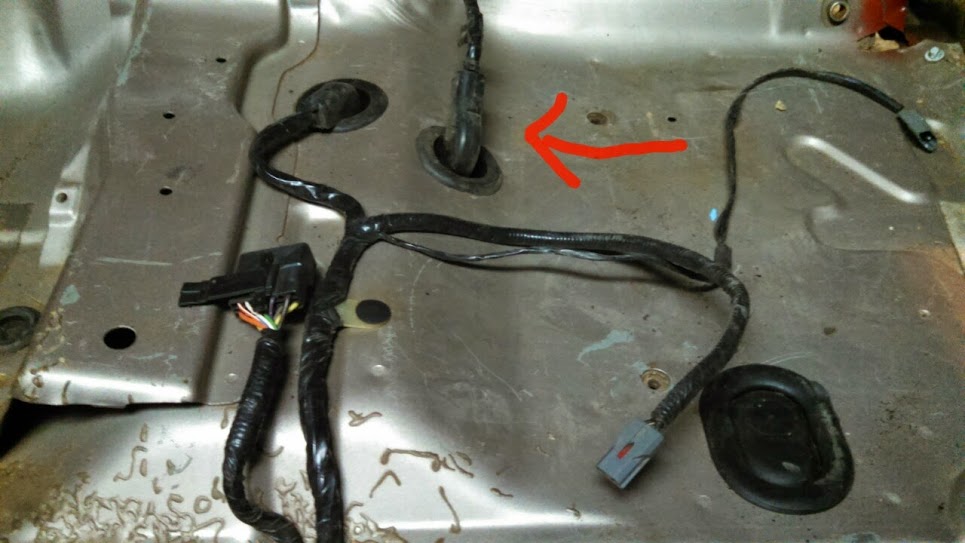
You may have noticed that I was able to utilize the Explorer inner fender wells. using screws, bolts, and other techniques, I was able to get it up and out of the way so that I could reduce the amount of dirt and water spraying all over the engine compartment.

VeFm9JjHA7HU2a-p6pAvrjYqXJJC-m6iYZOs=w1126-h633-no.jpg


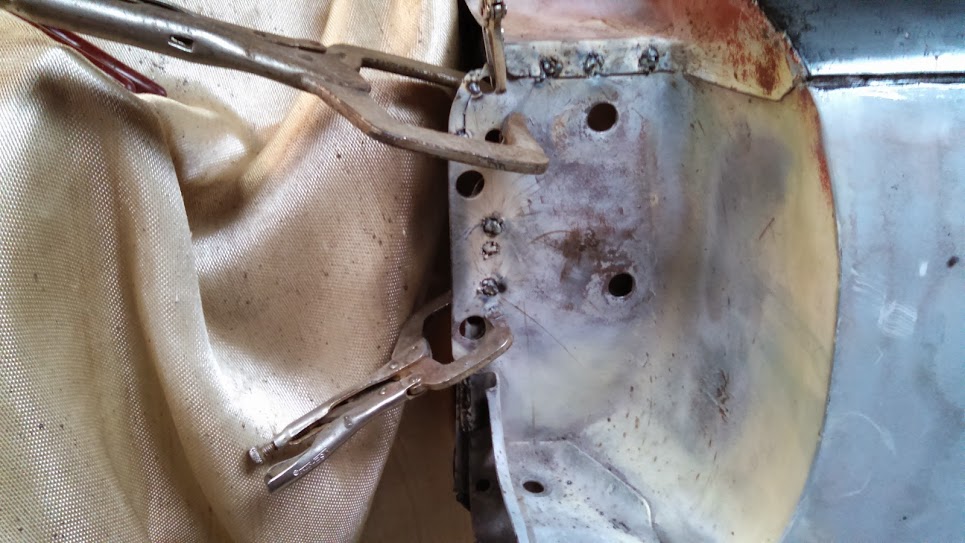
The fuse panel bracket on the driver side was reversed to help stay out of the way of the hood opening and helps keep the wiring loom confined. I bolted it to the ABS brake system bracket which was modified a bit, where I swung the protruding arm back and cut the other completely off.

-FkaoaNh8nJyEjZS-32wgCw_zTy0o-AO_hco=w1126-h633-no.jpg


Another view

fYlX-P4D3Fcb6e8IWTTMmWM4V1gN5KhvIkTh=w1126-h633-no.jpg


Clearance looking good on both sides with battery installed.

a2v-rvntM4RxKWqRkKOIHqH1T4_cDoPEEnQI=w1126-h633-no.jpg


8E02SplRWe-88eVM7R9sD9JnVmZQp3do-CRO=w1126-h633-no.jpg


Time to check what blows up when I turn on the key...

r8dShx8Pdp1IRAeNpqn-SRoFDlsEzbCm-mQp=w1126-h633-no.jpg


And then...... I FIRED IT UP!!!!!!!!!!!!!!!!! AMAZING goose bump feeling that I accomplished this feat to the point that it would once again move on it's own power!!! I called my dad and he got to witness the event, it was worth every bit of time, effort, and sacrifice for that one moment.

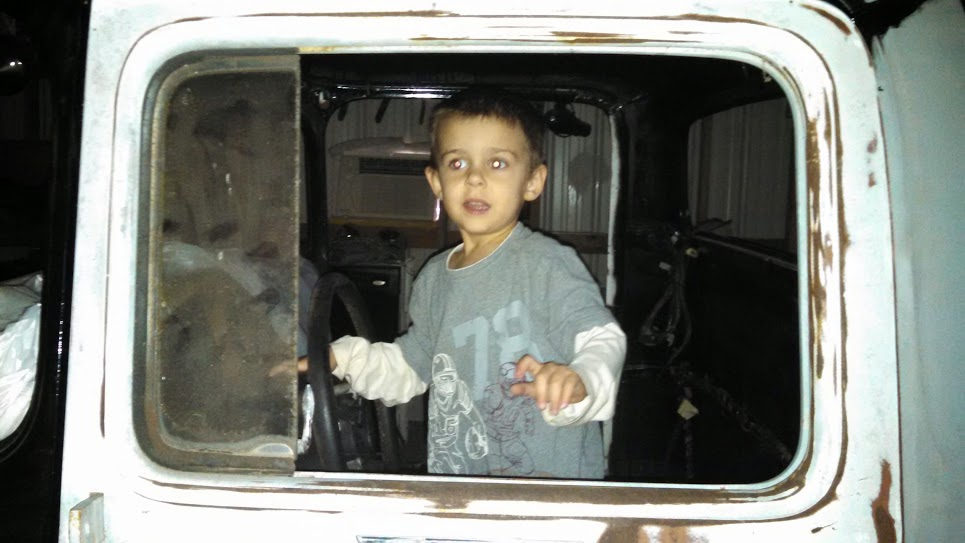
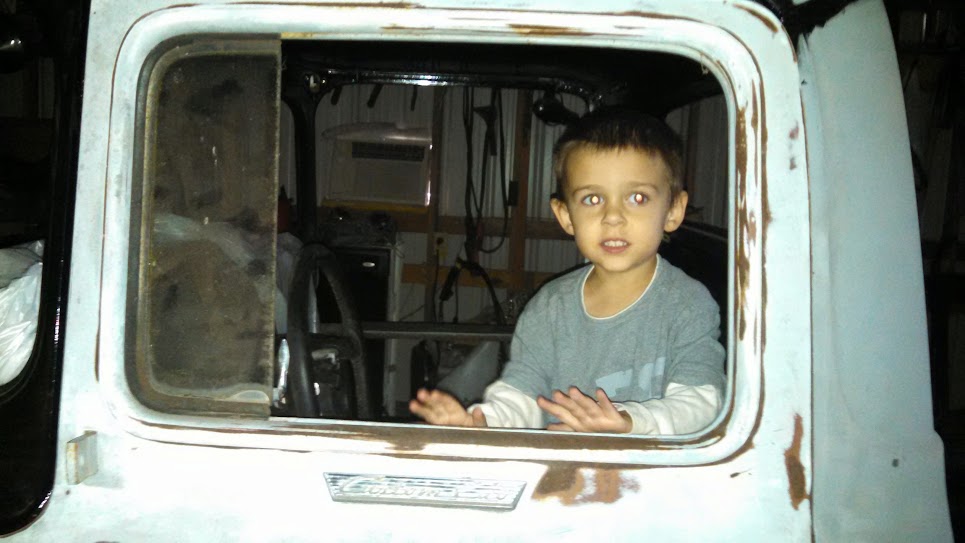
On Father's Day, I got to take it out of the shop and take my youngest son out for a spin. No windshield, of course, but we didn't care! It was the highlight of my day!

mB6t5QAILFhI9qn3kxCoFeVTKFV6AMncGCGL=w1126-h633-no.jpg


Now I just need to get back to it to finish it up one of these days. My mind is trying to decide on a few options at this point. Until next time!!!


Update

Thanks for the update! The truck is looking real cool.
Those wheels give the truck that custom hotrod appearance being all tucked up under those wheel wells. Nice find too.
What were you doing for a career before switching to selling Fords?


Looking great! Thanks for the update too. It's nice to see you are working on it again, and what a great Father's Day


your truck is looking Great!!
I am planning on doing a 1952 with xplorer frame from a 2000.
thanks for all the info and for the inspiration.
Ben


Any further updates on your project?


Join the Elite Explorers for $20 each year.
Elite Explorer members see no advertisements, no banner ads, no double underlined links,.
Add an avatar, upload photo attachments, and more!
.


any updates on this 56?


Back
Top