Bkennedy's SAS and Rebuild Thread | Page 159 | Ford Explorer Forums - Serious Explorations

  • Register Today It's free!

Bkennedy's SAS and Rebuild Thread

As some of you know, I am working on building a parts list for a shortened Dana 44, long radius arm with coil overs SAS. 5:13 gears to match my rear axle and an ARB, maybe an electric locker. I have a pretty good list so far. At the same time, I am going to swap out the rear drum brakes for discs off of a 99 Explorer.

Please note: The plan is to keep this project as simple as possible with mostly off the shelf parts. I am not a fabricator, just a decent welder with a what I would consider the minimum required tools (chop saw, cut off wheels, air tools, welder, etc.), who likes doing his own work. Your opinions are welcome, but what I really need is technical advice. I have been thinking about this for several years and now have the time and cash to make it happen. Please keep on topic with your advice and don't go off on a side track about how you would do it as a four-link, or caged arms, or leave the axle full-width because that is not what I want. I want a simple-ish set up that works.


Join the Elite Explorers for $20 each year.
Elite Explorer members see no advertisements, no banner ads, no double underlined links,.
Add an avatar, upload photo attachments, and more!
.


I spent some more time under the back of the Explorer, and I don't see how welding the cross member to the frame will help the wiggle of the rear bumper. I don't feel any movement at the seam between cross member and frame when I'm kicking the tire carrier and pushing it up and down. I'm going a different direction. I have bumps on the back of both the gas can and tire carriers in case they contact the rear hatch. They are both about 1.5" away from the hatch, so it doesn't happen. I found some thicker bumps and cut them down so they contact the back hatch when the carriers are locked down. There is still some wiggle, but it's less. The bumps push into and flex the sheet metal of the rear hatch. I made two stiffener plates out of some stock I had here. Waiting for the paint to dry before I rivet them to the hatch. I think this will help more than trying to stiffen up the frame.

I thought about using some bushings I have here and making two pinned mounts to connect the carriers to the hatch, but that won't work. The movement of the bumper will eventually tear up the sheet metal of the hatch, and it will be difficult to open and close the swing outs.


Join the Elite Explorers for $20 each year.
Elite Explorer members see no advertisements, no banner ads, no double underlined links,.
Add an avatar, upload photo attachments, and more!
.


Here is what I came up with. I riveted the plates in place. Caught the two bottom rivets into the internal bracing by dumb luck on the spare tire side. It's very solid. Because the gas can side has a curve in it to match the body line, its fairly rigid. My thinking is if the bumps were just contacting the hatch, it would be constantly banging on it and be noisy. The bumps put a little pressure on the hatch when the swing out carriers are locked down. I know it's pushing in on the hatch sheet metal, but that hatch is pretty banged up from all the dirt miles, so it's not a big deal, and I'm hoping it will keep them being noisy while blasting down a lonely dirt road.

In the first picture you can see where the wife backed up into the open garage door with the hatch open and ripped the windshield wiper motor out of its mounts, bending the heck out of the door around the hole. That happened about 25 years ago when she was had it as her daily driver. I used a sink faucet hole plug and a bunch of silicone to close the hole. Haven't missed the windshield washer, never used it anyway. Removing the motor dropped a few pounds off the hatch, and removing the washer bottle freed up a lot of space in the side storage area.

3/4 of the carrier wiggle is gone, and it stops quickly where before it would go on for a few seconds.

Stiffener plates
20230816_161307.jpg


Bumps (the diamond plate panels are fold down tables for remote camping, the bumps keep them in the upright position)
20230816_161314.jpg


20230816_161323.jpg

I had to get new gas cans, and couldn't find the old school 5 gallon cans. I have three here but two of them leak and I think one is starting to split at the bottom seam, which happened on my last Arizona trip. These are generic military issue copies in OD green with the seam running down the middle of sides and bottom. I had to clearance the gas can holders by cutting a notch into them and then welding a piece of tubing in the notch to not contact the gas can seam. It's currently in excursion mode with two cans on the back. The outer gas can holder bolts on to the inner holder to turn it into a double.

20230816_161505.jpg


20230816_161523.jpg


I still I want to taper the ends of the bumps so they sit flush against the stiffener panels.


Your welcome to borrow my flatbed. Just flat tow the explorer up here and load up. Not sure you want to drive all the way up and back and forth 🤷


I ended up not going on the Idaho trip. Silverado axle started making clunking noises so I swapped in a 14 bolt.

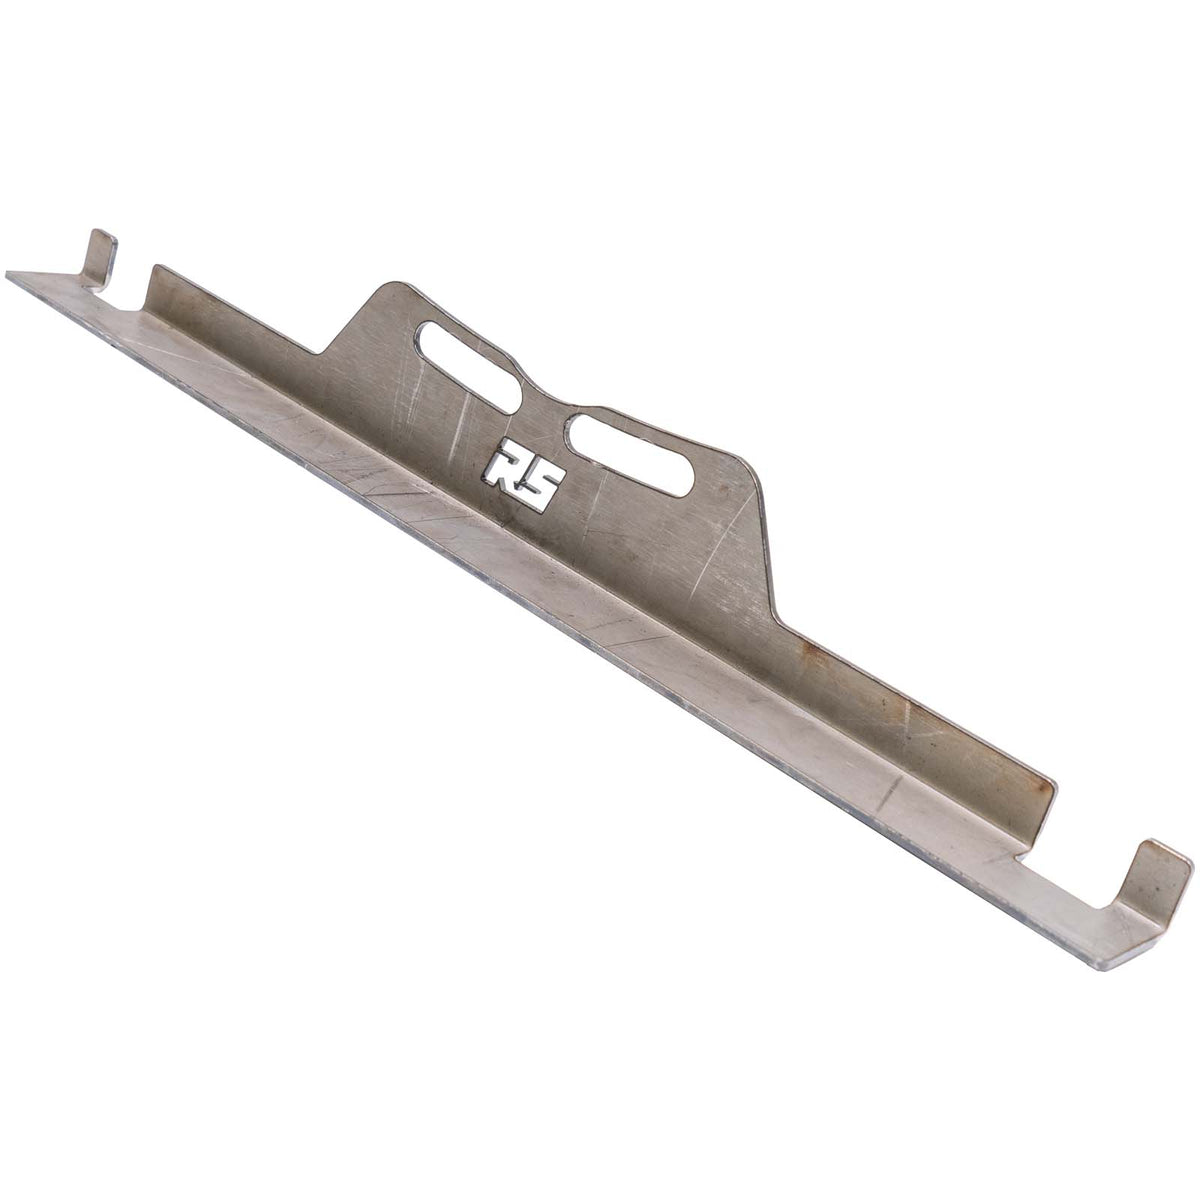
I have never thought I could get an accurate measuring tape toe measurement with the larger tires. After the last adjustment my front tires started wearing from the outside edge inward, scrubbing. I adjusted the toe out a bit and it drove better, but those tires are expensive. I saw this alignment tool from Ruff Stuff and ordered one. It looks like it will help get an accurate toe measurement. It looks like something fairly simple I could have made myself, but its priced reasonable and Ruff Stuff makes good products. After it shows up, I'll test it and post again.

I also picked up two 9' Craftsman measuring tapes with magnets on them to store on a tool box. Should make using this tool easier.


I did a write up on the alignment tool here


Camping on the Arizona property. Took a drive to Gregg's Hideout on Lake Meade. It was originally a ferry crossing. It was about 35 miles total, 17 dirt. I made it from my property in 40 minutes. Dirt road is mostly smooth graded except for the last 5 miles, so I went about the same speed as when on the pavement. Last 5 miles is a little bumpy, last 2 miles is steep decline to the lake down a very deep sand wash.

Pretty cool little place. There was a couple with a Rubicon and one of those $50,000 off road trailers with all the goodies, including a sat phone and Starlink.
20231105_154724.jpg


20231105_155700.jpg


20231105_155707.jpg


On the way out I went slower so I could look around. There are dozens of side trails, a few went down to the lake. I didn't take any of the side trails as the sun was nearly down, but they are definitely going to be a future exploration.

I crossed Pierce Ferry and stayed on Antares instead of taking Stockton Hill back. I was thinking I could find one of the roads I can see from the property with binos, crossing the dry lake.
Took this picture at 60 MPH on Antares Rd.
20231105_171438.jpg


There are roads all over, most end up dying out or at a fence. There are lots of street signs with no roads. Miles of them, small single track with 10 cross street signs and no roads. I worked my way across, sometimes driving through the brush towards another street sign. Had to backtrack a few times, lots of silted dust bowls you don't dare stop in, finally found a track heading straight towards Long Mountain. It was full dark by then. Road met with a nice graded road heading towards Stockton Hill. Came out a mile from my street. I'll go back and see if that graded road that came out on Stockton Hill goes through, but not going to freestyle it again.


I highly recommend Starlink. I have it on the RV, and I can have high speed Internet anywhere now. Best of all I just turn off the service when I'm not using it. Doesn't cost me a dime. I can have it back up and running in less than 10 mins.


You already know we have starlink and love it. Last night we had 5 PlayStations online and everyone is also on their phones and I pads, smart TVs It is very fast and reliable. The service only seems to slow down once in a while when we have lots of rain or fog, even then it’s just a little bit of lag….starlink has been stellar allows us to live way off grid and still be connected


Went over to the area north of here by Lake Meade around Gregg's Hideout Rd. There are a few marked trails in canyons that lead down to the lake I wanted to check out. I drove past Hualapai Canyon to Spring Canyon. Map shows the canyon goes all the way to the lake. Nope. Ends about a mile from the water with a fence. No reason to close the rest of the canyon to motor vehicles, just because. It's plenty wide and smooth. Walked down canyon, lots of running water and lush growth around Burro Spring. Didn't make it to the lake because I wanted to check out another trail on the way out and it was getting late in the day.
20231202_152022.jpg

20231202_152005.jpg


Drove back to the main trail, then backtracked to Hualapi Canyon. Very scenic canyon. That still goes to the lake.
20231202_171430.jpg

20231202_163110.jpg

20231202_163049.jpg

20231202_160213.jpg

20231202_172826.jpg


Got back to the main trail before it got full dark. Took about a hour to get back to the RV from Gregg's Hideout Rd.

This would be a good area to remote camp. The trails are easy. It's part of the Lake Meade Recreation Area, so no going off trail, but that also keeps it very clean and scenic. The area between the recreation area and the highway is mixed private and BLM. It's only 15-20 miles from a main road and a gas station.

The canyon trails are fairly easy if you have a 4wd vehicle. The sand around here is coarse and deep. If I stopped in sand while going up the wash in 2wd, I could bury my 35" tires with light throttle.

And another Arizona sunset
20231202_172820.jpg


I've been looking at new tires lately. I currently have 35x12.5x15's. The Maxxis Razr is probably the best off road tire as far as traction goes that I've ever had. The sidewalls are not very strong, and they are wearing out quickly. They are over half way worn, which is usually when I start looking for new tires.

I like the larger size with the Razr's, they are about a 36" new. Was thinking of replacing the wheels with a 17" to get more tire options, maybe move up to a 37", which I could safely do with my drivetrain.

There is a $150 plus price jump between 35's and 37's. Plus I would need new rims.

Maybe they aren't that worn after all...


I hate that we were forced to 17s without any good of reason. I never consented to that.


I’m happy with the new toyo open trail they are an aggressive at
They are available in 8 ply or 10
Ply depending on if you buy standard or metric size
Made in USA
maxxis makes some nice stuff, but I still trust toyo or cooper or Mickey t the most


I've been very impressed with the Nitto 315/75-16 Trail Grappler. Measures out larger than a 35" (by about 3/10th's). They are a 10 ply as well and do great at 12 - 16 psi.
I would think you could find 16" rims pretty reasonably priced, especially at this time of year with all the sales going on.
-Dan


I like bfg. I have run them for years. Been getting almost 50k miles out of them more recently. Work good in the snow and rocks and really tough. I stopped getting road hazard on them because I don’t use it. I have them on all 3 of my cars. Bfg all terrain. I like the looks too.


Need mud terrains. I've had AT's before and wasn't happy with the off road traction.

I've had Yokohama Geolanders, BFG KM2's, Goodyear MTR's, and the Maxxis Razr. BFG were the smallest 35's but held up well. Would make a good 37" tire. MTR is close to true to size. Razr's are more like a 36, and wide. BFG 12.5 had a tread width of about 9", Razr is 11", never checked the others.

I will probably wait until they are worn a little more than usual. Going back and forth from San Diego to Kingman, I am putting three times my usual yearly mileage on the Explorer. Trying to wait for the house to get started before I decide, but will probably end up with new 17" wheels and 37's. Once the house gets started, I'll be out here most of the time because I don't want to miss any part of the process. I'll leave the RV out here, take the Explorer to San Diego and tow it back with the Silverado so I'll have that out here and the Explorer can take a break.

I have a list of future mods;
*Radflo rear shocks and front bumps.
*NWF iBox doubler.
*Small truss on 8.8.
*Tires/wheels.
*Replace front seats.
*TDI or supercharged GM 3800 engine swap.


I have never really paid attention to the true to size thing. I probably would if I was swapping brands often. I would think it would be affected by pressure and width of rim.

I had some of the new mtrs once. They performed well and were tough, but wore out quicker than I liked. I liked the old style in the 37x12.50x15. Maybe one of my favorite tires.

If I could be in charge, I would want a 37x10.50x15 bfg all terrain. That would be perfect for what I want. But the closest I can get is the 35x12.50x15 so I guess I’ll keep running it.


sounds like a good plan, I like the sc 3.8 idea the most!!


Join the Elite Explorers for $20 each year.
Elite Explorer members see no advertisements, no banner ads, no double underlined links,.
Add an avatar, upload photo attachments, and more!
.


Got back to San Diego, uneventful trip. I started the Explorer while I was unhooking the tow bar. Coolant is dripping out of the back of the heater box. It's either a bad heater core (again), a bad heater control valve (again), or ? I'll figure it out in a few days.


Back
Top