1956 F100 Explorer Chassis Swap | Page 6 | Ford Explorer Forums - Serious Explorations

  • Register Today It's free!

1956 F100 Explorer Chassis Swap

Those paint dots on the tips of the spark plugs indicate that they are the factory installed spark plugs. Keep up the good work on your build1


Join the Elite Explorers for $20 each year.
Elite Explorer members see no advertisements, no banner ads, no double underlined links,.
Add an avatar, upload photo attachments, and more!
.


Those paint dots on the tips of the spark plugs indicate that they are the factory installed spark plugs. Keep up the good work on your build1


WOW, I knew it! Good to know! Thank you! :thumbsup:

Knock on wood, even though there doesn't seem to be much maintenance done on this vehicle, things seem to be in better condition than what I was expecting.

I now have the engine on the stand using the new bolts, ready for the messy part of cleaning and partial dis-assembly. I will get the some parts this weekend to install onto the motor, but most-likely will need to set that aside for a moment, because....

IT IS THAT TIME!!!! The weather is supposed to get warm, up into the upper 70's this weekend and I want to take advantage of that by getting a few of my birthday guests (Muahahahaha) to help me get the cab into the shop. I'm to the point that I can start with reassembly already!!!

Kind of... but not really.


I got the last two pillars cut off and have a cleaned off surface ready to accept the cab to sit on it while I plan the next moves.

IMG_20131110_244025_978.jpg


These pillars were cut flush and left the tabs (bent over) to be used with mounting the 56 cab with. The welds were drilled out with the weld-cutting bit I've previously mentioned.

IMG_20131110_243917_064.jpg


IMG_20131110_243850_759.jpg


I need to start making some of my cuts on the cab and remove unnecessary components, like the floor board and firewall of the 56. If I do this while it is on the Explorer frame, it will help me get a better perspective on where and how I should slice it up. Other builders have done this in different ways, not all the same.... so this will be the first BIG challenge I will face.

Truth-be-told.... I do not have a welder at this time. I am working on that process at the moment. No plasma cutter either and I've made it this far.

Next post will be either motor work, cab work, or some other random item I come up with next. Thanks for all the feedback and encouragement so far to everyone! :D


What ever you do, do not get that cheap fluxcore harbor freight welder, I did, and I wish I would have saved my money for an entry level mig from lincoln or similar.


Great advice! Are there any from harbor freight that ARE good? I may look at used from craigslist closer to Christmas, when people are hurting for cash.


Maybe their actual mig welder might be ok, but I doubt it as it probably has the same wire feed unit as the fluxcore, and found out after buying it that it cant be used for body repair because the flux stays in the metal and slowly works it way out through your paint, luckily everything that I have used my for is not visible.


It's way too cold tonight to do much in my shop, plus I am a bit sleepy from a long day, but I wanted to post a couple things that excite me. I don't like to think I collect junk, but I have a HABIT of thinking I will come up with a good use for everything I get my hands on. Not much of a hoarder, because I will eventually consider how long I've had something and get rid of it. Sometimes I do wait too long.

I held on to a dishwasher for over a year trying to decide what to do with it. It is the same model as my own, just a different color. I considered keeping for the racks or computer or pump, etc. Finally, I came up with a storage solution for my electric tools that seem to get tangled up on the floor or workbench and I got tired of having to inspect for spiders hiding around them or tear up the cords and plugs. Now they have a place to call "HOME". The drill bots also fit nicely in the silverware tray that mounts on the door inside. This helps keep bugs, dust, and other debris out. Saves on space and best of all, it was FREE!!!

IMG_20131110_245237_078.jpg


IMG_20131110_245554_893.jpg


IMG_20131110_245609_275.jpg


IMG_20131110_245533_736.jpg


I had halogen lights over my sink when I bought my house. One bulb was burned out and found that buying an entire light fixture was nearly the same price as a 2-pack bulbs. So, I bought the new fixture and within 6 months, both bulbs burned out again! Something had to give. One day while tearing a car into pieces, I ended up with two cargo lights. I don't remember the model car or the location of the lights, but I liked them for some reason and held onto them for several years. They are 12-volt lights and needed an AC/DC adapter with 12-volt output to make them work in my house. Here they are in action now over 3 years without incident or being turned off.

IMG_20131112_210421_969.jpg


IMG_20131112_210433_630.jpg


IMG_20131112_210459_270.jpg


There are other things I don't have pictured or cannot find at the moment (a stroller I turned into a lawn trailer), but these are some of the things I feel like make it worth finding alternate uses for. Anyone else have cool alternatives for junk?


I've been using Purple Power degreaser and oven cleaner to clean the engine. This is how it looks at the moment.

IMG_20131113_230532_125.jpg


I still have a lot to clean. I'm considering doing an old-fashioned paint scheme with stickers and emblems to give it an older look. Here's an original-style 1956 V8 engine. I think this color would set it off just right.

0910clt_03_z%252B1956_ford_f100_pickup_truck%252Bengine_bay.jpg


These valve cover decals are available at midfifty.com for only $10.50/pair.

images


My wife likes the idea of making it appear as original as possible, even though she likes a flat black exterior from pictures I've shown her, I am still considering that option. If it is done in a lighter color, perhaps I can go with a similar dash color. Here's a Ranger dash that was painted that has a classic look.

images+%25281%2529.jpg


Although I'm waiting for the cab to get into the shop, I know there are some areas that can be trimmed. Here's the cowl panel I'm in the middle of removing. Each side has easy welds that I've drilled out. I will have to cut the rest off, there are probably 100 welds on the long stretches that I don't want to drill out.

IMG_20131109_011931_051.jpg


IMG_20131109_011915_147.jpg


IMG_20131109_011901_939.jpg


Are you going to keep going all winter. This seems like it would be a great winter project. Its 35-40 degrees here and its only getting colder and my projects for winter seems to be getting bigger compared to what I have done all year so far.


Are you going to keep going all winter. This seems like it would be a great winter project. Its 35-40 degrees here and its only getting colder and my projects for winter seems to be getting bigger compared to what I have done all year so far.

I will definitely be moving forward if and when I can, I'm just not as motivated when the temperature drops below 50°. When there's snow or ice, it's a long walk to my shop, but I hope to see that I have the cab work and drive train done by February. I get a bonus from work then and will have money for getting the remainder of the parts I need plus get the body blasted, primed, and painted.

My goal is to have the truck on the road by May. We'll just have to see what happens from now until then!


Got some friends coming over tomorrow to help me get the cab into the shop. Today I purchased shorter blades for the saw, more degreaser, and a couple other sale items from harbor freight. Tomorrow I will be picking up the oil pump, pan gasket, and engine paint.

Tonight I need to prepare for all of tomorrow's festivities. Pictures with progress coming soon.


A lot to post to catch up. I have pictures of the current progress, tool modification, parts installation, and more. While all of that is loading and I'm writing all the details, I thought I'd share this.

This is my daily driver I mentioned on my very first post I call "Fiona", just haven't gotten around to putting any pics on here yet. It is a VERY stripped down 2013 Mustang V6 I've owned for over a year now. This is the day I brought her home. The color is called "Gotta Have It Green" and is a pearl paint that as you can see in the pics changes color with lighting and angles. Besides the special color, the only other add-on this car has is the spoiler.

2012-09-09+14.41.44.jpg


I wanted it to have a more-aggressive look, so I decided that some stripes and emblems could make it easily look like a Cobra..... for about a third of the cost. Double 10" stripes were $120, side stripes $50, emblems less than $100 for the set. The rear emblem would have been $150 by itself, it is authentic, but was a dealer damaged item, so I got it for only $36.

IMG_20130406_104800_194.jpg


IMG_20130815_132350.jpg


IMG_20130407_240057_120.jpg


$30 in wheel paint and items to do it. About $300 is what it cost to get it to this point.

IMG_20130406_235812_164.jpg


IMG_20130409_091606_393.jpg


IMG_20130409_091513_648.jpg


This is what she looks like today.

IMG_20131116_095353_721.jpg


My 2-yr old loves this car and wants to go to "work" each morning in "daddy's green car"

IMG_20130918_073945_518.jpg


Although it's not the real thing, I get 305hp with 24mpg avg. daily driving, and 0-60 in 5.3 seconds. All this for 1/3 the cost of a genuine GT500 in which they DO NOT MAKE in this color. I'm satisfied with it! Definitely turns heads!


Awesome!!!!!!!


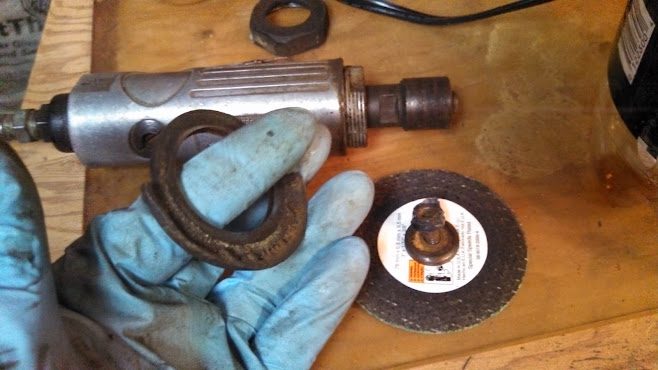
My pneumatic cut-off tool has seen better days, still works great, but makes a mess with flying metal debris.

IMG_20131116_220023_582.jpg


I looked around for a temporary shield to help keep the sparks and airborne metal contained. I had an empty 2-liter Pepsi bottle that would work. I cut the top to match the mounting base size using the broken shield piece as a template.

IMG_20131116_220007_256.jpg


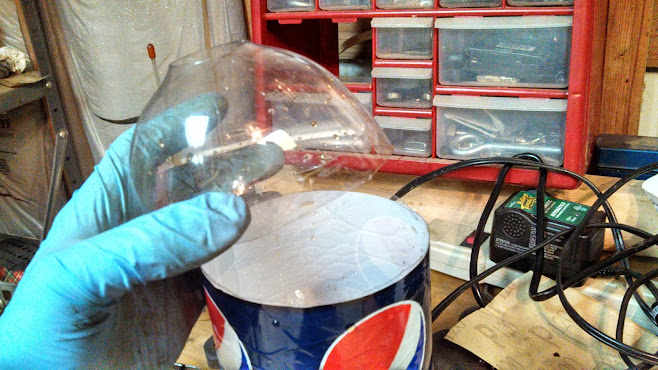
Then cut the bottle at the top of the label.

IMG_20131116_220153_964.jpg


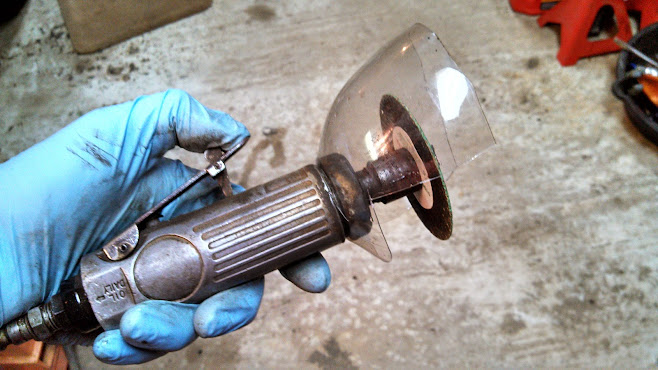
Made another cut to allow access for the blade to do its work.

IMG_20131116_220554_154.jpg


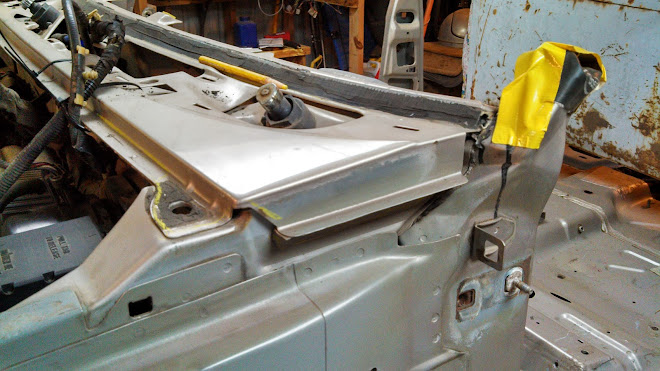
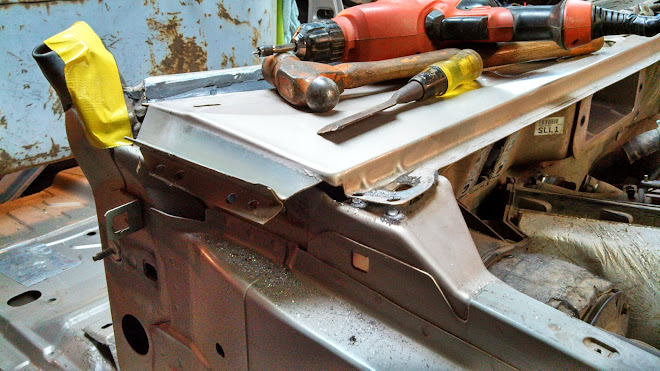
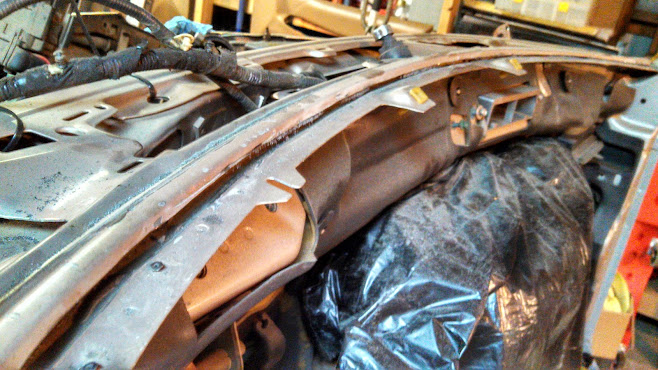
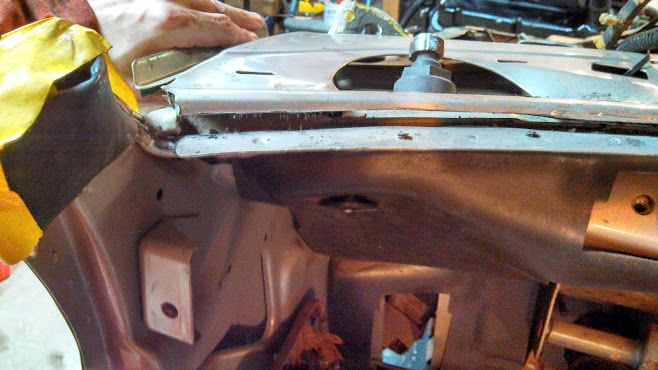
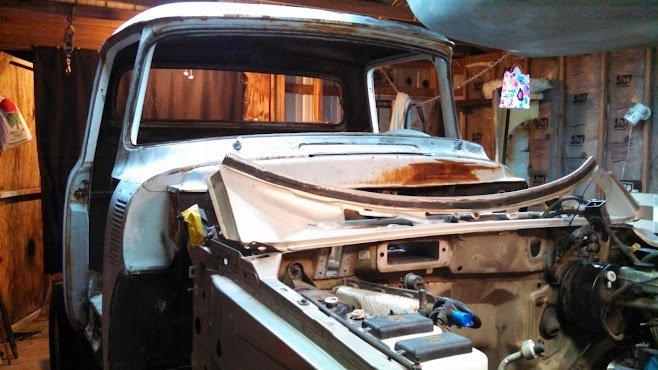
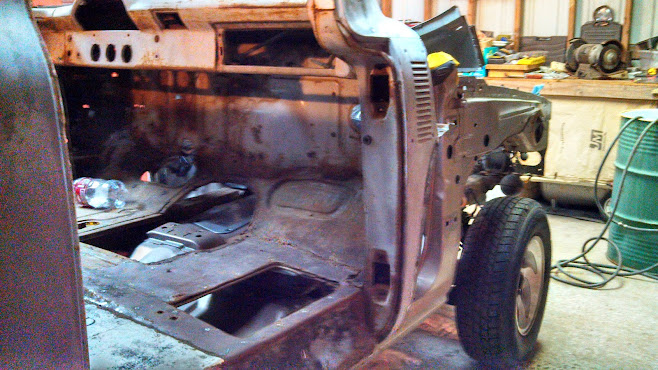
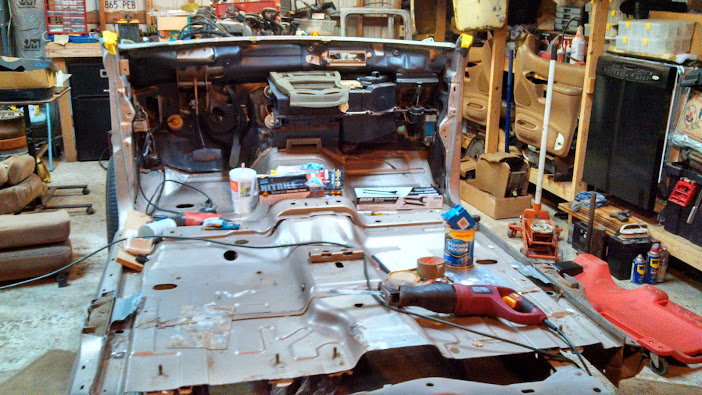
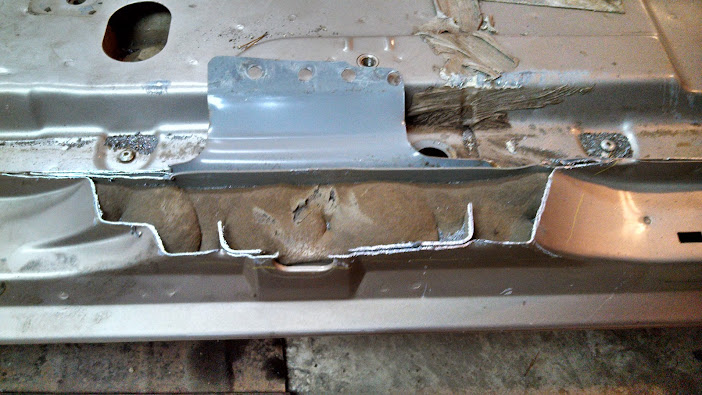
Voila, now time to start cutting. I started to cut the top of the firewall that started at the windshield mounting surface that is attached to the top panel that needs to be removed.

IMG_20131116_222843_331.jpg


IMG_20131116_222823_495.jpg


IMG_20131116_222815_886.jpg


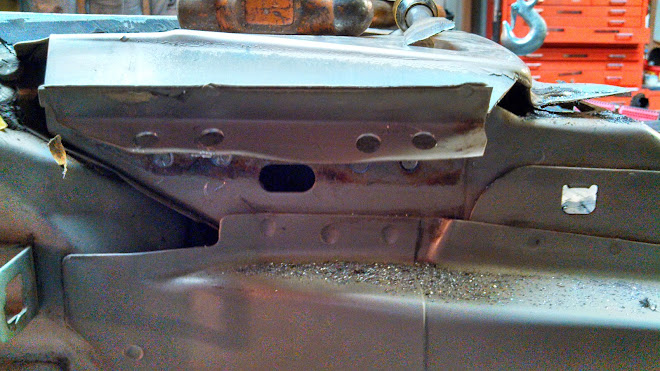
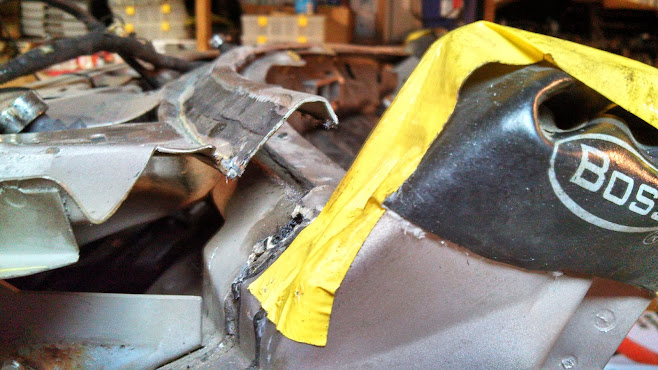
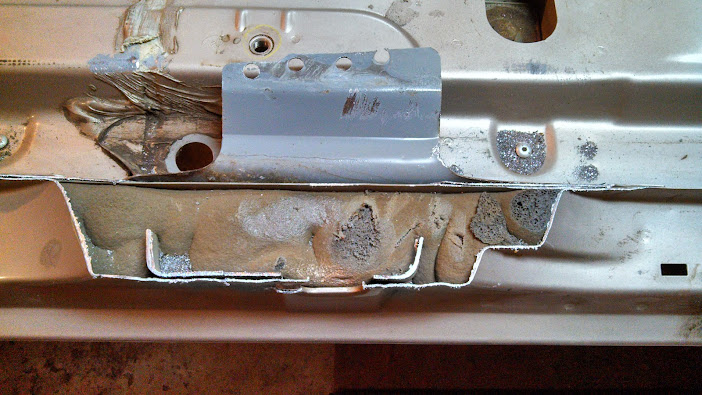
Once cut, I pulled the panel back to take a look at the once-hidden area. I haven't cut any more in this area yet, because I need to get more and better measurements of the 56 firewall to compare.

So, it was time to prepare for the cab. I cleaned, organized and got things in order for this next exciting step. I got my brother, brother-in-law, and a co-worker friend to come over to help. As much as I've done by myself, moving the cab was not something I wanted to chance with less than 8 hands. I did stand the bed on its end in the corner of my shop to get it out of the way by myself, that was fun.

IMG_20131117_020934_153.jpg


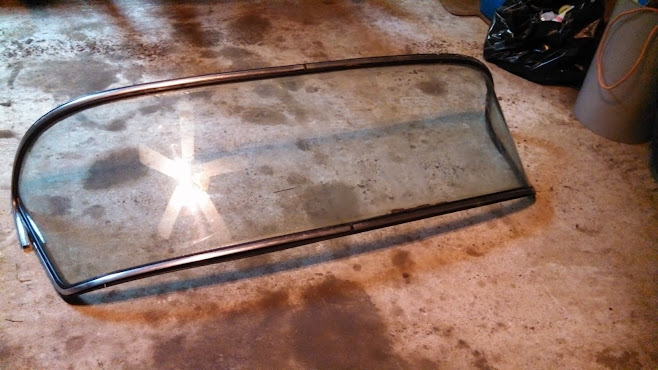
I prepared the cab by removing the windshield and rear glass to reduce the weight. It was lightly raining, so I didn't get pics of that process. Cutting the inside rubber gasket of the windshield was the best way to remove it without damaging the glass or the chrome trim around it.

IMG_20131117_020858_648.jpg


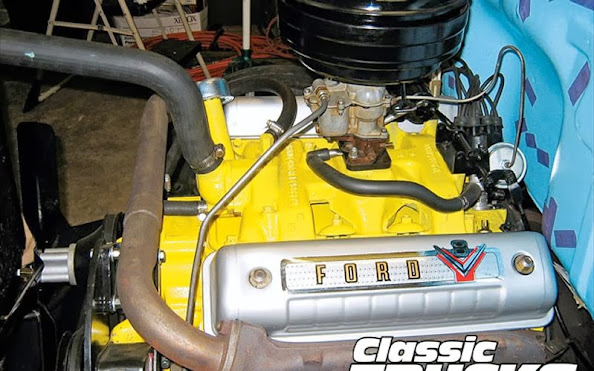
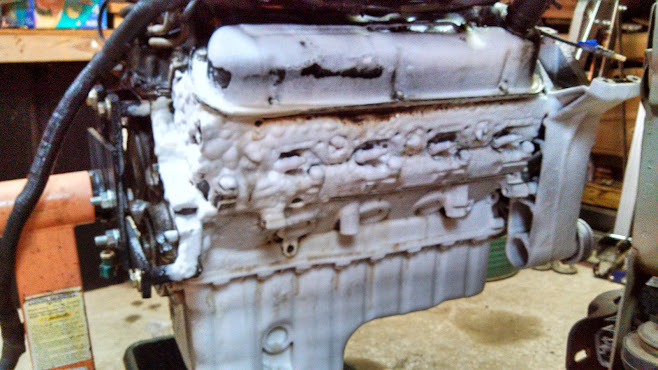
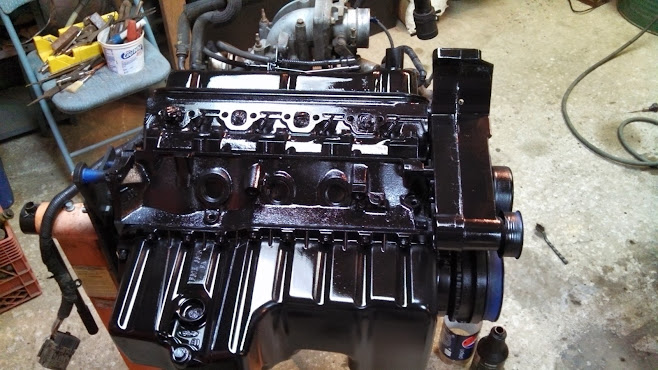
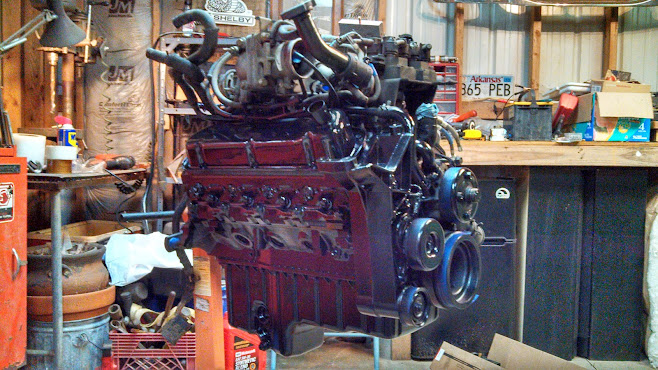
The rear glass was already busted so it was not so much concern. In fact, it was actually harder to remove that piece than the front! Once the cab was ready, I spent some early morning hours cleaning up the motor even more. Oven cleaner and purple power cleaner was used again here.

IMG_20131116_232451_279.jpg


IMG_20131116_232209_301.jpg


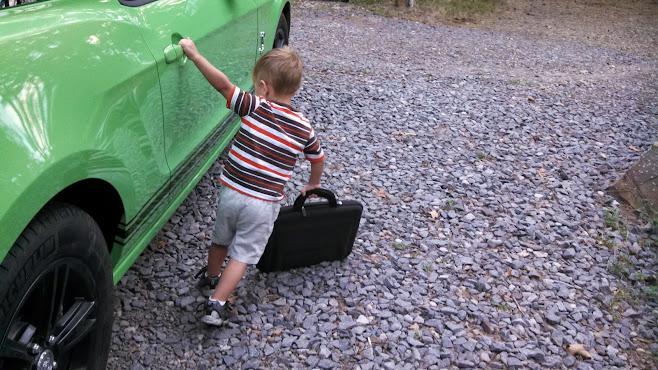
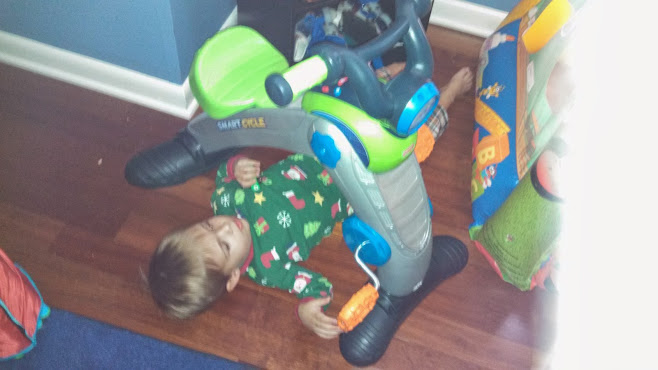
Sunday morning, found my son working on his own project, lol.

IMG_20131117_110357_063.jpg


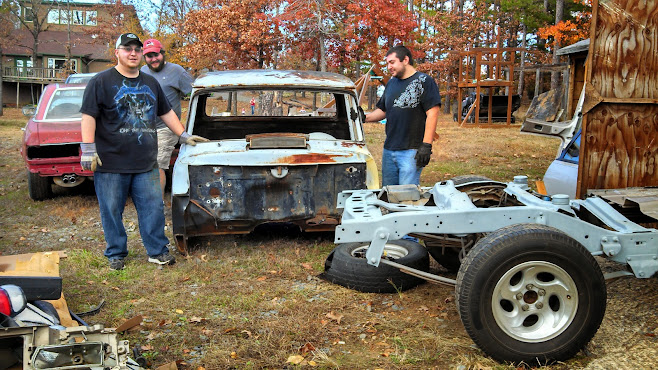
Got everyone over to move the cab, my brother tried to drive it in ;)

IMG_20131117_132646_666.jpg


Notice the Mercedes in the background, that was one of the ones I sold a month ago.... still in my yard.

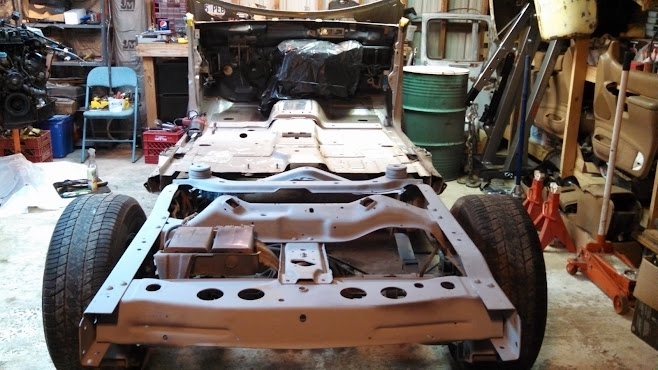
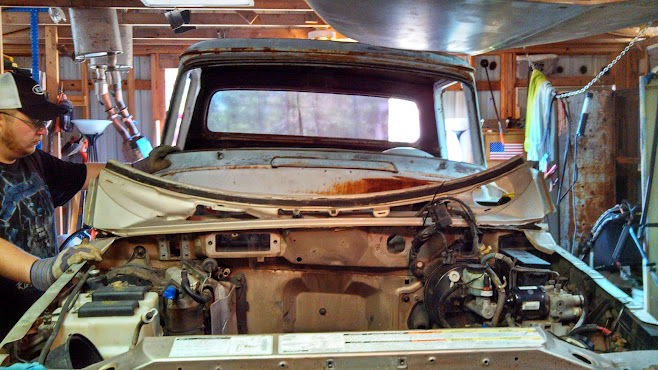
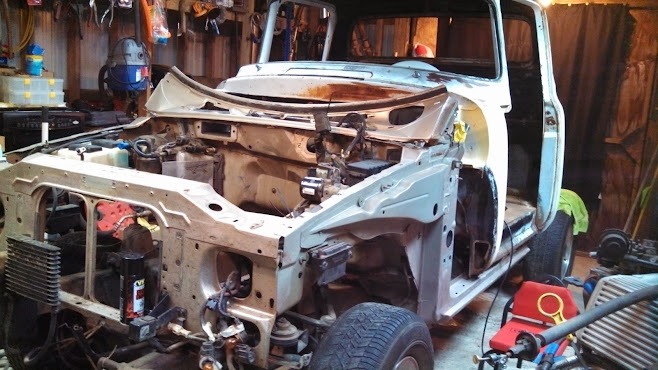
We decided to pull the frame out of the shop to set the cab on top to clear the low doorway, fan and other obstructions.

IMG_20131117_132705_390.jpg


Not centered or in place by any means, but we got it back into the shop easily as it was much lighter all stripped down like I have it.

IMG_20131117_133227_914.jpg


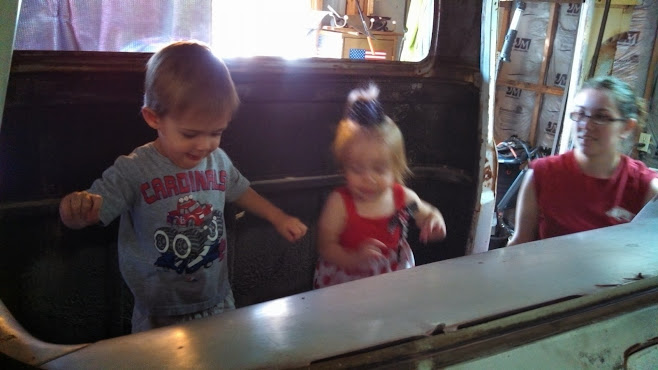
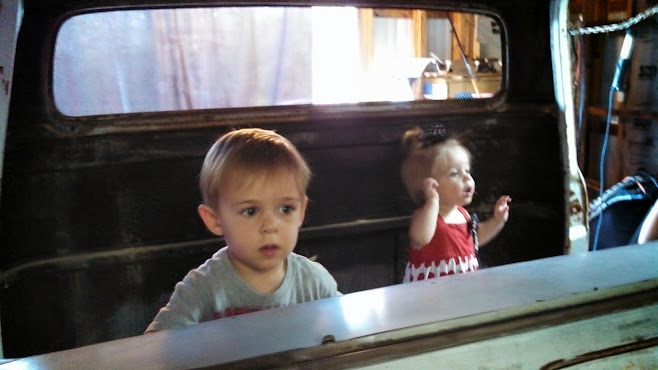
And then the kids thought it was a great trampoline or dance floor.... not sure.

IMG_20131117_133946_486.jpg


IMG_20131117_134002_373.jpg


Although the frame width is approx 40-1/2" wide and the cab has a 41" gap, I wanted to get it in a way that I could easily move it without requiring help. Using landscape timbers, it provided a perfect setup.

IMG_20131117_221459_691.jpg


I can almost imagine it now!!!

IMG_20131117_221331_159.jpg


IMG_20131117_221300_039.jpg


IMG_20131117_221350_270.jpg


IMG_20131117_194613_029.jpg


IMG_20131117_194705_084.jpg


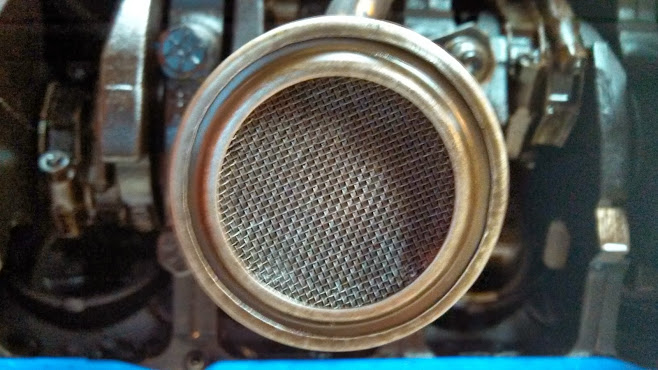
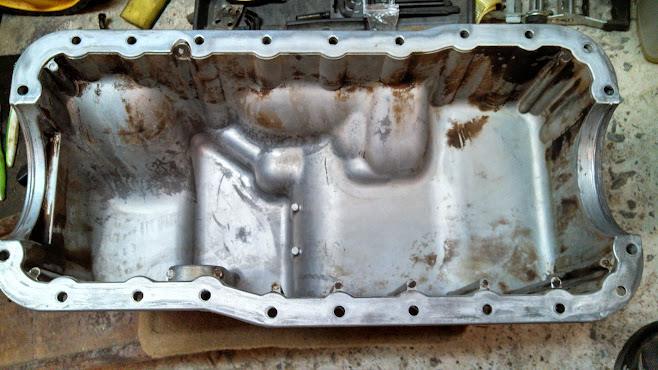
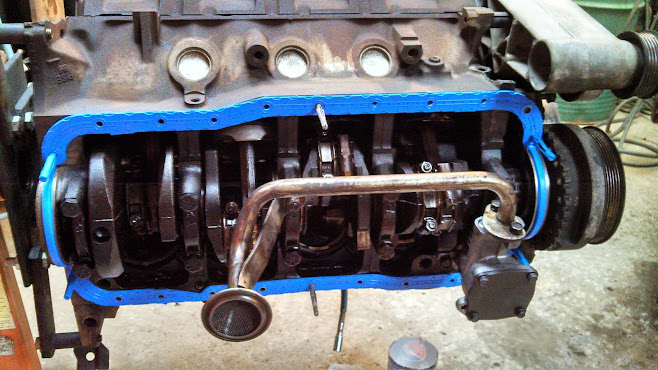
Getting sleepy. Next time, I will post engine progress. New oil pump, pan gasket, and paint!!!


When I bought the Explorer, there was a "restriction" sound coming from the engine after warming up. From what I noticed with the sound accompanied by the oil pressure gauge fluctuating, I believed that the oil pump was going out. What I found was that the bottom of the oil pan had some sludge which would clog up the pickup tube screen. Here's the same screen cleaned up.

IMG_20131117_195333_057.jpg


I went ahead and installed a new pump and a Felpro Blue Permadry 1-piece pan gasket and cleaned the pan with oven cleaner and degreaser probably 10 times. This is as good as I was going to get. Wire wheel/grinder smoothed out the edges to gain a good seal.

IMG_20131117_195530_784.jpg


IMG_20131117_195322_593.jpg


While in the crankcase, I checked out crankshaft to connecting rod play, everything seems good.

Ok, I was planning on painting the engine yellow, as mentioned in a previous post, to match the look of the supposed original color. After much deliberation, it seems easier to match the brackets, valve covers, and other hardware with black.

IMG_20131117_212608_147.jpg


IMG_20131117_214741_871.jpg


I am considering what color to paint the air intake plenum, if anything other than grey. I'm thinking red... perhaps I should have thought about that BEFORE I painted the rest of the motor. I do have it masked off tonight to prepare for additional paint, plus the painted areas are protected from shop dust and bugs.

I started to trim some pieces of both firewalls tonight. Friday evening I've been given the go-ahead to cut like wildfire. The saw and cutter is so loud, my wife says that it can be heard in the house and that if she can hear it, our neighborhood is sure to hear it too. So, gotta wait for the weekend to keep her happy..... then it's on like Donkey Kong!!!


Join the Elite Explorers for $20 each year.
Elite Explorer members see no advertisements, no banner ads, no double underlined links,.
Add an avatar, upload photo attachments, and more!
.


Subscribing for sure....

Your 59 thread was one I ran into before I began that helped inspire my build actually!!!

I hope to see yours back up again!

Thank you!


Back
Top